JEENDA 430-396
JEENDA PTO Switch 725-04174 Instruction Manual
1. Introduction
This instruction manual provides essential information for the proper installation, operation, and maintenance of the JEENDA PTO (Power Take-Off) Switch, model 430-396. This switch is designed to engage and disengage the power take-off mechanism on compatible lawn mowers and tractors, controlling attachments such as mower decks.
Please read this manual thoroughly before installation and use to ensure safe and efficient operation. Keep this manual for future reference.
2. Safety Information
WARNING: Always disconnect the battery or power source before attempting any installation, maintenance, or repair on your equipment to prevent electrical shock or accidental startup.
- Ensure the equipment is turned off and the engine is cool before beginning work.
- Wear appropriate personal protective equipment (PPE), such as safety glasses and gloves.
- If you are unsure about any step, consult a qualified technician or refer to your equipment's service manual.
- Do not modify the switch or its wiring. Use only as intended.
- Verify all connections are secure and correct before restoring power.
3. Compatibility
The JEENDA PTO Switch (Model 430-396) is a replacement part compatible with various lawn and garden equipment. Refer to the following list and your equipment's manual to confirm compatibility:
- Replaces Part Numbers: Sten 430-396; Cub Cadet 725-04174, 925-04174, 925-04174A; Delta 6201-344; MTD 725-04174, 725-1716, 925-04174, 925-04174A, 925-1716; Toro 112-0411; Troy-Bilt 925-04174, 925-04174A
- Compatible with Cub Cadet Models: RZT42, RZT50, RZT54
- Compatible with Troy-Bilt Models: Most Big Red Horse, Big Red, Mustang Colt, Mustang RZT
- Compatible with Toro Models: LX500, SL500, LX468, GT2300, GT2100, GT2200
4. Specifications
| Feature | Specification |
|---|---|
| Model Number | 430-396 |
| Number of Positions | 2 (ON-NONE-OFF) |
| Number of Terminals | 7 |
| Contact Type | Normally Closed |
| Connector Type | Blade Terminals |
| Switch Type | Pull Switch (for engagement) |
| Material | Plastic housing, Copper contacts |
| Mounting Type | Panel Mount |
5. Product Overview
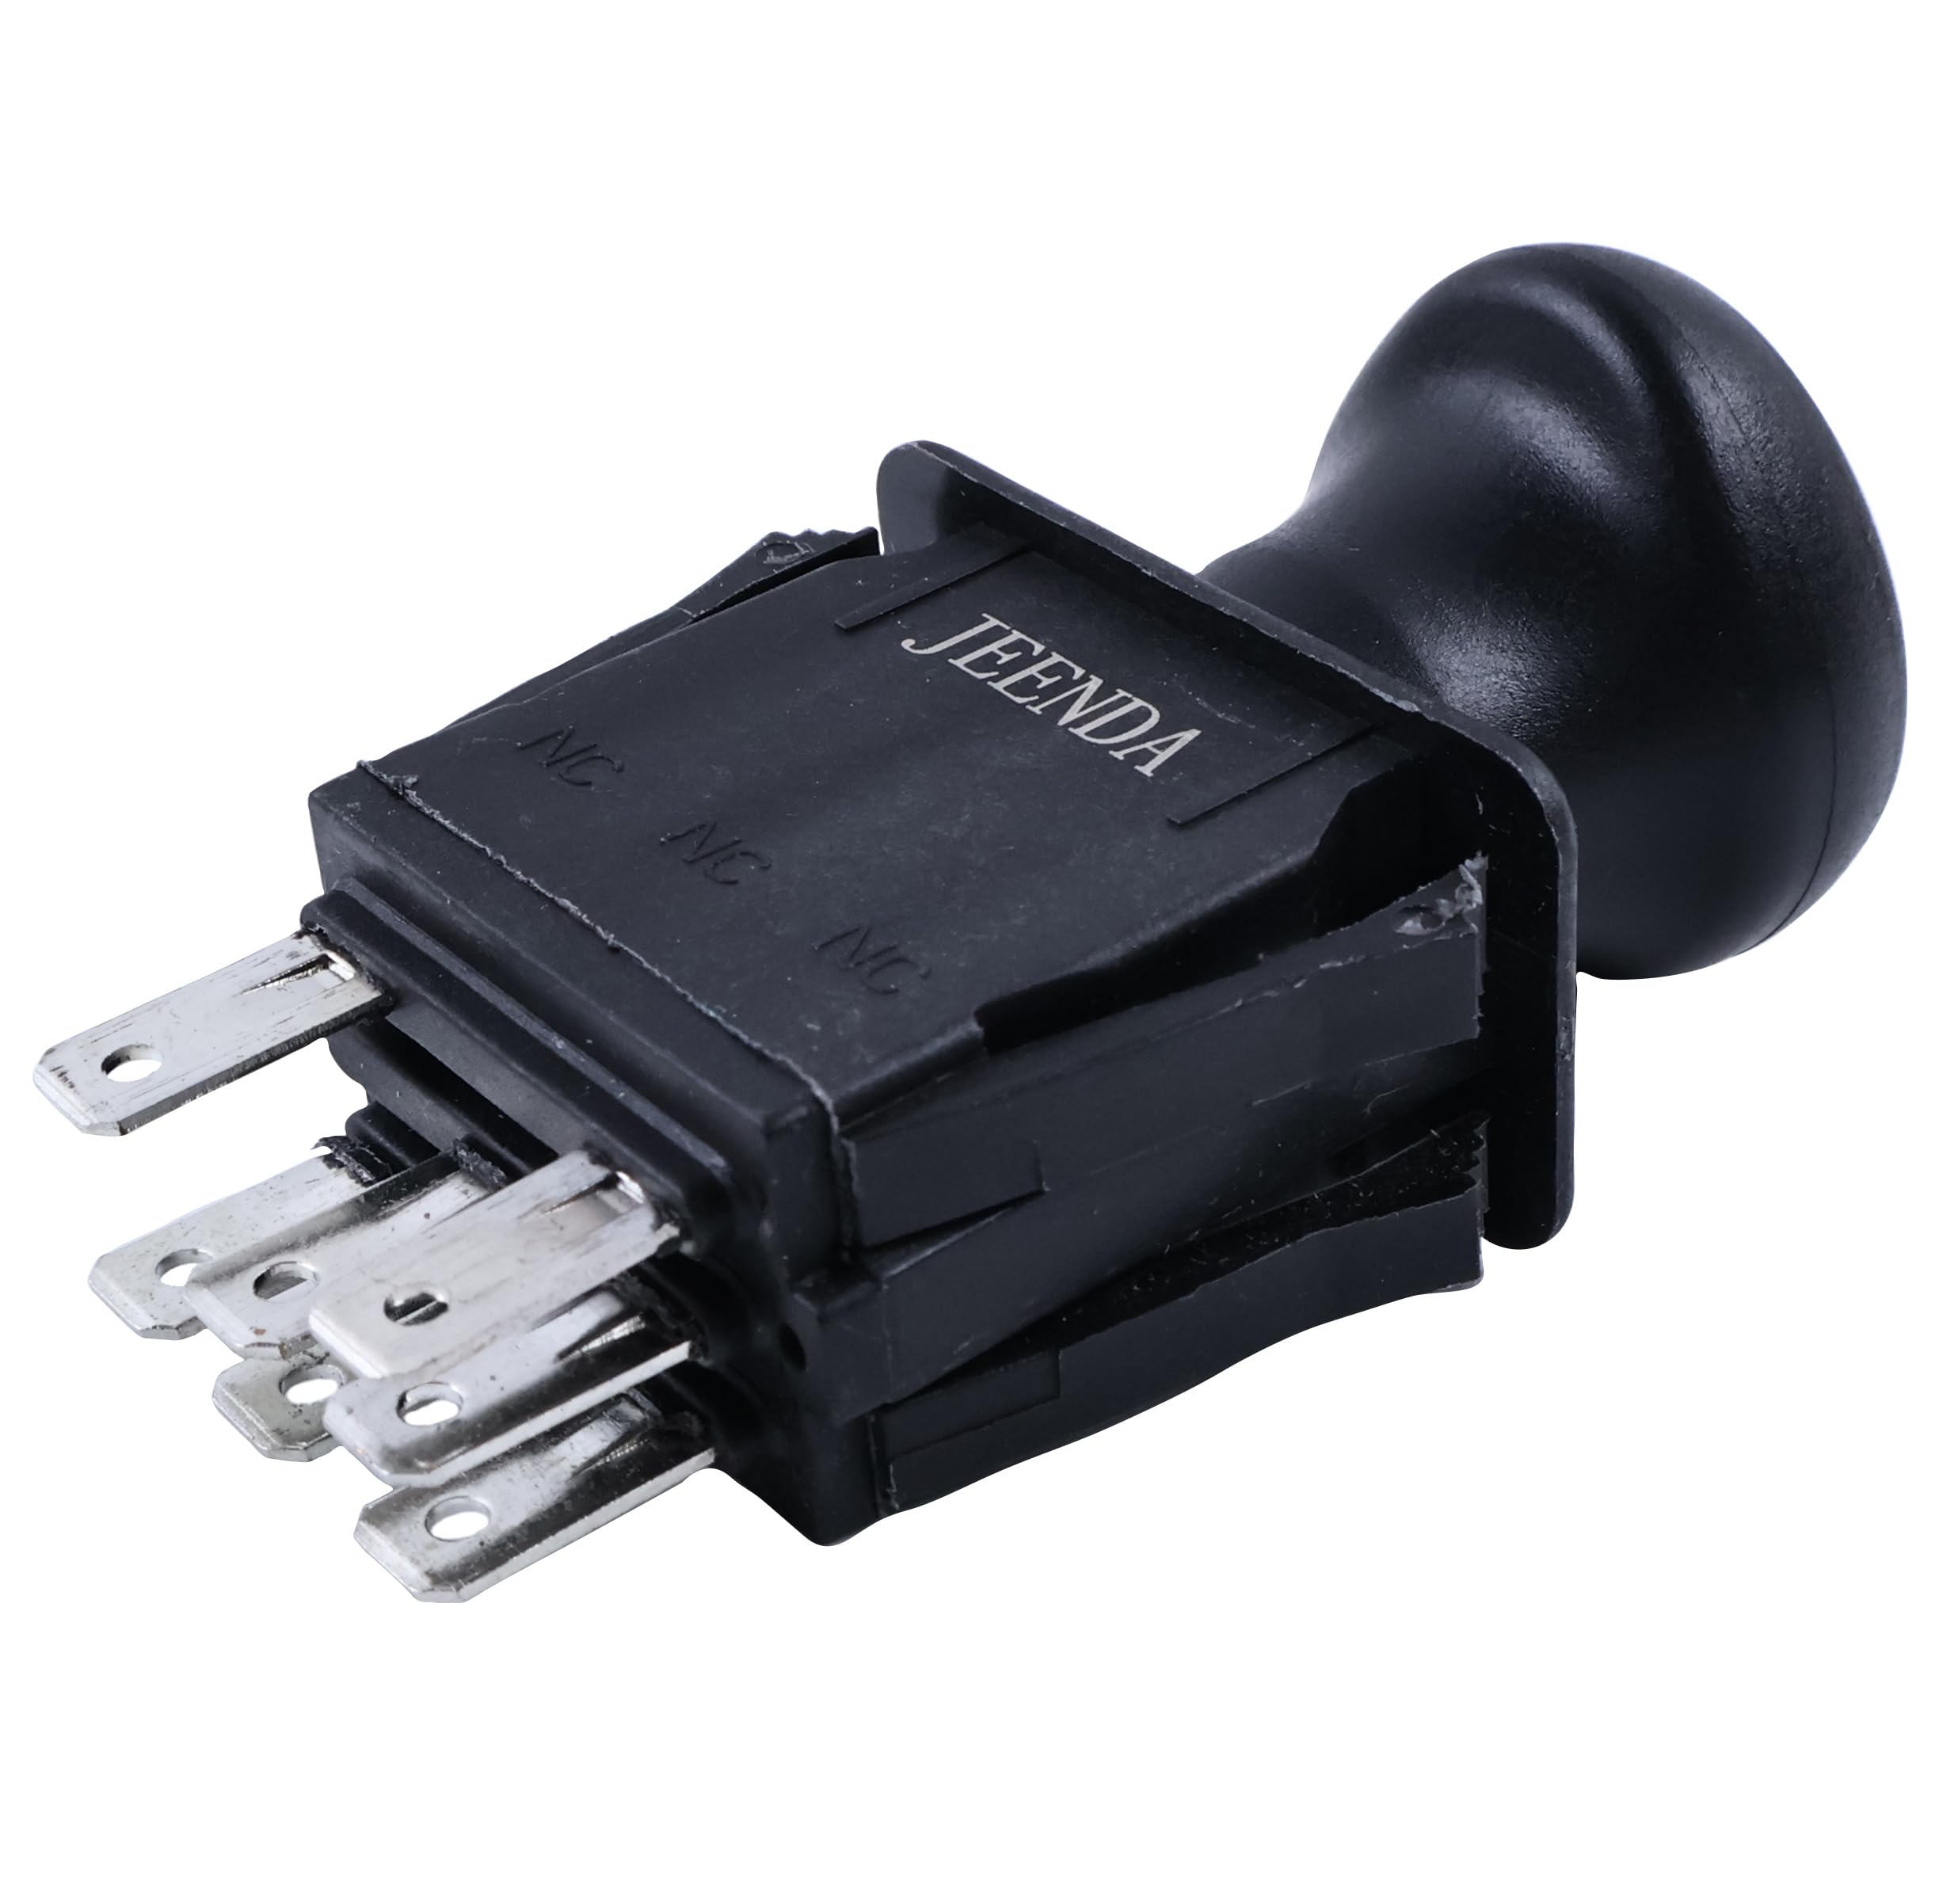
Figure 1: Front view of the JEENDA PTO Switch, showing the pull knob and the 'ON' and 'OFF' indicators.

Figure 2: Side view of the PTO Switch, illustrating the 7 blade terminals for electrical connections.

Figure 3: Top view of the PTO Switch, showing the symbols for engaging and disengaging the PTO.

Figure 4: Detailed diagram showing the product dimensions in millimeters and inches, including mounting specifications.

Figure 5: Exploded view diagram of the PTO Switch, detailing its internal components such as the handle, main body, spring, contact sheets, and base.
Product Video
Video 1: A 27-second overview of the JEENDA PTO Switch, showcasing its design and various angles.
6. Setup and Installation
Tools Required: Basic hand tools (e.g., screwdriver, wire stripper/crimper, multimeter), safety glasses, gloves.
- Prepare Equipment: Park the equipment on a level surface, engage the parking brake, and turn off the engine. Remove the ignition key.
- Disconnect Power: Disconnect the negative (-) battery cable to prevent accidental electrical shorts or startup during installation.
- Locate Old Switch: Identify the existing PTO switch on your equipment. It is typically located on the control panel.
- Document Wiring: Before disconnecting, carefully note or photograph the wiring connections to the old switch. Pay attention to the color and position of each wire on the terminals. This is crucial for correct reinstallation.
- Remove Old Switch: Disconnect all wires from the old switch. Then, remove any retaining clips, nuts, or screws holding the old switch in place and carefully remove it from the panel.
- Install New Switch: Insert the new JEENDA PTO Switch into the panel opening. Secure it with the retaining clips, nuts, or screws removed earlier. Ensure it is seated firmly.
- Connect Wiring: Reconnect the wires to the new switch's terminals according to your documentation from Step 4. Ensure each connection is secure and tight. Refer to your equipment's wiring diagram if available.
- Restore Power: Reconnect the negative (-) battery cable.
- Test Functionality: Start the equipment and test the PTO switch to ensure it engages and disengages correctly. Verify that all safety interlocks (e.g., seat switch, brake switch) function as intended with the new switch installed.
Note: Incorrect wiring can cause damage to the switch or equipment, or create a safety hazard. If you are not confident in performing this installation, seek assistance from a qualified service technician.
7. Operating Instructions
The JEENDA PTO Switch operates as a pull-style switch to control the power take-off function.
- To Engage PTO: With the engine running and all safety interlocks satisfied (e.g., operator in seat, parking brake engaged), pull the PTO switch knob outwards to the 'ON' position. The PTO-driven attachment (e.g., mower blades) should begin to operate.
- To Disengage PTO: Push the PTO switch knob inwards to the 'OFF' position. The PTO-driven attachment should stop operating.
Always ensure the area around the equipment and attachments is clear of people and obstacles before engaging the PTO. Never leave equipment with the PTO engaged unattended.
8. Maintenance
The JEENDA PTO Switch is designed for durability and requires minimal maintenance. However, regular inspection can help ensure its longevity and reliable operation.
- Visual Inspection: Periodically inspect the switch for any signs of physical damage, cracks, or wear. Check the wiring for fraying, corrosion, or loose connections.
- Cleaning: Keep the switch and surrounding area clean from dirt, debris, and moisture. Use a dry cloth to wipe the switch. Avoid using harsh chemicals or excessive water.
- Functionality Check: Regularly test the switch to ensure it engages and disengages smoothly and consistently.
9. Troubleshooting
If you experience issues with your PTO switch, consider the following troubleshooting steps:
- PTO Not Engaging:
- Check all wiring connections to the switch and the PTO clutch for looseness or corrosion.
- Verify that all safety interlock switches (e.g., seat switch, brake switch, deck height switch) are functioning correctly and engaged.
- Inspect the fuse for the PTO circuit; replace if blown.
- Ensure the PTO clutch itself is not faulty.
- Intermittent PTO Operation:
- This often indicates a loose or corroded electrical connection. Re-check all wiring.
- The switch itself may be failing internally.
- Switch Feels Loose or Sticky:
- Ensure the switch is properly mounted and secured in the panel.
- Clean any debris around the switch mechanism. If the issue persists, the switch may need replacement.
If these steps do not resolve the issue, consult your equipment's service manual or contact a qualified technician.
10. Warranty and Support
For information regarding warranty coverage or technical support for your JEENDA PTO Switch, please refer to the warranty documentation included with your purchase or visit the official JEENDA website. You may also contact JEENDA customer service directly for assistance with product-related inquiries.