
Taidda Taidda-1u4rpbvwaq
Taidda Manual Meat Grinder (Model Taidda-1u4rpbvwaq) Instruction Manual
Your guide to safe and efficient operation.
Introduction
Thank you for choosing the Taidda Manual Meat Grinder. This manual provides essential information for the safe and effective use, maintenance, and troubleshooting of your new appliance. Please read these instructions thoroughly before first use and retain them for future reference.
This manual covers the Taidda Manual Meat Grinder, Model Taidda-1u4rpbvwaq.

Figure 1: Assembled Taidda Manual Meat Grinder. This image shows the complete unit with the handle attached, ready for use.
Important Safety Instructions
- Always ensure the grinder is securely fastened to a stable, smooth, and clean surface using the vacuum suction cup before operation.
- Keep hands and fingers away from the feed opening and grinding plates during operation. Use the provided food pusher if necessary.
- Do not attempt to grind bones, hard nuts, or other non-food items, as this can damage the grinder.
- Supervise children to ensure they do not play with the appliance. This appliance is not intended for use by children.
- Clean all parts thoroughly before first use and after each subsequent use.
- Handle sharp components, such as the cutting blade and grinding plates, with extreme care to prevent injury.
Parts List
Familiarize yourself with the components of your Taidda Manual Meat Grinder:
- Main Body (with vacuum suction base)
- Feed Hopper
- Auger (feeding screw)
- Cutting Blade
- Grinding Plate (perforated disc)
- Retaining Ring (nut)
- Handle
- Handle Screw/Nut

Figure 2: Meat Grinder in operation, showing minced meat exiting the grinding plate. This image illustrates the grinder actively processing meat, with various ingredients like cucumbers and carrots prepared around it.
Setup and Assembly
- Clean Components: Before initial use, wash all parts that will come into contact with food in warm, soapy water. Rinse thoroughly and dry completely.
- Secure the Base: Place the main body of the grinder on a clean, smooth, and dry countertop. Press down firmly on the grinder to expel air from the vacuum suction cup. Turn the knob on the side of the base clockwise to engage the suction cup and firmly secure the grinder to the surface. Ensure it is stable and does not move.
- Assemble Grinding Components:
- Insert the auger (feeding screw) into the main body.
- Place the cutting blade onto the end of the auger shaft, ensuring the sharp edge faces outwards towards the grinding plate.
- Position the desired grinding plate over the cutting blade.
- Screw the retaining ring (nut) onto the end of the main body, tightening it firmly but not excessively.
- Attach Handle: Insert the handle into the designated slot on the side of the auger shaft and secure it with the handle screw/nut.

Figure 3: Detailed view of the vacuum suction cup at the base. This image highlights the mechanism for securing the grinder to a smooth surface, emphasizing the vacuum principle for stability.
Operating Instructions
- Prepare Ingredients: Cut meat, vegetables, or other ingredients into pieces that fit easily into the feed hopper. Remove any bones, tough tendons, or skin from meat to prevent damage to the grinder.
- Place Receptacle: Position a bowl or container beneath the grinding plate to collect the processed food.
- Begin Grinding: Place a small amount of prepared ingredients into the feed hopper. Turn the handle clockwise steadily. The auger will draw the ingredients through the cutting blade and grinding plate.
- Feed Continuously: Continue adding ingredients to the hopper as the grinder processes them. Use a food pusher if needed to guide ingredients, but never use fingers or utensils that could get caught.
- Sausage Stuffing (Optional): If using for sausage stuffing, replace the grinding plate and cutting blade with the appropriate sausage stuffing attachment (not included with standard model). Prepare your sausage casing and feed the mixture through the grinder.

Figure 4: Examples of ingredients processed by the manual grinder. This collage shows different types of ground food, including meat, spices, and vegetables, demonstrating the grinder's versatility.
Care and Maintenance
- Disassembly: After use, turn the handle counter-clockwise to release the suction cup. Disassemble the grinder by reversing the assembly steps.
- Cleaning: Wash all components immediately after use to prevent food residue from drying and hardening. Use warm, soapy water and a brush to clean crevices. Rinse thoroughly.
- Drying: Dry all parts completely before reassembly or storage to prevent corrosion, especially for aluminum alloy components.
- Storage: Store the clean, dry grinder in a safe place, away from moisture and direct sunlight.
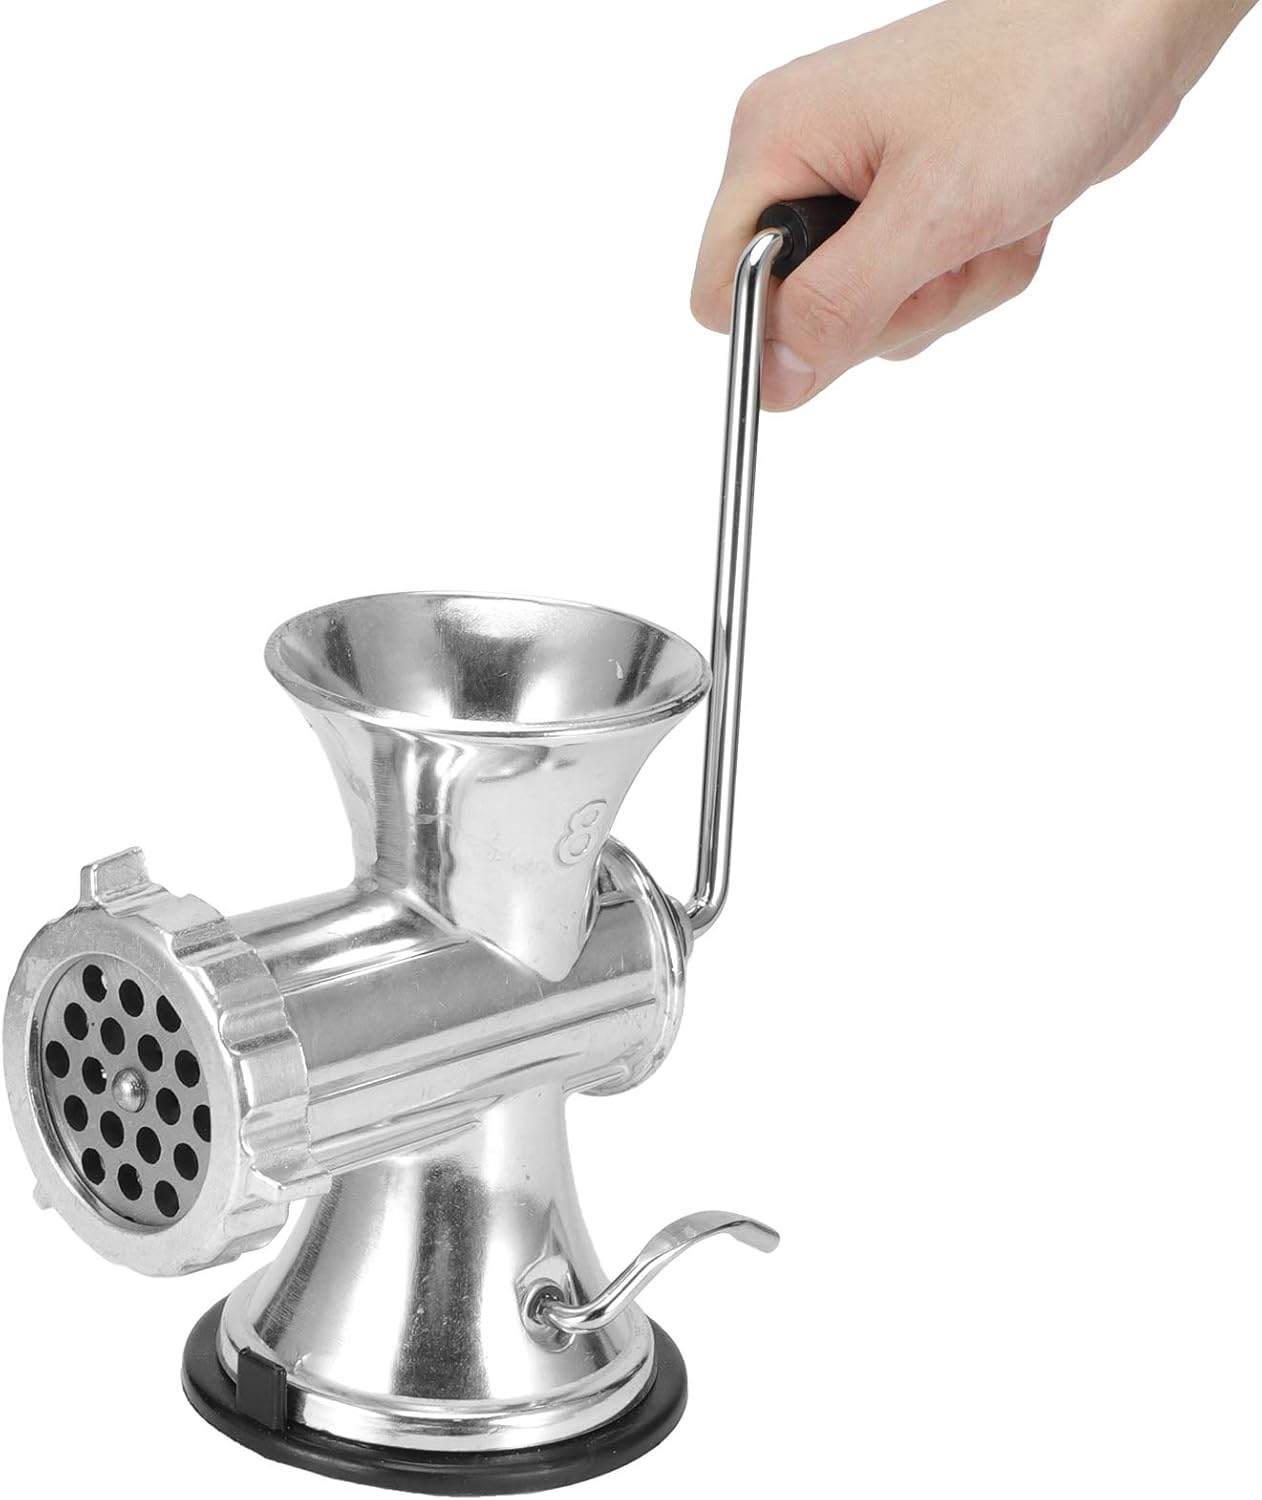
Figure 5: A hand turning the crank of the manual meat grinder. This image demonstrates the ergonomic handle and the manual operation of the device.
Troubleshooting
| Problem | Possible Cause | Solution |
|---|---|---|
| Grinder not securely attached to surface. | Suction cup not properly engaged or surface is not smooth/clean. | Ensure countertop is clean, smooth, and dry. Press down firmly and turn the knob clockwise to engage the vacuum suction cup. |
| Meat is not grinding or is jamming. |
|
|
| Handle is difficult to turn. |
|
|
Specifications
- Brand: Taidda
- Model: Taidda-1u4rpbvwaq
- Material: Aluminum Alloy
- Color: Silver
- Weight: Approximately 1106g (2.44 lbs)
- Height: Approximately 17cm (6.7 inches)
- Recommended Uses: Grinding pork, beef, lamb, chicken, various spices, pepper.

Figure 6: Dimensional drawing of the Taidda Manual Meat Grinder. This image provides key measurements of the grinder, including height and width of the hopper and main body.
Warranty and Support
For warranty information or technical support, please refer to the retailer where the product was purchased or visit the official Taidda store on Amazon: Taidda Store.
Please have your model number (Taidda-1u4rpbvwaq) available when contacting support.
Ask a question about this manual
Ask about setup, troubleshooting, compatibility, parts, safety, or missing instructions. Manuals+ will review the question and use this page’s manual context to help answer it.