1. Introduction and Overview
The CYCPLUS GPS Cycle Computer M1Z2 is a high-performance device designed to track and display various cycling data. It features a large 2.9-inch anti-reflective FSTN display with automatic backlighting, ensuring readability in diverse lighting conditions. Equipped with a Swiss-made GPS chip, it offers high-sensitivity, high-accuracy, and high-speed positioning, supporting GPS, Glonass, Galileo, and BeiDou satellite systems for stable route tracking. The M1Z2 is compatible with SMART and ANT+ sensors for heart rate, cadence, and power data, and can sync your riding routes with the STRAVA app via Bluetooth.
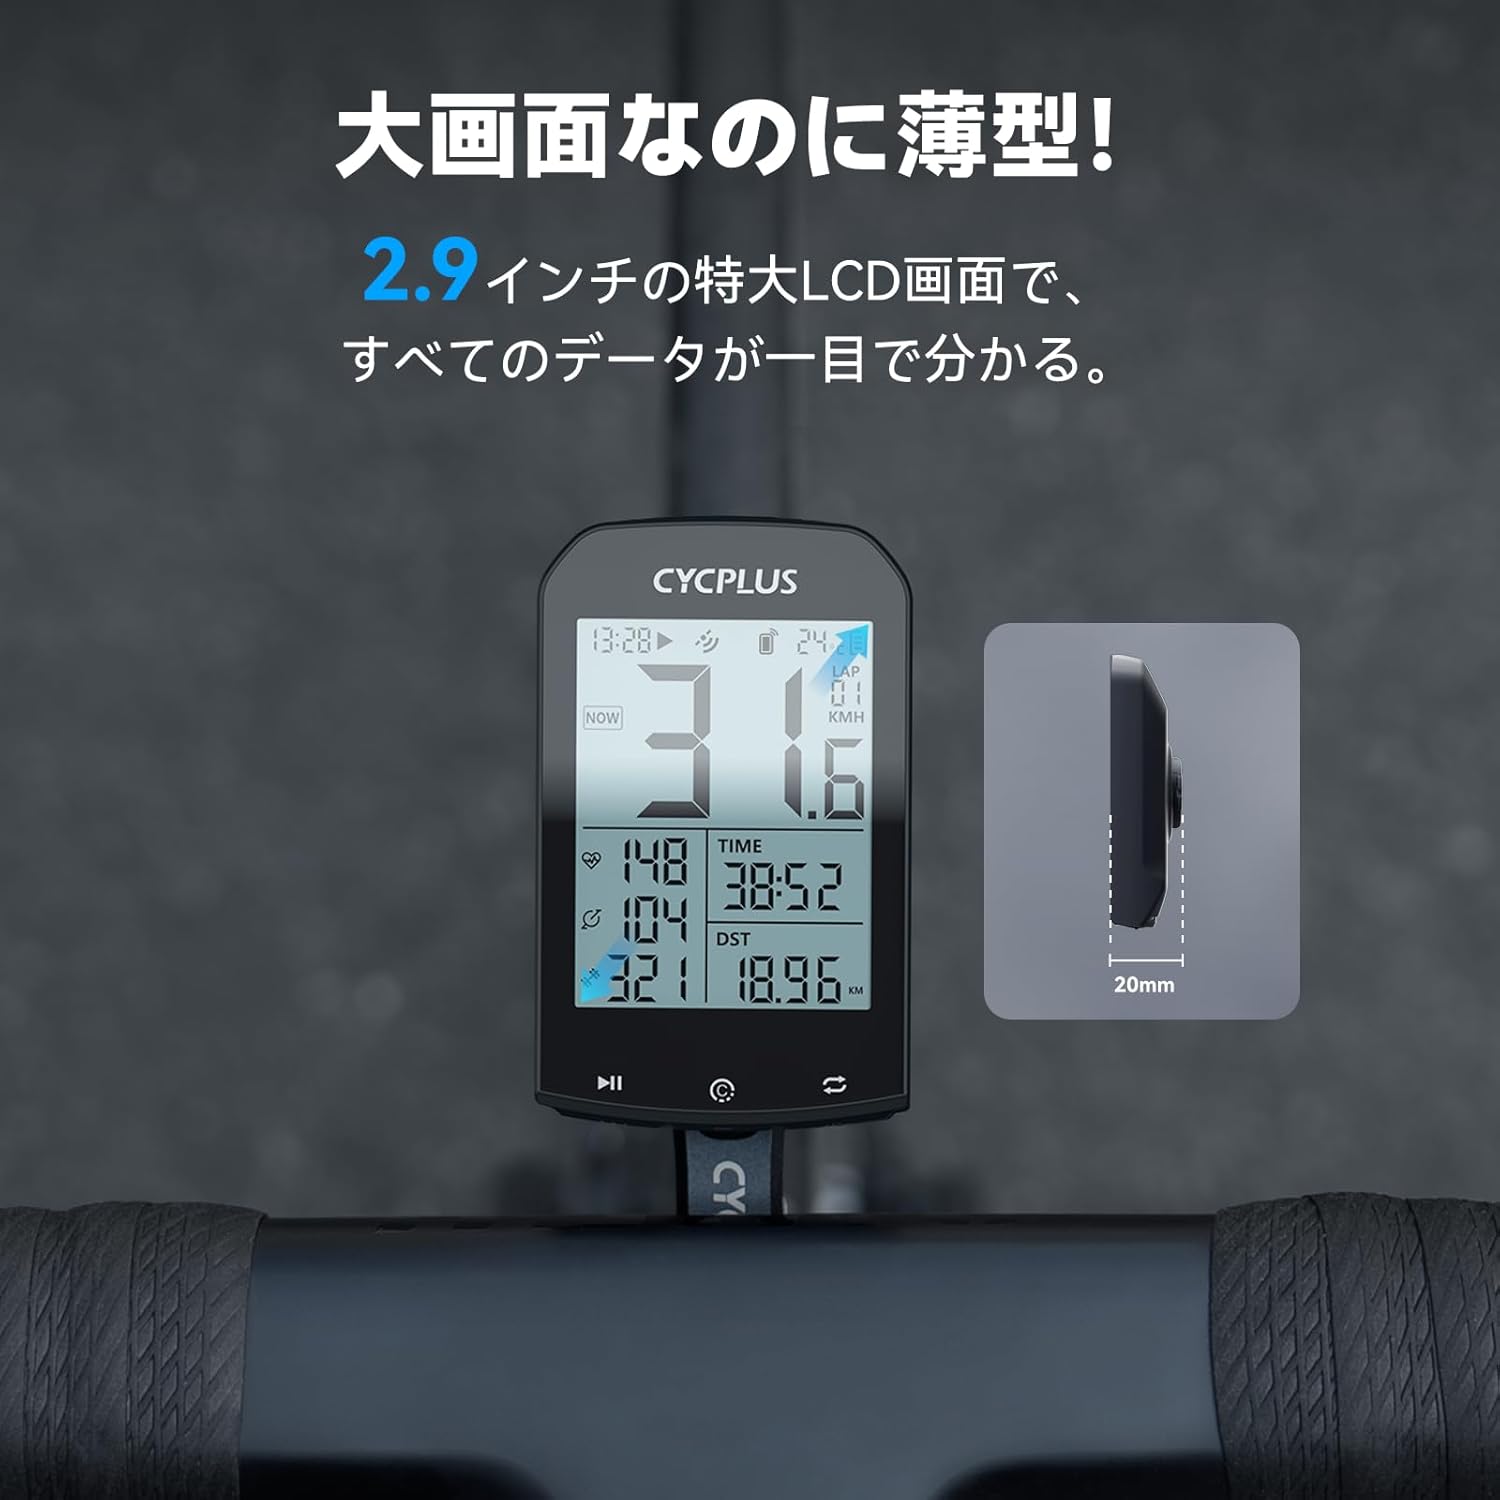
The CYCPLUS M1Z2 Cycle Computer mounted on a bicycle handlebar, showing its large display and slim profile.
2. Setup
2.1 Package Contents
- CYCPLUS GPS Cycle Computer M1Z2
- Handlebar Mount
- Mounting Screwdriver
- USB Charging Cable
- Operation Manual (this document)
2.2 Mounting the Device
The CYCPLUS M1Z2 comes with an innovative handlebar bracket designed for easy and secure installation. It is compatible with 31.8mm diameter handlebars.
- Position the handlebar mount on your bicycle handlebar.
- Use the included screwdriver to tighten the mount securely. The design ensures a firm fit, resistant to vibrations.
- Attach the M1Z2 cycle computer to the mount by twisting it into place until it locks.

Visual guide for attaching the CYCPLUS M1Z2 to its handlebar mount.

The CYCPLUS M1Z2 handlebar mount, designed to optimize space on your handlebars.
2.3 Initial GPS Acquisition
For the first use or after a long period of inactivity, the device needs to acquire a GPS signal. Place the cycle computer outdoors in an open area with a clear view of the sky. It may take up to 5 minutes for the device to acquire a stable GPS signal. Once acquired, the time will automatically correct itself.

The M1Z2 utilizes multiple satellite systems for rapid and accurate positioning.
2.4 Sensor Pairing (ANT+ and Bluetooth)
The M1Z2 is compatible with ANT+ and Bluetooth SMART sensors for enhanced data tracking. To pair sensors:
- Ensure your external sensors (heart rate monitor, cadence sensor, power meter) are active and within range.
- Navigate to the sensor pairing menu on the M1Z2 (refer to the device's on-screen instructions).
- Select the type of sensor you wish to pair. The device will scan for available sensors.
- Once detected, select your sensor to complete the pairing process.

The M1Z2 supports ANT+ sensors for comprehensive cycling data.
Video demonstrating the settings screen and pairing process for the CYCPLUS GPS Cycle Computer.
3. Operating Instructions
3.1 Display Items
The 2.9-inch display can show up to 13 different data items, providing a comprehensive overview of your ride. These include:
- Speed (Current, Average, Maximum)
- Time (Ride Time, Clock)
- Distance (Trip Distance, Odometer)
- Altitude (Current Altitude, Ascent, Elevation)
- Gradient
- Heart Rate (requires external sensor)
- Cadence (requires external sensor)
- Power (requires external sensor)
- Temperature
- Lap Number

The M1Z2 provides a wide range of data metrics for your cycling performance.
3.2 Starting and Stopping a Ride
Once the GPS signal is acquired (indicated by the reception antenna icon), press the left button to start recording your ride data (time, distance, etc.). To pause or stop recording, press the appropriate button as indicated on the device screen.
3.3 Automatic Backlight
The LCD screen features FSTN technology with an automatic backlight. It adjusts its illumination based on your time zone's sunrise and sunset times, ensuring optimal visibility day or night.
3.4 Data Synchronization with STRAVA
The M1Z2 can store up to 150 hours of riding data. You can easily sync your ride data to the STRAVA app via Bluetooth 5.0. This allows you to review your routes and performance metrics on your smartphone.
- Ensure Bluetooth is enabled on your smartphone and the M1Z2.
- Open the companion app on your smartphone and connect to the M1Z2.
- Follow the app's instructions to sync your ride data to STRAVA.

Sync your ride data seamlessly with the STRAVA app.
Video showcasing the CYCPLUS GPS Cycle Computer G1 (similar model) in action, demonstrating its features and display during a ride.
4. Maintenance
4.1 Battery and Charging
The M1Z2 offers an impressive battery life of up to 60 hours on a single charge. A full charge typically takes about 3 hours using the provided USB charging cable. Ensure the device is fully charged before long rides.
The M1Z2 offers long battery life and convenient USB charging.
4.2 Waterproof Rating
The device has an IP66 waterproof rating, meaning it is protected against powerful water jets and dust. It is suitable for use in rainy conditions but should not be submerged in water.

The M1Z2 is designed to withstand various weather conditions with its IP66 waterproof rating.
4.3 Cleaning and Storage
Clean the device with a soft, damp cloth. Avoid using harsh chemicals or abrasive materials. Store the device in a cool, dry place away from direct sunlight when not in use.
5. Troubleshooting
5.1 Time Zone and Clock Issues
Problem: Time is incorrect even after setting the time zone.
Solution: Place the cycle computer outdoors. The time will automatically correct itself once a stable GPS signal is received.
5.2 Abnormal Riding Time (e.g., 1990)
Problem: When syncing, the riding time appears abnormal (e.g., year 1990).
Solution: This usually happens if you press the left button to start recording before the GPS signal is fully acquired. Ensure the GPS reception antenna icon appears on the screen before starting your ride by pressing the left button.
5.3 GPS Signal Reception Issues
Problem: Cannot receive GPS signal.
Solution:
- GPS signals cannot be received indoors. Move to an unobstructed outdoor area and wait for approximately three minutes for reception.
- Signal reception can be affected by the environment. If you cannot receive a signal for more than 5 minutes in the same location, try moving to an area with fewer obstacles.
5.4 Slow GPS Signal Acquisition
Problem: GPS signal takes a long time to receive.
Solution: It is considered normal if the signal is received within 5 minutes. The actual reception time can vary depending on environmental factors.
5.5 Speed Displayed Indoors Without Movement
Problem: Speed is displayed even when not moving indoors.
Solution: This is a normal phenomenon due to weak GPS signal reception and potential signal deviation indoors.
5.6 Difference from Smartphone GPS
Problem: Why doesn't it receive GPS in a few seconds indoors like a smartphone?
Solution: The GPS technology used in this device differs from that in smartphones, which often use AGPS (Assisted GPS). AGPS offers faster reception and higher sensitivity, allowing reception indoors in a few seconds. Standard GPS, however, may not acquire a signal indoors, in forests, or tunnels, and may not provide stable data in such environments.
5.7 Speed Displayed, But Time/Distance Not Recording
Problem: Speed is displayed, but time and distance do not change.
Solution: When speed is displayed, it indicates that GPS reception is complete and speed is being measured. To start recording time and distance, you must press the left button.
6. Specifications
| Brand | CYCPLUS |
| Model | M1Z2 |
| Color | C Black |
| Display Type | LCD |
| Battery Life | 60 Hours |
| Sensor Type | Speed Sensor, Cadence Sensor (external sensors required for HR/Power) |
| Mounting Type | Handlebar Mount |
| Human Interface Input | Buttons |
| Waterproof Rating | IP66 |
| Included Components | Mounting Screwdriver, USB Cable, Operation Manual |
7. Warranty and Support
For warranty information, technical support, or any questions not covered in this manual, please contact CYCPLUS customer service through the retailer where you purchased the product or visit the official CYCPLUS website. Please have your product model (M1Z2) and purchase details ready when contacting support.