1. Introduction
This manual provides detailed instructions for the setup, operation, maintenance, and troubleshooting of your HP Sprocket Studio Plus 4x6 Instant Photo Printer. Please read this manual thoroughly before using the device to ensure optimal performance and longevity.
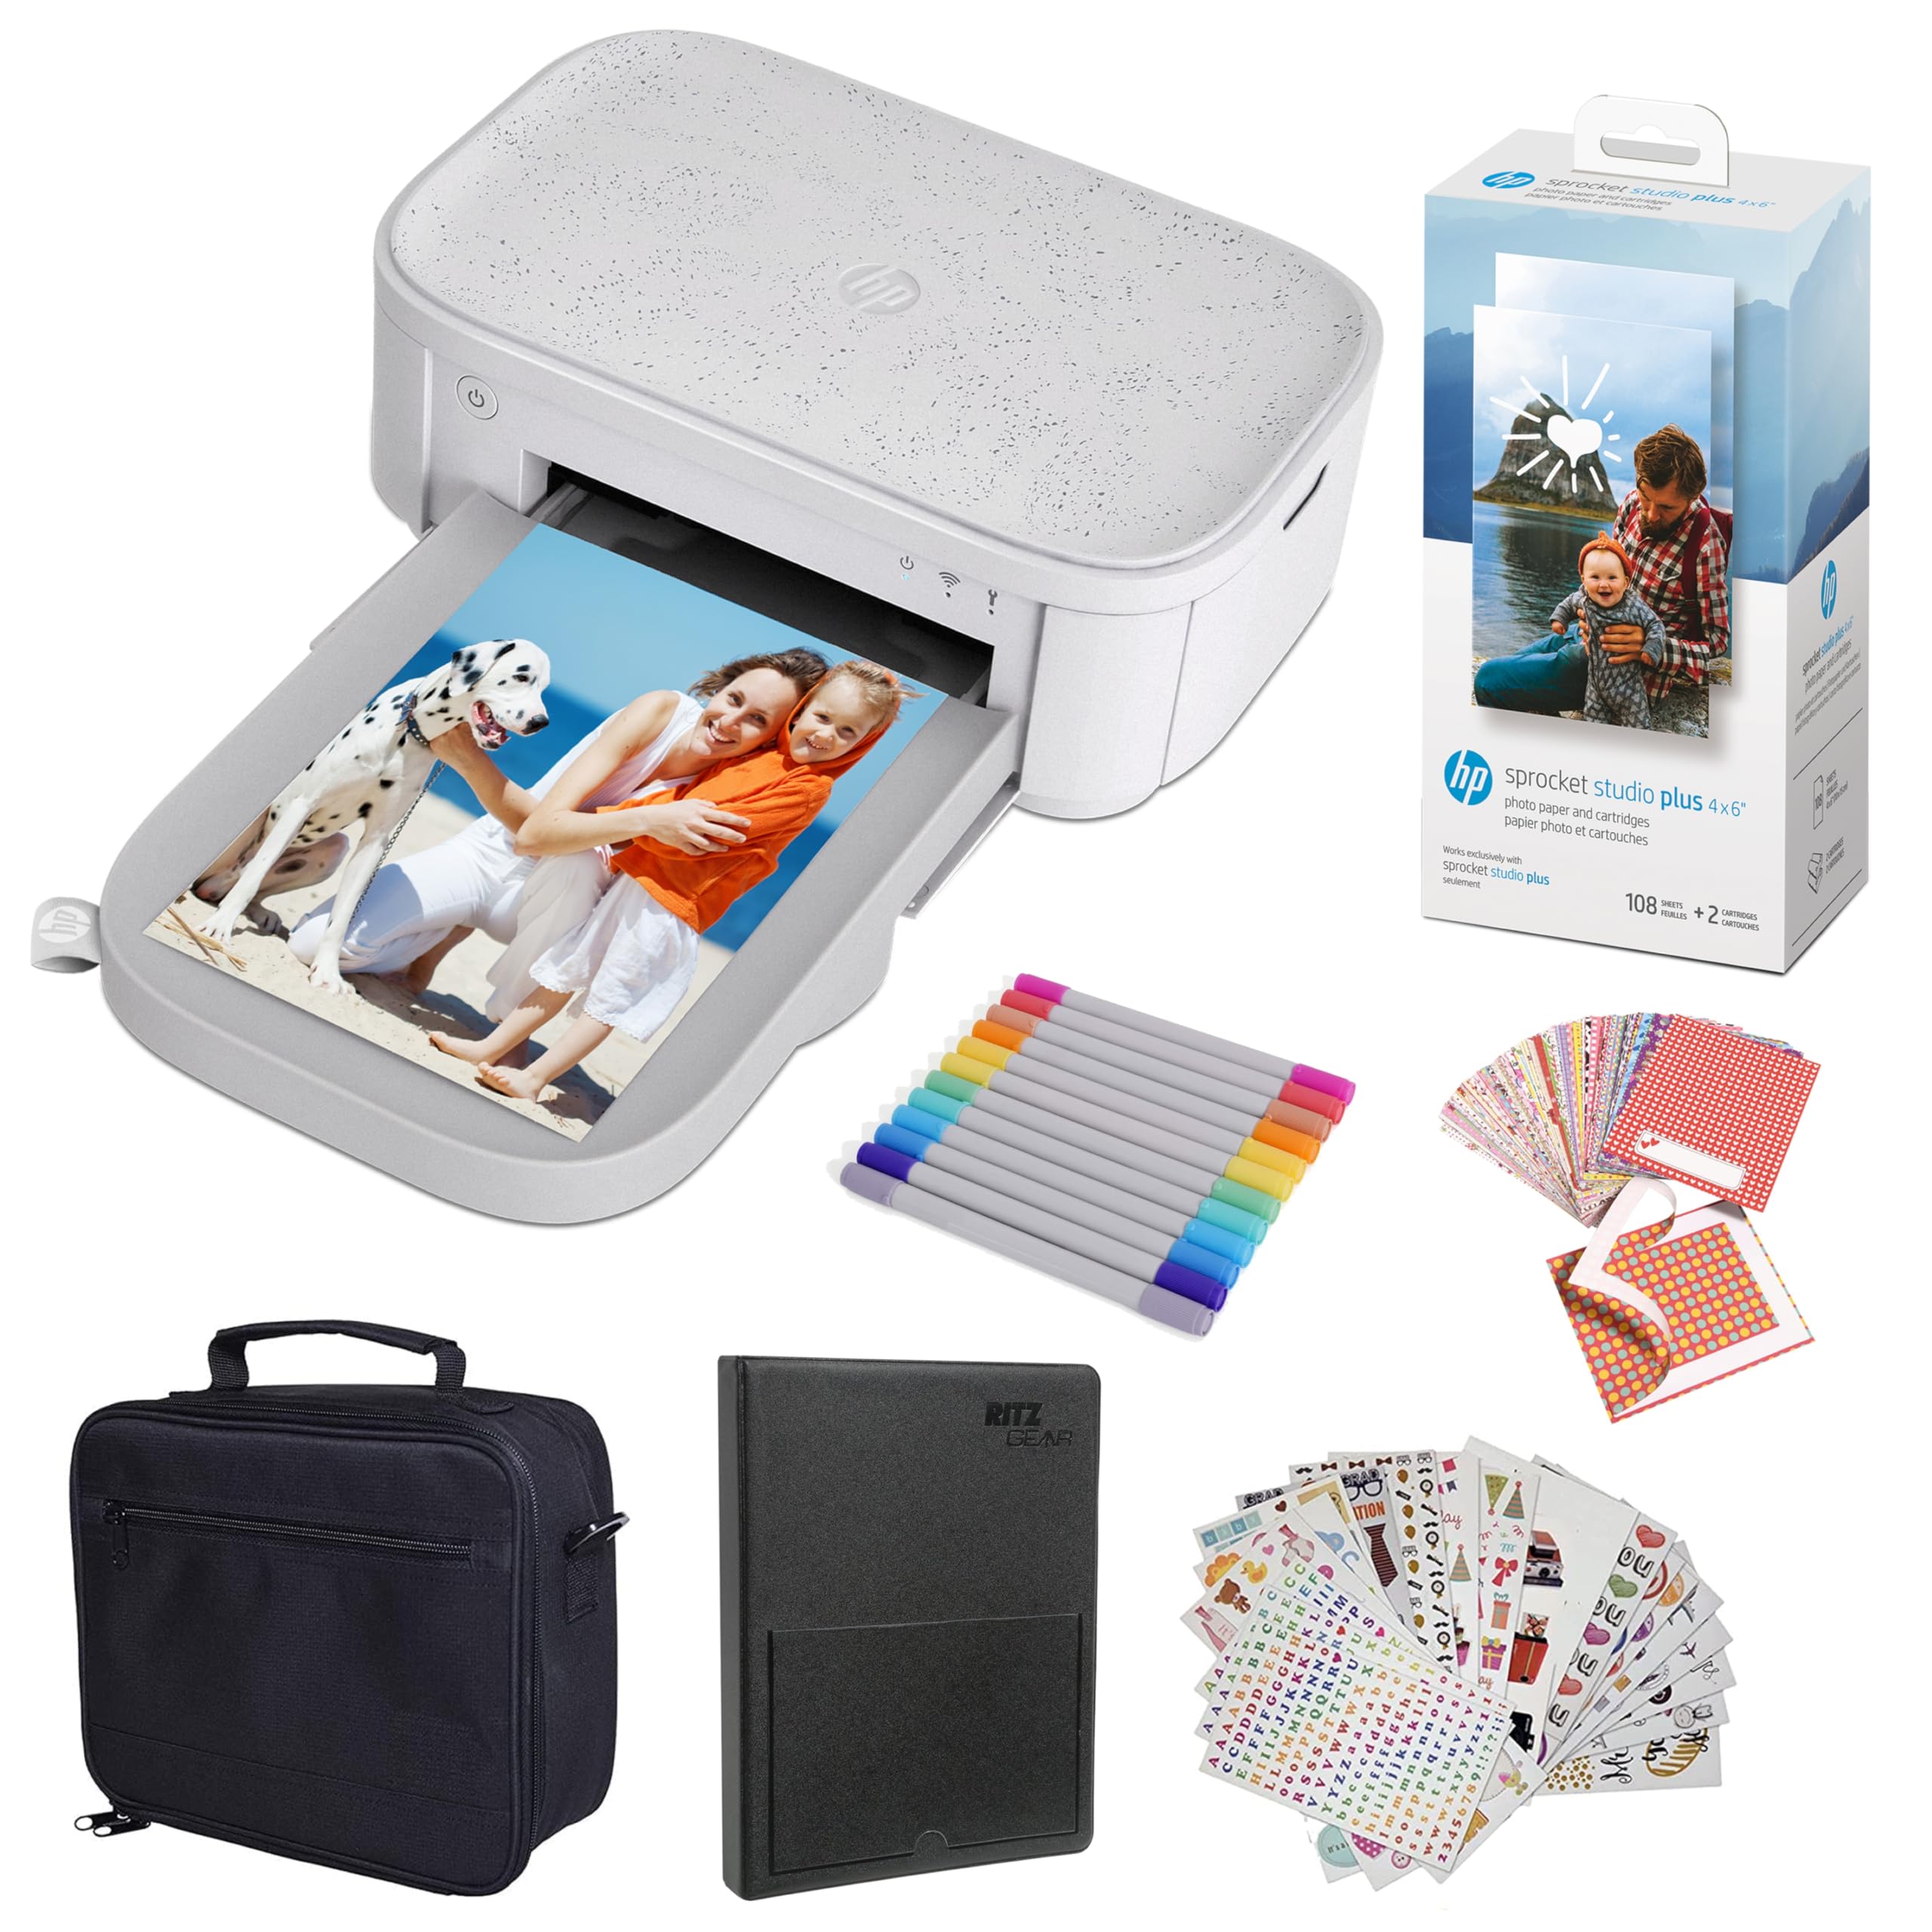
Image: The HP Sprocket Studio Plus 4x6 Instant Photo Printer, shown in white, with a smartphone displaying an image and a printed photo emerging from the printer.
2. What's in the Box
Verify that all items are present in the package:
- HP Sprocket Studio Plus 4x6 Instant Photo Printer
- Photo album
- Case
- Photo paper and cartridges
- Markers
- Sticker sets
- Power adapter

Image: A pack of HP Sprocket Studio Plus 4x6 photo paper and two ink cartridges, ready for installation.
3. Setup Guide
3.1 Initial Power On
- Connect the power adapter to the printer and a power outlet.
- Press and hold the power button on the printer to turn it on.
- Wait for the indicator lights to stabilize, indicating the printer is ready.
3.2 Loading Photo Paper and Cartridge
- Open the paper tray cover.
- Insert the photo paper stack into the tray, glossy side up. Ensure the paper is aligned correctly.
- Open the cartridge compartment.
- Insert the ink cartridge until it clicks into place.
- Close both covers securely.

Image: A close-up view demonstrating the correct way to insert the ink cartridge (1) and load photo paper (2) into the HP Sprocket Studio Plus printer.
3.3 Installing the HP Sprocket App
The HP Sprocket app is required to operate your printer. Download it from your device's app store (iOS or Android).
- For iOS devices: Search for "HP Sprocket" in the Apple App Store.
- For Android devices: Search for "HP Sprocket" in the Google Play Store.
- Install the app and follow the on-screen prompts.
3.4 Connecting Your Printer
Your HP Sprocket Studio Plus printer can connect via Wi-Fi or Hotspot mode. Refer to the video below for a visual guide on connecting your printer.
Video: This video demonstrates how to connect the HP Sprocket Studio Plus printer to your mobile device via Wi-Fi and Hotspot mode using the HP Sprocket app. It covers turning on the printer, navigating the app's printer management settings, and entering Wi-Fi credentials or the default hotspot password.
3.4.1 Wi-Fi Connection
- Ensure your printer is powered on.
- Open the HP Sprocket app on your mobile device.
- Navigate to the main menu (usually a hamburger icon).
- Select "Manage Printers".
- Tap "Add New Printer".
- Select your printer from the list of available printers (e.g., "HP Sprocket Studio Plus OB78").
- The app will prompt you to connect the printer to your Wi-Fi network. Enter your Wi-Fi credentials (network name and password).
- Confirm the setup is complete.
3.4.2 Hotspot Mode Connection
Use Hotspot Mode if a Wi-Fi network is not available or for direct connection.
- Ensure your printer is powered on.
- Open the HP Sprocket app on your mobile device.
- Navigate to the main menu.
- Select "Manage Printers".
- Tap "Add New Printer".
- Select your printer from the list.
- When prompted to connect to Wi-Fi, select "No network available" or similar option to initiate Hotspot Mode.
- Go to your mobile device's Wi-Fi settings.
- Select the printer's direct Wi-Fi network (e.g., "DIRECT-6C-HPISPS").
- Enter the default password: 12345678.
- Return to the HP Sprocket app and confirm the connection.
4. Operating Your Printer
4.1 Printing Photos
- Open the HP Sprocket app.
- Select the photo(s) you wish to print from your gallery or social media accounts.
- Use the in-app editing tools to customize your photos (see section 4.2).
- Tap the print icon.
- Confirm print settings (e.g., number of copies).
- The printer will begin printing your photo(s).

Image: A smartphone screen showing the HP Sprocket app interface with a photo selected for printing, next to the HP Sprocket Studio Plus printer.
4.2 Customization Features
The HP Sprocket app offers various tools to enhance your photos before printing:
- Filters: Apply different visual effects to your photos.
- Frames: Add decorative borders around your images.
- Stickers: Place digital stickers on your photos for a personalized touch.
- Collages: Combine multiple photos into a single print.
- Photo IDs: Create passport-style photos.

Image: The HP Sprocket app displaying a collage feature, allowing users to arrange multiple photos into a single layout for printing.

Image: The HP Sprocket app interface showing options for creating photo IDs, with a portrait photo displayed on the screen.
4.3 Multi-User Support
Multiple users can connect to the HP Sprocket Studio Plus printer simultaneously, allowing for shared printing experiences.
5. Maintenance
5.1 Replacing Ink Cartridges and Photo Paper
The HP Sprocket Studio Plus uses dye-sublimation technology, requiring specific photo paper and cartridges. It is recommended to replace both the paper and cartridge at the same time, as they are designed to run out concurrently (approximately 108 sheets per cartridge).
- When the printer indicates low ink or paper, open the paper tray and cartridge compartment.
- Remove the used ink cartridge and empty paper stack.
- Insert a new HP Sprocket Studio Plus ink cartridge and a fresh stack of 4x6 photo paper.
- Close the covers securely.

Image: A package of HP Sprocket Studio Plus 4x6 photo paper and cartridges, indicating it includes 108 sheets and 2 cartridges.
5.2 Cleaning the Printer
To maintain print quality, periodically clean the exterior of the printer with a soft, dry cloth. Avoid using liquid cleaners directly on the printer.
6. Troubleshooting
6.1 Common Issues and Solutions
- Printer Not Connecting to Wi-Fi:
- Ensure your Wi-Fi network is 2.4GHz, as the printer may not be compatible with 5GHz networks.
- Verify the Wi-Fi password is entered correctly.
- Restart both your printer and mobile device.
- Try connecting using Hotspot Mode as an alternative.
- Paper Jams:
- Turn off the printer and carefully open the paper tray.
- Gently remove any jammed paper. Do not force it.
- Ensure paper is loaded correctly and not overfilled.
- Restart the printer.
- Poor Print Quality:
- Check if the ink cartridge and photo paper are correctly installed and not expired.
- Ensure you are using genuine HP Sprocket Studio Plus photo paper and cartridges.
- Clean the printer as described in the maintenance section.
- Printer Not Responding:
- Ensure the printer is powered on and connected to a power source.
- Restart the printer.
- Check the app for any error messages or connection issues.
7. Specifications
| Feature | Specification |
|---|---|
| Product Dimensions | 6.65"D x 10.75"W x 2.68"H |
| Controller Type | Android, iOS |
| Maximum Media Size | 4x6 inches |
| Print Media | Glossy photo paper |
| Max Input Sheet Capacity | 80 sheets |
| Compatible Devices | Smartphones |
| Maximum Color Print Resolution | [HIGH] |
| Maximum Black and White Print Resolution | 1200 dpi |
| Dual-sided printing | No |
| Hardware Interface | Bluetooth |
| Ink Color | Full Color |
| Control Method | App |
| Model Series | Sprocket Studio Plus |
| Printer Ink Type | Color Ink Cartridge |
| Item Weight | 1 pounds |
| Connectivity Technology | Bluetooth |
| Printing Technology | Dye Sublimation |
| Special Feature | Network-Ready, Portable |
| Color | White |
| Maximum Print Speed (Color) | 1 ppm |
8. Warranty and Support
8.1 Warranty Information
The HP Sprocket Studio Plus 4x6 Instant Photo Printer comes with a 1-year limited warranty. For specific terms and conditions, please refer to the warranty documentation included with your product or visit the official HP support website.
8.2 Customer Support
For further assistance, technical support, or to purchase replacement supplies, please visit the official HP support website or contact HP customer service. You can find contact information on the HP website or in your product packaging.
- HP Support Website: www.hp.com/support