
Monster Shop 27624
Monster Shop PixMax 5-in-1 Heat Press Sublimation Kit User Manual
Model: 27624
1. Introduction
This manual provides essential instructions for the safe and effective operation of your Monster Shop PixMax 5-in-1 Heat Press Sublimation Kit. This versatile kit includes a multi-function heat press, an ECO Tank sublimation printer, and accessories for customizing various items such as t-shirts, mugs, caps, plates, and face masks. Please read this manual thoroughly before initial use and retain it for future reference.

Figure 1: Overview of the PixMax 5-in-1 Heat Press Sublimation Kit components.
2. Safety Information
Always observe the following safety precautions to prevent injury or damage to the equipment:
- Read all instructions before operating the heat press.
- Keep hands clear of the heating element during operation. The surface becomes extremely hot.
- Ensure the heat press is placed on a stable, heat-resistant surface.
- Do not operate the machine in damp or wet conditions.
- Unplug the heat press from the power outlet when not in use or before cleaning.
- Do not attempt to modify or repair the equipment yourself. Contact qualified personnel for service.
- Keep children and pets away from the operating area.
- Use appropriate personal protective equipment, such as heat-resistant gloves, when handling hot items.
3. Package Contents
Verify that all items are present and undamaged upon unpacking:
- 1 x 5-in-1 Heat Press Machine with adjustable arm and base plate
- 1 x Flat T-shirt Press Attachment (38 x 30 cm surface)
- 1 x Cap Press Attachment
- 2 x Plate Press Attachments (8" and 10" pads)
- 1 x Mug Press Attachment with support
- 1 x ECO Tank Sublimation Printer
- 1 x Roll of Sublimation Heat Tape
- 10 x Sheets of Sublimation Paper
- 10 x Medium Face Masks (adjustable, 16 x 11 cm)

Figure 2: The 5-in-1 heat press with its interchangeable attachments.

Figure 3: The included ECO Tank printer, ready for sublimation printing.
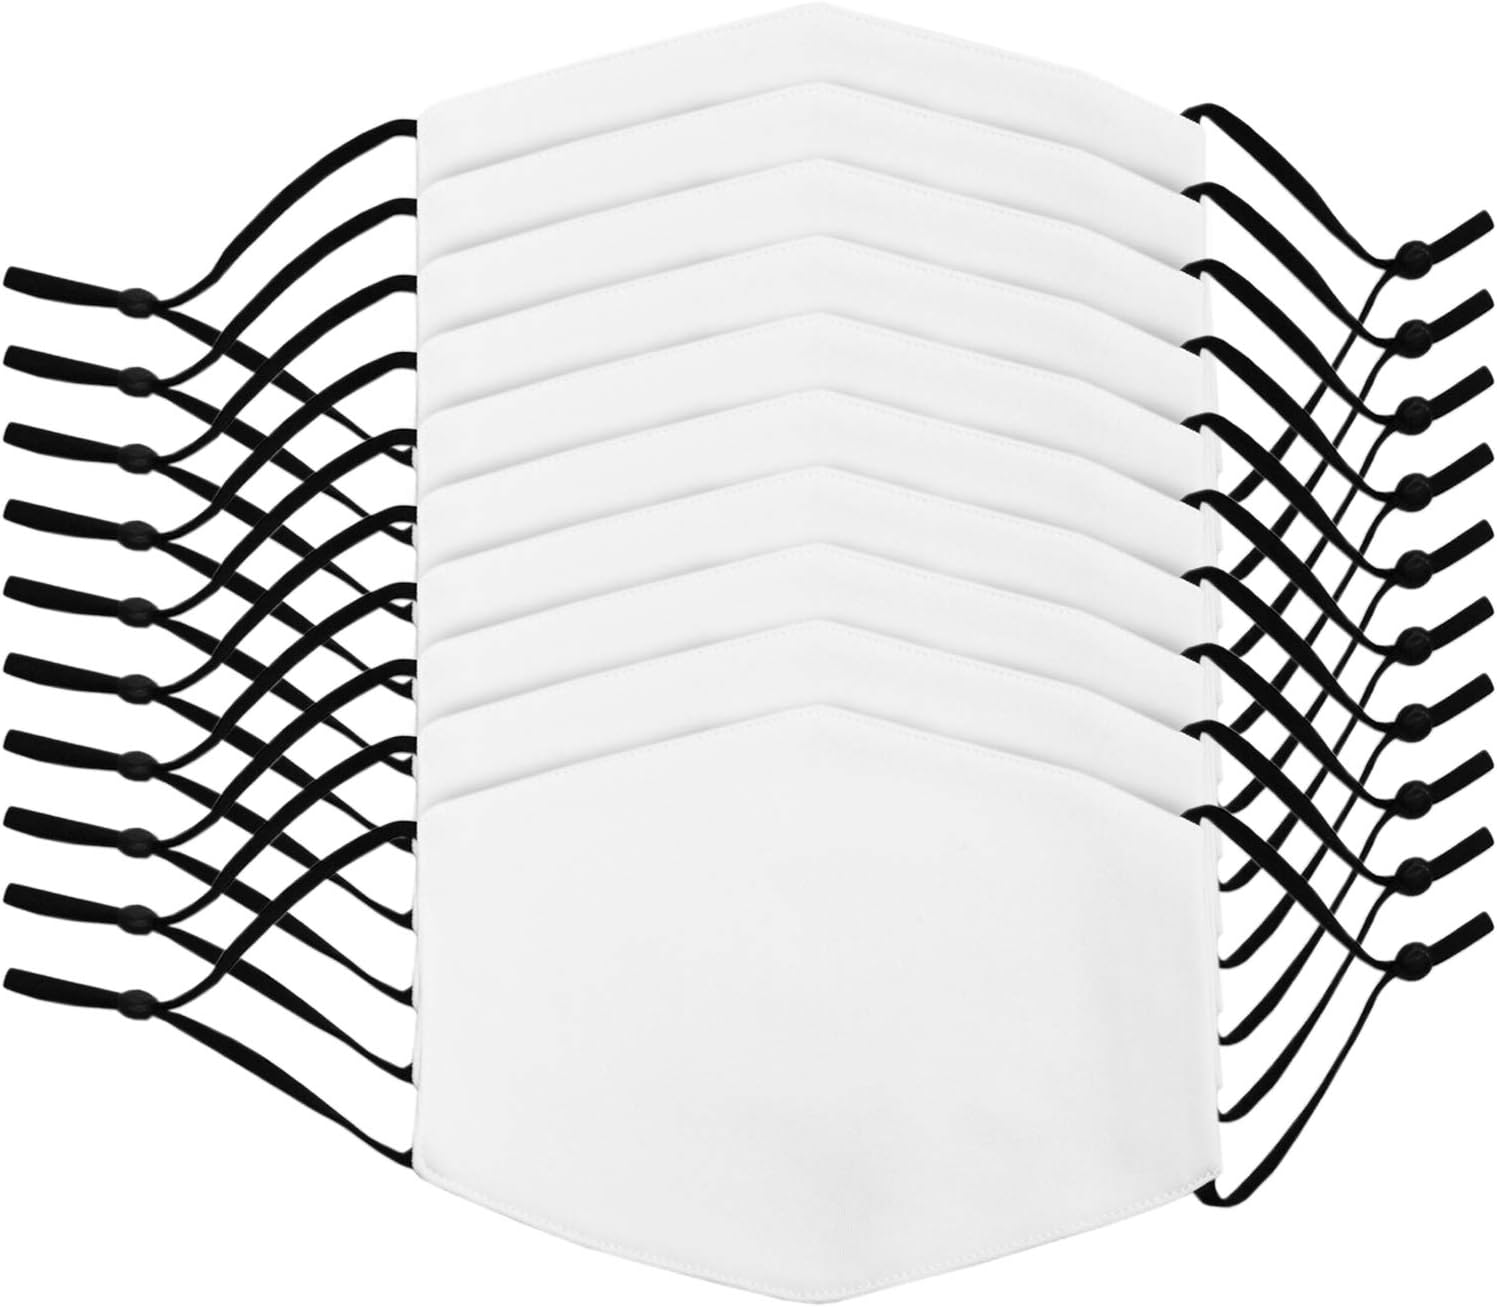
Figure 4: The 10 adjustable face masks included for personalization.
4. Setup
4.1 Heat Press Assembly
- Place the main heat press unit on a sturdy, level, and heat-resistant workbench.
- Attach the desired press attachment (e.g., flat press, mug press, cap press) to the main unit. Ensure it is securely fastened.
- Connect the power cord to a grounded electrical outlet.
- Familiarize yourself with the control panel for temperature and time settings.

Figure 5: The flat heat press attachment in its closed position.
4.2 Printer Setup
- Follow the manufacturer's instructions for setting up the ECO Tank printer, including filling the ink tanks with sublimation ink (not standard ink).
- Install the printer drivers on your computer.
- Load sublimation paper into the printer.
- Perform a test print to ensure proper ink flow and print quality.
5. Operating Instructions
5.1 General Heat Press Operation
- Power On: Turn on the heat press using the power switch.
- Set Temperature: Use the control panel (Figure 6) to set the desired temperature. Press the "SET" button, then use the arrow keys to adjust the temperature. Press "SET" again to confirm.
- Set Time: Press the "MODE" button to switch to time setting. Use the arrow keys to adjust the time in seconds. Press "MODE" again to confirm.
- Preheat: Allow the heat press to reach the set temperature. The display will indicate when it's ready.
- Prepare Item: Place your item (e.g., t-shirt, mug, cap) on the appropriate press attachment. Position your printed sublimation design face down onto the item, securing it with heat-resistant tape if necessary.
- Press: Close the heat press handle firmly to apply pressure. The timer will begin automatically.
- Remove Item: Once the timer alarms, open the heat press carefully. Using heat-resistant gloves, remove the item and peel off the sublimation paper.

Figure 6: The digital control panel for setting temperature and time.

Figure 7: The flat heat press attachment in the open position.
5.2 Specific Attachments
- Flat Press (T-shirts, Phone Covers, Puzzles): Use the 38x30 cm flat platen. Ensure even pressure distribution.
- Mug Press: Attach the mug press (Figure 8). Insert the mug with the design and close the clamp.
- Cap Press: Attach the cap press. Position the cap and design, then lower the heating element.
- Plate Press: Use the appropriate 8" or 10" plate attachment.

Figure 8: The mug press attachment for customizing cylindrical items.
5.3 Customizing Face Masks
The included face masks are designed for sublimation. Follow these steps:
- Design: Create your design using graphic software and print it in mirror image onto sublimation paper using the ECO Tank printer.
- Preparation: Place a mask on the flat press platen. Position the printed design face down onto the mask. Secure with heat-resistant tape.
- Settings: Set the heat press temperature to 190°C (374°F) and the time to 50 seconds.
- Press: Close the heat press and initiate the transfer.
- Finish: Once complete, carefully open the press and remove the mask. Peel off the sublimation paper to reveal the transferred design.
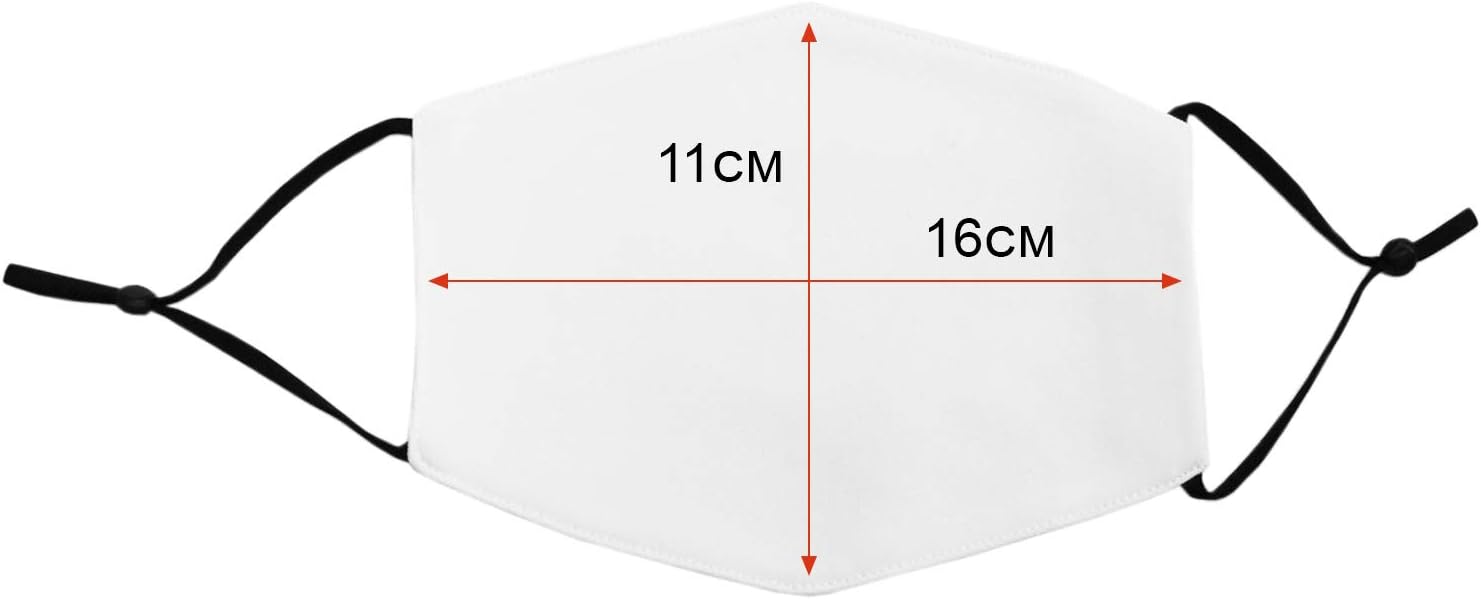
Figure 9: Dimensions of the sublimation face masks (16 cm x 11 cm).
6. Maintenance
6.1 Heat Press Maintenance
- Cleaning: Ensure the heat press is unplugged and completely cool before cleaning. Wipe the Teflon-coated heating platen with a soft, damp cloth. Do not use abrasive cleaners.
- Silicone Pad: Inspect the silicone pad on the lower platen for wear or damage. Replace if necessary.
- Lubrication: Periodically apply a small amount of high-temperature grease to moving parts and pivot points to ensure smooth operation.
6.2 Printer Maintenance
- Refer to the printer's specific user manual for detailed cleaning and maintenance procedures.
- Regularly perform nozzle checks and head cleaning cycles to prevent clogs, especially when using sublimation inks.
- Keep ink tanks adequately filled with sublimation ink.
6.3 Mask Care
- The sublimation masks are washable. Hand washing is recommended to preserve the print quality and mask integrity.
- The 5-layer filter includes a non-washable, disposable activated carbon cloth layer. Remove this layer before washing.
7. Troubleshooting
| Problem | Possible Cause | Solution |
|---|---|---|
| Heat press not heating up. | Power cord not connected, power switch off, faulty heating element. | Check power connection, ensure switch is on. If problem persists, contact support. |
| Uneven heat transfer. | Uneven pressure, faulty heating element, incorrect temperature. | Adjust pressure knob for even contact. Verify temperature setting. Contact support if heating element is suspected. |
| Faded or blurry transfer. | Incorrect temperature/time, low ink, wrong paper, item not suitable for sublimation. | Adjust temperature/time settings. Check ink levels and paper type. Ensure item is sublimation-ready. |
| Printer not printing. | No ink, paper jam, driver issue, printer offline. | Check ink levels, clear paper path, reinstall drivers, ensure printer is online. |
8. Specifications
- Model: 27624
- Power: 1.25 kW
- Voltage: 220 V
- Time Range: 0-999 seconds
- Temperature Range: 93-220 °C (200-428 °F)
- Flat Press Surface: 38 x 30 cm
- Product Dimensions: 56 x 54 x 50 cm
- Weight: 29 kg
- Mask Dimensions: 16 x 11 cm
- Mask Material: 100% hypoallergenic polyester
- Mask Filter: 5-layer (2 non-woven, 2 meltblown, 1 activated carbon cloth)
9. Warranty and Support
For technical assistance, troubleshooting beyond this manual, or warranty inquiries, please contact Monster Shop customer support. Refer to your purchase documentation for specific warranty terms and contact details.
Manufacturer: Monster Shop
ASIN: B08P54J45C
Ask a question about this manual
Ask about setup, troubleshooting, compatibility, parts, safety, or missing instructions. Manuals+ will review the question and use this page’s manual context to help answer it.