1. Introduction
This manual provides detailed instructions for the installation, operation, and maintenance of your new LCDOLED Replacement Touch Screen Digitizer Assembly with Bezel. This product is designed for specific HP Pavilion x360 11-ap series laptops, including models 11-ap, 11m-ap, 11-ap0000, 11m-ap0000, 11-ap0xxx, and 11m-ap0xxx. Please read this manual thoroughly before beginning any installation to ensure proper functionality and to prevent damage.
Important Note: This replacement assembly is only compatible with laptops that originally featured touch functionality. It does not support active pens or styluses.
2. Setup and Installation
Professional installation is highly recommended due to the delicate nature of laptop components. Incorrect installation can lead to damage to the screen or other parts of your laptop. This package includes the LCD screen, touch digitizer assembly, and bezel only. Please retain your original touch control board, sensor board, LCD cable, back cover, hinges, webcam, and any other necessary tools or instructions from your laptop's manufacturer.
2.1. Pre-Installation Checklist
- Verify compatibility: Ensure your laptop model is an HP Pavilion x360 11-ap, 11m-ap, 11-ap0000, 11m-ap0000, 11-ap0xxx, or 11m-ap0xxx Series and originally had touch functionality.
- Power off and disconnect: Completely shut down your laptop and disconnect it from all power sources, including the AC adapter and battery.
- Gather tools: You will need appropriate tools for laptop disassembly (e.g., small screwdrivers, plastic prying tools).
- Static precautions: Work on an anti-static mat and wear an anti-static wrist strap to prevent electrostatic discharge (ESD) damage.
- Inspect the new screen: Carefully unbox and inspect the new screen for any physical damage before installation.
2.2. Installation Overview
The installation process generally involves carefully detaching the old screen assembly, disconnecting its cables, connecting the new screen assembly, and then reassembling the laptop. Refer to the video below for a visual guide specific to the HP Pavilion x360 11-ap series.
Video Description: Official installation guide for the HP Pavilion x360 11-ap series touch screen replacement. This video demonstrates the process of removing the old screen and installing the new digitizer assembly. It covers disconnecting the display and touch cables, carefully removing the old panel, and connecting the new replacement unit.
2.3. Key Components and Connections
Familiarize yourself with the components of the new screen assembly and their connection points.

Image 1: Front view of the LCDOLED replacement touch screen digitizer assembly with bezel. This shows the complete front panel of the screen, including the integrated bezel.

Image 2: Back view of the LCDOLED replacement touch screen digitizer assembly. This view highlights the metal backing and the various ribbon cable connections on the reverse side of the screen.
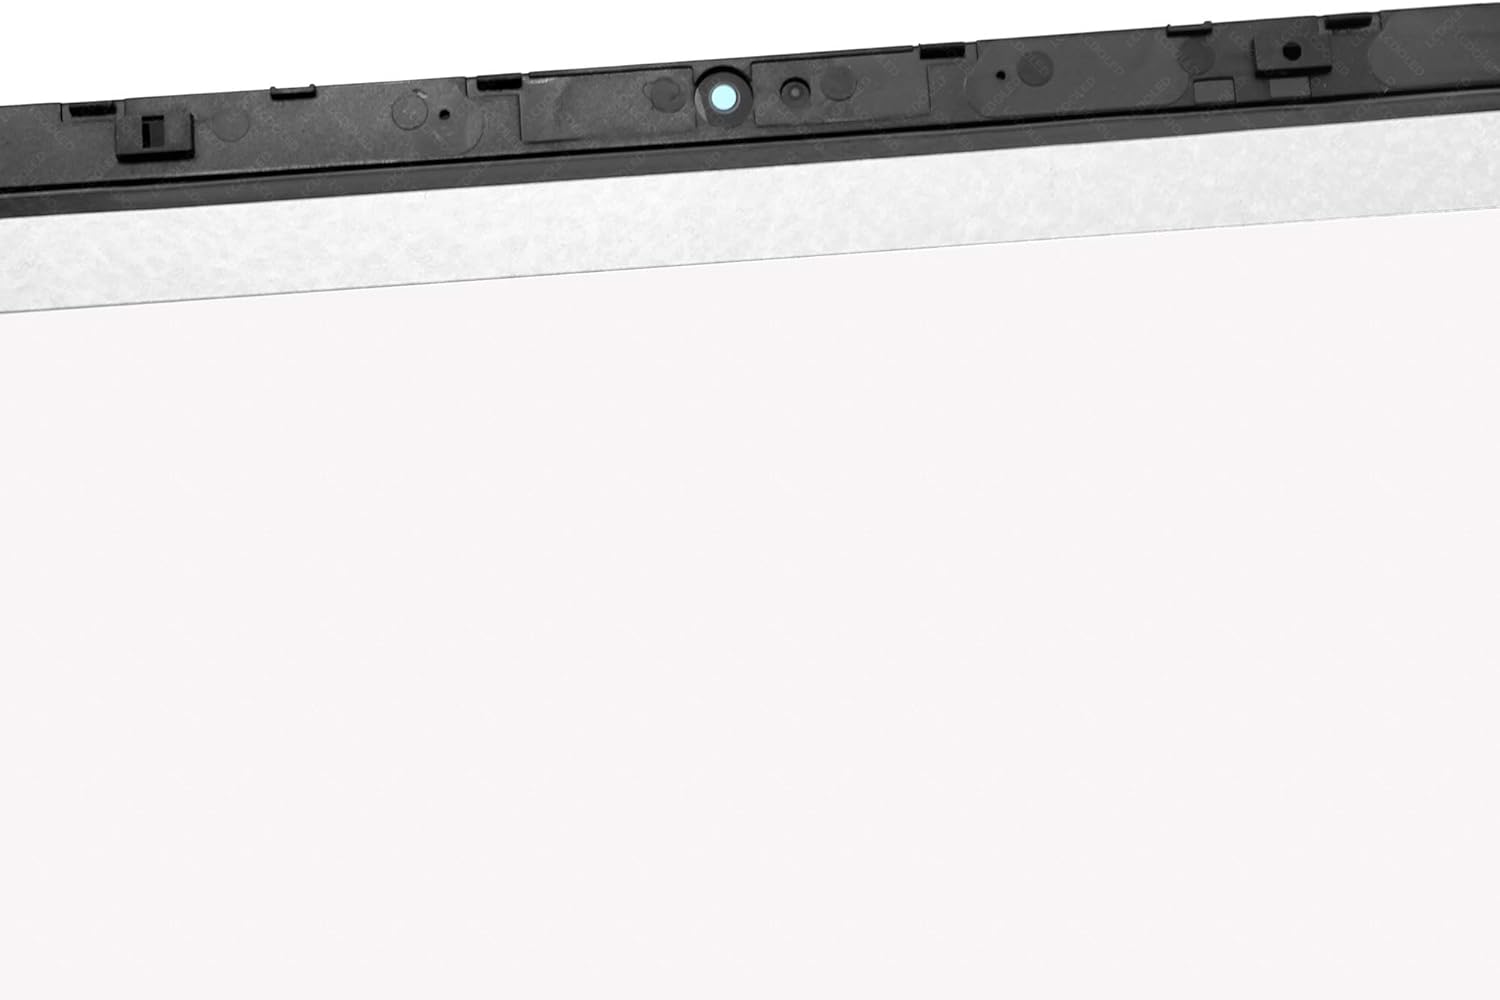
Image 3: Close-up of the top edge of the screen assembly, showing the webcam and microphone components. This area typically houses the camera and ambient light sensors.

Image 4: Close-up of the bottom edge of the screen assembly, detailing the EDP 40-pin LCD connector and touch digitizer ribbon cables. These are critical connection points for display and touch functionality.
3. Operating the Touch Screen
After successful installation, your new touch screen digitizer assembly should function immediately upon booting your laptop. Windows operating systems typically recognize new touch hardware automatically.
- Touch Gestures: Utilize standard Windows touch gestures for navigation, scrolling, zooming, and selecting items.
- Display Settings: Adjust brightness, resolution (1366x768 HD), and display scaling through your operating system's display settings.
- Calibration: If touch response is inaccurate, you may need to calibrate the touch screen via your laptop's control panel settings.
4. Care and Maintenance
- Cleaning: Use a soft, lint-free cloth lightly dampened with water or a screen-specific cleaning solution. Avoid harsh chemicals, abrasive materials, or excessive moisture.
- Handling: Avoid applying excessive pressure to the screen, especially when closing the laptop or carrying it. Do not place heavy objects on the closed laptop.
- Protection: Consider using a screen protector to guard against scratches and minor impacts.
5. Troubleshooting
- No Display/Flickering: Double-check all ribbon cable connections, especially the EDP 40-pin LCD connector. Ensure they are securely seated.
- Touch Not Responding: Verify the touch digitizer ribbon cable is correctly connected. Try restarting the laptop. If the issue persists, recalibrate the touch screen in your operating system settings.
- Incorrect Colors/Resolution: Ensure your display drivers are up to date. Check display settings to confirm the resolution is set to 1366x768.
- Physical Damage: If the screen was damaged during installation or use, it may require replacement.
6. Product Specifications
| Laptop Model Compatibility | HP Pavilion x360 11-ap, 11m-ap, 11-ap0000, 11m-ap0000, 11-ap0xxx, 11m-ap0xxx Series |
| Screen Size | 11.6 inches |
| Resolution | 1366x768 (HD) |
| Panel Type | IPS LCD |
| Backlight | LED LCD |
| LCD Connector | EDP 40pins |
| Touch Functionality | Yes (Does not support active pen/stylus) |
| Package Dimensions | 16 x 12 x 4 inches |
| Item Weight | 1 pound |
| Manufacturer | LCDOLED |
7. Warranty and Support
Your LCDOLED replacement screen is thoroughly tested and packed before shipping to ensure quality. For any issues or concerns, please contact LCDOLED customer support. All messages will be answered within 24 hours. Please provide your specific laptop model and pictures of your original screen if you require assistance with compatibility or troubleshooting.
For further assistance, please refer to the contact information provided with your purchase or visit the official LCDOLED store.


