1. Product Overview
The Commercial Electric Slim Directional 4 inch Color Selectable Recessed Lighting Kit is designed for installations where height clearance is limited, such as in beams or near ductwork. This integrated LED fixture offers adjustable color temperature, allowing users to select between 2700K, 3000K, 3500K, 4000K, or 5000K to suit various lighting needs.
Key features include Energy Star certification, IC rating for direct contact with insulation, and a wet rating, making it suitable for bathrooms, outdoor soffits, and general lighting applications. The integrated LED design ensures a long operational life of approximately 50,000 hours.
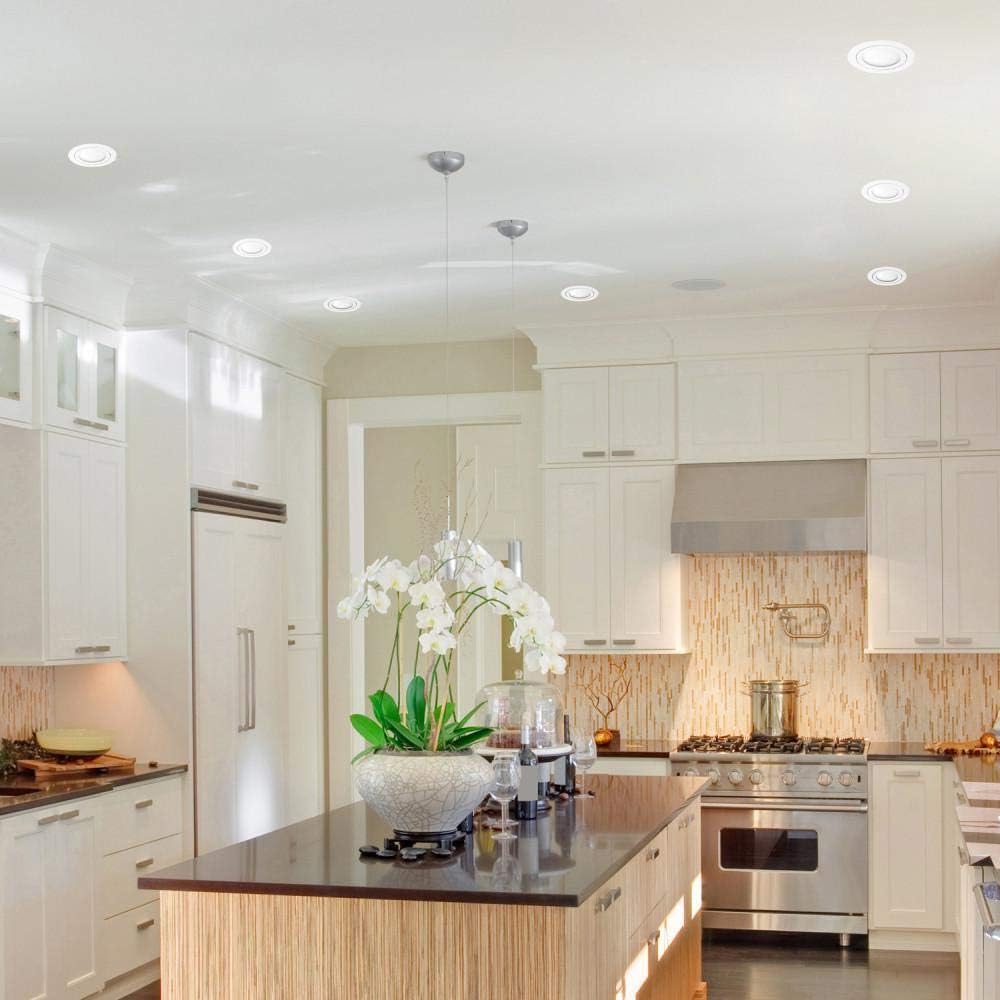
An example of the recessed LED lights installed in a kitchen setting, showcasing their sleek appearance and how they provide effective overhead lighting.
2. Safety Information
- Always turn off power at the circuit breaker before beginning installation or performing any maintenance.
- Consult a qualified electrician if you are unsure about the installation process.
- Ensure all electrical connections are made in accordance with local codes and ordinances.
- Do not modify the fixture or its components.
- This fixture is suitable for wet locations.
- IC rated for direct contact with insulation.
3. Setup and Installation
3.1 Package Contents
- Integrated LED Recessed Light Fixture
- Remote Junction Box with Integrated LED Connect Cable
- Push & Click Quick Connectors
- Instruction Manual
3.2 Tools Required (Not Included)
- Safety Glasses
- Gloves
- Measuring Tape
- Pencil
- Hole Saw (appropriate size for 4-inch fixture)
- Wire Strippers
3.3 Installation Steps
- Turn off Power: Ensure power is completely off at the circuit breaker before starting.
- Cut the Hole: Using a hole saw, cut a 4-inch diameter hole in the desired ceiling location.
- Wiring: Open the remote junction box. Connect the house wiring (live, neutral, ground) to the quick connectors inside the junction box. Use wire strippers to expose appropriate wire lengths if necessary.
- Select Color Temperature: Before connecting the light fixture, use the integrated switch on the cable to select your desired color temperature (2700K, 3000K, 3500K, 4000K, or 5000K).
- Connect Fixture: Connect the integrated LED connect cable from the junction box to the light fixture. Ensure a secure connection.
- Position Junction Box: Place the remote junction box through the ceiling hole and into the ceiling cavity.
- Install Light Fixture: Push the light fixture into the ceiling hole. The spring clips will secure the fixture in place.
- Restore Power: Turn the power back on at the circuit breaker and test the light.

A visual guide demonstrating the five main steps for installing the recessed LED light: 1. Cut the appropriate size hole in the ceiling. 2. Wire the fixture using the included quick connectors. 3. Select the desired color temperature using the inline switch. 4. Connect the remote junction box cable to the light. 5. Push the light fixture into the ceiling opening.

This image shows the compact junction box with its integrated LED connect cable and the included push-and-click quick connectors, designed for easy and secure electrical connections.
4. Operating Instructions
4.1 Color Temperature Selection
The fixture features an integrated switch on the cable that allows you to select from five different color temperatures:
- 2700K (Warm White): Ideal for relaxing environments.
- 3000K (Soft White): Suitable for general comfort and warmth.
- 3500K (Neutral White): A balanced option for everyday use.
- 4000K (Bright White): Excellent for task lighting and brighter areas.
- 5000K (Daylight): Best for task-oriented spaces like basements or work areas.
To change the color temperature, locate the switch on the cable connected to the junction box. Slide the switch to your desired Kelvin setting. It is recommended to select the color temperature before final installation into the ceiling, but it can be accessed if needed by carefully pulling the fixture down.

This image highlights the integrated color temperature selection switch located on the cable, allowing users to choose between five different Kelvin temperatures: Warm White (2700K), Soft White (3000K), Neutral White (3500K), Bright White (4000K), and Daylight (5000K). It also indicates that no traditional recessed housing is required for installation.
5. Maintenance
5.1 Cleaning
To clean the fixture, ensure the power is turned off at the circuit breaker. Use a soft, dry, or slightly damp cloth to wipe the surface. Do not use abrasive cleaners or solvents, as these may damage the finish or electrical components.
5.2 LED Module Replacement
This fixture uses an integrated LED module that is designed for long-term operation and is not user-replaceable. If the LED module fails, the entire fixture should be replaced.
6. Troubleshooting
| Problem | Possible Cause | Solution |
|---|---|---|
| Light does not turn on. | No power to the fixture; loose wiring; faulty switch. | Check circuit breaker. Ensure all wire connections are secure. Test the wall switch. |
| Light flickers. | Loose wiring; incompatible dimmer switch (if applicable). | Verify all connections. Ensure a compatible LED dimmer is used if dimming functionality is desired. |
| Incorrect color temperature. | Color temperature switch set incorrectly. | Adjust the color temperature switch on the cable to the desired setting. |
7. Specifications
| Feature | Detail |
|---|---|
| Item Weight | 1.44 pounds |
| Product Dimensions | 6 x 6 x 5 inches |
| Size | 4 Inches |
| Material | Copper |
| Power Source | Corded Electric |
| Type of Bulb | LED (Integrated) |
| Mounting Type | Ceiling |
| Color Temperature | Selectable: 2700K, 3000K, 3500K, 4000K, 5000K |
| First Available | November 17, 2020 |

A diagram illustrating the physical dimensions of the recessed LED light. It has a 4-inch (10.16 cm) diameter and a depth of 1.5 inches (3.8 cm), with an overall trim diameter of 5 inches (12.8 cm).
8. Warranty Information
Warranty information for this product is typically provided with the packaging or can be found on the manufacturer's official website. Please refer to the documentation included with your purchase for specific warranty terms and conditions.
9. Customer Support
For technical assistance, troubleshooting beyond this manual, or to inquire about replacement parts, please contact Commercial Electric customer support. Refer to the product packaging or the manufacturer's website for current contact information.


