Zeegma Robo Next
ZEEGMA Zonder Robo Next Robot Vacuum Cleaner User Manual
Model: Robo Next | Brand: Zeegma
1. Introduction
Thank you for choosing the ZEEGMA Zonder Robo Next Robot Vacuum Cleaner. This manual provides essential information for the safe and efficient operation, maintenance, and troubleshooting of your device. Please read this manual thoroughly before using the product and retain it for future reference.
The Zonder Robo Next is an advanced robotic cleaning device designed for various floor types, offering multiple cleaning modes and powerful suction. Its intelligent features ensure thorough cleaning while navigating your home safely.
2. Safety Information
To reduce the risk of injury or damage, observe the following safety precautions:
- Ensure the power adapter voltage is compatible with your local power supply.
- Do not operate the robot in wet environments or near water.
- Keep the robot away from open flames, heat sources, and flammable materials.
- Do not allow children or pets to play with the robot.
- Before operation, remove loose cables, small objects, and fragile items from the cleaning area.
- Do not use the robot to pick up large debris, sharp objects, or liquids.
- Only use manufacturer-approved accessories and replacement parts.
- If the robot is damaged, do not attempt to repair it yourself. Contact customer support.
3. Package Contents
Verify that all items are present in the package:
- Robot Vacuum Cleaner
- Docking Station with Power Supply
- Main Brush
- 4 x Side Brushes
- Microfiber Mop
- Remote Control
- HEPA Filter
- User Manual (this document)
4. Setup
4.1 Charging Station Placement
Place the docking station against a wall in an open area, ensuring there are no obstacles within 1 meter (3 feet) to the sides and 2 meters (6 feet) in front of it. Connect the power supply to the docking station and plug it into a wall outlet. Ensure the station is always powered on.

Image: The robot vacuum automatically returns to its charging station. This image also highlights its smart device capabilities.
4.2 Initial Charging
Place the robot vacuum onto the charging station. Ensure the charging contacts on the robot align with those on the station. For first-time use, charge the robot for at least 6 hours to ensure the battery is fully conditioned. The battery indicator light will show charging status.

Image: The robot vacuum on a patterned rug, illustrating its 2600 mAh battery and strong suction power up to 2150 Pa.
4.3 Installing Side Brushes
Turn the robot over. Align the side brushes with the corresponding slots on the bottom of the robot and press them down until they click into place. Ensure they are securely attached.
4.4 Connecting to the Smartphone App
Download the dedicated ZEEGMA app from your smartphone's app store. Follow the in-app instructions to connect your robot vacuum to your home Wi-Fi network. This will enable advanced control, scheduling, and monitoring features.

Image: The robot vacuum operating on a tiled floor, highlighting its low noise mode and dedicated app control.
5. Operation
5.1 Powering On/Off
Press and hold the power button on the robot or use the remote control/app to turn the robot on or off.
5.2 Cleaning Modes
The Zonder Robo Next offers 6 distinct operating modes to suit various cleaning needs:
- Automatic Cleaning: The robot intelligently navigates and cleans the entire accessible area.
- Spot Cleaning: Focuses on a specific dirty area, cleaning in a spiral pattern.
- Edge Cleaning: Cleans along walls and furniture edges.
- Wet Mopping: Attaches the microfiber mop for wet cleaning.
- Dry Sweeping: Uses brushes to sweep debris.
- Vacuuming: Engages the vacuum motor for dust and debris collection.

Image: The robot vacuum on a tiled floor, indicating its mop function capability.
5.3 Suction Power Adjustment
Choose from 3 suction power levels (1500 Pa, 1800 Pa, 2150 Pa) via the app or remote control to match the cleaning intensity required for different surfaces and dirt levels.
5.4 Scheduling
Use the smartphone app to set cleaning schedules for specific times and days. The robot will automatically start cleaning according to your programmed schedule.

Image: The robot vacuum operating near a virtual wall strip, illustrating its scheduling function.
5.5 Smart Home Integration
The Zonder Robo Next is compatible with Amazon Alexa and Google Home. Follow the instructions in the respective smart home apps to connect your robot for voice control.
5.6 Navigation and Obstacle Avoidance
Equipped with 15 anti-collision sensors, the robot navigates freely and safely, avoiding obstacles and drops. Its low profile (7.6 cm height) allows it to clean under most furniture.

Image: The robot vacuum cleaning under a sofa, demonstrating its compact height of 7.6 cm and its 15 anti-collision sensors.
6. Maintenance
Regular maintenance ensures optimal performance and extends the lifespan of your robot vacuum.
6.1 Emptying the Dust Container
The robot features an 800 ml dust container. Empty it after each cleaning cycle or when the indicator light signals it is full. Open the top cover, remove the dust container, and dispose of the collected debris.
6.2 Cleaning the HEPA Filter
The washable HEPA filter captures up to 99.97% of allergens and fine particles. Remove the filter from the dust container and rinse it under running water. Allow it to air dry completely before reinserting. Replace the HEPA filter every 3-6 months, depending on usage.
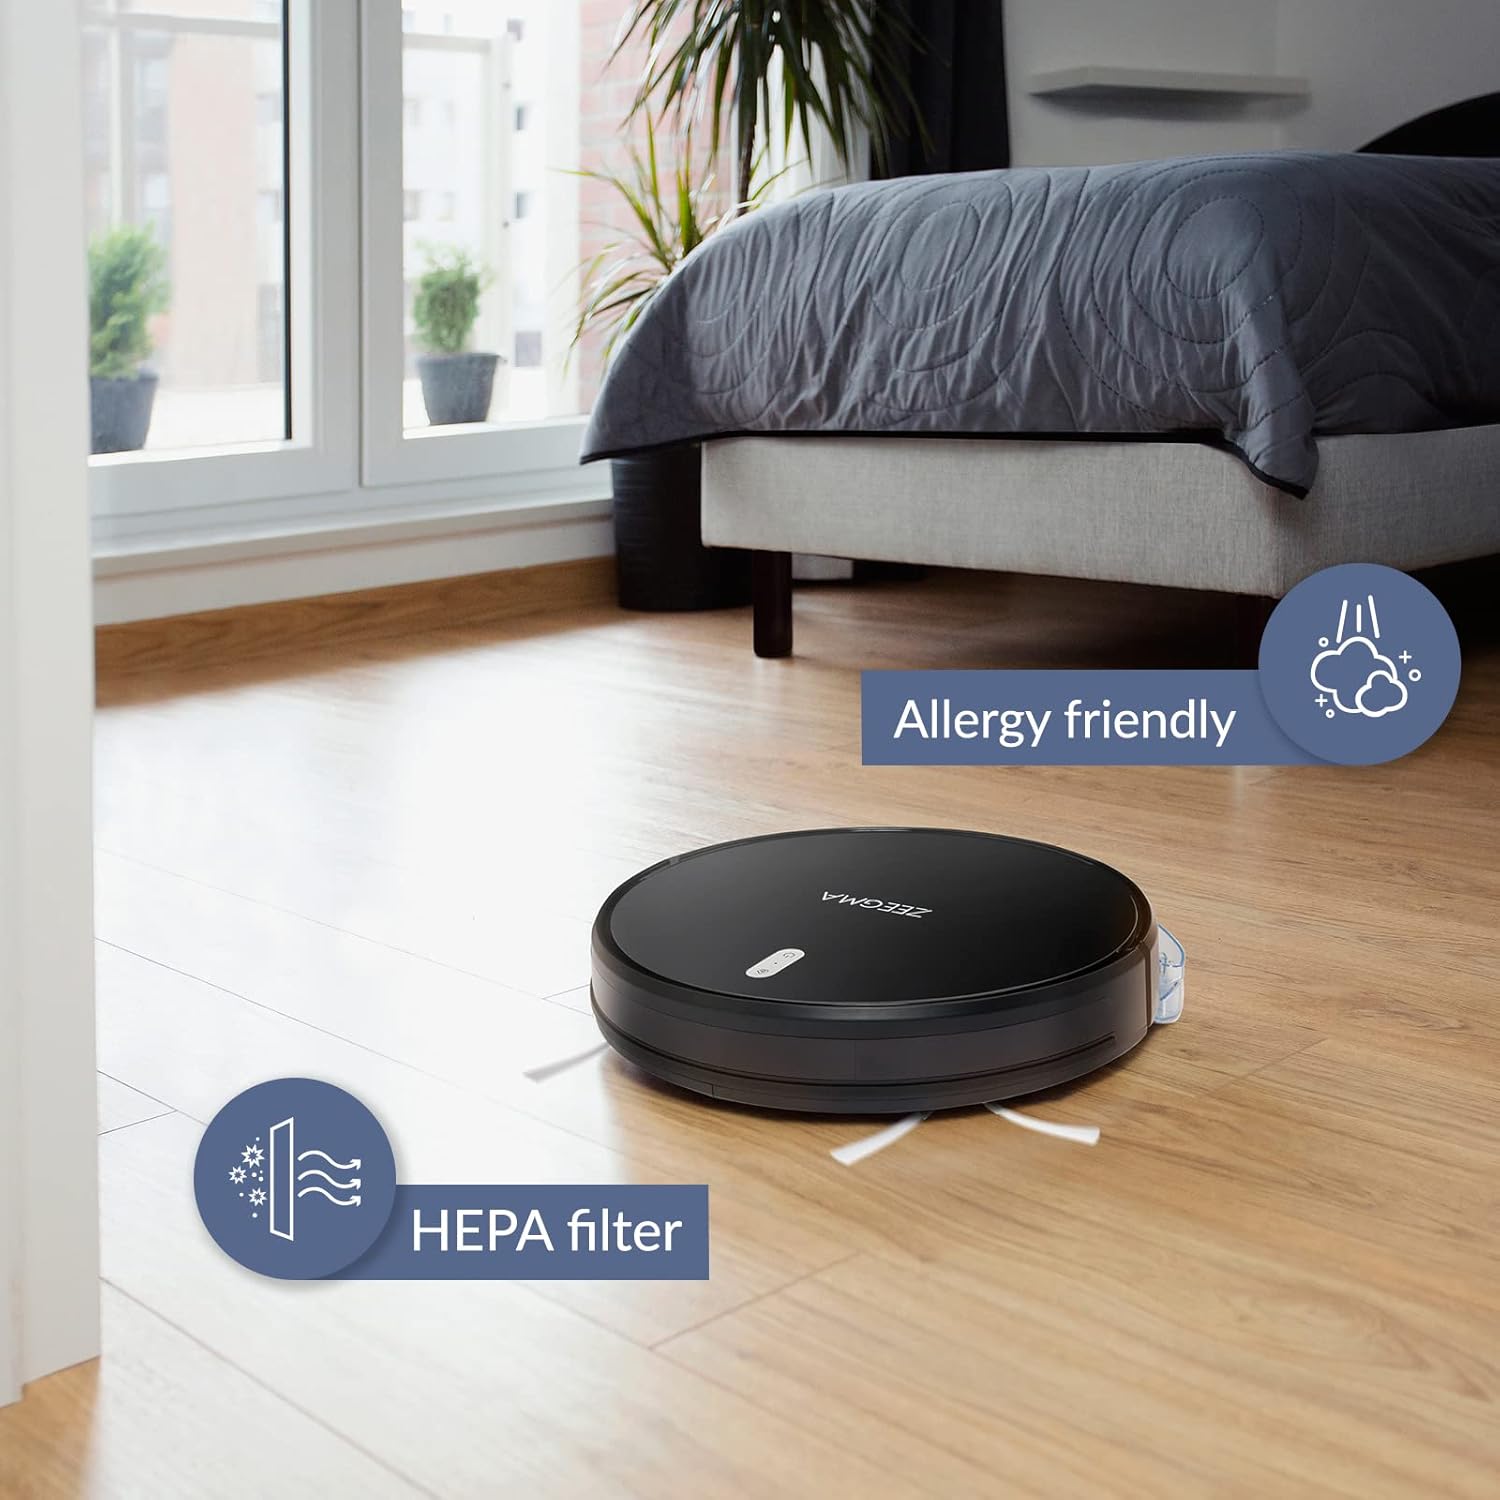
Image: The robot vacuum on a wooden floor, emphasizing its allergy-friendly design and HEPA filter system.
6.3 Cleaning Brushes
- Side Brushes: Regularly check side brushes for tangled hair or debris. Remove and clean them. Replace if worn or damaged.
- Main Brush: Remove the main brush cover and lift out the brush. Use the cleaning tool (if provided) to remove hair and debris.
6.4 Cleaning Sensors and Charging Contacts
Wipe the anti-collision sensors and charging contacts on both the robot and the docking station with a dry, soft cloth to ensure proper function.
6.5 Mop Pad Maintenance
After wet mopping, remove the microfiber mop pad and wash it. Allow it to air dry completely before storing or reusing.
7. Troubleshooting
If you encounter issues with your ZEEGMA Zonder Robo Next, refer to the following common problems and solutions:
| Problem | Possible Cause | Solution |
|---|---|---|
| Robot does not power on. | Low battery; power button not pressed correctly. | Charge the robot; press and hold the power button. |
| Robot does not charge. | Charging contacts are dirty; docking station not powered. | Clean charging contacts; ensure docking station is plugged in. |
| Robot gets stuck frequently. | Too many obstacles; sensors are dirty. | Clear the cleaning area; clean the sensors. |
| Poor cleaning performance. | Dust container full; brushes tangled; filter clogged. | Empty dust container; clean brushes; clean/replace filter. |
| App connection issues. | Incorrect Wi-Fi password; robot out of Wi-Fi range. | Verify Wi-Fi credentials; move robot closer to router; restart robot and router. |
If the problem persists, please contact Zeegma customer support.
8. Specifications
| Feature | Detail |
|---|---|
| Brand | Zeegma |
| Model Name | Robo Next |
| Product Dimensions (L x W x H) | 32L x 32W x 7.6H cm |
| Item Weight | 2.5 kg |
| Battery Capacity | 2600 mAh |
| Battery Life | Up to 120 minutes |
| Cleaning Area per Charge | Up to 180 m² |
| Suction Power | 1500 to 2150 Pa (3 modes) |
| Noise Level | 50 dB (quiet operation) / 55 dB (general) |
| Dust Container Capacity | 800 ml |
| Filter Type | Washable HEPA filter |
| Navigation | 15 anti-collision sensors |
| Control Type | Wi-Fi, App (iOS), Voice (Amazon Alexa, Google Home), Remote Control |
| Special Features | 6 operating modes (wet/dry wiping, sweeping, vacuuming), Automatic return to base, Scheduling function, Virtual wall compatibility (implied by image) |
9. Customer Support
For further assistance, technical support, or warranty information, please contact Zeegma customer service through their official website or the contact details provided with your purchase documentation.
Ask a question about this manual
Ask about setup, troubleshooting, compatibility, parts, safety, or missing instructions. Manuals+ will review the question and use this page’s manual context to help answer it.