1. Introduction
This manual provides essential information for the safe and efficient operation of your Eapmic 4-in-1 8x10W LED Moving Head Stage Lights. Please read this manual thoroughly before installation and use, and retain it for future reference. These lights are designed for professional stage lighting applications, offering versatile RGBW color mixing, DMX512 control, sound activation, and automatic operation modes.
2. Safety Information
- Electrical Safety: Ensure the power supply voltage matches the product's requirements (AC90-260V 50/60Hz). Always disconnect power before cleaning or servicing.
- Installation: Mount the fixture securely to prevent accidental falls. Ensure adequate ventilation around the unit to prevent overheating. Do not operate in wet or damp conditions.
- Eye Safety: Avoid direct eye exposure to the light source. The intense light can cause eye damage.
- Handling: Do not open the housing. There are no user-serviceable parts inside. Refer all servicing to qualified personnel.
- Environment: Keep away from flammable materials. Operate within specified temperature ranges.
3. Package Contents
Verify that all items listed below are included in your package:
- Eapmic 4-in-1 8x10W LED Moving Head Stage Light (2 units)
- Power Cable (2 units)
- Instruction Manual (This document)
Note: DMX cables are not included and must be purchased separately if DMX control is desired.
4. Product Overview
The Eapmic Moving Head Stage Light features 8 individual 10W RGBW LEDs, each controllable as a pixel. The unit is constructed from durable aluminum and designed for various mounting options.

Figure 4.1: Front view of two Eapmic Moving Head Stage Lights, showing the 8 LED lenses on each unit.

Figure 4.2: Detailed front view of one Eapmic Moving Head Stage Light, highlighting the 8 individual LED lenses and the control panel.

Figure 4.3: Side profile of the Eapmic Moving Head Stage Light, showing its sleek design and cooling fins.

Figure 4.4: Rear view of the light, displaying the power input, DMX in/out ports, and the LED display control panel.

Figure 4.5: Bottom view of the light, showing mounting points and ventilation grilles.
5. Specifications
| Feature | Detail |
|---|---|
| Voltage | AC90-260V 50/60Hz |
| Power | 124W |
| Light Source | 8 x 10W RGBW LEDs (4-in-1) |
| Lifespan | 50,000 hours |
| Control Modes | DMX512, Master-Slave, Sound Activated, Auto Operation |
| DMX Channels | 10/38 Channels |
| Dimmer | 0-100% Smooth Linear Dimmer |
| Strobe Effect | Up to 18 flashes per second, pulse effect |
| Cooling System | Efficient noise-free aluminum cooling |
| Connectors | 3-pin XLR for DMX |
| Material | Aluminum |
| Item Size (L*W*H) | 107cm x 8cm x 15.5cm (42.1" x 3.1" x 6.1") |
| Net Weight | 13kg |

Figure 5.1: Product dimensions: 107cm (42.1") length, 8cm (3.1") width, 15.5cm (6.1") height.
6. Setup
6.1 Mounting
The Eapmic Moving Head Stage Light can be mounted in various positions (ceiling, truss, or floor). Ensure the mounting surface or structure can support the weight of the fixture(s) and any additional equipment. Use appropriate clamps and safety cables (not included) for overhead installations.
- Ceiling Mount: Use suitable brackets and hardware to secure the light to a sturdy ceiling structure.
- Pole/Truss Mount: Attach the light using compatible clamps to a lighting truss or pole. Always use a safety cable.
- Floor Placement: Ensure the light is placed on a stable, level surface where it will not be easily knocked over.
6.2 Power Connection
- Connect the provided power cable to the power input on the rear of the fixture.
- Plug the other end of the power cable into a grounded AC power outlet (AC90-260V 50/60Hz).
- Ensure the power switch is in the OFF position before connecting to power.
6.3 DMX Connection (Optional)
For DMX control, connect a 3-pin XLR DMX cable from your DMX controller's output to the DMX IN port of the first fixture. For multiple fixtures, daisy-chain them by connecting the DMX OUT of the first fixture to the DMX IN of the next, and so on. A DMX terminator is recommended for the last fixture in a chain.
7. Operating Modes
The fixture offers several operating modes, selectable via the LED display control panel on the rear of the unit.
7.1 LED Display Control Panel
The LED display and buttons allow you to navigate menus and select operating modes and settings. Specific menu options and button functions will be detailed in the DMX channel chart (if available) or through on-screen prompts.
7.2 DMX512 Mode
This mode allows precise control over all fixture functions using a DMX controller. The fixture supports 10 or 38 DMX channels. Set the DMX address for each fixture using the control panel. Refer to the DMX channel chart (not provided in this manual, typically found in a separate DMX guide) for detailed channel assignments and values.
7.3 Master-Slave Mode
Connect multiple fixtures via DMX cables. Set one fixture as the "Master" and the others as "Slave" units. The Slave units will mirror the Master's operation, creating synchronized light shows without a DMX controller.
7.4 Sound Activated Mode
In this mode, the lights react to ambient sound, creating dynamic effects synchronized with music or audio. Adjust sensitivity via the control panel if available.
7.5 Auto Operation Mode
The fixture has 8 built-in default programs and 12 default pixel macros for easy performance. Select an auto program via the control panel for continuous, pre-programmed light sequences.
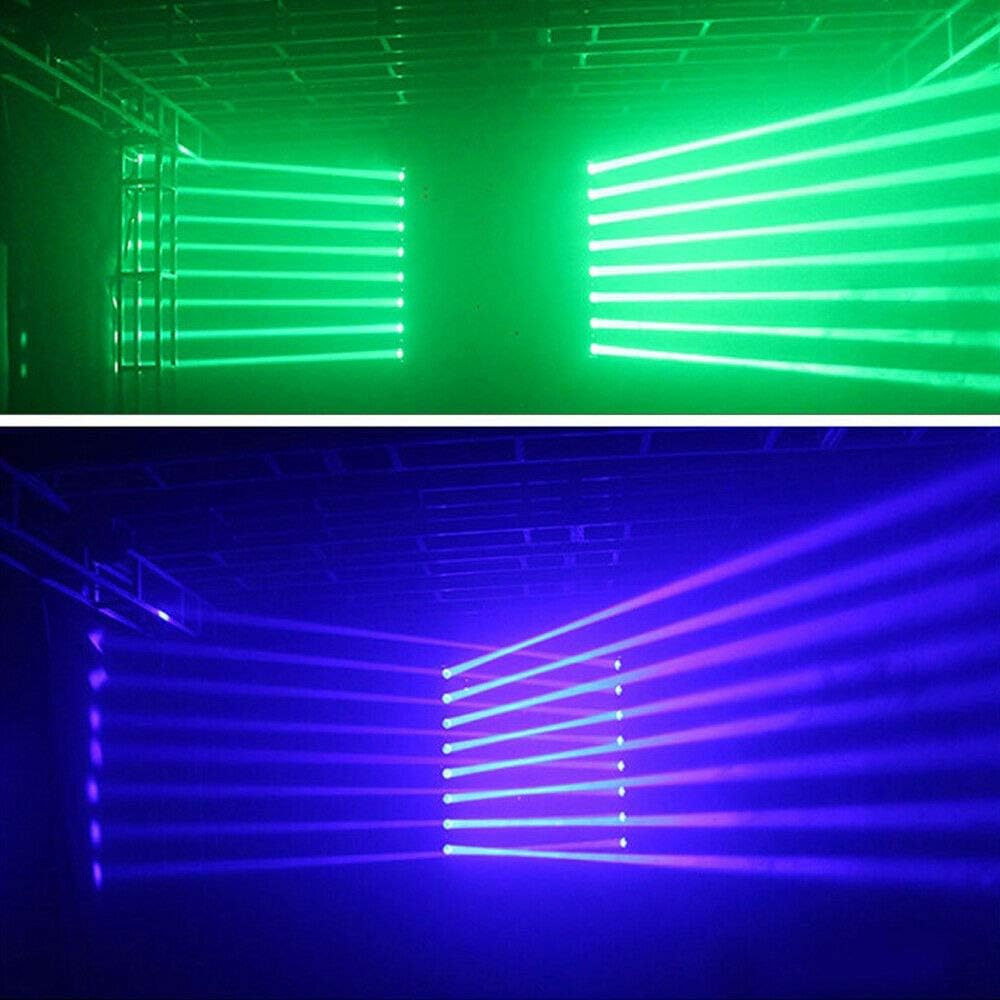
Figure 7.1: Example of green and blue light beam effects in operation.
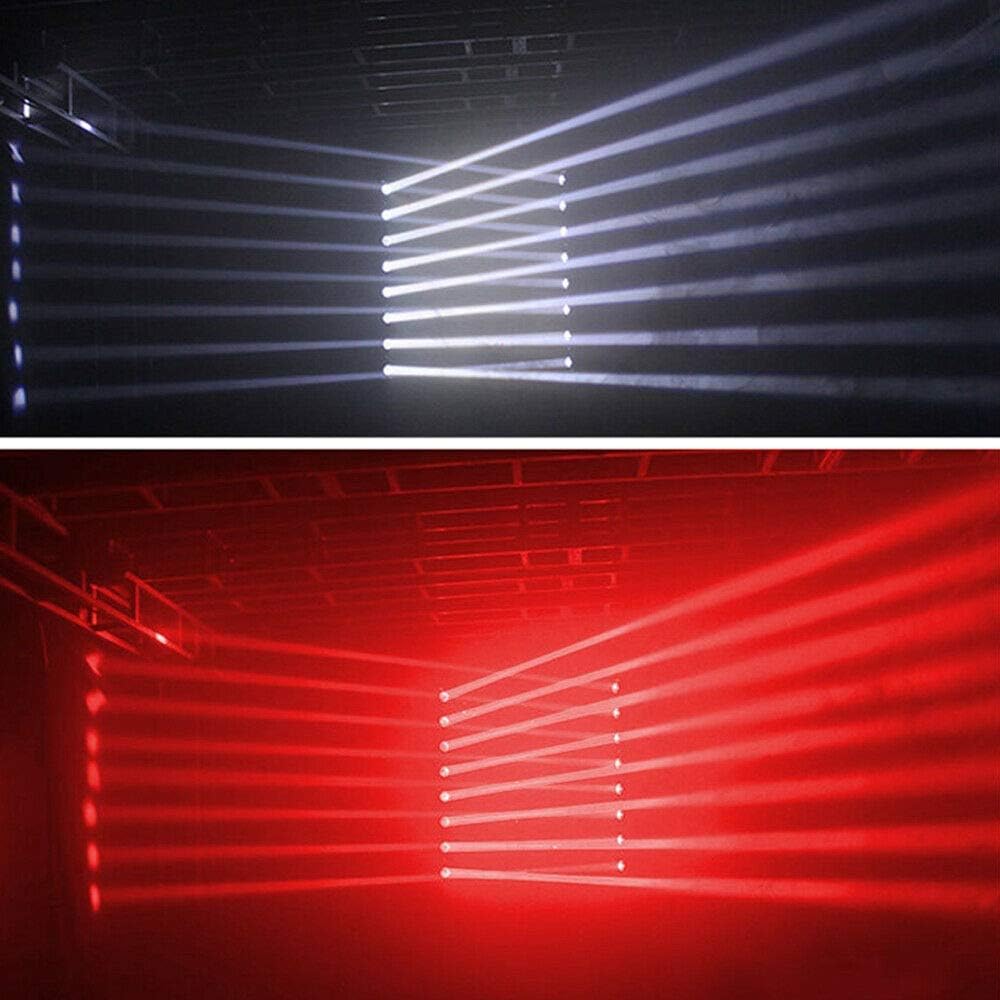
Figure 7.2: Example of white and red light beam effects in operation.
Video 7.1: Demonstration of the Eapmic Moving Head RGBW Color Strip Light Bar in action, showcasing various light patterns and movements. This video is provided by a seller.
8. Maintenance
8.1 Cleaning
- Always disconnect power before cleaning.
- Use a soft, lint-free cloth to wipe the exterior of the fixture.
- For lenses, use a soft cloth and a mild glass cleaner. Avoid abrasive materials that could scratch the lenses.
- Regularly clean ventilation openings to ensure proper airflow and prevent overheating.
8.2 Storage
When not in use, store the fixture in a dry, dust-free environment. If storing for extended periods, consider using the original packaging or a protective case.
9. Troubleshooting
| Problem | Possible Cause | Solution |
|---|---|---|
| No power | Power cable disconnected; no power from outlet; faulty fuse. | Check power cable connection; test outlet; replace fuse if necessary. |
| Light not responding to DMX | Incorrect DMX address; faulty DMX cable; DMX controller issue; incorrect mode. | Verify DMX address; check DMX cable connections; ensure DMX controller is functioning; confirm fixture is in DMX mode. |
| Lights not synchronized in Master-Slave | Incorrect Master/Slave setting; DMX cable issue. | Ensure one unit is Master and others are Slave; check DMX connections between units. |
| Overheating | Blocked ventilation; insufficient space. | Clear all obstructions from vents; ensure adequate airflow around the unit. |
If issues persist after attempting these solutions, please contact customer support.
10. Warranty and Support
For warranty information, please refer to the terms and conditions provided at the time of purchase or contact your retailer. For technical support or service inquiries, please reach out to Eapmic customer service through the contact information provided with your purchase documentation.