
1. Product Overview
The KEDU RB2 Thermal Protection Push Button Switch is an essential component designed to safeguard electrical systems and devices from damage caused by overheating, overcurrent, and short circuits. This device functions as an overload protector and circuit breaker, ensuring the longevity and safe operation of connected equipment.
It is commonly used for protecting low-power motors, transformers, rectifiers, water pumps, and battery chargers. Its robust construction features a high-quality flame-retardant shell and a fixed waterproof nut, providing durability and resistance to high temperatures and corrosion.
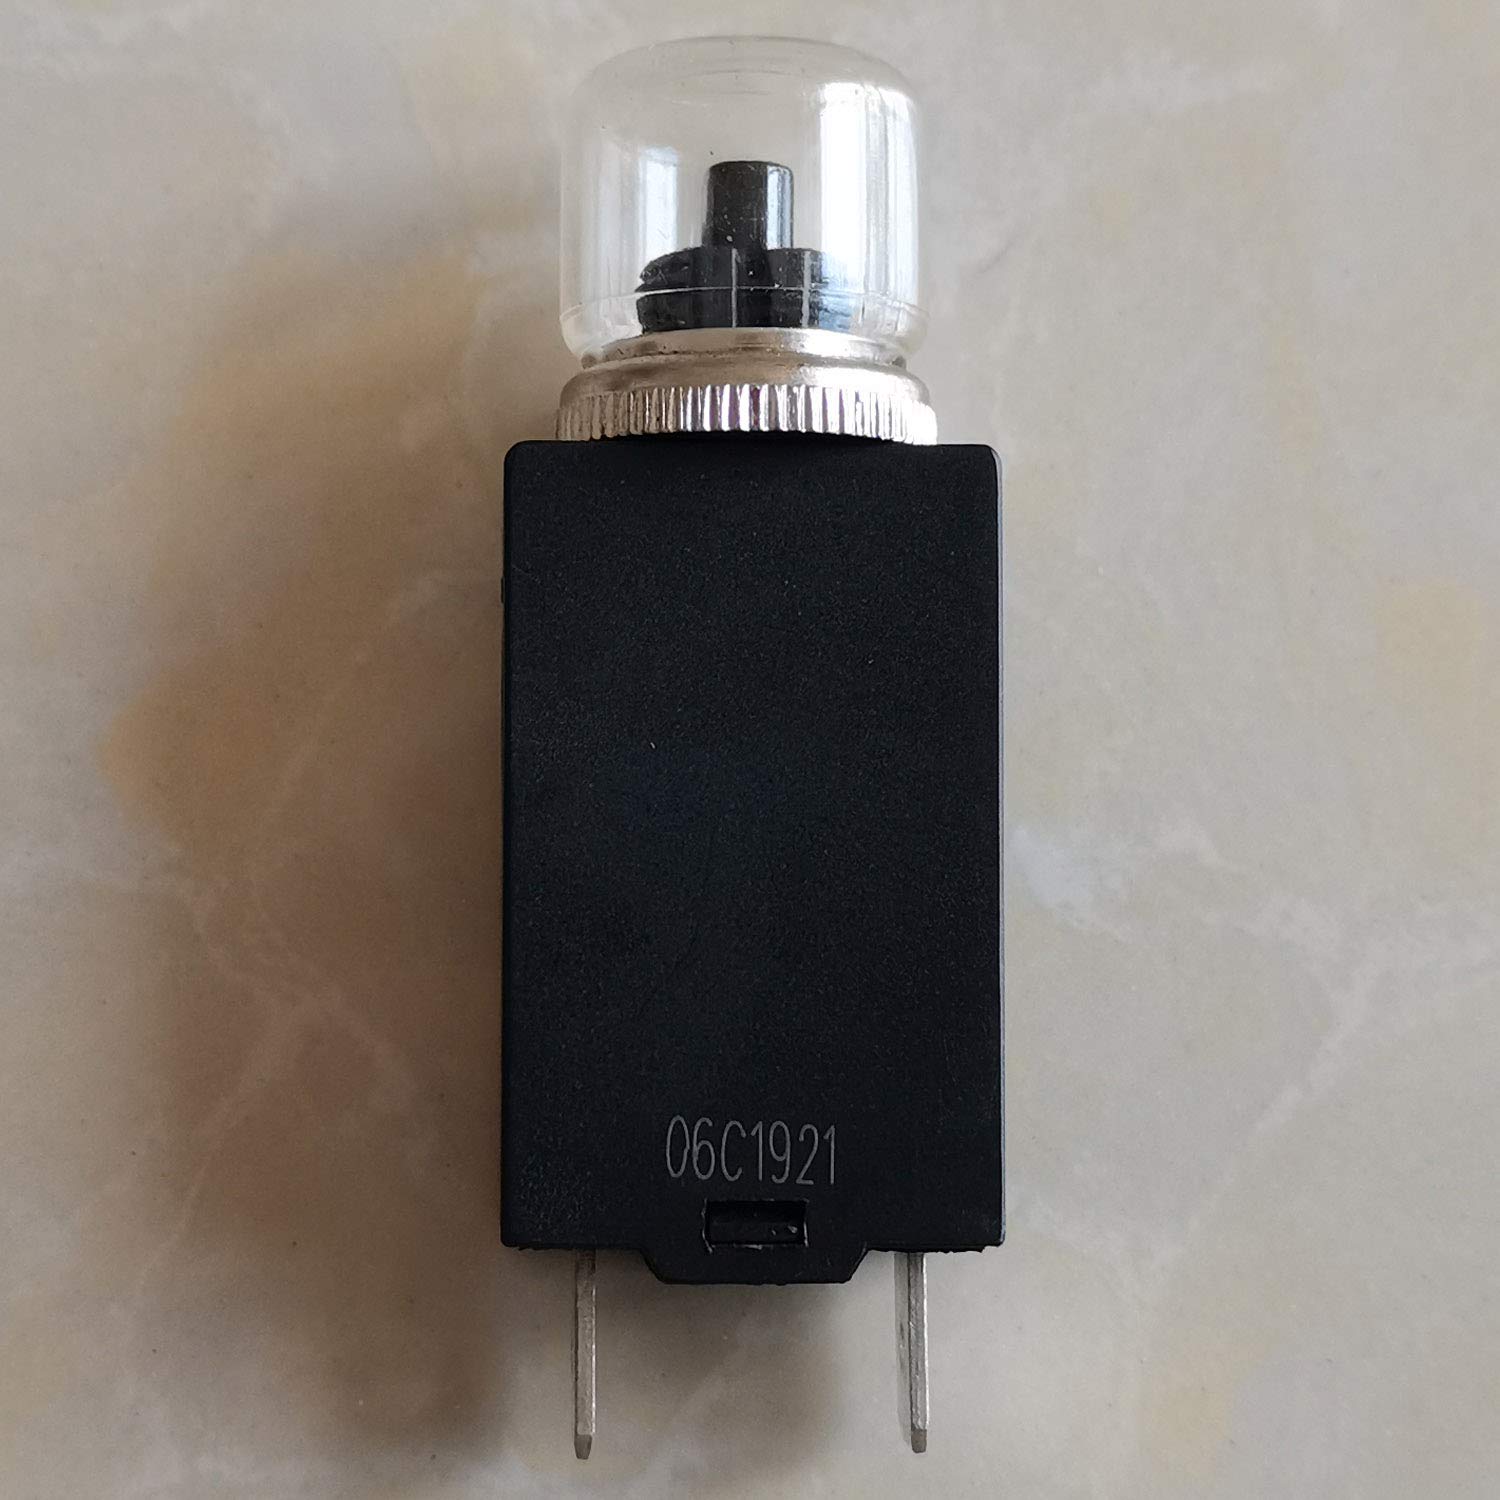
Image 1: Front view of a single KEDU RB2 Thermal Protection Push Button Switch, showing the black rectangular body and the clear push-button cap.

Image 2: Side view of two KEDU RB2 switches, illustrating their compact profile and terminal connections.

Image 3: A row of KEDU RB2 switches, displaying various current ratings (e.g., 10A, 13A, 14A, 15A) and the TUV/CE markings.
2. Setup and Installation
Proper installation is crucial for the safe and effective operation of the RB2 switch. This device is designed for panel mounting, typically secured with a waterproof nut.
2.1 Safety Precautions
- Always disconnect power to the circuit before installation or maintenance.
- Ensure that the current rating of the switch matches the requirements of the protected device.
- Consult a qualified electrician if you are unsure about any installation steps.
- Wear appropriate personal protective equipment (PPE).
2.2 Mounting Instructions
- Prepare a mounting hole in the panel according to the specified dimensions. Refer to Image 4 and Image 5 for precise measurements.
- Insert the switch body through the prepared hole from the front of the panel.
- Secure the switch from the rear of the panel using the provided waterproof nut. Tighten the nut firmly to ensure a secure and sealed fit.
- Connect the electrical terminals to the circuit. The terminals are designed for standard electrical connections.

Image 4: The KEDU RB2 switch with its clear push-button cap and metal waterproof nut detached, showing the threaded shaft for mounting.

Image 5: Technical drawing providing detailed dimensions of the KEDU RB2 switch, including overall length, width, and terminal spacing.

Image 6: Diagram illustrating the recommended mounting hole dimensions for the KEDU RB2 switch, including diameter and panel thickness range.
3. Operating Instructions
The KEDU RB2 switch operates with an automatic trip mechanism and a manual reset function.
3.1 Normal Operation
Under normal operating conditions, the switch allows current to flow through the circuit. The push button will be in its 'ON' or engaged position.
3.2 Automatic Trip
If an overcurrent, overload, or short-circuit condition occurs, the internal thermal protection mechanism will automatically trip, interrupting the circuit and protecting the connected device. When tripped, the push button will pop out to its 'OFF' or disengaged position.
3.3 Manual Reset
After the switch has tripped, identify and resolve the cause of the overcurrent or overload. Once the issue is resolved, manually push the button back in to reset the circuit breaker and restore power to the device. Do not force the button if the fault has not been cleared, as this could cause further damage or injury.
4. Maintenance
The KEDU RB2 switch is designed for durability and requires minimal maintenance. Regular inspection can help ensure its continued reliability.
- Visual Inspection: Periodically check the switch for any signs of physical damage, discoloration, or loose connections.
- Cleaning: Keep the switch clean and free from dust, dirt, and moisture. Use a dry, soft cloth for cleaning. Do not use abrasive cleaners or solvents.
- Functionality Check: If possible and safe to do so, periodically test the trip function by simulating an overload (only if your system allows for safe testing).
- Environmental Conditions: Ensure the switch is operating within its specified environmental conditions (temperature, humidity) to prevent premature wear or malfunction.
5. Troubleshooting
If the KEDU RB2 switch trips frequently or fails to reset, consider the following troubleshooting steps:
- Frequent Tripping:
- Overload: The connected device may be drawing more current than the switch's rated capacity. Verify the current draw of the device and compare it to the switch's amperage rating (e.g., 8A).
- Short Circuit: A short circuit in the wiring or the connected device can cause immediate tripping. Inspect wiring for damage or exposed conductors.
- Faulty Device: The device being protected might be faulty, causing excessive current draw. Test the device independently if possible.
- Environmental Factors: High ambient temperatures can sometimes cause thermal protectors to trip prematurely. Ensure adequate ventilation.
- Switch Fails to Reset:
- Persistent Fault: The underlying overcurrent or short-circuit condition may still be present. The switch will not reset until the fault is cleared.
- Damaged Switch: In rare cases, the switch itself may be damaged internally. If all other troubleshooting steps fail, the switch may need replacement.
- No Power to Device:
- Switch Tripped: Check if the push button is in the 'OFF' (popped out) position. Reset it after clearing any fault.
- Loose Connections: Ensure all electrical connections to the switch terminals are secure.
- External Power Issue: Verify that the main power supply to the circuit is active.
If problems persist after following these steps, it is recommended to consult a qualified electrician or contact the product supplier for further assistance.
6. Specifications
| Specification | Value |
|---|---|
| Brand | KEDU |
| Model | RB2 |
| Manufacturer Reference | KD20201104 |
| ASIN | B08MQ77CL8 |
| Current Rating | 8 Ampere (Other ratings available, e.g., 10A, 13A, 14A, 15A) |
| Voltage Rating | AC 250V |
| Breaker Type | Standard, Thermal Protection |
| Mounting Type | Panel Mount (DIN-rail mounting mentioned in some contexts, but panel mount with nut is primary for this model) |
| Operation Method | Automatic Trip, Manual Reset |
| Shell Material | High-quality flame-retardant |
| Environmental Compliance | ROHS EU standards compliant |
| First Available Date | November 4, 2020 |
7. Warranty and Support
For specific warranty information regarding your KEDU RB2 Thermal Protection Push Button Switch, please refer to the documentation provided at the time of purchase or contact your retailer or the manufacturer directly. Warranty terms may vary based on region and seller policies.
If you require technical support, have questions about installation, or need assistance with troubleshooting beyond the scope of this manual, please reach out to the KEDU customer service or the authorized distributor from whom you purchased the product. Provide your product model (RB2 8A) and any relevant purchase details when seeking support.