Introduction
Thank you for choosing the E-Greetshopping B39 Bluetooth Over Ear Headphones. This manual provides detailed instructions on how to set up, operate, and maintain your headphones to ensure optimal performance and longevity. Please read this manual thoroughly before using the product.
Product Overview
The E-Greetshopping B39 headphones are designed for a superior audio experience with the added visual appeal of colorful LED lights. They feature Bluetooth 5.0 for stable wireless connectivity, a built-in microphone for hands-free calls, and a foldable design for portability. The headphones also offer a wired mode for continuous listening.

Figure 1: E-Greetshopping B39 Bluetooth Over Ear Headphones (White)

Figure 2: Key Features Overview

Figure 3: Headphone Design Features and Package Contents
Package Contents
Ensure all items are present in the package:
- E-Greetshopping B39 Bluetooth Over Ear Headphones
- USB Charging Cable
- 3.5mm Audio Cable
- User Manual (this document)
Controls and Indicators
Familiarize yourself with the controls located on the ear cups:
- Power Button: Used to power on/off the headphones and for Bluetooth pairing.
- Volume Up / Next Track Button: Short press to increase volume, long press for next track.
- Volume Down / Previous Track Button: Short press to decrease volume, long press for previous track.
- Play/Pause Button: Controls music playback and answers/ends calls.
- Microphone: For hands-free calling.
- LED Light Ring: Illuminates with colorful lights, changing with music rhythm.
- 3.5mm Audio Jack: For wired connection.
- Micro USB Charging Port: For charging the headphones.
- TF Card Slot: For playing music directly from a Micro SD card.

Figure 4: Headphone Controls and Ports
Setup
Initial Charging
Before first use, fully charge your headphones. Connect the supplied USB charging cable to the Micro USB port on the headphones and the other end to a USB power source (e.g., computer USB port, wall adapter). The LED indicator will show charging status and turn off when fully charged.
Powering On/Off
- Power On: Press and hold the Power button for approximately 3 seconds until the LED indicator lights up and you hear a power-on prompt.
- Power Off: Press and hold the Power button for approximately 3 seconds until the LED indicator turns off and you hear a power-off prompt.
Operating Instructions
Bluetooth Pairing
- Ensure the headphones are powered off.
- Press and hold the Power button for 5-7 seconds until the LED indicator flashes blue and red alternately, indicating pairing mode.
- On your device (smartphone, tablet, computer), enable Bluetooth and search for available devices.
- Select "B39" (or similar model name) from the list of found devices.
- Once connected, the LED indicator on the headphones will slowly flash blue, and you will hear a connection confirmation tone.
- The headphones will automatically reconnect to the last paired device when powered on, if Bluetooth is enabled on the device and it is within range.
Music Playback (Bluetooth Mode)
- Play/Pause: Short press the Play/Pause button.
- Next Track: Long press the Volume Up button.
- Previous Track: Long press the Volume Down button.
- Volume Up: Short press the Volume Up button.
- Volume Down: Short press the Volume Down button.
Call Management
- Answer/End Call: Short press the Play/Pause button.
- Reject Call: Long press the Play/Pause button.
- Redial Last Number: Double-press the Play/Pause button.
LED Light Control
The headphones feature colorful LED lights that illuminate the ear cups. These lights change with the rhythm of the music, adding a dynamic visual element to your listening experience.
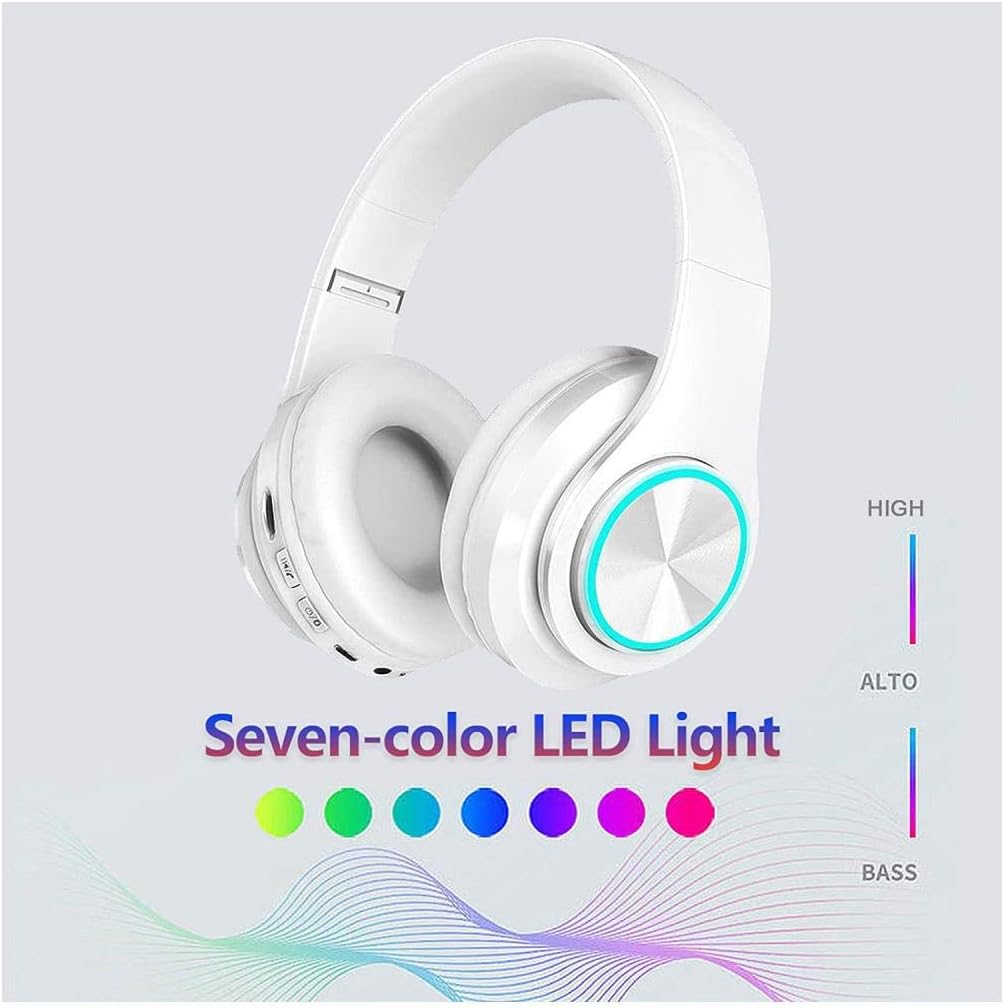
Figure 5: Colorful LED Light Demonstration
Video 1: Demonstration of the Colorful LED Lights on the Headphones.
Note: Specific controls for turning the LED lights on/off or changing modes are typically integrated with the power or multi-function button. Refer to the quick start guide included in your package for precise button functions if not detailed here.
TF Card Playback
Insert a Micro SD (TF) card with MP3 audio files into the TF card slot. The headphones will automatically switch to TF card playback mode. Use the Play/Pause, Volume Up, and Volume Down buttons to control playback.
Charging
When the battery is low, you will hear a low battery warning. Connect the USB charging cable to the Micro USB port on the headphones and a USB power source. The LED indicator will illuminate during charging and turn off when charging is complete. A full charge typically takes approximately 2-3 hours.
Wired Mode
To use the headphones in wired mode, connect one end of the supplied 3.5mm audio cable to the headphone's 3.5mm audio jack and the other end to your audio device's 3.5mm output. In wired mode, the headphones do not require battery power, and the LED lights will not function. The controls on the headphones will also be inactive; control playback and volume directly from your connected device.
Maintenance and Care
- Keep the headphones dry. Do not expose them to rain, moisture, or liquids.
- Do not attempt to disassemble or modify the headphones. This will void the warranty.
- Clean the ear cups and headband with a soft, dry cloth. Avoid using harsh chemicals or abrasive materials.
- Store the headphones in a cool, dry place when not in use, preferably in their original packaging or a protective case.
- Avoid extreme temperatures.
- Do not expose the headphones to direct sunlight for extended periods.
Troubleshooting
| Problem | Possible Solution |
|---|---|
| Headphones do not power on. | Ensure the headphones are charged. Connect to a power source using the USB cable. |
| Cannot pair with device. |
|
| No sound or low volume. |
|
| Audio cuts in and out. |
|
| LED lights not working. | Ensure headphones are powered on and not in wired mode. Check battery level. |
Specifications
| Feature | Detail |
|---|---|
| Model Name | B39 |
| Connectivity Technology | Bluetooth |
| Bluetooth Version | 5.0 |
| Bluetooth Range | 10 Meters |
| Headphones Jack | 3.5 mm Jack |
| Ear Placement | Over Ear |
| Noise Control | Sound Isolation |
| Frequency Response | 20 Hz - 200 Hz |
| Impedance | 32 Ohm |
| Sensitivity | 96 dB |
| Item Weight | 280 Grams (9.9 ounces) |
| Material | Plastic |
| Product Dimensions | 7.09 x 2.95 x 6.3 inches |
| Included Components | USB cable, audio cable |
Warranty and Support
E-Greetshopping provides friendly customer service and is committed to resolving any issues you may encounter. For all customers who purchase our headphones, we offer support to ensure your satisfaction.
If you have any questions about the product, please feel free to contact us via your order information or email. We aim to respond within 24 hours.
Please retain your proof of purchase for warranty claims.