1. Introduction
This manual provides detailed instructions for the installation, operation, and maintenance of the LiebeWH XH-M604 Battery Charge Control Module. This module is designed to manage battery charging processes by monitoring voltage levels and automatically controlling the charging circuit. It is suitable for various DC 6-60V battery systems, including solar, automotive, and home charging applications.
2. Product Overview
The XH-M604 module features a digital display for real-time voltage monitoring and two push buttons for setting start and stop charging voltages. It integrates a high-current relay to switch the charging power. The board is equipped with input and output terminals for easy connection to your power source and battery.

Figure 2.1: Front view of the LiebeWH XH-M604 Battery Charge Control Module, showing the digital display, control buttons, relay, and terminal blocks.
3. Specifications
| Feature | Specification |
|---|---|
| Brand | LiebeWH |
| Model | XH-M604 |
| Input Voltage Range | DC 6-60V |
| Output Voltage | Equal to input voltage (charging control) |
| Control Current | Max 30A |
| Display Type | Digital (7-segment LED) |
| Voltage Detection Accuracy | 0.1V |
| Dimensions | Approx. 81mm x 54mm (3.18in x 2.12in) |

Figure 3.1: Approximate dimensions of the XH-M604 module.
4. Setup Instructions
Before connecting, ensure all power sources are disconnected. Observe proper polarity to prevent damage to the module or battery.
- Identify Terminals: The module has four screw terminals. Typically, two are for input power (from charger/power supply) and two for battery connection. Refer to the labels on the board: '+IN' and '-IN' for input, '+BAT' and '-BAT' for battery.
- Connect Input Power: Connect the positive (+) terminal of your DC power source (charger) to the '+IN' terminal on the module. Connect the negative (-) terminal of your DC power source to the '-IN' terminal.
- Connect Battery: Connect the positive (+) terminal of your battery to the '+BAT' terminal on the module. Connect the negative (-) terminal of your battery to the '-BAT' terminal.
- Verify Connections: Double-check all connections for correct polarity and secure fastening. Loose connections can cause overheating or malfunction.
- Apply Power: Once all connections are secure, apply power to the input terminals. The digital display on the module should illuminate, showing the current battery voltage.

Figure 4.1: Top-down view of the XH-M604 module, clearly showing the input (+IN, -IN) and battery (+BAT, -BAT) terminals.
5. Operating Instructions
The XH-M604 module allows you to set a start charging voltage and a stop charging voltage. The module will automatically start charging when the battery voltage drops below the start voltage and stop charging when it reaches the stop voltage.
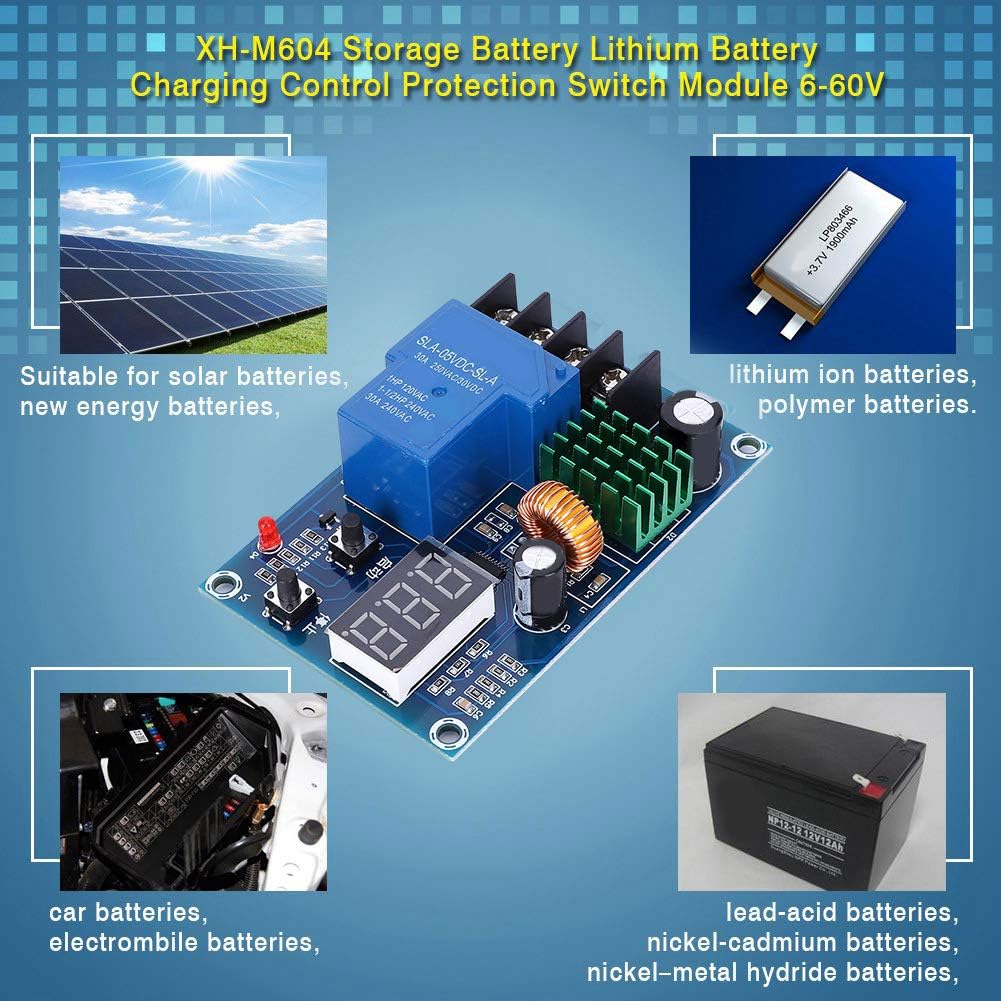
Figure 5.1: Close-up view of the digital display and control buttons on the XH-M604 module.
- Setting Start Charging Voltage:
- In the normal display state (showing current voltage), press the Start button (often labeled with an upward arrow or '启动'). The display will show the currently set start charging voltage.
- Press and hold the Start button for approximately 3 seconds. The digital display will begin to flash.
- While flashing, use the Start button to increase the voltage value and the Stop button (often labeled with a downward arrow or '停止') to decrease the voltage value.
- Once the desired start voltage is set, wait a few seconds for the display to stop flashing and save the setting automatically.
- Setting Stop Charging Voltage:
- In the normal display state, press the Stop button. The display will show the currently set stop charging voltage.
- Press and hold the Stop button for approximately 3 seconds. The digital display will begin to flash.
- While flashing, use the Start button to increase the voltage value and the Stop button to decrease the voltage value.
- Once the desired stop voltage is set, wait a few seconds for the display to stop flashing and save the setting automatically.
- Important Note: Ensure the stop charging voltage is always set higher than the start charging voltage. If the stop voltage is set lower than or equal to the start voltage, the module may not function correctly.
6. Maintenance
The XH-M604 module is designed for reliable operation with minimal maintenance. Follow these guidelines to ensure longevity:
- Keep Clean: Periodically clean the module with a soft, dry cloth to remove dust and debris. Avoid using liquids or abrasive cleaners.
- Inspect Connections: Regularly check all wire connections to ensure they are secure and free from corrosion.
- Environmental Conditions: Operate the module within its specified temperature and humidity ranges. Avoid exposure to extreme temperatures, moisture, or corrosive environments.
- Ventilation: Ensure adequate airflow around the module, especially if operating at higher currents, to prevent overheating.
7. Troubleshooting
If you encounter issues with your XH-M604 module, consider the following troubleshooting steps:
- Module Not Powering On:
- Check the input power supply. Ensure it is within the DC 6-60V range and correctly connected to the '+IN' and '-IN' terminals.
- Verify polarity of input connections.
- Charging Not Starting:
- Check the set start charging voltage. Ensure the current battery voltage is below this threshold.
- Verify connections to the battery and charger.
- Ensure the charger itself is functioning correctly.
- Charging Not Stopping:
- Check the set stop charging voltage. Ensure the current battery voltage has reached or exceeded this threshold.
- Confirm that the stop voltage is set higher than the start voltage.
- Inaccurate Voltage Reading:
- Ensure connections are secure and clean. Poor connections can lead to voltage drops and inaccurate readings.
- Compare the module's reading with a calibrated multimeter.
8. Safety Information
Please observe the following safety precautions when using the XH-M604 module:
- Electrical Safety: Always disconnect power before making or changing connections. Work with DC power carefully to avoid short circuits.
- Voltage Range: Do not exceed the specified input voltage range of DC 6-60V.
- Current Limits: Do not exceed the maximum control current of 30A. Overloading can damage the module and pose a fire hazard.
- Polarity: Always connect wires with correct polarity (+ to + and - to -). Incorrect polarity can cause irreversible damage.
- Installation: Install the module in a dry, well-ventilated area, away from flammable materials.
- Children and Pets: Keep the module out of reach of children and pets.
9. Warranty and Support
Specific warranty details for the LiebeWH XH-M604 module are not provided in this document. For warranty claims, technical support, or further inquiries, please refer to the retailer where the product was purchased or visit the official LiebeWH store on Amazon: