Introduction
This manual provides detailed instructions for the assembly, operation, and maintenance of your Corsair 5000D Airflow Tempered Glass Mid-Tower ATX PC Case. Please read this manual thoroughly before beginning installation to ensure proper setup and optimal performance.
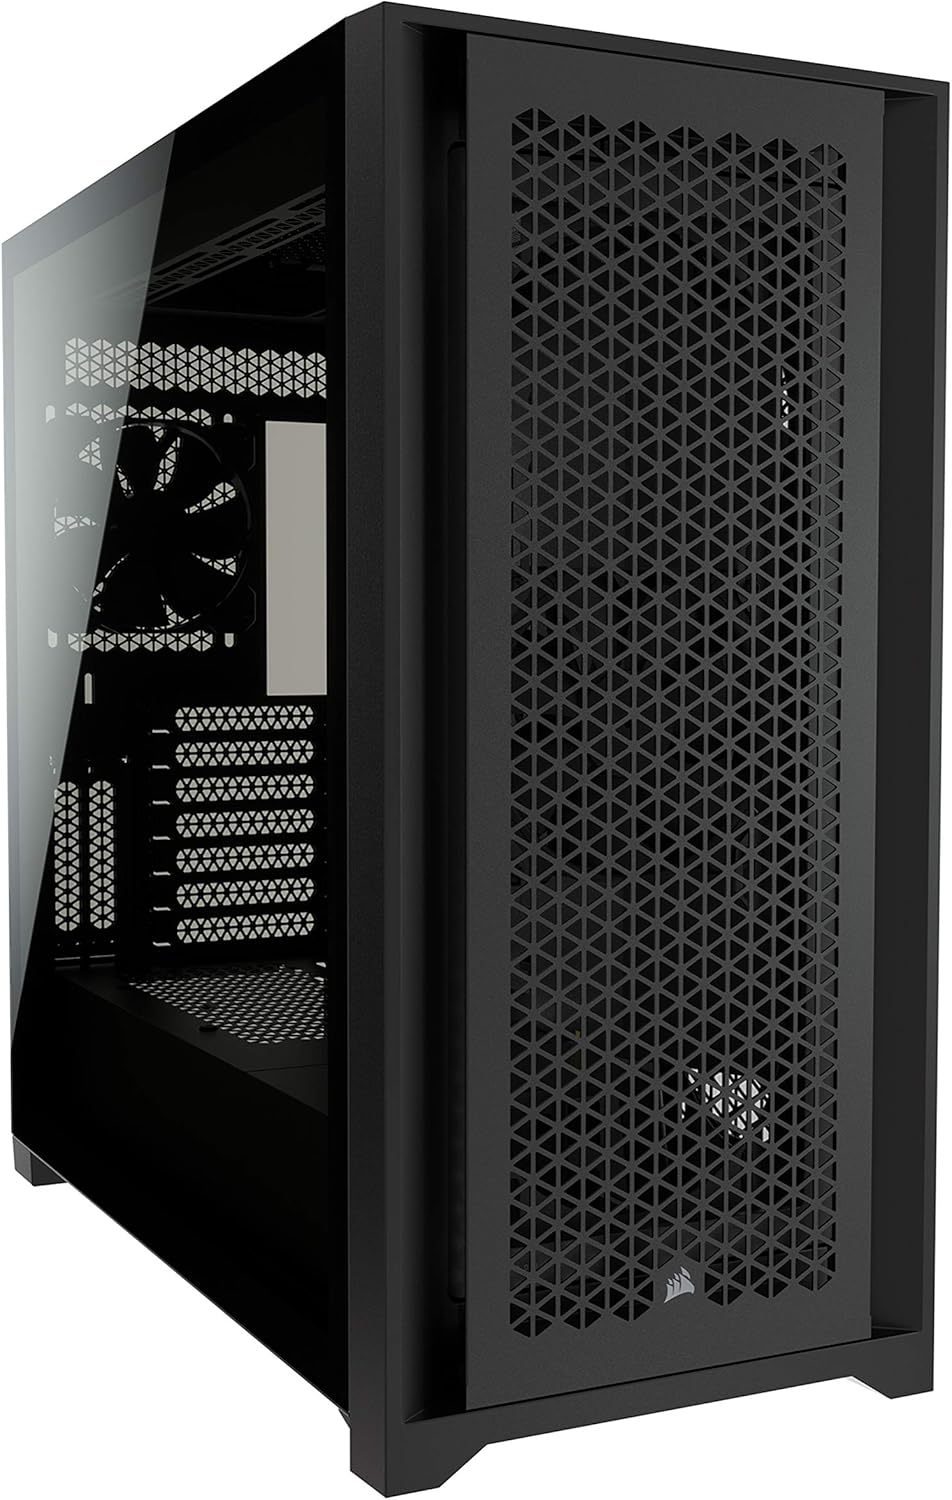
Image: Front-left view of the Corsair 5000D Airflow PC Case, showcasing the tempered glass side panel and the high-airflow front panel.
Key Features
- Optimized Airflow: Features an airflow-optimized steel front panel for maximum ventilation and cooling efficiency.
- RapidRoute Cable Management: Simplifies cable routing through a single hidden channel with 25mm of space behind the motherboard tray.
- Cooling Potential: Supports multiple 360mm radiators and includes two CORSAIR 120mm AirGuide fans with anti-vortex vanes.
- Storage Options: Provides 4x 2.5" SSD mounts and 2x 3.5" HDD trays.
- Wide Compatibility: Accommodates large components, including GPUs up to 420mm and CPU coolers up to 170mm.
- Tempered Glass Side Panel: Offers a clear view of internal components.

Image: The Corsair 5000D Airflow PC Case with a fully assembled system inside, highlighting the internal space and potential for RGB lighting.
Setup and Installation
1. Preparing the Case
Unpack the case and remove all packaging materials. Place the case on a stable, flat surface. Identify the accessory box, which contains screws, zip ties, and other small parts necessary for installation.
2. Motherboard Installation
- Remove the tempered glass side panel by unscrewing the thumbscrews at the rear.
- Install the I/O shield (if applicable) into the motherboard tray opening.
- Align your ATX, Micro-ATX, or Mini-ITX motherboard with the standoffs inside the case.
- Secure the motherboard using the provided screws.

Image: Interior view of the Corsair 5000D Airflow PC Case, showing the spacious layout and motherboard mounting area.
3. Power Supply Unit (PSU) Installation
- Locate the PSU mounting area at the bottom rear of the case.
- Slide the PSU into position from the rear of the case.
- Secure the PSU with screws from the outside rear of the case.
4. Storage Drive Installation
The case supports 2.5" SSDs and 3.5" HDDs.
- 2.5" SSDs: Mount SSDs directly onto the dedicated 2.5" mounts located behind the motherboard tray.
- 3.5" HDDs: Utilize the removable 3.5" HDD trays in the drive cage located beneath the PSU shroud.

Image: Diagram illustrating the locations of the 2.5-inch SSD mounts and 3.5-inch HDD trays within the case.
5. Fan and Radiator Installation
The 5000D Airflow offers extensive cooling options:
- Front: Supports up to 3x 120mm or 2x 140mm fans, or a 360mm radiator.
- Top: Supports up to 3x 120mm or 2x 140mm fans, or a 360mm radiator.
- Rear: Supports 1x 120mm fan.
- Side (Motherboard Tray): Customizable mounts for up to 3x 120mm fans or a 360mm radiator.
Two CORSAIR 120mm AirGuide fans are included and pre-installed for optimal airflow.

Image: A detailed diagram highlighting the various fan and radiator mounting locations and sizes supported by the case.
6. Graphics Card (GPU) Installation
- Remove the necessary PCIe slot covers from the rear of the case.
- Insert your GPU into the appropriate PCIe slot on the motherboard.
- Secure the GPU with screws.

Image: Diagram illustrating the maximum compatible dimensions for CPU coolers (170mm) and GPUs (420mm) within the case.
7. Cable Management
Utilize the CORSAIR RapidRoute cable management system. Route major cables through the central channel behind the motherboard tray. The hinged door and 25mm of space facilitate clean cable routing.

Image: Close-up view of the CORSAIR RapidRoute cable management system, showing cables neatly routed through the central channel.
8. Front Panel I/O Connections
Connect the front panel cables (USB 3.0, USB Type-C, audio, power, reset, HDD LED) to the corresponding headers on your motherboard. Refer to your motherboard manual for specific header locations.

Image: Diagram detailing the front panel I/O ports, including power button, USB 3.0, USB Type-C, and combined headphone/microphone jack.
Operating Instructions
Once all components are installed and connected, ensure all cables are properly secured and the side panels are re-attached. Press the power button on the front panel to start your system. The 5000D Airflow is designed to provide optimal cooling through its mesh front panel and included AirGuide fans, ensuring efficient heat dissipation during operation.

Image: Close-up view of the high-airflow optimized steel front panel and one of the two included CORSAIR 120mm AirGuide fans.
Maintenance
Regular maintenance helps ensure the longevity and performance of your PC case.
- Dust Filters: The 5000D Airflow includes multiple easy-to-clean dust filters (front, top, and PSU intake). Periodically remove and clean these filters with compressed air or water (ensure they are completely dry before re-installation).
- Exterior Cleaning: Wipe the exterior surfaces with a soft, damp cloth. Avoid abrasive cleaners.
- Interior Cleaning: Use compressed air to remove dust from internal components and fan blades. Ensure the system is powered off and unplugged before cleaning.
Troubleshooting
- No Power:
- Ensure the PSU is properly connected to the wall outlet and switched on.
- Verify all motherboard power cables (24-pin ATX, 8-pin CPU) are securely connected.
- Check front panel power switch connection to the motherboard.
- Poor Airflow/High Temperatures:
- Clean all dust filters.
- Ensure fans are spinning correctly and oriented for optimal airflow (intake/exhaust).
- Verify no cables are obstructing airflow paths.
- Components Not Fitting:
- Refer to the specifications section for maximum CPU cooler height and GPU length.
- Ensure drive cages or fan mounts are correctly positioned or removed if necessary for clearance.
Specifications
| Feature | Detail |
|---|---|
| Model Name | 5000D Airflow Computer Case |
| Case Type | Mid Tower |
| Motherboard Compatibility | ATX, Micro-ATX, Mini-ITX, E-ATX |
| Material | Steel, Tempered Glass |
| Color | Black |
| Dimensions (LxWxH) | 520mm x 245mm x 520mm (20.47 x 9.65 x 20.47 inches) |
| Weight | 10.48 kg (23.1 pounds) |
| Expansion Slots | 7 + 2 Vertical |
| Drive Bays | 4x 2.5" SSD, 2x 3.5" HDD |
| Front I/O Ports | 2x USB 3.0, 1x USB 3.1 Type-C, 1x Headphone/Mic Combo Jack, Power, Reset |
| Max GPU Length | 420mm |
| Max CPU Cooler Height | 170mm |
| Max PSU Length | 225mm |
| Radiator Compatibility | Front: 360mm/280mm; Top: 360mm/280mm; Side: 360mm; Rear: 120mm |
| Included Fans | 2x 120mm AirGuide Fans |
Warranty and Support
Corsair products come with a limited warranty. For detailed warranty information, technical support, and customer service, please visit the official Corsair support website. You can find FAQs, troubleshooting guides, and contact information there.


