1. Introduction
This manual provides essential information for the safe and effective use of the Dixon M3M3 M-Series Interchange Male Plug. Please read these instructions thoroughly before installation and operation to ensure proper function and safety.
1.1 Product Identification
- Brand: Dixon
- Model: M3M3
- Product Type: M-Series Interchange Male Plug
- Thread Size: 3/8" NPTF
- Quantity: Pack of 53 pcs
2. Safety Information
Adherence to safety guidelines is crucial when working with pneumatic systems and quick disconnect couplings. Failure to follow these instructions may result in injury or equipment damage.
2.1 General Safety Guidelines
- Always ensure the pneumatic circuit is depressurized before installing or removing couplings.
- Never install a pneumatic coupling directly into an air tool. Use a piece of hose that is at least 18 inches (45 cm) long between the tool and the coupling to prevent damage to the coupling and tool.
- To protect the operator, safety devices such as a safety check valve and safety cable should be installed in case of hose or coupling failure.
- Wear appropriate personal protective equipment (PPE), including eye protection, when working with pneumatic systems.
- Do not exceed the maximum rated pressure for the coupling.
- Inspect couplings regularly for wear, damage, or corrosion. Replace damaged components immediately.
3. Product Overview
3.1 Construction
- Machined components are manufactured using solid bar stock.
- Steel componentry is plated using ROHS Compliant Trivalent Chrome for durability and corrosion resistance.
- Material: Alloy Steel.
3.2 Compatibility and Interchange Data
- Automatic couplings interchange with ARO 210/310 and Hansen 210/310.
- Manual Couplings interchange with Parker 50-Series and Amflow Type 'B'.
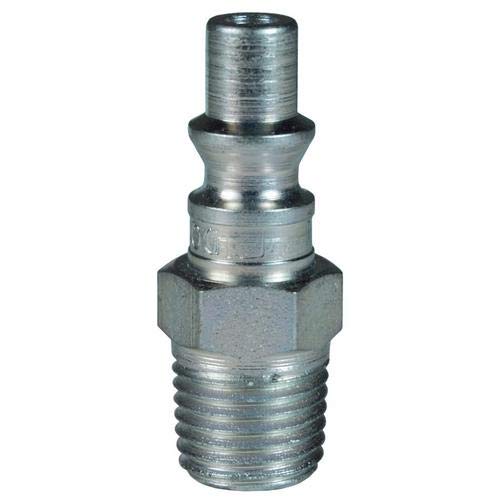
Figure 1: Dixon M3M3 M-Series Interchange Male Plug. This image shows the male plug component, typically used in pneumatic quick-connect systems.
4. Specifications
| Feature | Detail |
|---|---|
| Model Number | M3M3 |
| Thread Type | NPTF (National Pipe Taper Fuel) |
| Connector Type | Plug (Male) |
| Material | Alloy Steel |
| Exterior Finish | Chrome (ROHS Compliant Trivalent Chrome) |
| Color | Chrome |
| Rated Pressure (Auto Steel Coupler & Steel Plug) | 300 PSI (20 bar) Maximum Working |
| Burst Pressure (Auto Steel Coupler & Steel Plug) | 3,300 PSI (228 bar) |
| Measurement System | Inch |
| Certification | ROHS |
| UPC | 089109926657 |
5. Installation
Proper installation is essential for the safe and reliable operation of the M3M3 male plug. Follow these steps carefully:
5.1 General Installation Steps
- Depressurize System: Ensure the pneumatic system is completely depressurized and locked out before beginning any installation work.
- Prepare Connection Point: Clean the female NPTF port where the male plug will be installed. Ensure it is free from debris, old sealant, or damage.
- Apply Thread Sealant: Apply an appropriate thread sealant (e.g., PTFE tape or pipe thread compound) to the NPTF threads of the M3M3 male plug. Apply sealant only to the male threads, avoiding the first thread to prevent contamination of the pneumatic system.
- Thread the Plug: Carefully thread the male plug into the female NPTF port by hand to ensure proper alignment and prevent cross-threading.
- Tighten the Plug: Use a suitable wrench to tighten the plug. Do not overtighten, as this can damage the threads or the component. Tighten until snug, then apply an additional 1 to 2 turns, or as recommended by the sealant manufacturer.
- Connect to Hose (if applicable): If connecting to a hose, ensure the hose is properly secured to the female coupler that will receive this male plug. Remember the safety note: use at least an 18-inch hose between an air tool and the coupling.
- Test for Leaks: After installation, slowly repressurize the system and check all connections for leaks using a leak detection solution. Address any leaks immediately.
6. Operation
The Dixon M3M3 male plug is designed for quick and secure connection with compatible female couplers in pneumatic systems.
6.1 Connecting and Disconnecting
- Connecting:
- Ensure the female coupler is clean and free of debris.
- Insert the M3M3 male plug firmly into the female coupler.
- A distinct click or positive engagement indicates a secure connection. Pull gently on the connection to confirm it is locked.
- Disconnecting:
- For automatic couplers (ARO 210/310, Hansen 210/310 interchange), pull back the sleeve on the female coupler to release the male plug.
- For manual couplers (Parker 50-Series, Amflow Type 'B' interchange), follow the specific disconnection procedure for that coupler type, typically involving a twist or pull mechanism.
- Always be aware of potential air pressure release during disconnection.
7. Maintenance
Regular maintenance ensures the longevity and optimal performance of your Dixon M3M3 male plug.
7.1 Routine Care
- Cleaning: Keep the plug clean and free from dirt, dust, and moisture. Use a clean cloth to wipe down the exterior.
- Inspection: Periodically inspect the plug for signs of wear, corrosion, dents, or other damage. Pay close attention to the sealing surfaces and threads.
- Lubrication: While the plug itself does not typically require lubrication, ensure that any mating female couplers are properly maintained and lubricated according to their respective manuals.
- Storage: Store plugs in a clean, dry environment when not in use to prevent contamination and corrosion.
- Replacement: Replace any plug that shows significant wear, damage, or signs of leakage immediately to prevent system failure or safety hazards.
8. Troubleshooting
This section addresses common issues that may arise during the use of the M3M3 male plug.
| Problem | Possible Cause | Solution |
|---|---|---|
| Air Leakage at Connection |
|
|
| Difficulty Connecting/Disconnecting |
|
|
| Plug does not stay connected |
|
|
9. Warranty and Support
For specific warranty information regarding the Dixon M3M3 M-Series Interchange Male Plug, please refer to the documentation provided at the time of purchase or contact Dixon Valve directly. Support for this product can be obtained through your authorized Dixon distributor or by visiting the official Dixon Valve website.
Manufacturer: Dixon Valve