Introduction
This manual provides essential information for the proper installation, operation, and maintenance of your labwork Steering U Joint, Model F8-015095. This universal joint is designed for various automotive applications requiring a 3/4 DD x 3/4 DD connection, including steering systems. Please read these instructions thoroughly before proceeding with installation or use to ensure safety and optimal performance.
Safety Information
WARNING: Improper installation or use of this steering component can lead to loss of vehicle control, resulting in serious injury or death. Professional installation is highly recommended.
- Always wear appropriate personal protective equipment (PPE), including safety glasses and gloves, during installation.
- Ensure the vehicle is securely supported on jack stands or a lift before working underneath it.
- Disconnect the vehicle's battery before beginning any electrical work.
- Verify all fasteners are tightened to the manufacturer's specified torque values.
- Do not modify the U-joint or any related steering components.
- If you are unsure about any step, consult a qualified automotive technician.
Product Overview
The labwork Steering U Joint (Model F8-015095) is a precision-engineered component designed to connect two rotating shafts, allowing for angular misalignment. It features a durable construction suitable for demanding automotive steering applications.
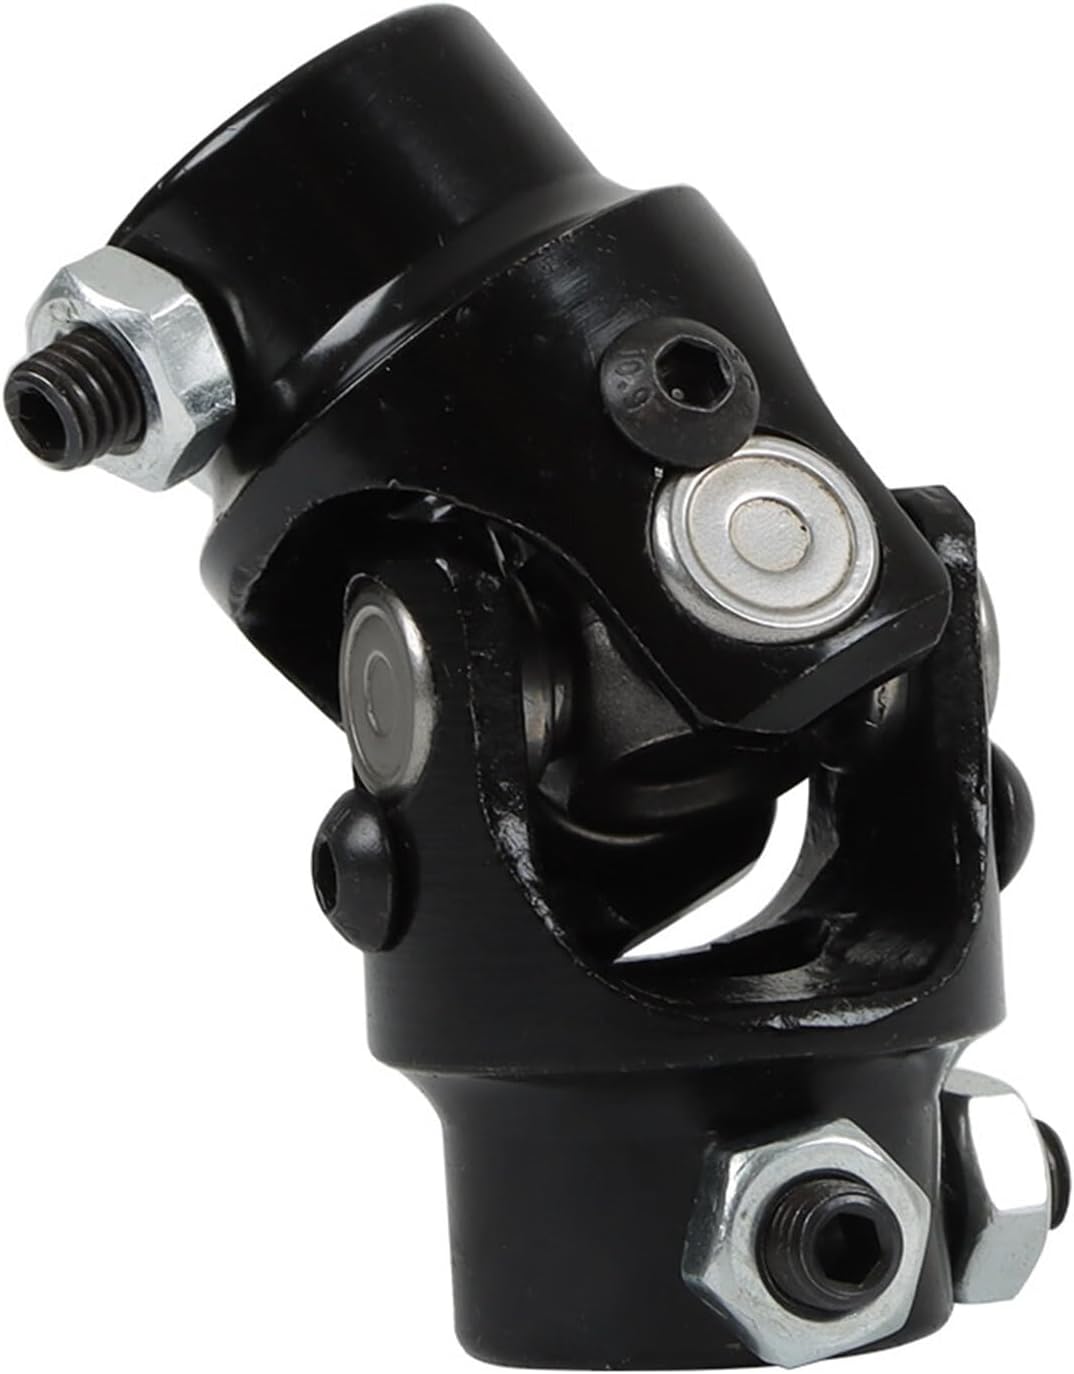
Image: Angled view of the labwork Steering U Joint, showing its robust construction and connection points.
This universal joint is specifically designed with 3/4 DD (Double D) connections on both ends, ensuring a secure fit with compatible steering shafts. Its compact design allows for efficient power transfer and flexibility within the steering system.

Image: Side view of the labwork Steering U Joint, highlighting the universal joint mechanism.

Image: Close-up view of the internal mechanism of the labwork Steering U Joint, showing the cross and bearing cups.
Installation Instructions
The following steps provide general guidance for installing the labwork Steering U Joint. Specific procedures may vary depending on your vehicle's make and model. Always refer to your vehicle's service manual for detailed instructions.
- Preparation: Park the vehicle on a level surface, engage the parking brake, and disconnect the negative terminal of the battery. Secure the steering wheel to prevent rotation during the process.
- Access: Locate the existing steering U-joint. This may require removing trim panels or other components to gain access to the steering column and shaft.
- Marking: Before removal, mark the orientation of the existing U-joint relative to both the steering column shaft and the steering gear input shaft. This ensures correct alignment during reinstallation.
- Removal: Loosen and remove the retaining bolts or clamps securing the old U-joint to both shafts. Carefully slide the old U-joint off. If it is seized, use a penetrating lubricant and a puller if necessary.
- Inspection: Inspect the steering column shaft and steering gear input shaft for any damage, wear, or corrosion. Clean the shafts thoroughly.
- Installation of New U-Joint: Align the new labwork Steering U Joint with the marks made in step 3. Slide the U-joint onto the steering column shaft and then onto the steering gear input shaft. Ensure both 3/4 DD connections are fully seated.
- Securing: Insert and tighten the retaining bolts or clamps. Refer to your vehicle's service manual for the correct torque specifications. Ensure all fasteners are secure.
- Reassembly & Testing: Reinstall any removed trim panels or components. Reconnect the battery. Test the steering for full range of motion and ensure there is no binding or excessive play. Perform a road test in a safe area to confirm proper steering function.

Image: Close-up of a retaining bolt and nut on the U-joint, illustrating the securing mechanism.
Operation and Function
Once correctly installed, the labwork Steering U Joint facilitates the transfer of rotational motion from the steering column to the steering gear, even when the shafts are not perfectly aligned. This allows for smooth and responsive steering control. The universal joint is a critical component in the steering system, accommodating changes in angle as the steering wheel is turned and the vehicle's suspension moves.
Proper operation relies on the U-joint being free from binding, excessive play, or corrosion. Any unusual noises, stiffness, or looseness in the steering should be investigated immediately.
Maintenance
The labwork Steering U Joint is designed for durability and typically requires minimal maintenance. However, periodic inspection is recommended to ensure its longevity and safe operation:
- Visual Inspection: Regularly check the U-joint for signs of wear, corrosion, cracks, or damage to the bearing cups and cross. Look for any loose or missing fasteners.
- Check for Play: With the vehicle safely supported, attempt to move the steering shafts connected by the U-joint by hand. There should be no noticeable play or looseness in the joint itself.
- Lubrication: While many modern U-joints are sealed and maintenance-free, if your specific U-joint has grease fittings, lubricate it according to your vehicle manufacturer's recommendations using appropriate grease.
- Cleaning: Keep the U-joint free from excessive dirt, debris, and road salt, which can accelerate wear and corrosion.
Replace the U-joint immediately if any signs of significant wear, damage, or excessive play are detected.
Troubleshooting
If you experience issues with your steering system after installing or while using the labwork Steering U Joint, consider the following:
| Symptom | Possible Cause | Solution |
|---|---|---|
| Stiff Steering / Binding | Incorrect installation angle, U-joint seized due to corrosion or lack of lubrication, damaged U-joint. | Check installation alignment. Inspect for corrosion and lubricate if applicable. Replace if damaged. |
| Excessive Play / Loose Steering | Loose retaining bolts, worn U-joint bearings, incorrect shaft size. | Tighten retaining bolts to specifications. Inspect and replace worn U-joint. Verify correct U-joint size for shafts. |
| Clunking or Clicking Noises | Worn U-joint bearings, loose fasteners, contact with other components. | Inspect U-joint for wear and replace if necessary. Check all fasteners. Ensure adequate clearance around the U-joint. |
If troubleshooting steps do not resolve the issue, seek assistance from a qualified automotive technician.
Specifications
| Feature | Detail |
|---|---|
| Brand | labwork |
| Model Number | F8-015095 |
| Connection Type | 3/4 DD x 3/4 DD |
| Item Weight | 14.8 ounces |
| Product Dimensions | 4.41 x 2.13 x 2.05 inches |
| Manufacturer Part Number | 6104317-303272 |
Warranty and Support
For information regarding product warranty, returns, or technical support, please contact labwork customer service directly. Refer to the original purchase documentation or the official labwork website for contact details.
labwork Customer Service: Visit the labwork Store on Amazon