1. Product Overview
This product is a replacement firebox door rope gasket and sealant kit designed for various Breckwell pellet stove models. It is crucial for maintaining an airtight seal on your stove door, which ensures efficient burning and prevents smoke leakage into your living space.
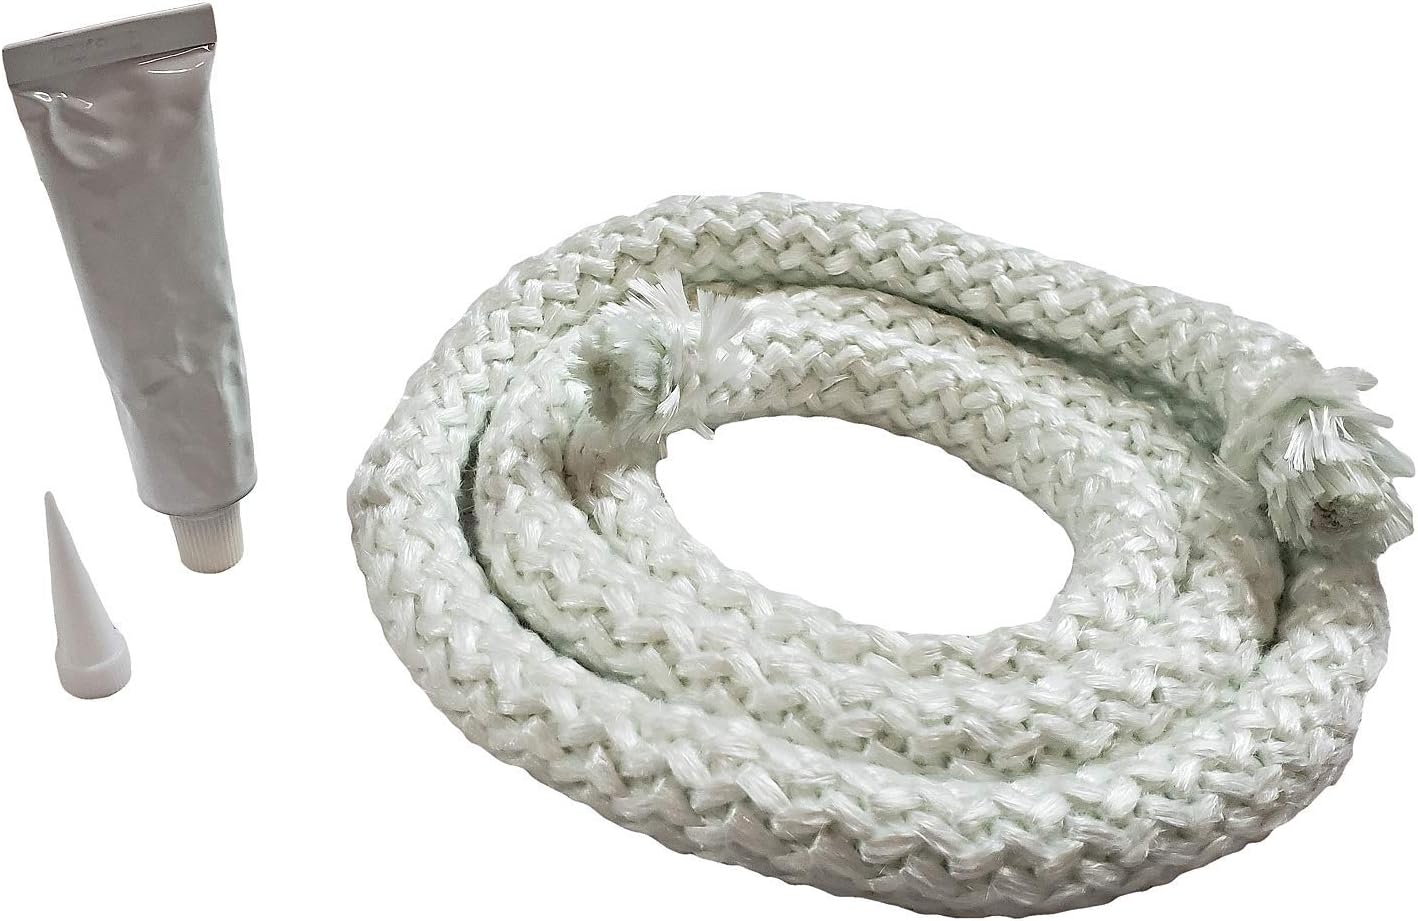
Image 1: The complete kit, including the 5/8" x 6' fiberglass rope gasket and a 1 oz tube of high-temperature silicone sealant with an applicator tip.
The kit includes a 5/8" diameter by 6' length fiberglass rope gasket of medium density and a 1 oz tube of high-temperature silicone sealant, which is essential for proper installation and sealing.
2. Compatible Models
This gasket kit is compatible with the following Breckwell pellet stove models:
- P20 Cadet
- P22 Maverick
- P22I Maverick Insert
- P23 Sonora
- P23I Sonora Insert
- P24 Blazer
- P24I Blazer Insert
- P26 Cadet
- P28
- P28I
- P32I Cadet
- SPC50
- P1000 Big E
- P2000 Tahoe (Note: This model requires 9' of gasket, so two kits may be needed or additional gasket material sourced.)
- P2700 Mojave
- P4000 Classic Cast
- P7000 Solstice
- SP6000 Heartland
- Big E II - SP1002
3. Installation Instructions
Proper installation of the door gasket is critical for the safe and efficient operation of your pellet stove. Follow these steps carefully:
- Safety First: Ensure the pellet stove is completely cool and unplugged from its power source before beginning any work. Wear appropriate safety gear, including gloves and eye protection.
- Remove Old Gasket: Open the stove door and carefully remove the old gasket from its channel. Use a wire brush or scraper to clean out any old adhesive or debris from the gasket channel. Ensure the channel is clean and dry.
- Prepare New Gasket: Uncoil the new fiberglass rope gasket. Measure the length needed for your stove door, allowing for a slight overlap at the ends. Cut the gasket to the appropriate length using sharp scissors or a utility knife.
- Apply Sealant: Apply a continuous bead of the included high-temperature silicone sealant into the clean gasket channel. Ensure even coverage.
- Install New Gasket: Press the new gasket firmly into the sealant-filled channel, starting from one corner and working your way around the door. Ensure the gasket is seated snugly and evenly. When you reach the starting point, trim any excess gasket and press the ends together to form a tight seal.
- Cure Time: Close the stove door gently, but do not latch it tightly. Allow the sealant to cure for at least 24 hours (or as recommended on the sealant tube) before operating the stove. This allows the sealant to fully harden and create a durable bond.
- Final Check: After the curing period, inspect the gasket to ensure it is securely in place and forms a complete seal around the door.
4. Operating Considerations
While this product is a component, its proper function is vital for the stove's operation:
- Airtight Seal: A properly installed and maintained door gasket ensures an airtight seal, which is critical for controlling airflow into the firebox. This control directly impacts combustion efficiency and prevents unwanted smoke or carbon monoxide from entering your home.
- Fuel Efficiency: A good seal prevents heat loss and ensures that the stove burns fuel efficiently, leading to better heating performance and reduced pellet consumption.
- Safety: An intact gasket prevents dangerous smoke and exhaust gases from leaking into your living space. Regularly check for any signs of leakage.
5. Maintenance and Care
To ensure the longevity and effectiveness of your new gasket, consider the following maintenance tips:
- Regular Inspection: Periodically inspect the door gasket for signs of wear, fraying, hardening, or gaps. A simple test is to close a dollar bill in the door; if it pulls out easily, the seal may be compromised.
- Cleaning: Keep the gasket and the door channel free of ash and creosote buildup, which can degrade the gasket material over time.
- Replacement Frequency: Gaskets typically need replacement every 1-3 years, depending on stove usage. If you notice smoke leakage, reduced efficiency, or a visibly damaged gasket, replace it immediately.
6. Troubleshooting Common Issues
If you experience issues after gasket replacement, consider these common problems and solutions:
- Smoke Leakage:
- Cause: Gasket not fully seated, sealant not cured, or gasket too short.
- Solution: Re-check gasket seating, allow full cure time, or replace with correct length gasket.
- Poor Heat Output / Excessive Pellet Consumption:
- Cause: Air leakage through the door seal, leading to uncontrolled combustion.
- Solution: Inspect gasket for gaps or damage; replace if necessary.
- Gasket Not Sticking:
- Cause: Insufficient sealant, dirty channel, or not enough cure time.
- Solution: Ensure channel is clean and dry before applying sealant; apply adequate sealant; allow full cure time.
7. Product Specifications
| Attribute | Detail |
|---|---|
| Product Type | Firebox Door Rope Gasket Seal Kit |
| Gasket Diameter | 5/8 inches (1.59 cm) |
| Gasket Length | 6 feet (1.83 meters) |
| Gasket Material | Fiberglass Rope (Medium Density) |
| Sealant Included | Yes, 1 oz tube of High-Temperature Silicone Sealant |
| Part Numbers | C-G-050 / 724-6K |
8. Warranty Information
Specific warranty details for this product are not provided in the available information. Please refer to the seller or manufacturer's official website for any applicable warranty policies.
9. Customer Support
For any questions regarding this part number, product compatibility, or installation, please contact the seller directly. They can provide further assistance and clarification.
"Contact with us ! If you have questions about part number / model ."