
Aluratek AWC2KF
Aluratek 2K HD Webcam Instruction Manual
Model: AWC2KF | Brand: Aluratek
Introduction
The Aluratek 2K HD Webcam (Model AWC2KF) is designed to provide high-quality video and audio for your communication needs. Featuring 2K HD resolution, dual stereo noise-cancelling microphones, auto-focus, and automatic low-light correction, this webcam ensures clear visuals and crisp audio for video calls, recordings, and live streaming. Its plug-and-play design offers universal compatibility with various operating systems and popular video conferencing applications.
Key Features
- Full HD 2K Video: Delivers high-resolution video for clear and detailed visuals during calls, webinars, and recordings.
- Dual Stereo Noise-Cancelling Microphones: Captures clear audio while reducing background noise, ensuring your voice is heard distinctly.
- Automatic Low-Light Correction: Adjusts color and brightness automatically to maintain natural lighting conditions, even in dimly lit environments.
- Auto-Focus: Ensures a sharp and clear image by automatically adjusting the focus.
- Wide 80-Degree Angle: Captures a broad field of view without distortion, suitable for individual or group presentations.
- Built-in Tripod Mount: Offers versatile mounting options for stability and optimal positioning.
- Plug-n-Play Ready: Requires no driver installation for quick and easy setup.
Package Contents
- Aluratek 2K HD Webcam (AWC2KF)
- USB Cable (attached)
- Quick Start Guide (not included in this manual)
Setup
The Aluratek 2K HD Webcam is designed for simple plug-and-play installation, requiring no additional drivers for most operating systems.
Mounting the Webcam
The webcam features a versatile mounting clip that allows it to be securely placed on various surfaces:
- On a Laptop or Monitor: Gently open the universal mounting clip and place the webcam on top of your laptop screen or desktop monitor. Ensure the front lip of the clip rests securely on the top edge of the screen, and the rear part of the clip is pressed against the back of the screen for stability.
- On a Table Surface: Fold the universal mounting clip to create a stable stand, allowing the webcam to sit upright on any flat surface.
- On a Tripod: The webcam includes a built-in tripod mount (6 mm / .25 in. screw) on the bottom of the clip, enabling attachment to standard tripods for more flexible positioning.

Figure 1: Detailed view of the webcam's components and mounting features.

Figure 2: Webcam securely mounted on a laptop.
Connecting to Your Computer
Connect the integrated USB cable from the webcam to an available USB port on your computer. The webcam is plug-and-play, meaning your operating system (Windows or macOS) should automatically detect and install the necessary drivers. No manual driver installation is typically required.
Once connected, the webcam is ready for use with your preferred video conferencing or recording software.
Operating Instructions
The Aluratek 2K HD Webcam is designed for seamless integration with various applications for video communication and content creation.
Using with Video Conferencing Software
The webcam is compatible with popular video calling clients such as Skype, Zoom, WeChat, Google Hangouts, Microsoft Teams, GoToMeeting, and more. To use the webcam:
- Launch your desired video conferencing application (e.g., Zoom, Skype).
- Navigate to the application's settings or preferences, usually found under "Audio & Video" or "Camera/Microphone" settings.
- Select "Aluratek 2K HD Webcam" as your video input device.
- Select "Aluratek 2K HD Webcam" or a similar entry as your microphone input device.
- Adjust any additional settings within the application, such as video resolution or mirror effects, as desired.

Figure 3: Webcam in use for video conferencing.
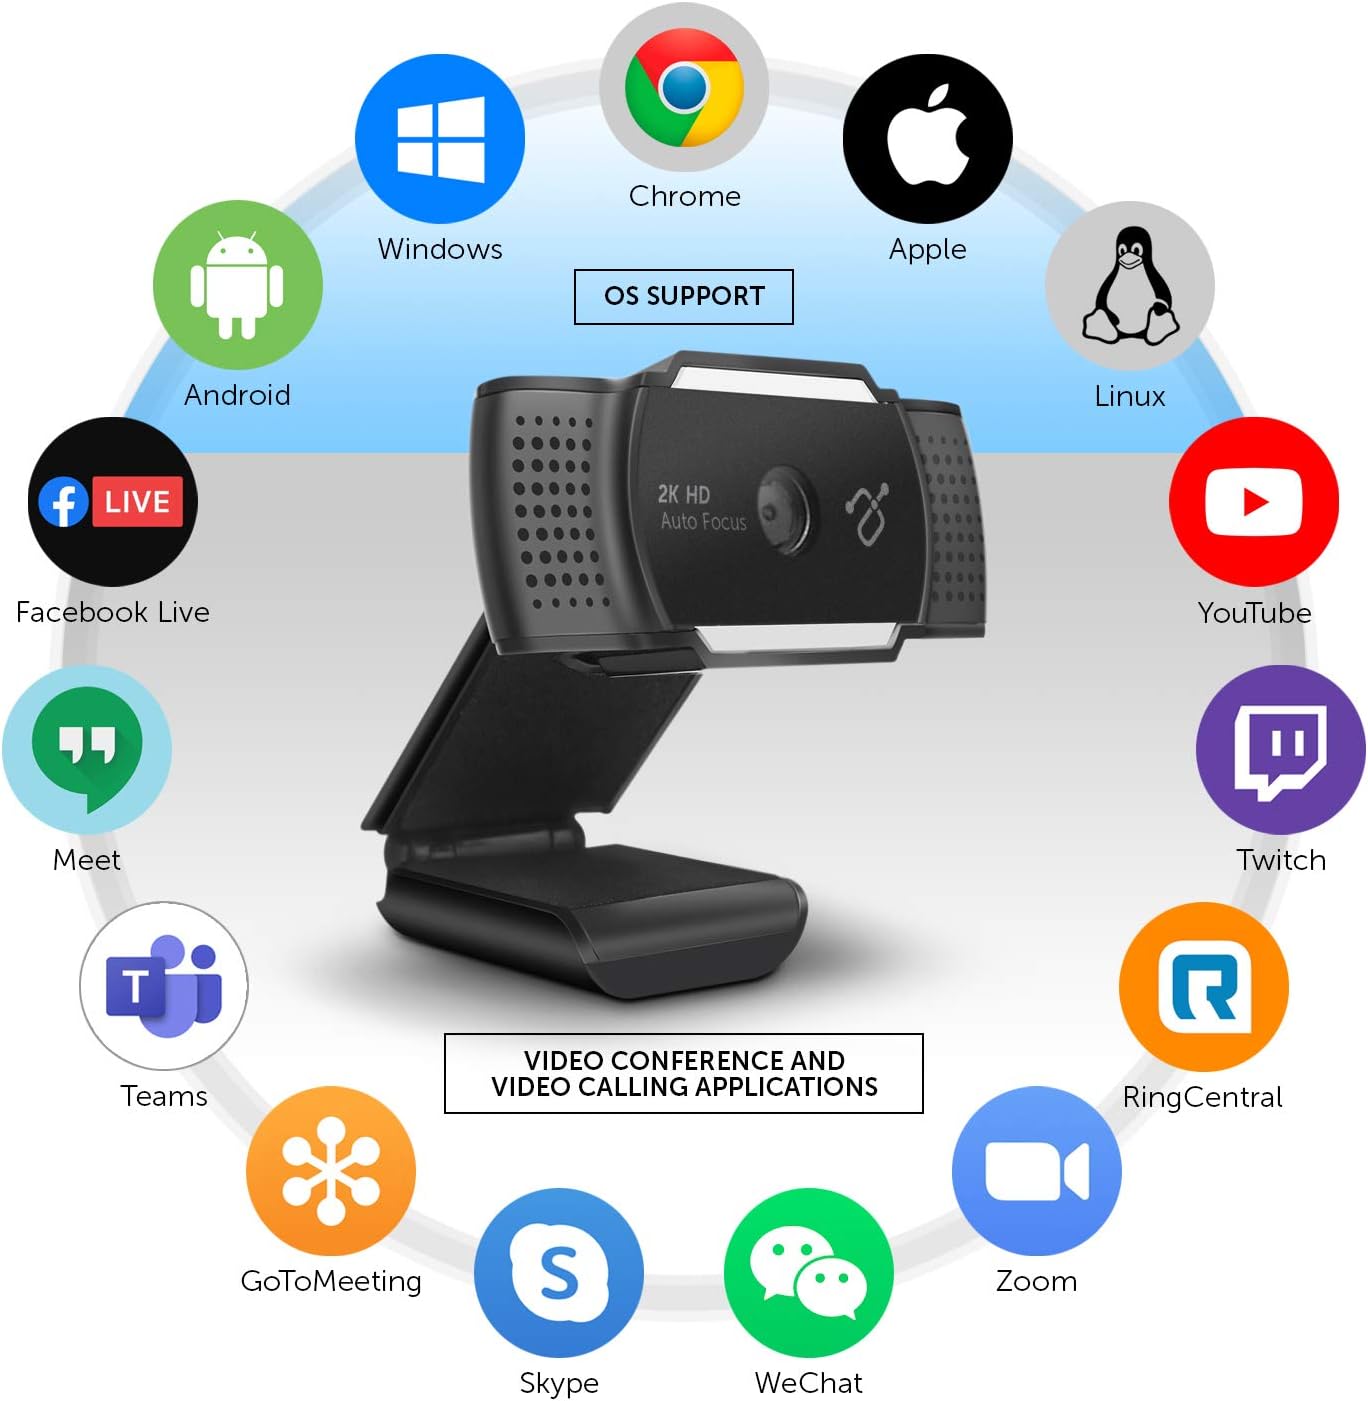
Figure 4: Operating System and Application Compatibility.
Adjusting the Integrated Light
The Aluratek 2K HD Webcam features an integrated light with three adjustable brightness levels to enhance your visibility in various lighting conditions. To cycle through the brightness settings:
- First Press: Activates the lowest brightness setting.
- Second Press: Increases to medium brightness.
- Third Press: Activates the highest brightness setting.
- Fourth Press: Turns the light off.
This feature is particularly useful for improving image quality in low-light environments or for adding fill light to your face.

Figure 5: Front view of the webcam, highlighting the integrated light.
The camera eye can also be adjusted up to 30 degrees to perfectly frame your face or desired area.
Maintenance
To ensure the longevity and optimal performance of your Aluratek 2K HD Webcam, follow these simple maintenance guidelines:
- Cleaning the Lens: Use a soft, lint-free cloth specifically designed for optics to gently wipe the camera lens. Avoid abrasive materials or harsh cleaning chemicals, which can scratch or damage the lens.
- Cleaning the Body: Wipe the exterior of the webcam with a soft, damp cloth. Do not use excessive moisture or allow water to enter any openings.
- Storage: When not in use, store the webcam in a clean, dry place away from extreme temperatures and direct sunlight.
- Cable Care: Avoid bending or crimping the USB cable excessively, as this can damage the internal wires.
- Privacy Cover: Utilize the integrated privacy lens cover when the webcam is not in use to protect the lens from dust and ensure privacy.
Troubleshooting
If you encounter issues with your Aluratek 2K HD Webcam, refer to the following common troubleshooting steps:
No Image or Video
- Check USB Connection: Ensure the webcam's USB cable is securely plugged into a working USB port on your computer. Try a different USB port.
- Restart Application/Computer: Close and reopen your video conferencing application. If the issue persists, restart your computer.
- Verify Camera Selection: In your application's video settings, confirm that "Aluratek 2K HD Webcam" is selected as the active camera device.
- Check Privacy Settings: On Windows, go to Settings > Privacy > Camera and ensure "Allow apps to access your camera" is enabled. On macOS, go to System Preferences > Security & Privacy > Camera and ensure your application has camera access.
- Privacy Cover: Ensure the physical privacy lens cover is open and not obstructing the lens.
Poor Image Quality (Blurry, Dark, Grainy)
- Lighting: Ensure adequate lighting in your environment. Utilize the webcam's integrated light by pressing the button on top of the webcam to cycle through brightness levels.
- Clean Lens: Gently clean the webcam lens with a soft, lint-free cloth.
- Auto-Focus: The webcam features auto-focus. Ensure there are no obstructions in front of the lens that might interfere with focusing.
- Application Settings: Check if your application's video settings allow for resolution adjustments. Higher resolutions require more bandwidth.
No Audio or Poor Audio Quality
- Verify Microphone Selection: In your application's audio settings, confirm that "Aluratek 2K HD Webcam" or a similar entry is selected as the active microphone device.
- Check Microphone Levels: Adjust the microphone input level in your computer's sound settings (Windows: Sound Settings > Sound Control Panel > Recording; macOS: System Preferences > Sound > Input).
- Privacy Settings: On Windows, go to Settings > Privacy > Microphone and ensure "Allow apps to access your microphone" is enabled. On macOS, go to System Preferences > Security & Privacy > Microphone and ensure your application has microphone access.
- Environmental Noise: While the webcam has noise-cancelling microphones, excessive background noise can still affect audio quality. Try to minimize ambient sounds.
Specifications
| Model | AWC2KF |
| Video Capture Resolution | 2592x1944 (2K HD) |
| Photo Sensor Technology | CMOS |
| Field of View | 80 degrees |
| Microphones | Dual Stereo Noise Cancelling |
| Special Features | Auto Focus, Low Light Correction, Built-in Tripod Mount |
| Connectivity Technology | USB |
| Hardware Platform | Mac, PC, Laptop |
| Dimensions (LxWxH) | 1.25 x 1.25 x 1.25 inches |
| Item Weight | 1 ounce |
Warranty and Support
For warranty information and technical support, please refer to the official Aluratek website or contact their customer service directly. Keep your purchase receipt as proof of purchase for any warranty claims.
Aluratek Support: www.aluratek.com/support
Ask a question about this manual
Ask about setup, troubleshooting, compatibility, parts, safety, or missing instructions. Manuals+ will review the question and use this page’s manual context to help answer it.