
1. Product Overview
This manual provides essential information for the installation, operation, and maintenance of your ECCPP Rear Brake Rotors. These rotors are designed to meet OEM specifications, offering efficient heat dissipation and reduced vibration for a safer driving experience.

Image: ECCPP Rear Brake Rotors (Pair)

Image: Product as supplied
2. Product Specifications
The ECCPP Rear Brake Rotors are engineered for specific vehicle models and feature a durable construction for optimal performance.
- Placement on Vehicle: Rear Left and Right
- Brake Rotors Style: Slotted
- Finish: Silver Zinc Plating
- Quantity: 2 pieces
- OEM Part Numbers: 120.35112, 34414
Dimensions:
- Height: 57.6 mm
- Outer Diameter: 300 mm
- Center Hole Diameter: 67 mm
- Pitch Circle Diameter: 112 mm
- Thickness: 10 mm
- Minimum Thickness: 8.3 mm
- Lug Count: 5
- Solid or Vented: Solid

Image: Brake Rotor Dimensions Diagram

Image: Rear Brake Rotors Style and Quantity
3. Vehicle Compatibility
These ECCPP Rear Brake Rotors are compatible with the following Mercedes-Benz models:
- 2012-2016 Mercedes-Benz C250
- 2008-2012 Mercedes-Benz C300
Please verify the OEM part numbers (120.35112, 34414) and specifications against your vehicle's requirements before purchasing and installation.
4. Installation Guidelines
Installation of brake components should be performed by a qualified professional. Improper installation can lead to brake failure and serious injury. Always refer to your vehicle's service manual for specific torque specifications and procedures.
Key Installation Considerations:
- Safety First: Ensure the vehicle is securely lifted and supported on jack stands. Disconnect the battery if working near electrical components.
- Component Inspection: Inspect all related brake components, including calipers, brake pads, and brake lines, for wear or damage. Replace as necessary.
- Rotor Orientation: Ensure correct orientation of the left and right rotors. Slotted rotors often have a specific rotational direction.

Image: Distinguishing Left and Right Rotors
Note: For proper function, ensure the scribe line on the right rotor goes from left to right (clockwise turn), and on the left rotor, from right to left (counter-clockwise turn).
- Cleaning: Clean the hub surface thoroughly to ensure the new rotor sits flush.
- Lubrication: Apply appropriate brake lubricant to caliper slide pins and contact points as recommended by your vehicle manufacturer.
- Torque Specifications: Tighten all fasteners to the manufacturer's specified torque settings.
5. Operating and Break-in Procedure
After replacing brake rotors or pads, a proper break-in procedure is crucial to ensure optimal braking performance and longevity. This process helps to transfer an even layer of friction material from the pads to the rotors, preventing glazing and reducing the likelihood of noise or vibration.
Recommended Break-in Steps:
- Find a safe, open road with minimal traffic.
- Accelerate the vehicle to approximately 60 km/h (37 mph).
- Apply moderate pedal force to brake and reduce the speed to 10 km/h (6 mph). Do not come to a complete stop.
- Repeat steps 2 and 3 for at least 10 braking cycles. Allow for a short cool-down period between cycles to prevent excessive heat buildup.
- After the cycles, drive normally for a few minutes to allow the brakes to cool down completely.
If you feel the brakes are soft after replacement, step on the brake pedal several times to eliminate any gap between the brake rotor and brake pad. It typically takes 800-1200 kilometers (500-750 miles) for the brakes to fully run in and achieve better braking effect.
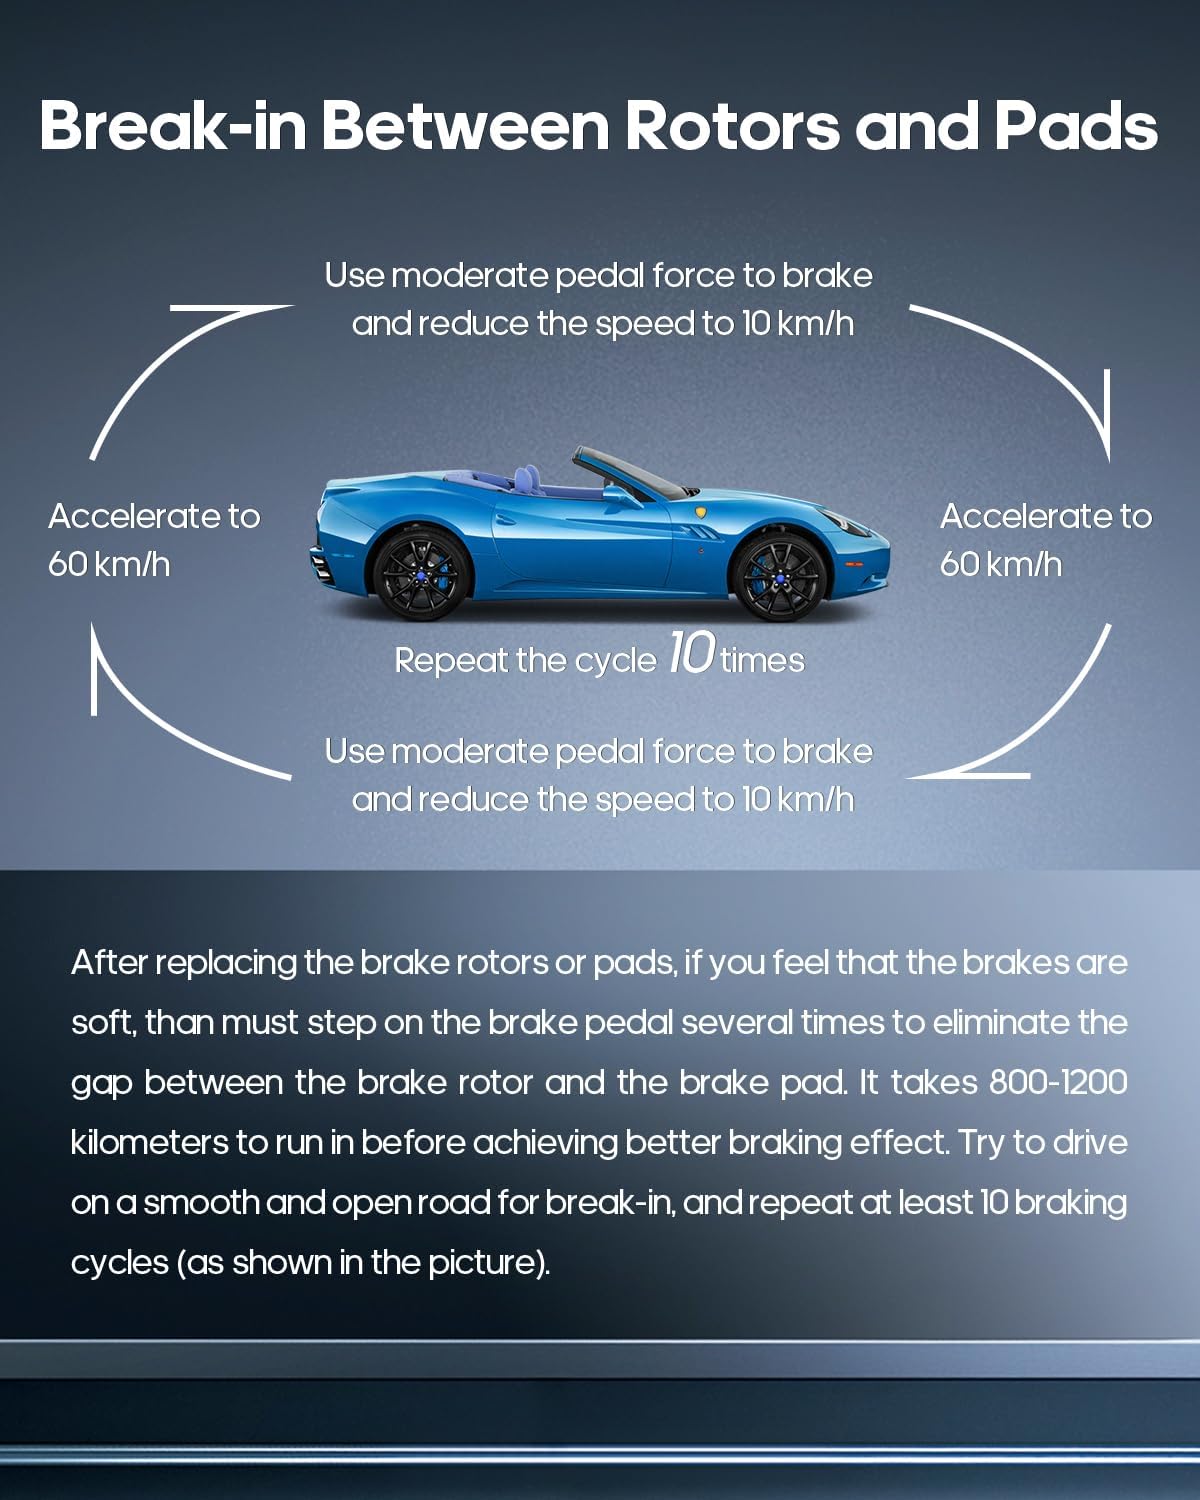
Image: Brake Break-in Procedure

Image: Suitable for Various Road Conditions
6. Maintenance and Care
Regular inspection and proper maintenance are key to extending the life of your brake rotors and ensuring consistent braking performance.
General Maintenance Tips:
- Regular Inspection: Periodically check your brake rotors for signs of wear, cracks, or scoring. Consult a professional if you notice any irregularities.
- Brake Fluid: Ensure brake fluid levels are correct and that the fluid is clean.
- Driving Habits: Avoid aggressive braking when possible, as this can lead to premature wear and heat buildup.

Image: Advanced Carbonization Heat Treatment Process
Note: The advanced carbonization heat treatment process slows down heat attenuation, resists high temperatures, prevents deformation, and increases the service life of the brake disc.
7. Troubleshooting
Common Issues and Solutions:
- Q: What causes rotor warping?
- A: Rotor warping is often caused by a lack of maintenance to the vehicle's rotors, brake calipers, and other braking components. Uneven heat distribution or improper installation can also contribute to warping.
8. Safety Information and Legal Disclaimer
Important: All references to brand names and models are for compatibility purposes only and do not imply any affiliation or endorsement by the original manufacturer. Always prioritize safety and consult with a certified mechanic for any complex installations or repairs.
9. Warranty and Support
ECCPP is committed to providing high-quality automotive parts and professional services. We strive to give drivers a safer driving experience. All products are certified to ISO / IATF 16949 standards.
- Customer Service: ECCPP provides 24-hour service for all brake products.
- Global Reach: Over 1,000,000 units sold to more than 150 countries.
- Experience: Dedicated to automotive brake parts for over 10 years.
For further assistance or inquiries, please visit the official ECCPP store or contact customer support.

Image: ECCPP Brand Logo