1. Overview
The Garmin GT36 Transducer is designed to enhance your marine navigation and fishing experience by providing Ultra High-Definition SideVü and ClearVü scanning sonar. This transducer delivers clear, detailed images of structure and fish both below and to the sides of your vessel, aiding in efficient target identification. It is compatible with various Garmin chartplotters and includes hardware for both transom and trolling motor mounting.

Figure 1.1: Angled view of the Garmin GT36 Transducer. This image shows the main body of the transducer with its mounting bracket and cable connection.
2. What's in the Box
Upon opening the package, verify that all components are present:
- 12-pin GT36 Transducer
- Transom Mount
- Trolling Motor Mount
- Mounting Hardware (screws, washers, nuts)
- Documentation (this manual and other guides)

Figure 2.1: Top-down view of the Garmin GT36 Transducer. This image illustrates the transducer's flat profile and the Garmin branding.
3. Key Features
The GT36 Transducer incorporates advanced sonar technologies for superior underwater imaging:
- Ultra High-Definition SideVü Scanning Sonar: Provides clear images of structure and fish to the sides of your boat, with a 20% greater range at 1000 kHz compared to previous models.
- Ultra High-Definition ClearVü Scanning Sonar: Delivers brilliant image clarity of structure and fish directly below your boat, effective at greater depths.
- Multiple Scanning Sonar Frequencies: Operates at 455 kHz, 800 kHz, and 1000 kHz, allowing selection of the optimal frequency for various water conditions and depths.
- Vivid Color Palettes: High-contrast color palettes enhance target and structure differentiation on compatible chartplotters.
- Flexible Mounting Options: Includes hardware for both transom and trolling motor installations.
- Optional CHIRP Traditional Sonar: Can be paired with a Garmin GT8HW-IH or GT15M-IH transducer (sold separately) using a Y-cable (sold separately) to add high-wide CHIRP traditional sonar for improved target separation.

Figure 3.1: Illustration of Ultra High-Definition ClearVü and SideVü scanning sonars. This image highlights the transducer's capability to provide detailed underwater views.
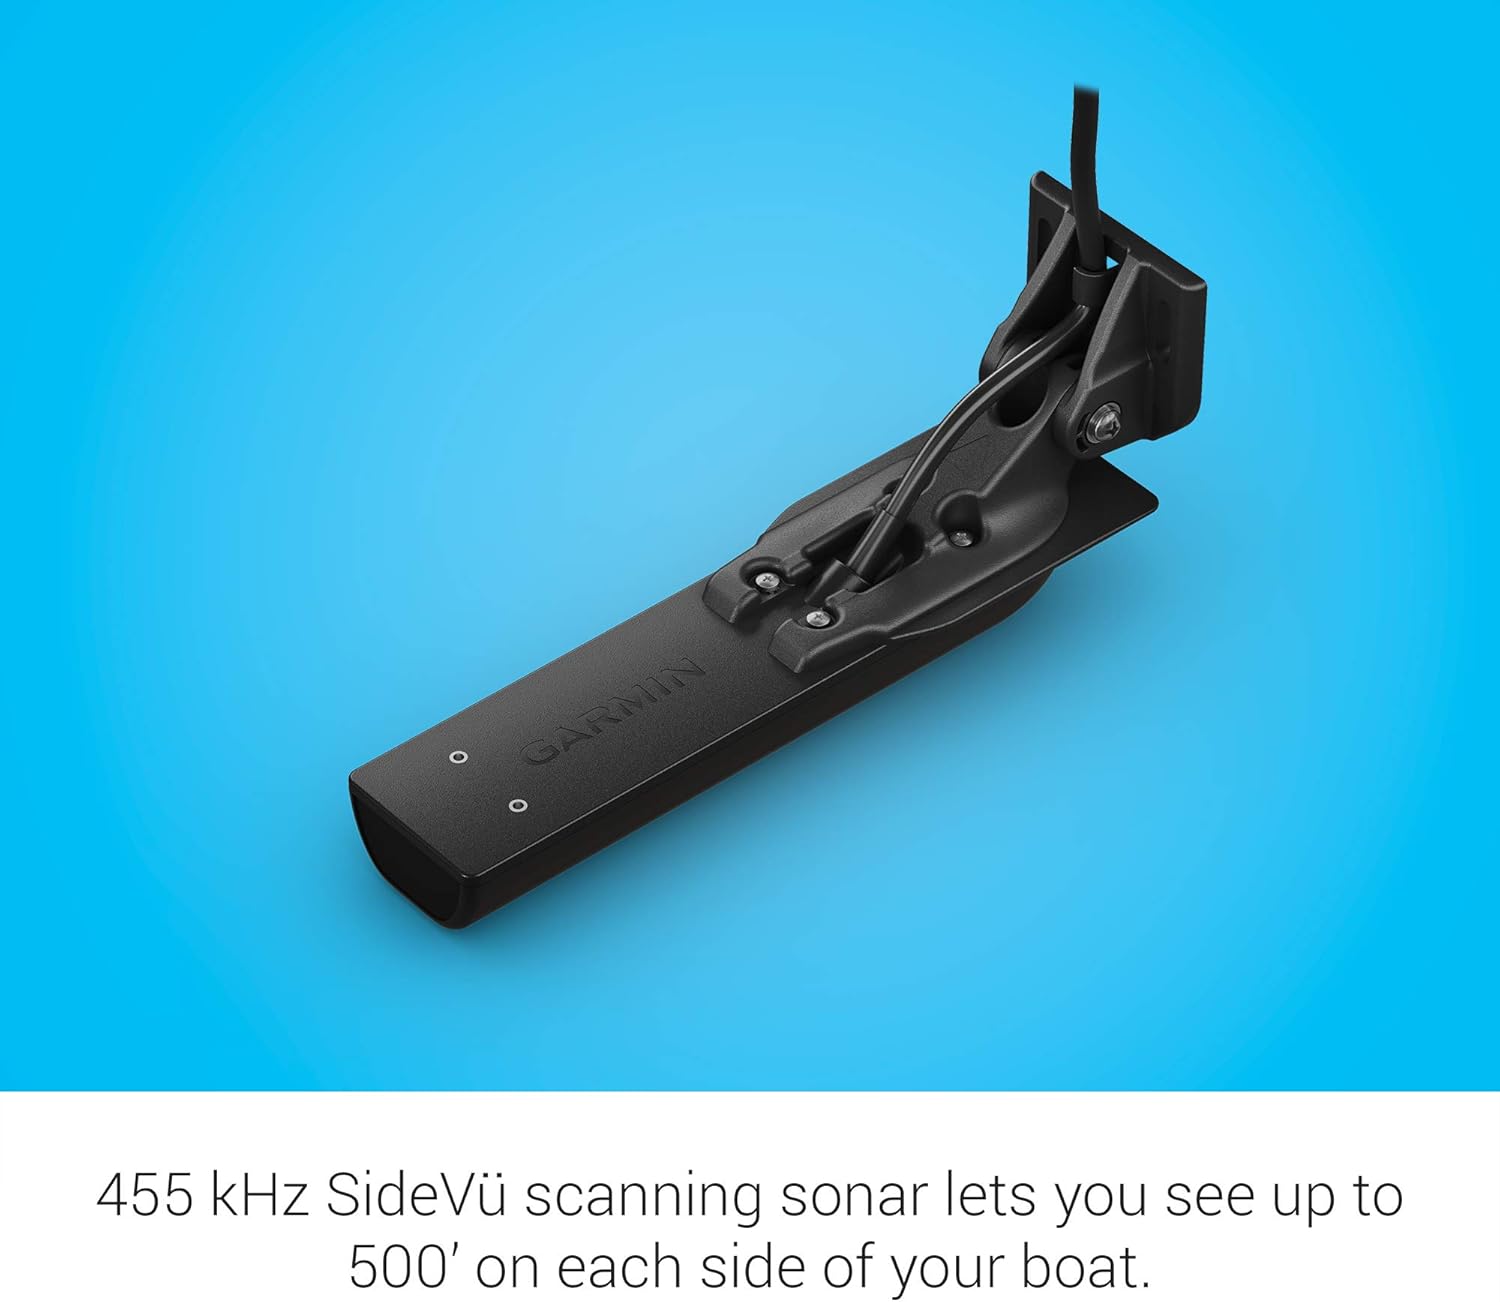
Figure 3.2: Depiction of 455 kHz SideVü scanning sonar range. This image emphasizes the transducer's ability to scan up to 500 feet on each side of the boat.
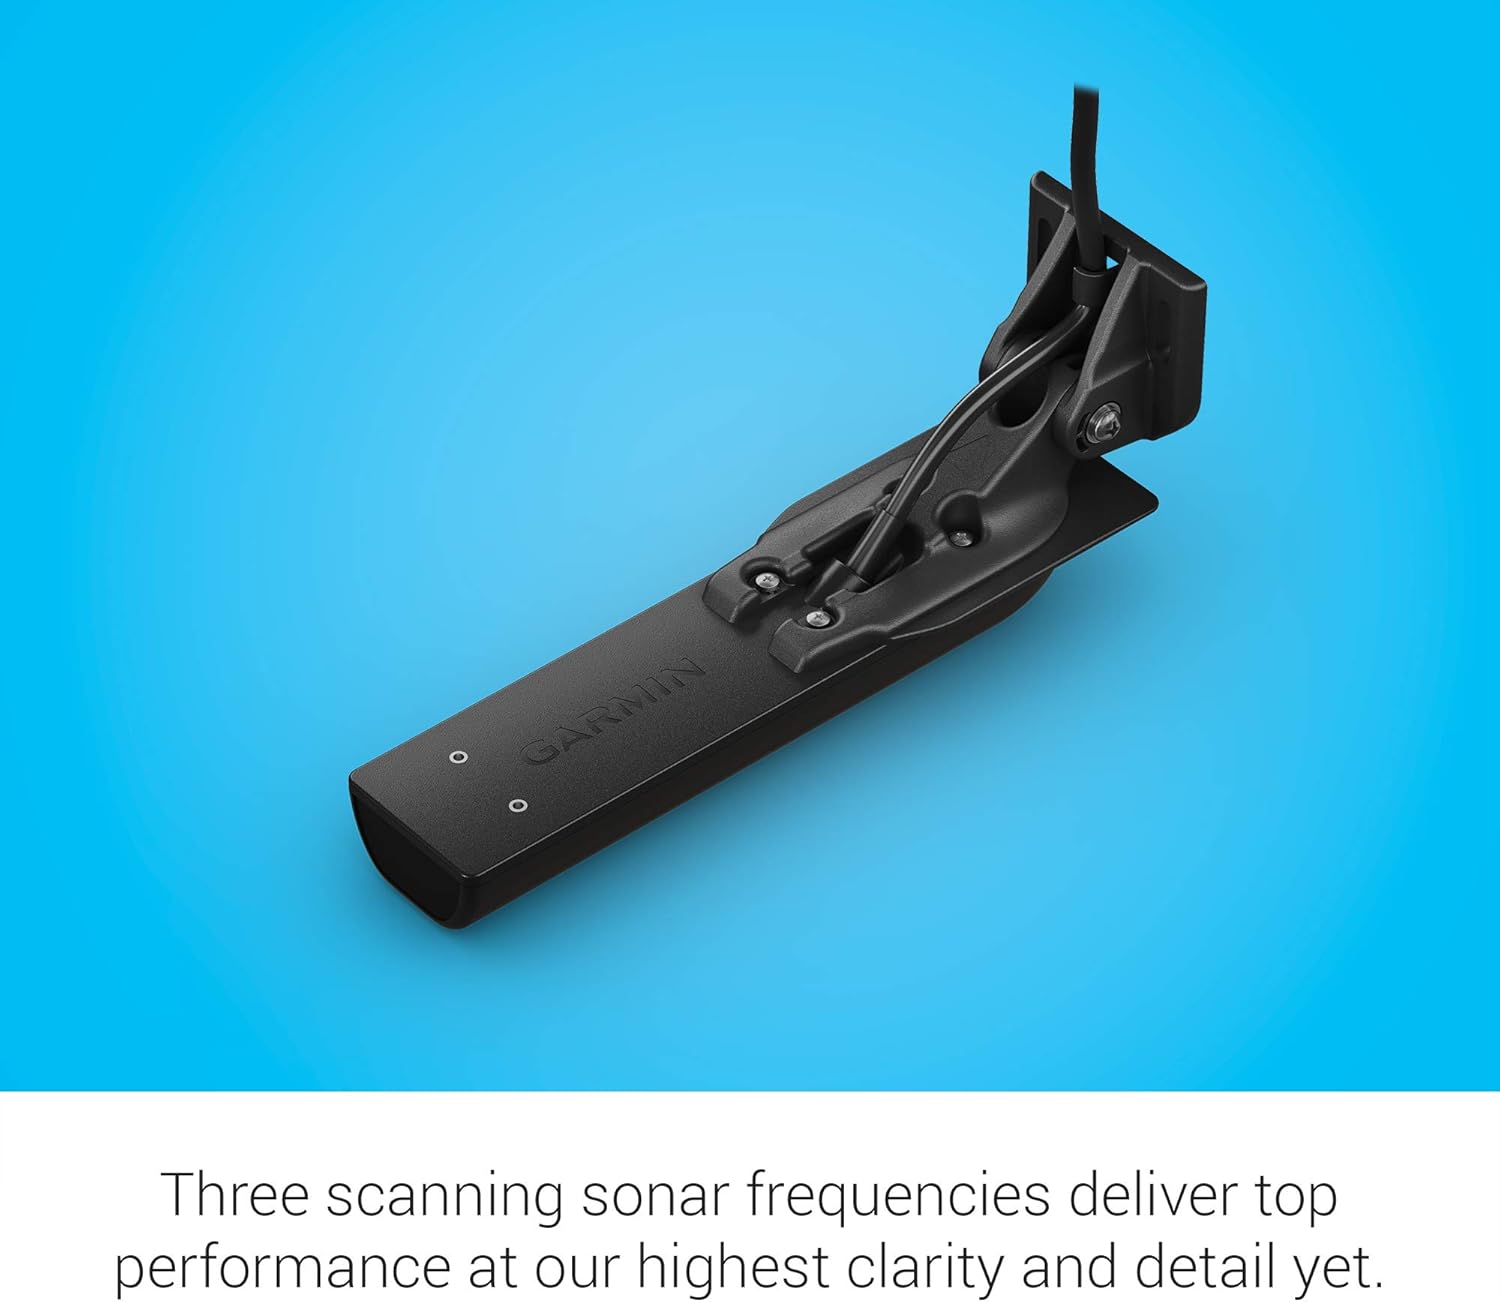
Figure 3.3: Explanation of the three scanning sonar frequencies. This image details the 455 kHz, 800 kHz, and 1000 kHz frequencies for optimal performance.

Figure 3.4: Description of vivid scanning sonar color palettes. This image illustrates how color palettes aid in distinguishing targets and structure.
4. Setup and Installation
Proper installation is crucial for optimal performance. The GT36 Transducer can be mounted on the transom or a trolling motor. Refer to the detailed installation instructions provided in the separate installation guide for your specific mounting type.
4.1. General Considerations
- Choose a mounting location that minimizes turbulence and interference.
- Ensure the transducer face is fully submerged in water during operation.
- Route cables away from electrical interference sources.
- Secure all connections to prevent water ingress.
4.2. Transom Mount Installation
The transom mount allows for easy adjustment and removal. Follow these general steps:
- Select a flat area on the transom, clear of obstructions.
- Drill pilot holes as indicated in the installation template (provided separately).
- Attach the mounting bracket to the transom using the supplied hardware.
- Secure the transducer to the bracket, ensuring it is level with the bottom of the boat.
- Route the transducer cable to your compatible Garmin chartplotter, avoiding sharp bends.
- Connect the 12-pin connector to the appropriate port on your chartplotter.
4.3. Trolling Motor Mount Installation
For trolling motor applications, use the dedicated trolling motor mount:
- Attach the trolling motor mount to the shaft of your trolling motor.
- Secure the transducer to the trolling motor mount.
- Route the cable along the trolling motor shaft, ensuring it does not interfere with motor operation or propeller.
- Connect the 12-pin connector to your compatible Garmin chartplotter.
Important: Always consult the detailed installation instructions included with your transducer for specific drilling templates, cable routing guidelines, and safety precautions.
5. Operating Instructions
The GT36 Transducer functions in conjunction with a compatible Garmin chartplotter. Refer to your chartplotter's owner's manual for detailed instructions on sonar settings and display options.
5.1. Powering On and Initial Setup
- Ensure the transducer is correctly connected to the chartplotter and the chartplotter is powered on.
- Navigate to the sonar screen on your chartplotter.
- The chartplotter should automatically detect the GT36 transducer. If not, check the transducer connection and chartplotter settings.
5.2. Sonar Modes
- ClearVü: Provides a high-resolution, photographic-like image of what is directly below your boat. Ideal for identifying structure and fish arches.
- SideVü: Offers a wide, detailed view of the bottom and structure to the left and right of your boat. Useful for scouting large areas quickly.
- Traditional Sonar (Optional): If a compatible CHIRP traditional sonar transducer is connected via a Y-cable, this mode provides conventional sonar views for target separation.
5.3. Adjusting Settings
Optimal sonar performance often requires adjusting settings based on water conditions, depth, and target species. Common adjustable settings include:
- Frequency: Select 455 kHz for wider coverage, 800 kHz for a balance of detail and range, or 1000 kHz for maximum detail and range in SideVü.
- Gain/Sensitivity: Adjust to increase or decrease the sensitivity of the sonar receiver. Higher gain shows more detail but can also introduce clutter.
- Range: Set the depth or side range to match the water depth or desired scanning area.
- Color Palette: Experiment with different color palettes to find the one that provides the best contrast and readability for your eyes and conditions.
- Noise Rejection: Use to filter out unwanted interference from other electronics or turbulence.
Consult your chartplotter's manual for specific menu navigation and detailed explanations of each setting.
6. Maintenance
Regular maintenance ensures the longevity and optimal performance of your GT36 Transducer.
6.1. Cleaning the Transducer
- After each use, especially in saltwater, rinse the transducer with fresh water to remove salt, dirt, and marine growth.
- Use a soft cloth and mild soap to clean the transducer face. Avoid abrasive cleaners or solvents that could damage the surface.
- Remove any marine growth (e.g., barnacles, algae) promptly, as it can significantly degrade sonar performance. Use a soft brush or plastic scraper; avoid metal tools.
6.2. Inspecting Cables and Connections
- Periodically inspect the transducer cable for cuts, abrasions, or kinks.
- Check all connections for corrosion or looseness. Ensure the 12-pin connector is clean and securely seated.
- Apply a thin layer of dielectric grease to electrical connections to prevent corrosion, if recommended by Garmin.
6.3. Storage
- If storing your boat for an extended period, consider removing the transducer (if easily detachable) and storing it in a clean, dry place.
- Protect the transducer face from impact or scratches during storage.
7. Troubleshooting
This section provides solutions to common issues. For more complex problems, contact Garmin support.
| Problem | Possible Cause | Solution |
|---|---|---|
| No sonar readings or "Transducer Not Connected" message. | Loose or faulty cable connection; incorrect transducer selected on chartplotter; damaged transducer. |
|
| Poor sonar image quality (clutter, weak returns). | Air bubbles under transducer; marine growth; electrical interference; incorrect gain/frequency settings. |
|
| Inconsistent depth readings. | Transducer not fully submerged; excessive boat speed; air bubbles. |
|
8. Specifications
| Attribute | Detail |
|---|---|
| Brand | Garmin |
| Model Name | GT36 Transducer |
| Item Model Number | 010-13072-00 |
| Sonar Frequencies | ClearVü: Ultra High-Definition; SideVü: 455 kHz, 800 kHz, 1000 kHz |
| Maximum Measuring Depth | 500 Feet (ClearVü/SideVü performance varies by frequency and water conditions) |
| Mounting Type | Transom Mount, Trolling Motor Mount |
| Connector | 12-pin |
| Product Dimensions | 5.6 x 12.9 x 4.4 inches |
| Item Weight | 15.4 ounces (approx. 437 grams) |
| Color | Black |
| UPC | 753759269319, 753759232085 |
9. Warranty and Support
For warranty information, please refer to the warranty card included with your product or visit the official Garmin website. Garmin provides a limited warranty for its products against defects in materials and workmanship.
9.1. Customer Support
If you encounter issues not covered in this manual or require further assistance, please contact Garmin customer support:
- Garmin Website: www.garmin.com/support
- Phone Support: Refer to the Garmin website for regional contact numbers.
When contacting support, have your product model number (010-13072-00) and serial number ready.