
1. Introduction
Thank you for purchasing the QZFH FSD101 Invisible Ceiling Fan with Lights. This manual provides essential information for the safe installation, operation, and maintenance of your new ceiling fan. Please read it thoroughly before use and retain it for future reference.
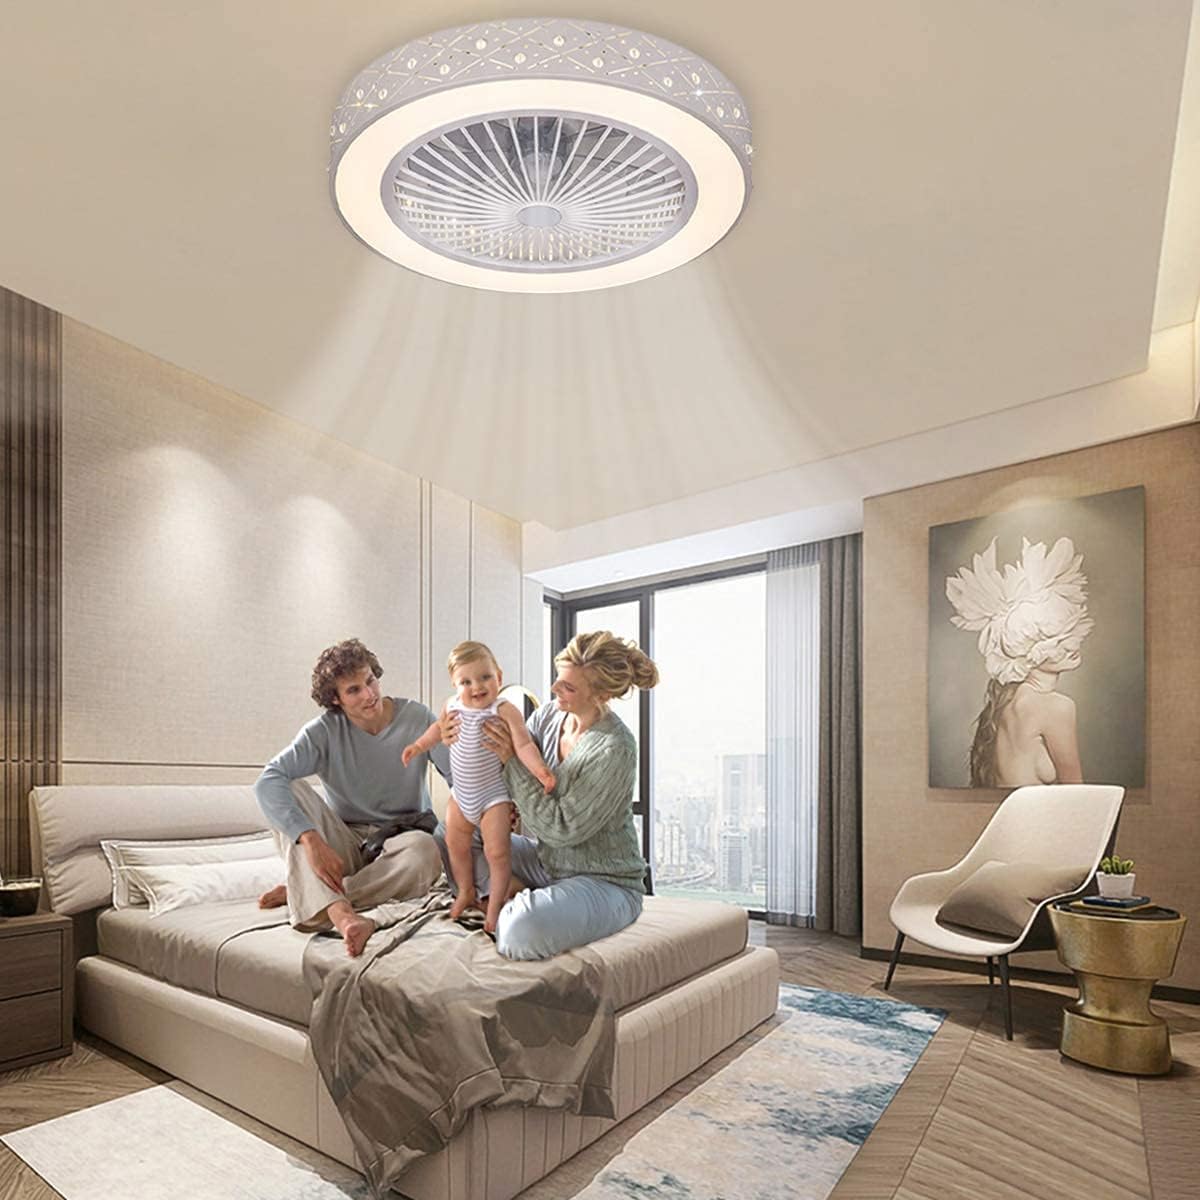
Figure 1.1: QZFH FSD101 Invisible Ceiling Fan with Lights installed in a bedroom setting.
2. Important Safety Instructions
Always follow basic safety precautions when installing and operating electrical appliances to reduce the risk of fire, electric shock, and personal injury.
- Read all instructions: Familiarize yourself with the product before attempting installation or operation.
- Electrical Safety: Ensure the power supply is disconnected at the circuit breaker before installation or servicing. All wiring must be in accordance with national and local electrical codes.
- Qualified Electrician: If you are unsure about wiring or installation, consult a qualified, licensed electrician.
- Mounting: The mounting structure must be capable of supporting the weight of the fan (refer to specifications).
- Blade Clearance: Ensure there is adequate clearance between the fan blades and any obstructions.
- Remote Control Battery: Keep batteries out of reach of children. Dispose of used batteries properly.
- Cleaning: Disconnect power before cleaning. Use a soft, damp cloth; avoid harsh chemicals.
3. Package Contents
Verify that all components are present and undamaged upon unpacking. If any parts are missing or damaged, contact customer support.
- Ceiling Fan Unit (with integrated LED light and acrylic lampshade)
- Remote Control
- Mounting Bracket
- Installation Hardware (screws, wall anchors)
- User Manual
- Crystal Balls (for optional lampshade embellishment)
4. Product Specifications

Figure 4.1: Product dimensions for the QZFH FSD101 Ceiling Fan.
| Feature | Detail |
|---|---|
| Model Number | FSD101 |
| Brand | QZFH |
| Dimensions | 22 inches (Diameter) x 8.66 inches (Height) |
| Material | Alloy Steel, Acrylic |
| Voltage | 110V (AC) |
| Wattage | 32 watts |
| Light Source | LED |
| Lighting Modes | Warm Yellow, Natural, White (3 Color Dimmable) |
| Control Method | Remote Control |
| Mounting Type | Semi Flush Mount |
| Recommended Room Size | Bedroom, Dining Room, Kitchen, Living Room |
| Certification | FCC |
5. Setup and Installation
Before beginning installation, ensure the power is turned off at the circuit breaker. It is recommended to have two people for installation.
5.1 Mounting the Bracket
- Locate a suitable mounting location on the ceiling, preferably an existing electrical junction box rated for fan support.
- Attach the mounting bracket to the ceiling using the provided screws and wall anchors. Ensure it is securely fastened.

Figure 5.1: Mounting bracket and hardware.
5.2 Wiring the Fan
- Carefully connect the fan's electrical wires to your household wiring. Match the colors: typically black to black (live), white to white (neutral), and green/bare copper to green/bare copper (ground).
- Ensure all connections are secure using wire nuts.

Figure 5.2: Electrical wiring connections.
5.3 Attaching the Fan Unit
- Carefully lift the fan unit and align it with the mounting bracket. Secure the fan unit to the bracket using the designated screws.
- Ensure the fan is firmly attached and does not wobble.

Figure 5.3: Attaching the fan unit.

Figure 5.4: Securing the fan unit.
5.4 Optional Crystal Ball Installation
If desired, attach the provided crystal balls to the designated slots on the lampshade for added embellishment.
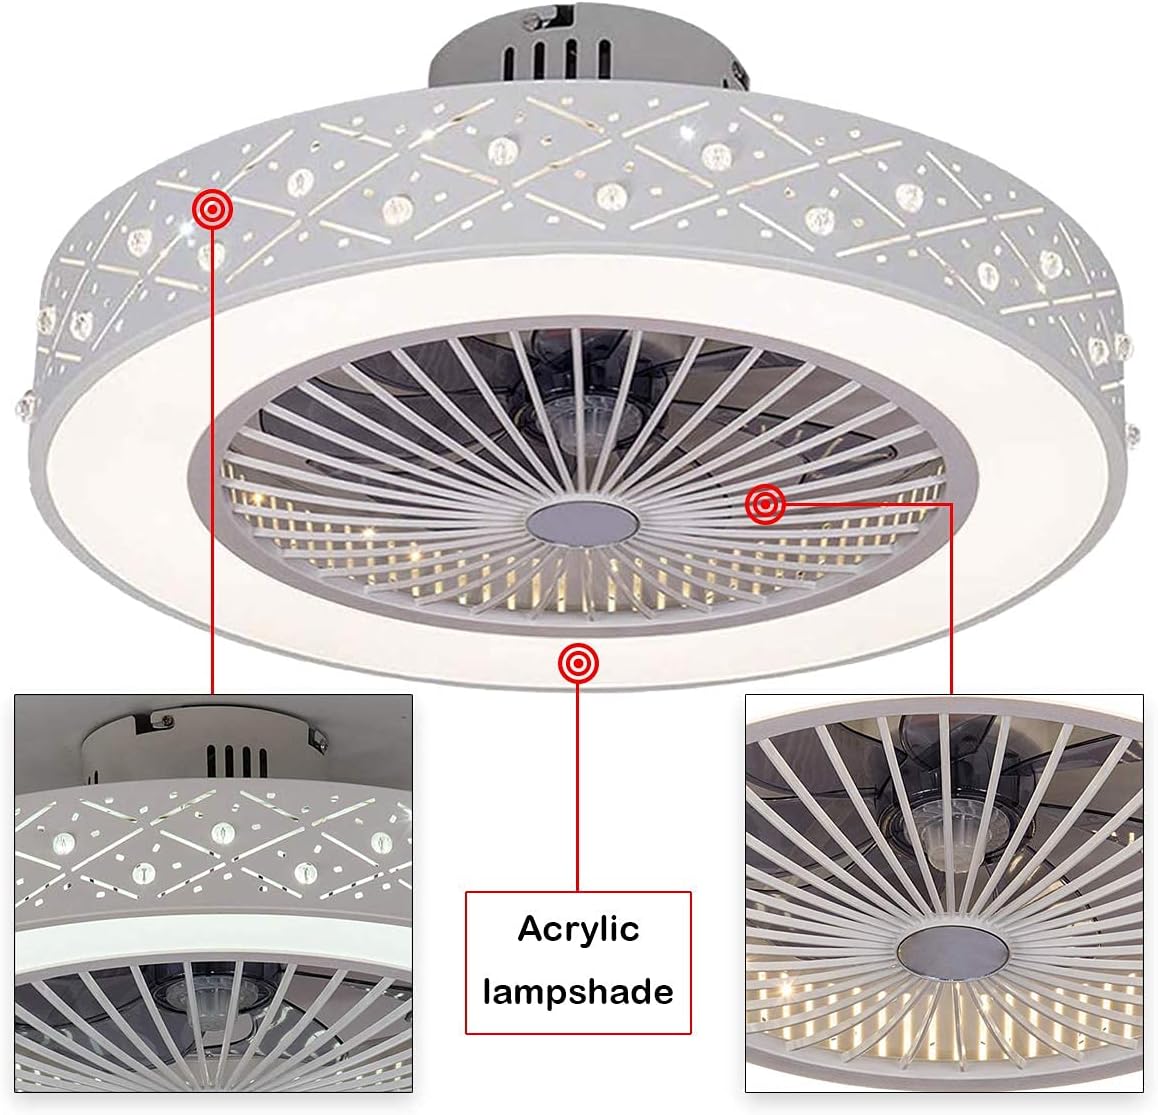
Figure 5.5: Detail of the acrylic lampshade with crystal ball slots.
6. Operating Instructions
The QZFH FSD101 ceiling fan is operated using the included remote control.
6.1 Remote Control Overview

Figure 6.1: Remote Control Layout.
- Light ON/OFF & Color Change: Press to turn the light on or off. Press repeatedly to cycle through Warm Yellow, Natural, and White light modes.
- Fan Speed 1 (Low): Activates the fan at low speed.
- Fan Speed 2 (Medium): Activates the fan at medium speed.
- Fan Speed 3 (High): Activates the fan at high speed.
- STOP: Turns off the fan.
- 1H Timer: Sets the fan to turn off automatically after 1 hour.
- 2H Timer: Sets the fan to turn off automatically after 2 hours.
- 4H Timer: Sets the fan to turn off automatically after 4 hours.
- Fan ON/OFF: Turns the fan on or off at the last used speed.
6.2 Installing Remote Control Battery
The remote control requires one 12V A23 battery (not included). Open the battery compartment on the back of the remote and insert the battery, observing polarity.

Figure 6.2: Required 12V A23 battery for remote control.
6.3 Light Modes
The integrated LED light offers three color temperature modes: Warm Yellow, Natural, and White. Cycle through these modes by pressing the light button on the remote control.

Figure 6.3: Fan with light off (top) and light on (bottom).
7. Maintenance
Regular maintenance ensures optimal performance and longevity of your ceiling fan.
7.1 Cleaning
- Power Off: Always disconnect power at the circuit breaker before cleaning.
- Exterior: Wipe the exterior surfaces with a soft, damp cloth. Do not use abrasive cleaners or solvents.
- Blades: The enclosed fan blades can be gently cleaned with a soft brush or cloth.

Figure 7.1: Internal fan blades for cleaning reference.
7.2 General Care
- Periodically check all connections and mounting screws to ensure they remain tight.
- Do not attempt to lubricate the motor; it is permanently lubricated.
8. Troubleshooting
If you encounter issues with your ceiling fan, refer to the following common problems and solutions.
| Problem | Possible Cause | Solution |
|---|---|---|
| Fan does not operate | No power supply | Check circuit breaker and wall switch. |
| Loose wiring connections | Ensure all wiring connections are secure (power off first). | |
| Remote control battery depleted or incorrectly installed | Replace 12V A23 battery or check polarity. | |
| Light does not turn on | No power supply | Check circuit breaker and wall switch. |
| Loose wiring connections | Ensure all wiring connections are secure (power off first). | |
| Remote control battery depleted or incorrectly installed | Replace 12V A23 battery or check polarity. | |
| Fan makes unusual noise | Loose mounting screws | Tighten all mounting screws. |
| Obstruction near blades | Ensure nothing is touching the fan blades. | |
| Remote control not responding | Battery issue | Replace 12V A23 battery. |
| Distance or obstruction | Ensure you are within range and there are no major obstructions between the remote and the fan. |
9. Warranty Information
This QZFH product is covered by a limited warranty against defects in materials and workmanship. The specific terms and duration of the warranty may vary by region and retailer. Please retain your proof of purchase for warranty claims.
For detailed warranty information, please refer to the documentation provided at the time of purchase or contact QZFH customer support.
10. Customer Support
If you have any questions, require technical assistance, or need to report a problem, please contact QZFH customer support through your retailer or the official QZFH website.
Please have your model number (FSD101) and proof of purchase ready when contacting support.