1. Product Overview
The Lock Connection® 25 lbs Magnetic Gun Mount is a robust and versatile solution for securely storing firearms in various locations. Designed for concealed furniture markets, this gun magnet offers a strong holding force and features a protective rubber coating to prevent scratches to your firearm.
Key features include:
- Very strong magnet, holding up to 25 lbs of weight. For longer firearms like shotguns or rifles, two mounts may be used.
- Silicone surfaces prevent scratching the finish of your gun.
- Designed for rapid removal of your firearm when mounted in a concealed location.
- Suitable for use in homes, offices, cars, garages, inside safes, and more.
- Includes options for screw mounting or 3M VHB pressure-sensitive tape for installation.

Image 1.1: The magnetic gun mount demonstrating its strong attraction force.

Image 1.2: The magnetic gun mount securely holding a firearm in a vehicle and demonstrating its 25 lbs holding capacity with a dumbbell.
2. Setup and Installation
Follow these steps for proper installation of your magnetic gun mount:
- Clean the Area: Thoroughly clean the desired mounting surface. Ensure it is completely clean, dry, and smooth. Textured surfaces are not suitable for tape-only installation; screws will be required.
- Mark Position: Mark the exact position where the self-tapping screws will be inserted.
- Pre-Drill (if needed): If necessary, pre-drill two holes for the self-tapping screws.
- Insert Anchors (if needed): If mounting into drywall or similar material, insert plastic anchors into the pre-drilled holes.
- Prepare Tape (Optional): If using the 3M VHB pressure-sensitive tape, uncover the thin film on the back of the magnet.
- Apply Mount: Stick the gun magnet assembly onto the chosen ideal place.
- Secure with Screws: Insert and screw down the self-tapping screws to firmly secure the mount.
- Tape Adhesion (if used): If relying solely on the 3M VHB tape, apply firm pressure for 1 minute when first placing the magnet on the surface. Allow 24 hours for the tape to set before using the mount. For optimal adhesion, it is recommended to let it set for 2 days without use.

Image 2.1: The reverse side of the mount, showing the 3M VHB pressure-sensitive tape for adhesive installation.

Image 2.2: The magnetic gun mount packaged with its mounting screws, ready for installation.
Installation Video Guide
Video 2.1: An overview of the Lock Connection LC-A25 25 lbs rated gun magnet, including unboxing and demonstration of components and features relevant to installation.
3. Operating Instructions
Once installed, the Lock Connection Magnetic Gun Mount provides a convenient and secure location for your firearm. The strong magnetic hold ensures your weapon remains in place, even in a moving vehicle, while allowing for rapid and easy removal when needed.
This mount is ideal for:
- Concealed storage under desks or tables.
- Beside the bed for quick access.
- Inside vehicles for secure transport.
- Within gun safes or cabinets for organized storage.

Image 3.1: Examples of suitable mounting locations for the gun magnet, including a desk, bedside, and inside a car.
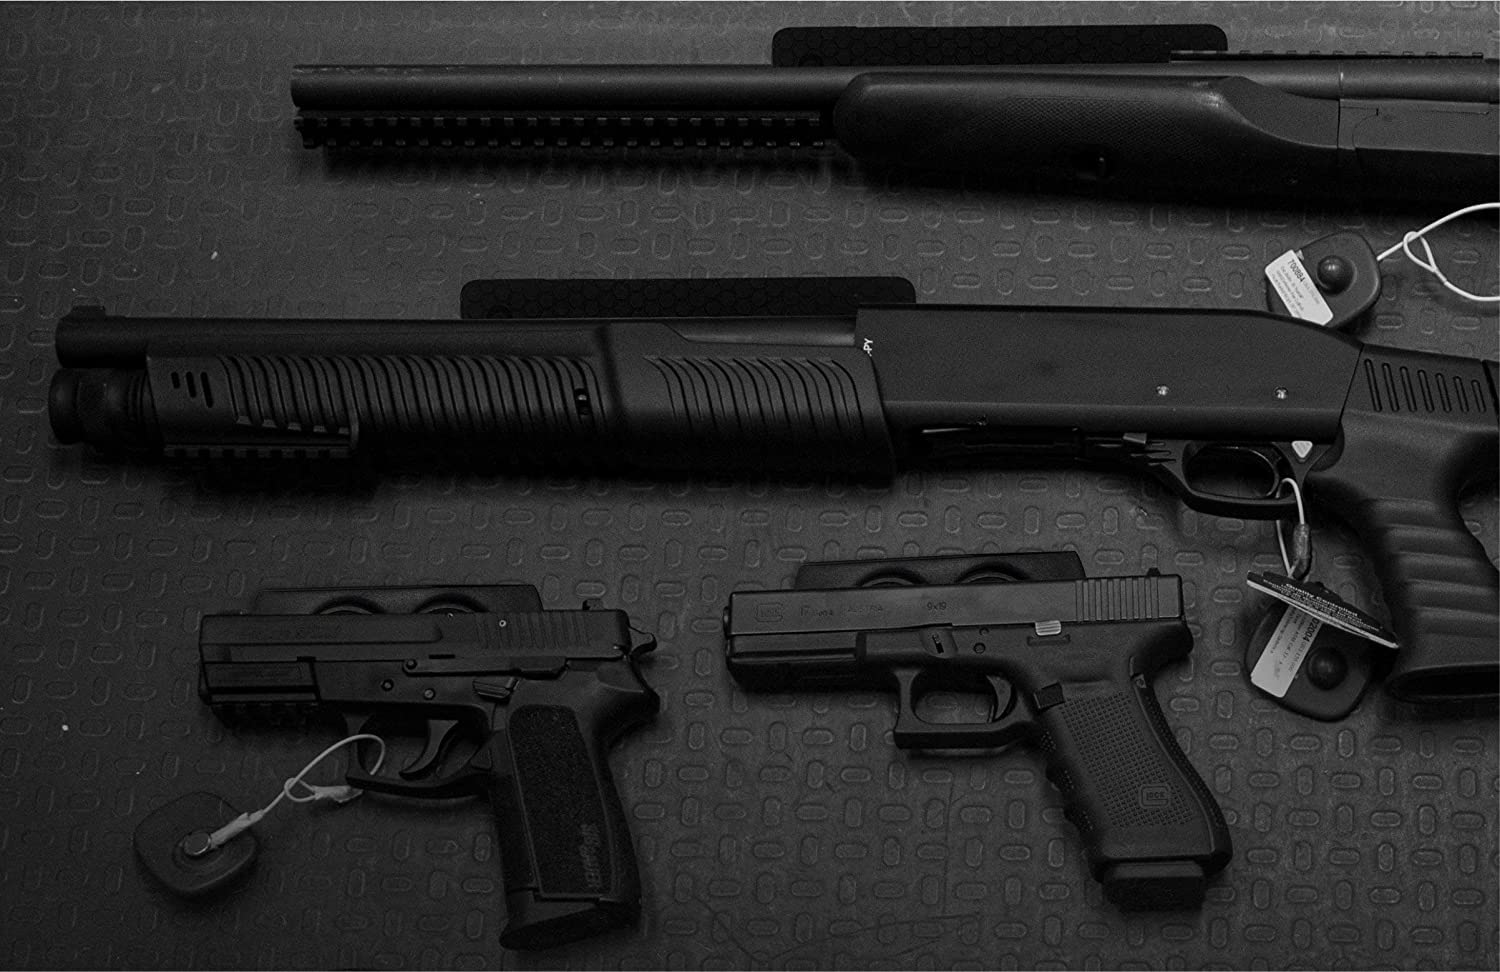
Image 3.2: The versatility of the magnetic gun mount, capable of holding different types of firearms.
4. Maintenance
The Lock Connection Magnetic Gun Mount requires minimal maintenance. To ensure longevity and proper function:
- Periodically inspect the mount for any signs of wear or damage.
- Clean the silicone surfaces with a soft, damp cloth to remove dust or debris. Avoid abrasive cleaners that could damage the coating.
- Ensure the mounting screws or tape remain secure. Re-tighten screws if necessary.
5. Troubleshooting
If you encounter issues with your magnetic gun mount, consider the following:
- Mount Not Sticking (Tape Only): Ensure the mounting surface is COMPLETELY CLEAN, DRY, and SMOOTH. The 3M VHB tape will not work well on textured surfaces. If the surface is textured or adhesion is poor, screws are required for secure mounting.
- Insufficient Adhesion (Tape Only): After initial application, ensure firm pressure was applied for at least 1 minute. It is crucial to allow the tape to set for 24 hours (ideally 2 days) without use for best adhesion.
- Firearm Slipping: Verify that the firearm's surface in contact with the magnet is clean. For heavier firearms or those with less magnetic surface area, consider using two mounts for increased stability.
6. Specifications
| Feature | Detail |
|---|---|
| Model Number | LC-A25 |
| Pulling Force | Up to 25 lbs (28 lbs actual magnet strength) |
| Dimensions (L x W x H) | 89mm (3.5 inches) x 36.7mm (1.45 inches) x 15.4mm (0.6 inches) |
| Product Dimensions (Packaged) | 3.2 x 5 x 2.13 inches |
| Weight | 7 ounces |
| Material | ABS Hard Plastic with Rubber Coated Magnets |
| Mounting Options | Screws (included) or 3M VHB Pressure Sensitive Tape |
| Manufacturer | Lock Connection, LLC™ |

Image 6.1: Detailed dimensions of the magnetic gun mount.
7. Safety Information
WARNING:
- Firearms are dangerous and should always be kept out of children's reach.
- Always store guns with the safety on.
- Do not use this product in areas where temperatures exceed 176°F (80°C).
8. Warranty and Support
Lock Connection, LLC™ is a USA-based seller of industrial hardware. For any support needs, please contact us directly.
Contact Information:
- Email: info@lockconnection.net
- Phone: Please refer to your purchase documentation or the Lock Connection website for phone support.
While specific warranty details are not provided in this manual, Lock Connection is committed to customer satisfaction. Please reach out to the provided contact for any product-related inquiries or issues.