MELLCOM B08KZMGLWP
MELLCOM Electric Wood Chipper Shredder
Model: B08KZMGLWP
1. Introduction
This manual provides essential information for the safe operation, assembly, maintenance, and troubleshooting of your MELLCOM Electric Wood Chipper Shredder. Please read this manual thoroughly before using the equipment to ensure proper function and safety. This electric chipper is designed to process twigs, branches, hedges, and other plant materials into mulch, optimizing garden space and aiding in waste management.

Image 1.1: MELLCOM Electric Wood Chipper Shredder in operation, demonstrating its function in processing garden debris.
2. Safety Instructions
Your safety is paramount. Always adhere to the following safety guidelines when operating the MELLCOM Electric Wood Chipper Shredder.
- Read the Entire Manual: Familiarize yourself with all instructions and warnings before use.
- Personal Protective Equipment (PPE): Always wear safety glasses, hearing protection, gloves, and sturdy footwear. Avoid loose clothing that could get caught in moving parts.
- Children and Bystanders: Do not allow children or untrained individuals to operate this equipment. Keep bystanders, especially children and pets, at a safe distance from the operating area.
- Inspect Before Use: Before starting the machine, visually inspect the feeding chamber to ensure it is empty and clear of obstructions. Check for any damaged parts.
- Avoid Moving Parts: Never allow hands, any other part of the body, or clothing inside the feeding chamber, discharge chute, or near any moving part. Use the provided push paddle to feed materials.
- Electrical Safety: Ensure the power cord is in good condition and connected to a grounded outlet. Do not operate in wet conditions. Disconnect power before performing any maintenance or clearing jams.
- Stable Surface: Operate the chipper on a firm, level surface to prevent tipping.
- Overload Protection: The shredder is equipped with a safety cut-out switch (overload protection switch) to prevent motor damage. If the machine stops, check for an overload and clear any jams before restarting.

Image 2.1: Safety features including the overload protection switch and locking knob.
3. Package Contents
Carefully unpack the box and ensure all items are present and undamaged. If any parts are missing or damaged, contact MELLCOM customer support immediately.
- 1x Electric Wood Chipper Shredder Unit
- 1x Instruction Manual
- 1x Hardware Kit (for assembly)
- 1x Collection Bag
- 1x Push Paddle
4. Assembly
The MELLCOM Electric Wood Chipper Shredder is designed for easy assembly. Follow these general steps:
- Attach the Frame and Wheels: Securely fasten the support frame and wheels to the main body of the chipper using the provided hardware. Ensure wheels are properly aligned for portability.
- Mount the Collection Bag: Attach the collection bag to the designated outlet chute. Ensure it is securely fitted to prevent debris from scattering.
- Final Checks: Verify all screws and fasteners are tightened. Ensure no tools or loose parts are left on or inside the machine.

Image 4.1: The chipper's design emphasizes portability with integrated wheels.
5. Setup
Before operating your chipper, ensure proper setup:
- Choose a Location: Select a clear, level, and stable outdoor area for operation, away from flammable materials and structures.
- Power Connection: Connect the chipper to a standard 120V~60Hz grounded electrical outlet. Ensure the power cord is free from damage and positioned to avoid tripping hazards.
- Collection Bag: Confirm the collection bag is properly attached and empty before starting.
6. Operating Instructions
Follow these steps for safe and effective operation of your wood chipper:
- Start the Machine: Press the green 'ON' button to start the motor. Allow the motor to reach full speed before feeding materials.
- Prepare Materials: The chipper can process twigs and branches (maximum diameter 1.57 inches / 40mm), bushes, hedges, plant material, leaves, and plant roots. Ensure plant roots are free of soil.
- Feed Materials: Carefully feed materials into the feeding port. Always use the sturdy push paddle to guide materials into the hopper, keeping hands clear of the opening. Do not force materials into the chipper.
- Monitor Performance: If the machine struggles or the motor slows significantly, reduce the feeding rate or clear any potential jams. The overload protection switch will activate if the motor is strained excessively.
- Stop the Machine: To stop operation, press the red 'OFF' button. For extended breaks or when clearing jams, disconnect the power cord.

Image 6.1: The sturdy push paddle for safe material feeding.

Image 6.2: Illustration of the chipper's function: converting branches into mulch.
7. Maintenance
Regular maintenance ensures the longevity and optimal performance of your chipper.
- Disconnect Power: Always unplug the machine from the power source before performing any maintenance or cleaning.
- Clean After Use: After each use, turn the locking knob to stop the motor and remove the upper casing to clean wood chips from the machine. Use a brush or compressed air to remove debris from the feeding chamber and discharge chute.
- Blade Inspection: Periodically inspect the cutting blade for sharpness and damage. Replace or sharpen blades as needed.
- Storage: Store the chipper in a dry, secure location, away from children and adverse weather conditions.
- Collection Bag: The collection bag is made of high-quality, waterproof material. Empty and clean it regularly.
8. Troubleshooting
Refer to this section for common issues and their solutions.
| Problem | Possible Cause | Solution |
|---|---|---|
| Machine does not start | No power, power cord damaged, safety switch not engaged, overload protection activated. | Check power connection and outlet. Inspect power cord. Ensure safety switch is engaged. Reset overload protection. |
| Material not chipping effectively | Dull blade, material too large/hard, feeding too quickly. | Inspect and sharpen/replace blade. Ensure material diameter is within limits (max 1.57in/40mm). Feed materials slowly and steadily. |
| Machine stops during operation | Overload protection activated, material jam. | Disconnect power. Clear any jammed material from the feeding chamber and discharge chute. Allow motor to cool if overheated, then restart. |
| Excessive vibration or noise | Loose components, unbalanced blade, foreign object inside. | Disconnect power. Check all fasteners for tightness. Inspect blade for damage or imbalance. Remove any foreign objects. |
9. Specifications
Technical details for your MELLCOM Electric Wood Chipper Shredder:
- Motor Voltage: 120V~60Hz
- Motor Power: 1800W (15AMP)
- No-load Speed: 4500/min
- Feeding Port Size: 5.71 inches (L) x 1.57 inches (W)
- Max. Branch Cutting Diameter: 1.57 inches (40mm)
- Product Size: 17.32 inches (L) x 14.76 inches (W) x 35.04 inches (H)
- Length of Cable: 13.78 inches
- Net Weight: 23.3 LBS
- Gross Weight: 24.9 LBS
- Collection Bag Capacity: 50L
- Sound Power Level: 106dB(A)
- Protection Class: IPX4
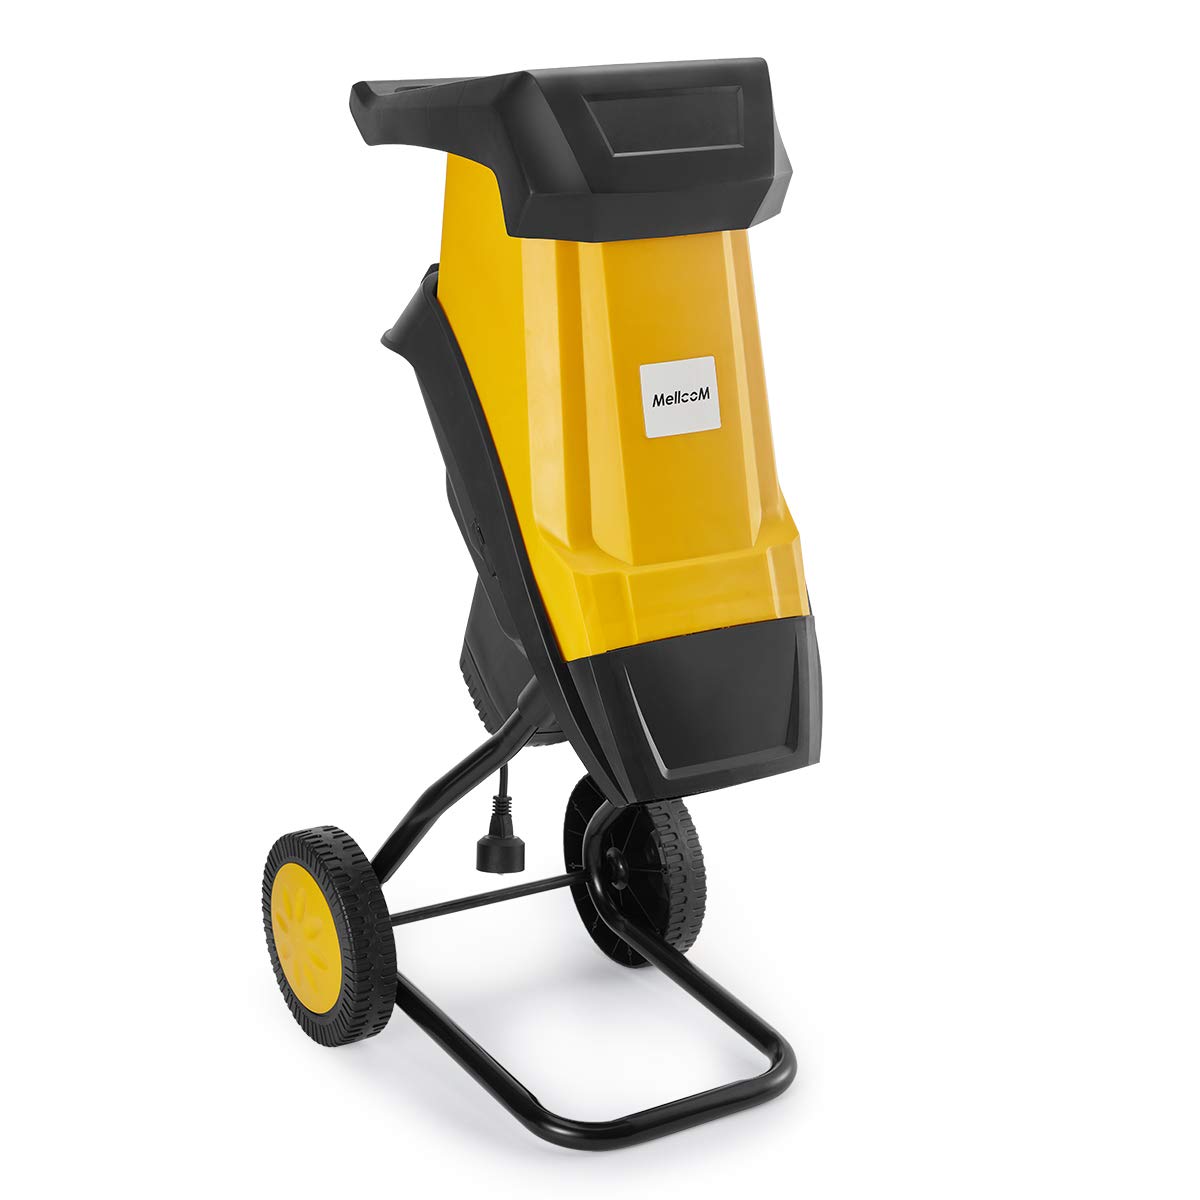
Image 9.1: Motor specifications and internal components.
10. Warranty and Support
MELLCOM is committed to providing quality products and customer satisfaction. While specific warranty details are not provided in this manual, if you encounter any problems with the product you receive, or if you require assistance, please contact MELLCOM customer support directly. We are dedicated to helping you resolve any issues promptly.
For support, please refer to the contact information provided with your purchase or visit the official MELLCOM website.
Ask a question about this manual
Ask about setup, troubleshooting, compatibility, parts, safety, or missing instructions. Manuals+ will review the question and use this page’s manual context to help answer it.