1. Introduction
This manual provides detailed instructions for the installation, operation, and maintenance of your Hyper Tough Keyed Entry Ball Style Doorknob and Deadbolt Combo. This lock set is designed for exterior residential and light commercial doors, offering both security and ease of use. Both the doorknob and deadbolt are keyed alike for convenience and feature resistance against picking, bumping, and drilling.

Image 1.1: The Hyper Tough Keyed Entry Ball Style Doorknob and Deadbolt Combo in oil-rubbed bronze finish, showing both the deadbolt and the doorknob components.
2. Safety Information
- Always wear appropriate personal protective equipment, such as safety glasses, during installation.
- Keep small parts away from children to prevent choking hazards.
- Ensure the door is securely supported during installation to prevent injury.
- Do not use excessive force when installing components, as this may damage the lock or door.
- If you are unsure about any step, consult a qualified professional.
3. Package Contents
Verify that all components are present before beginning installation:
- 1 x Keyed Entry Ball Style Doorknob (Interior and Exterior halves)
- 1 x Single Cylinder Deadbolt (Interior thumb turn and Exterior keyed cylinder)
- 2 x Keys (keyed alike for both knob and deadbolt)
- 2 x Latches (one for doorknob, one for deadbolt)
- 2 x Strike Plates (one for doorknob, one for deadbolt)
- Mounting Screws
- Installation Instructions (this manual)
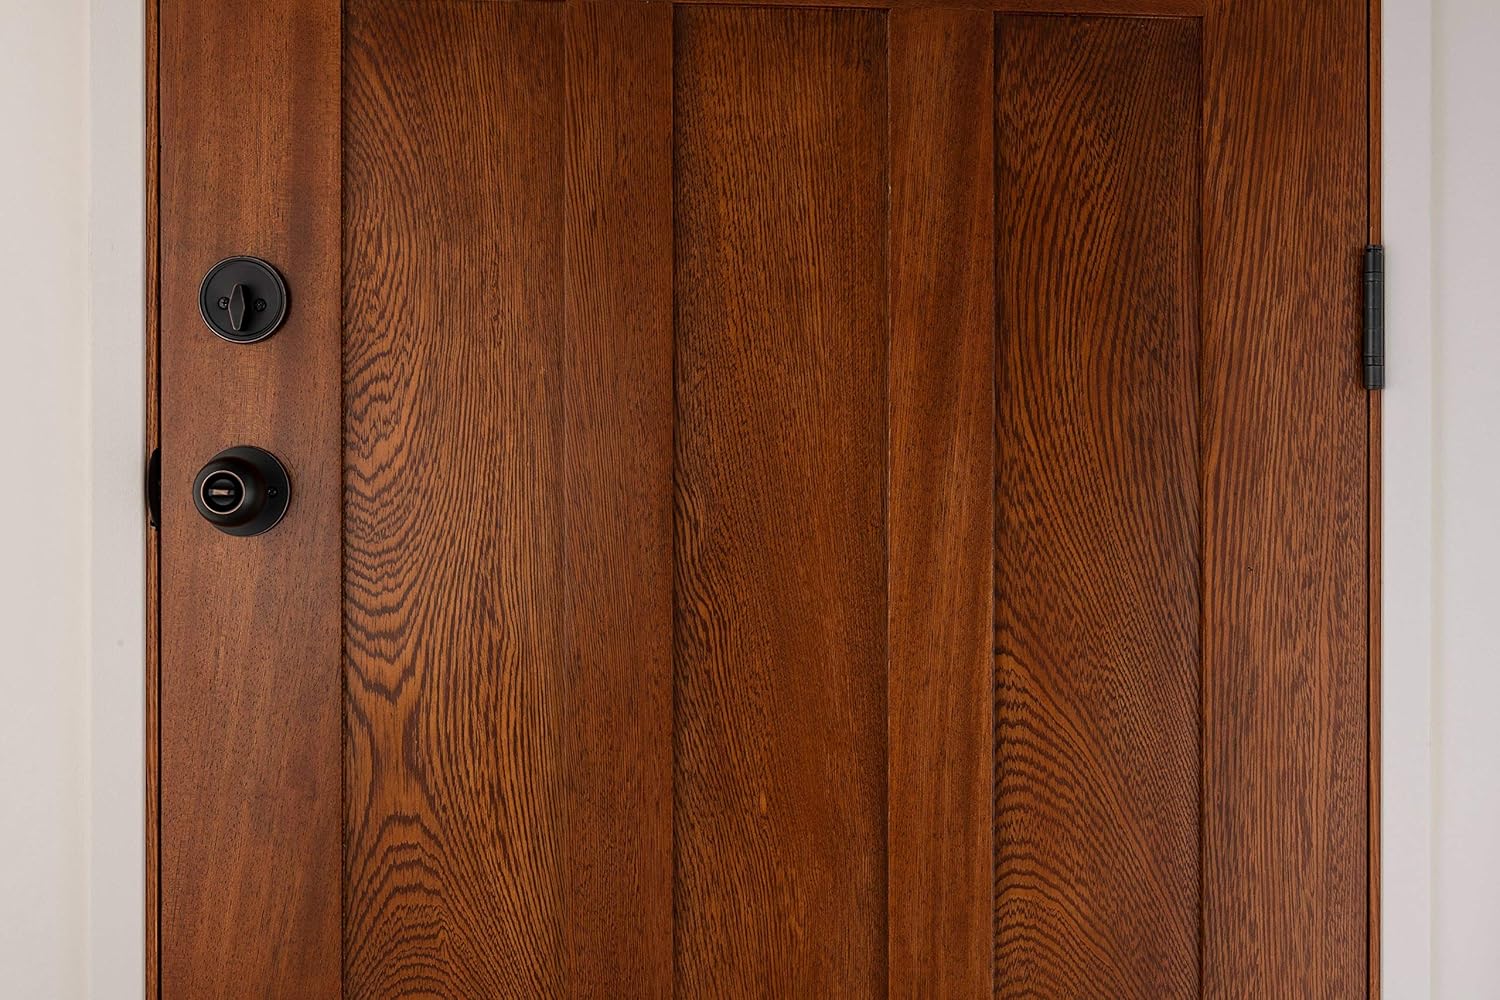
Image 3.1: The back of the product packaging, illustrating the included components such as the doorknob, deadbolt, latches, and keys, and highlighting key features like adjustable backset and keyed alike functionality.
4. Installation Guide
4.1. Preparation
- Ensure your door has standard bore holes (typically 2-1/8 inches diameter) and a backset of either 2-3/8 inches or 2-3/4 inches.
- Confirm door thickness is between 1-3/8 inches and 1-3/4 inches.
- Gather necessary tools: Phillips head screwdriver, tape measure, pencil.
4.2. Step-by-Step Installation
- Install Latches: Insert the doorknob latch and deadbolt latch into the door edge holes. Ensure the latch bolt faces the door frame. Secure with screws. Adjust the backset if necessary by rotating the latch mechanism.
- Install Deadbolt Cylinder: Insert the exterior keyed cylinder of the deadbolt through the top bore hole from the outside. Ensure the tailpiece aligns with the latch mechanism.
- Install Deadbolt Interior Assembly: Place the interior thumb turn assembly over the tailpiece and secure it to the exterior cylinder with the provided screws.
- Install Doorknob Exterior Half: Insert the exterior half of the doorknob through the lower bore hole from the outside, ensuring the spindle aligns with the latch.
- Install Doorknob Interior Half: Attach the interior half of the doorknob, aligning it with the spindle and securing it with the provided screws.
- Install Strike Plates: Mark and chisel out recesses on the door frame for the strike plates, ensuring they align with the latch bolts. Secure the strike plates with screws.
- Test Operation: Close the door and test both the doorknob and deadbolt with the key and thumb turn to ensure smooth operation.
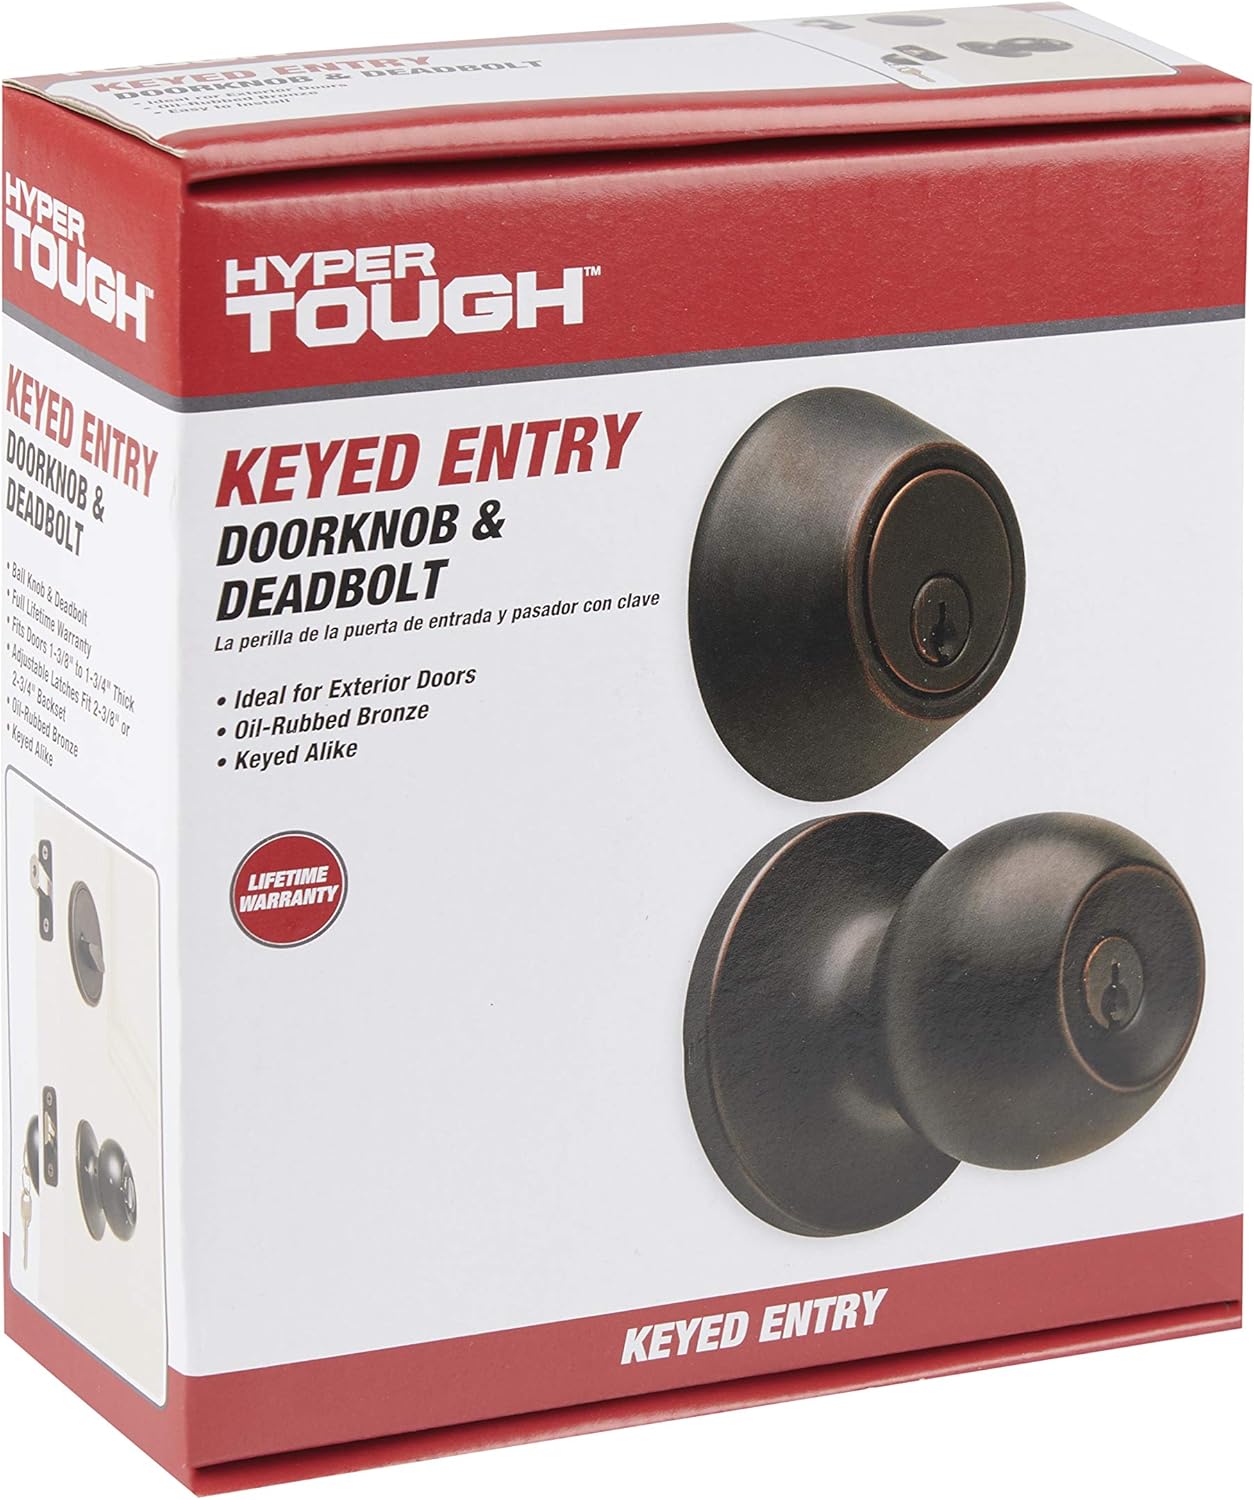
Image 4.1: Diagram illustrating the initial steps of doorknob installation, including inserting the latch and attaching the exterior and interior components.

Image 4.2: Diagram illustrating the initial steps of deadbolt installation, including inserting the deadbolt latch and attaching the exterior and interior cylinder components.
5. Operating Instructions
5.1. Doorknob Operation
- To Lock: From the interior, press the button on the center of the knob. From the exterior, insert the key and turn to lock.
- To Unlock: From the interior, turn the knob. From the exterior, insert the key and turn.
5.2. Deadbolt Operation
- To Lock: From the interior, rotate the thumb turn clockwise. From the exterior, insert the key and turn clockwise.
- To Unlock: From the interior, rotate the thumb turn counter-clockwise. From the exterior, insert the key and turn counter-clockwise.

Image 5.1: The Hyper Tough doorknob and deadbolt combo installed on a wooden door, showcasing its appearance and placement.
6. Maintenance
- Cleaning: Clean the lock set periodically with a soft, damp cloth. Avoid abrasive cleaners or solvents that could damage the finish.
- Lubrication: Apply a small amount of graphite lubricant or a silicone-based spray to the keyway and latch mechanism annually to ensure smooth operation. Do not use oil-based lubricants as they can attract dirt.
- Tighten Screws: Periodically check and tighten any loose mounting screws to maintain security and stability.
7. Troubleshooting
| Problem | Possible Cause | Solution |
|---|---|---|
| Key does not turn or is stiff. | Dirt in keyway; worn key; misaligned cylinder. | Apply graphite lubricant to keyway; try a spare key; check cylinder alignment. |
| Latch bolt does not retract fully. | Latch mechanism dirty or dry; misaligned strike plate. | Clean and lubricate latch; adjust strike plate position. |
| Doorknob/Deadbolt is loose. | Mounting screws are loose. | Tighten all mounting screws. |
| Door does not close properly with lock engaged. | Strike plate misalignment; door frame issues. | Adjust strike plate; inspect door frame for warping or settling. |
8. Specifications
| Feature | Detail |
|---|---|
| Product Type | Keyed Entry Ball Style Doorknob and Deadbolt Combo |
| Finish | Oil-Rubbed Bronze |
| Material | Metal |
| Lock Type | Key Lock (Single Cylinder Deadbolt) |
| Door Thickness Compatibility | 1-3/8 inches to 1-3/4 inches |
| Backset Compatibility | Adjustable 2-3/8 inches or 2-3/4 inches |
| Special Features | Easy to Install, Pick/Bump/Drill Resistant, Anti-Pry Shield, Keyed Alike |
| Dimensions (L x W x H) | 6.47 x 2.83 x 2.83 inches (approximate product dimensions) |
| Item Weight | 2.8 pounds |
9. Warranty Information
Hyper Tough provides a Lifetime Warranty on this Keyed Entry Ball Style Doorknob and Deadbolt Combo. This warranty covers defects in material and workmanship under normal use. For specific terms and conditions, please refer to the warranty documentation included with your purchase or contact Hyper Tough customer support.
10. Customer Support
If you have any questions, require assistance with installation, or need to claim warranty service, please contact Hyper Tough customer support. For the most up-to-date contact information, please visit the official Hyper Tough website or refer to the product packaging.
Please retain this manual for future reference.


