Arcchio Logan (Model 9968008)
Arcchio Logan LED Floor Lamp
Instruction Manual
1. Product Overview
The Arcchio Logan LED floor lamp is specifically designed for office environments, providing efficient and adaptable illumination. A key feature is its stepless dimming capability, allowing users to adjust light intensity precisely. The lamp distributes light with a 50% upward and 50% downward emission, optimizing lighting for both general room illumination and task-specific needs. Its U-shaped base is designed for stable placement, particularly suitable for office desks.
Constructed from durable aluminum and zinc, the lamp features a sleek silver and white finish. It includes two integrated 40W LED light sources, ensuring energy-efficient operation.

Figure 1: The Arcchio Logan LED Floor Lamp, showcasing its modern design and integrated light panel.
2. Safety Instructions
Please read all safety instructions carefully before installation and operation. Retain this manual for future reference.
- Ensure the power supply is disconnected before installation, cleaning, or maintenance.
- This product is designed for indoor use only (IP20 rating). Do not expose to moisture or extreme temperatures.
- Do not attempt to modify or repair the lamp. Refer all servicing to qualified personnel.
- Keep the lamp away from flammable materials.
- Ensure the lamp is placed on a stable, level surface to prevent tipping.
- Avoid direct eye exposure to the LED light source when illuminated.
- The lamp operates on 230V. Verify your local voltage matches this requirement.
3. Package Contents
Verify that all components are present and undamaged upon unpacking:
- Arcchio Logan LED Floor Lamp (Main Body with integrated LED)
- U-shaped Base
- Power Cord with Plug
- Assembly Hardware (if applicable, typically pre-attached or minimal)
- Instruction Manual (this document)
4. Setup
4.1 Assembly
- Carefully remove all packaging materials.
- Attach the U-shaped base to the main lamp body. Ensure it is securely fastened according to the pre-drilled holes and provided screws (if any).
- Place the assembled lamp in the desired location. The U-shaped base is designed to fit around desk legs or other furniture for optimal stability.
- Connect the power cord to the lamp's input, if not already integrated.

Figure 2: The Arcchio Logan lamp positioned in an office environment, demonstrating its intended use and placement flexibility.
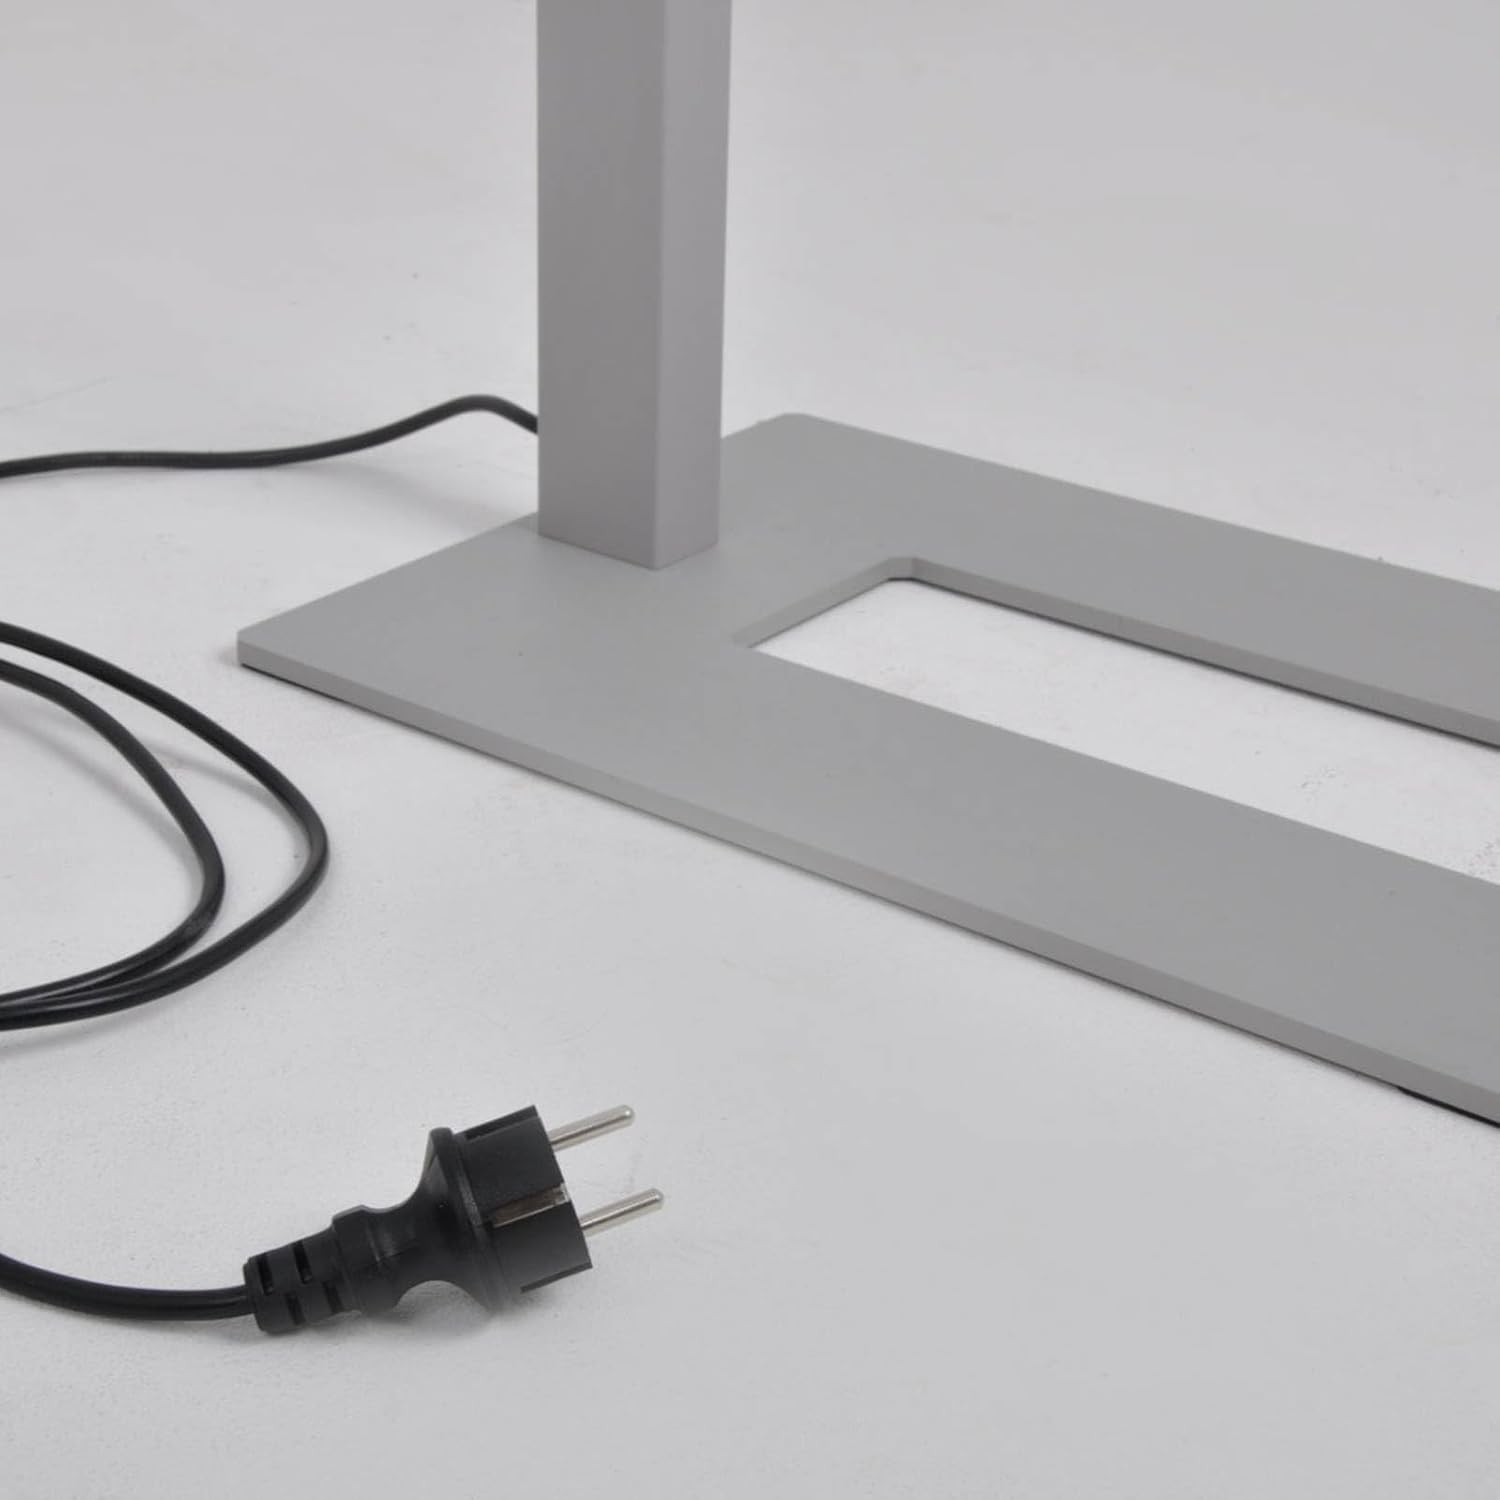
Figure 3: Close-up view of the U-shaped base and the power plug, illustrating the lamp's stable design and electrical connection point.
4.2 Placement
Position the lamp in an area where its light distribution (50% up, 50% down) can effectively illuminate your workspace and the surrounding area. Ensure the power cord is not a tripping hazard and is routed safely.
5. Operating Instructions
5.1 Power On/Off
Plug the lamp's power cord into a standard 230V electrical outlet. The lamp is equipped with an integrated switch for convenient power control.
5.2 Dimming Function
The Arcchio Logan lamp features a rotary dimmer knob located on the lamp body. Rotate the knob clockwise to increase light intensity and counter-clockwise to decrease it. The dimming is stepless, allowing for precise adjustment to achieve your desired brightness level.

Figure 4: Close-up of the rotary dimmer knob, indicating its function for adjusting light output.

Figure 5: View from above the lamp's light panel, showing the uniform light emission.

Figure 6: Underside view of the LED array, illustrating the integrated light source design.
6. Maintenance
6.1 Cleaning
- Always disconnect the lamp from the power outlet before cleaning.
- Wipe the lamp's surfaces with a soft, dry, or slightly damp cloth.
- Do not use abrasive cleaners, solvents, or harsh chemicals, as these can damage the finish.
- Ensure no liquid enters the electrical components.
6.2 LED Light Source
The Arcchio Logan lamp uses integrated LED light sources designed for long life. The LEDs are not user-replaceable. If the light source fails, contact qualified service personnel or the manufacturer for assistance.
7. Troubleshooting
| Problem | Possible Cause | Solution |
|---|---|---|
| Lamp does not turn on. | No power supply. Loose connection. Faulty outlet. | Check if the power cord is securely plugged into a working outlet. Ensure the lamp's internal connections are secure (if accessible). Test the outlet with another device. |
| Light is too dim or too bright. | Dimmer setting is incorrect. | Adjust the rotary dimmer knob to the desired brightness level. |
| Flickering light. | Unstable power supply. Loose connection. | Ensure the lamp is connected to a stable power source. Check all connections. If flickering persists, contact customer support. |
| Lamp makes unusual noises. | Internal component issue. | Immediately disconnect the lamp from power. Do not attempt to repair. Contact customer support. |
8. Specifications
| Feature | Detail |
|---|---|
| Brand | Arcchio |
| Manufacturer | Lampenwelt |
| Model Number | 9968008 |
| ASIN | B08KHHL53Q |
| Dimensions (L x W x H) | 61 x 28 x 195 cm |
| Weight | 12 kg |
| Material | Aluminum / Zinc |
| Color | Silver, White |
| Light Source | Integrated LED |
| Number of Light Sources | 2 |
| Wattage | 2 x 40 W (Total 80W) |
| Voltage | 230V |
| Ingress Protection (IP) Rating | IP20 |
| Protection Class | I |
| Color Rendering Index (CRI) | 80.00 |
| Special Features | Stepless Dimming, U-shaped Base, 50% Up/50% Down Light Distribution |
9. Warranty and Support
For information regarding warranty terms and conditions, please refer to the purchase documentation or contact your retailer. For technical support or service inquiries, please contact the manufacturer, Lampenwelt, or your authorized Arcchio dealer.
Arcchio is committed to high quality and customer satisfaction.
Ask a question about this manual
Ask about setup, troubleshooting, compatibility, parts, safety, or missing instructions. Manuals+ will review the question and use this page’s manual context to help answer it.