1. Important Safety Information
Please read these instructions carefully before installation and use. Keep this manual for future reference.
- Installation must be carried out by a qualified electrician in accordance with all local and national wiring regulations.
- Always disconnect the power supply at the main circuit breaker before attempting any installation, maintenance, or bulb replacement.
- This product is rated IP44, indicating protection against solid objects larger than 1mm and splashing water from any direction. It is suitable for use in bathrooms (Zone 2) and other areas where splashing water may occur.
- Do not modify the product in any way. Any modifications will void the warranty and may pose a safety risk.
- Ensure the mounting surface can support the weight of the fixture.
- Use only GU10 bulbs with the specified wattage (max 8W LED equivalent).
2. Product Overview
The Arcchio Olivir ceiling light is a modern, dimmable fixture designed for various indoor spaces such as hallways. It features a single GU10 light source and is constructed from durable aluminium.

Figure 2.1: Front view of the Arcchio Olivir ceiling light, showcasing its cylindrical white aluminium body and the recessed light opening.

Figure 2.2: The Olivir ceiling light installed on a white ceiling, demonstrating its flush-mount appearance and the warm glow it emits.

Figure 2.3: Technical drawing showing the dimensions of the Olivir light: 60mm diameter and 105mm height.
Package Contents:
- 1 x Arcchio Olivir Ceiling Light Fixture
- Mounting Hardware (screws, wall plugs)
- Instruction Manual
- Note: GU10 bulb is not included and must be purchased separately.
3. Installation Guide
Before beginning installation, ensure the power supply is disconnected at the main circuit breaker.
3.1 Tools Required:
- Screwdriver (Phillips head)
- Drill with appropriate drill bit for wall plugs
- Pencil
- Wire strippers
- Voltage tester
3.2 Mounting Steps:
- Prepare the Fixture: Carefully remove the bottom cap of the light fixture to expose the wiring terminals.

Figure 3.1: The internal wiring terminals of the Olivir light, accessible by removing the bottom cap.
- Mark Drilling Points: Hold the mounting bracket (if separate) or the fixture base against the ceiling at the desired installation location. Use a pencil to mark the drilling points.
- Drill Holes: Drill holes at the marked points using an appropriate drill bit. Insert the wall plugs into the drilled holes.
- Electrical Connection: Connect the household electrical wires to the terminals inside the fixture. Ensure correct polarity (Live to Live, Neutral to Neutral, Earth to Earth). Secure all connections tightly.
- Brown/Red wire: Live (L)
- Blue/Black wire: Neutral (N)
- Green/Yellow wire: Earth (E)
- Mount the Fixture: Secure the light fixture to the ceiling using the provided screws, ensuring it is firmly attached.
- Insert Bulb: Carefully insert a GU10 bulb (max 8W LED equivalent) into the socket.
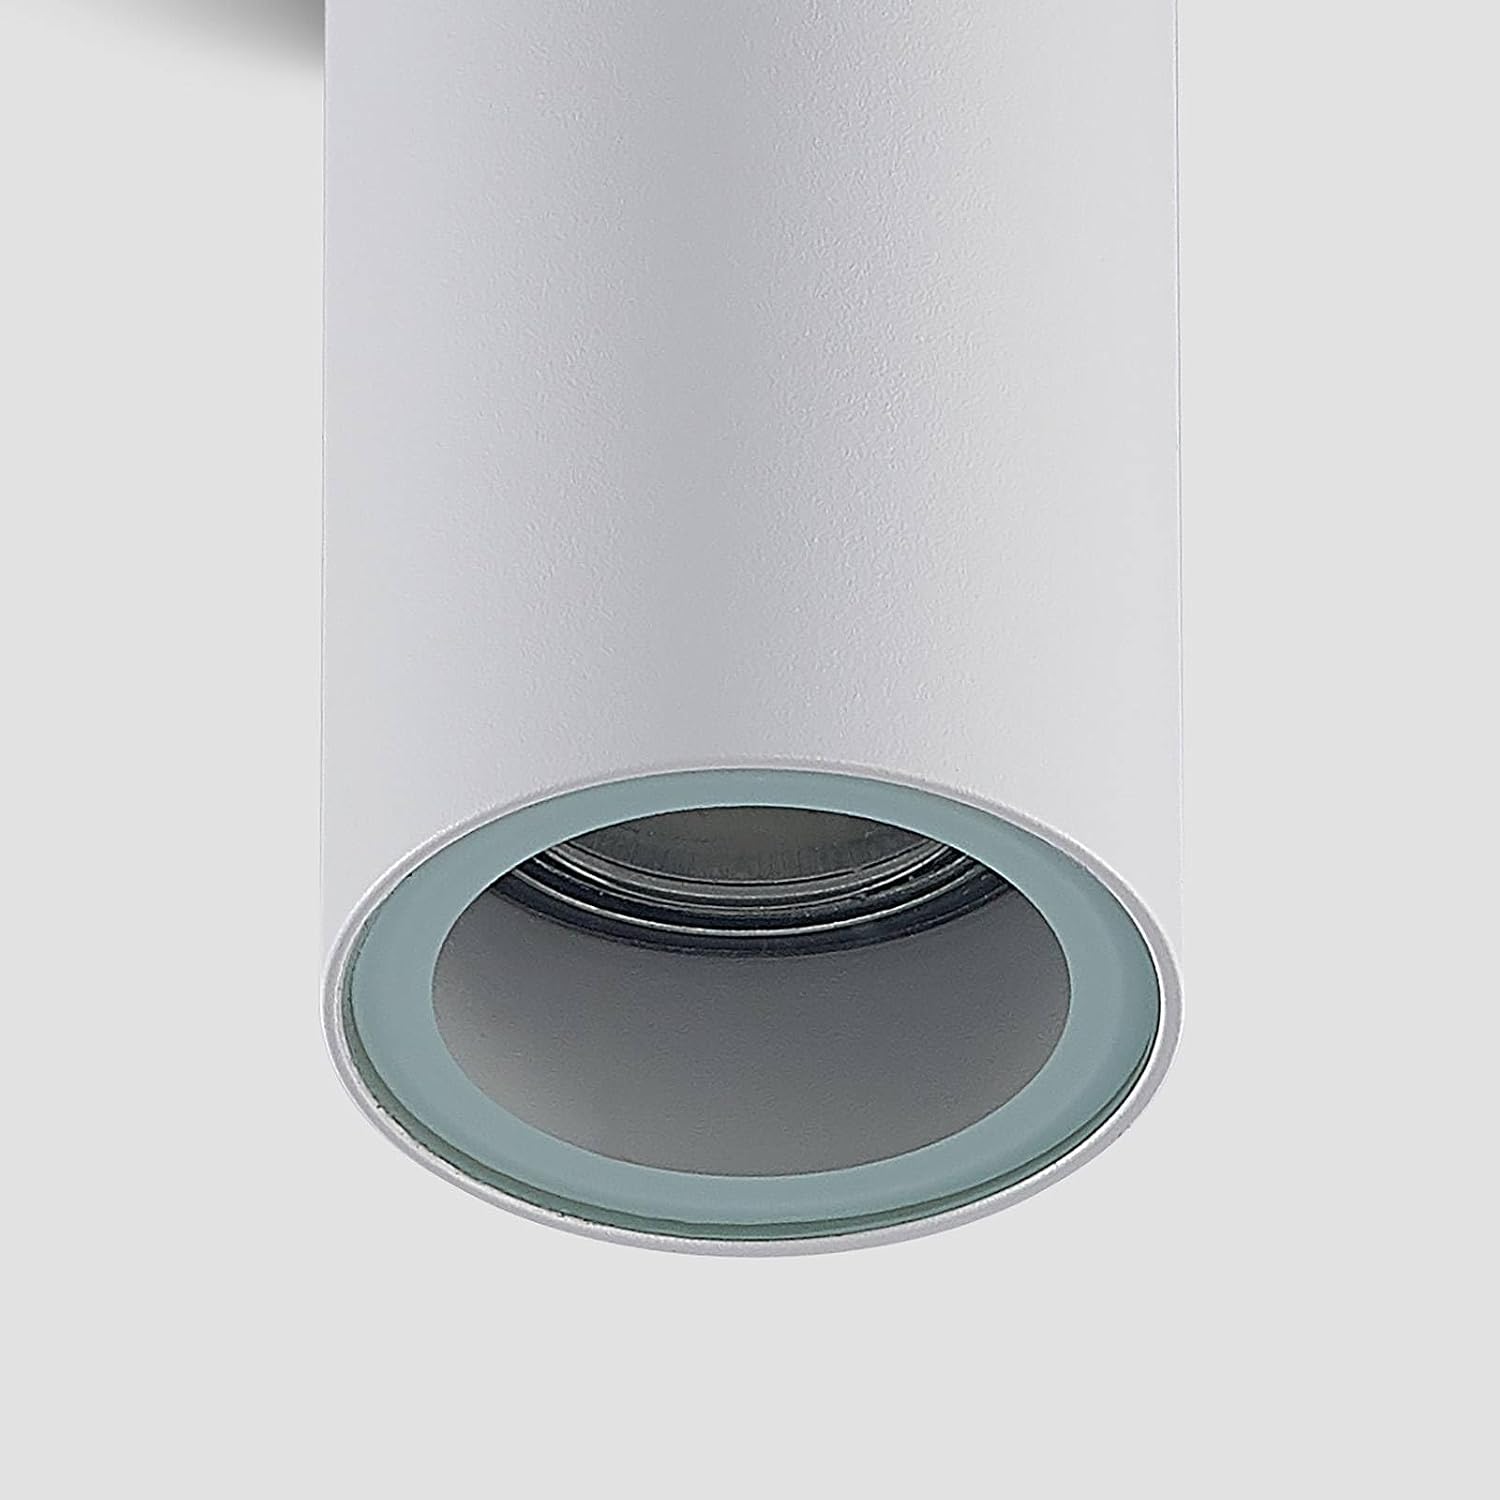
Figure 3.2: Close-up view of the GU10 bulb socket within the Olivir fixture.
- Replace Cap: Reattach the bottom cap securely to the fixture.
4. Operating Instructions
Once installed and the power supply is reconnected, the Arcchio Olivir ceiling light can be operated via your standard wall switch.
- Turning On/Off: Flip the wall switch connected to the light fixture to turn the light on or off.
- Dimming Functionality: If a dimmable GU10 bulb is used and connected to a compatible dimmer switch, the light's brightness can be adjusted. Refer to your dimmer switch's instructions for specific operation.
5. Maintenance
Regular maintenance ensures the longevity and optimal performance of your ceiling light.
- Cleaning: Disconnect power before cleaning. Wipe the fixture with a soft, dry cloth. Do not use abrasive cleaners or solvents, as these may damage the finish.
- Bulb Replacement:
- Disconnect power at the main circuit breaker.
- Allow the bulb to cool completely if it has been recently in use.
- Carefully remove the old GU10 bulb by twisting and pulling it out.
- Insert a new GU10 bulb (max 8W LED equivalent) by aligning the pins and pushing it in, then twisting to secure.
- Reconnect power.
- Recycling: For information on recycling light bulbs and proper disposal of broken or damaged lamps, please refer to local recycling guidelines and resources.
6. Troubleshooting
If you encounter issues with your Arcchio Olivir ceiling light, refer to the following common problems and solutions:
| Problem | Possible Cause | Solution |
|---|---|---|
| Light does not turn on. | No power supply. Faulty bulb. Loose wiring connection. | Check circuit breaker. Replace bulb. Check wiring connections (ensure power is off). |
| Light flickers. | Loose bulb. Incompatible dimmer switch/bulb. Voltage fluctuations. | Ensure bulb is securely seated. Verify dimmer compatibility with bulb. Consult an electrician if voltage issues persist. |
| Light is too dim/bright. | Incorrect bulb wattage. Dimmer setting. | Ensure bulb wattage is appropriate (max 8W LED equivalent). Adjust dimmer switch. |
If the problem persists after attempting these solutions, please contact a qualified electrician or customer support.
7. Specifications
| Feature | Detail |
|---|---|
| Brand | Arcchio |
| Model Number | 9928039 |
| Product Dimensions | 6 x 6 x 10.5 cm |
| Item Weight | 210 g (0.21 Kilograms) |
| Material | Aluminium |
| Colour | White |
| Area Lighting Classification | IP44 |
| Number of Light Sources | 1 |
| Voltage | 23 Volts |
| Max Wattage (per bulb) | 8 Watts (LED equivalent) |
| Bulb Type | GU10 (not included) |
| Dimmable | Yes (with compatible bulb and dimmer) |

Figure 7.1: Product label showing Arcchio Olivir branding, IP44 rating, UKCA, CE, and WEEE symbols, and EAN.
8. Warranty and Support
This product is covered by the standard warranty provided by the manufacturer, Arcchio, and the seller, Lampenwelt. Please retain your proof of purchase for any warranty claims.
Customer Support:
For technical assistance, troubleshooting beyond this manual, or warranty inquiries, please contact the seller (Lampenwelt) or the manufacturer (Arcchio) directly. Contact details can usually be found on your purchase receipt or the product packaging.
For general information regarding light bulb recycling and disposal, please visit relevant local authority websites or recycling centers.