1. Introduction
This manual provides essential information for the safe and efficient operation of your DRINKPOD Cheftop Double Burner Induction Cooktop. Please read all instructions carefully before use and retain this manual for future reference.
2. Important Safety Instructions
WARNING: To reduce the risk of fire, electric shock, injury to persons, or damage to the appliance, observe the following:
- Read all instructions before using the appliance.
- Do not touch hot surfaces. Use handles or knobs.
- To protect against electrical shock, do not immerse cord, plugs, or the appliance in water or other liquid.
- Close supervision is necessary when any appliance is used by or near children.
- Unplug from outlet when not in use and before cleaning. Allow to cool before putting on or taking off parts.
- Do not operate any appliance with a damaged cord or plug or after the appliance malfunctions or has been damaged in any manner.
- The use of accessory attachments not recommended by the appliance manufacturer may cause injuries.
- Do not use outdoors.
- Do not let cord hang over edge of table or counter, or touch hot surfaces.
- Do not place on or near a hot gas or electric burner, or in a heated oven.
- Extreme caution must be used when moving an appliance containing hot oil or other hot liquids.
- Always attach plug to appliance first, then plug cord into the wall outlet. To disconnect, turn any control to “off”, then remove plug from wall outlet.
- Do not use appliance for other than intended use.
- Individuals with pacemakers or similar medical devices should exercise caution when using or standing near an induction cooktop while it is in operation, as the electromagnetic field may affect the device. Consult your physician for specific guidance.
- Ensure proper ventilation around the unit during operation.
- Only use cookware suitable for induction cooking.
3. Product Features
- Two Cooking Zones: Features two independent circular heating zones.
- Digital LCD Display: Provides clear feedback on settings and status.
- Multiple Cooking Modes: Includes Fry, Steam, Water, and an automatic Warm function.
- Child Safety Lock: Secures all operating buttons to prevent accidental changes.
- Energy Efficient: Utilizes electromagnets for direct heat transfer to cookware, minimizing heat loss.
- 9 Heating Levels: Adjustable power from 300W to 1800W (total shared power).
- Timer Function: Programmable from 1 to 99 minutes in 1-minute increments.
- Auto-Pan Detection: Automatically shuts off if no compatible cookware is detected within 60 seconds.
- Compact Design: Black ceramic glass plate with a sleek, space-saving profile.
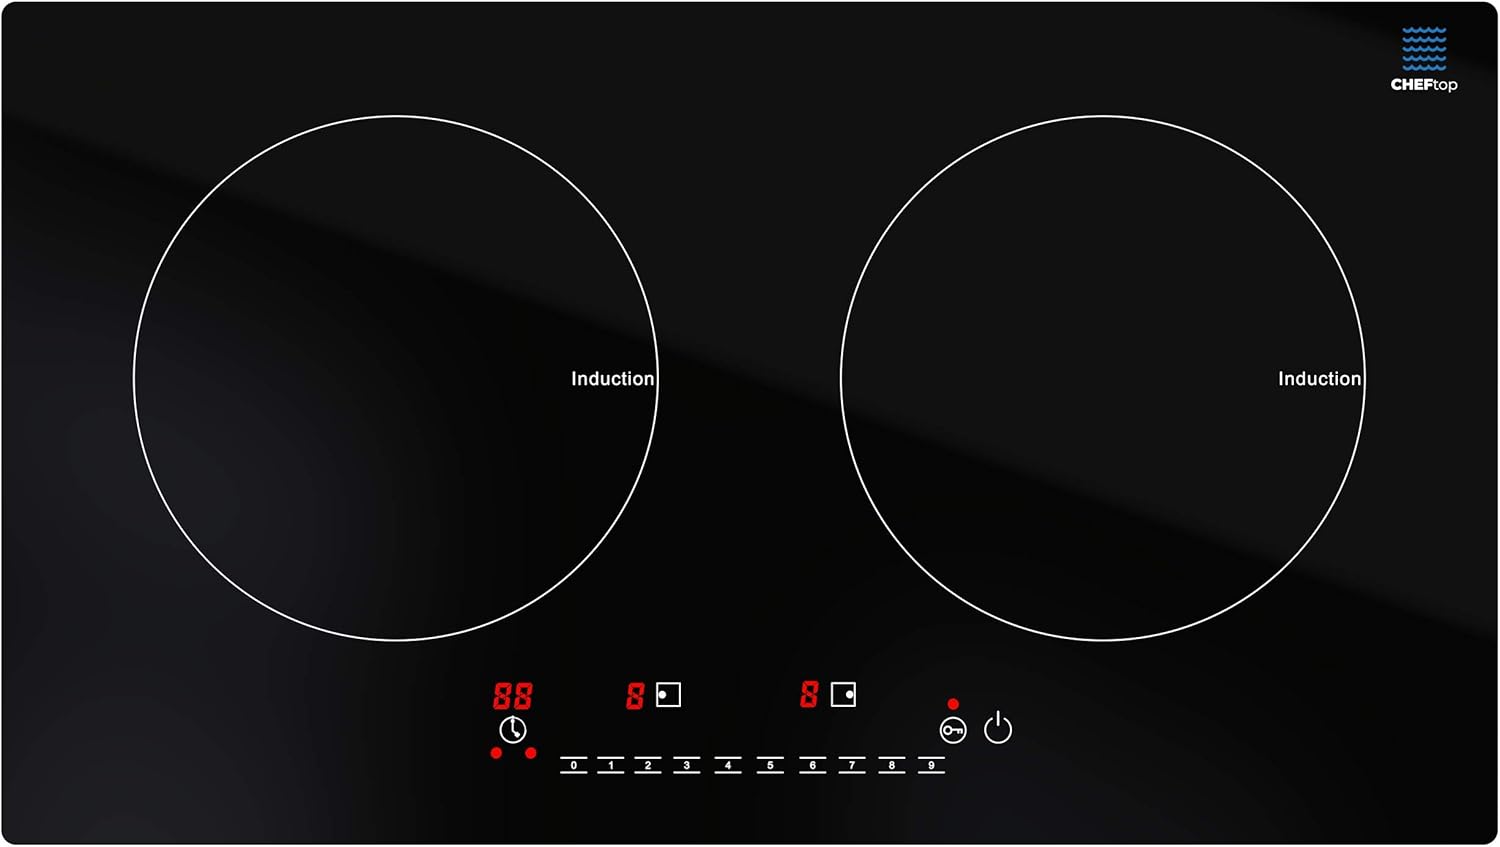
Image: Top-down view of the cooktop, highlighting the two induction zones and touch controls.
4. Setup
- Unpack: Carefully remove the cooktop from its packaging. Retain packaging for storage or return if necessary.
- Placement: Place the cooktop on a flat, stable, heat-resistant surface. Ensure there is adequate space around the unit for ventilation (at least 4 inches from walls or other appliances).
- Power Connection: Plug the power cord into a standard 120V grounded electrical outlet. Ensure the outlet is easily accessible.

Image: Angled view of the cooktop, illustrating its profile and ventilation.
5. Operating Instructions
5.1. Power On/Off
- To turn on, press the Power button (). The display will show 'ON' or '---'.
- To turn off, press the Power button again.
5.2. Selecting a Cooking Zone and Adjusting Power/Temperature
- After powering on, select the desired cooking zone by pressing its corresponding zone selection button (e.g., Left Zone or Right Zone).
- Use the + and - buttons to adjust the power level from 1 to 9. Level 1 is the lowest power (approx. 300W), and Level 9 is the highest (up to 1800W total shared between both burners).
- Note: The total wattage of 1800W is shared between both burners. If both burners are active, the maximum power available to each may be reduced. For example, if one burner is set to level 5, the other burner can only be set to a maximum of level 4 to stay within the 1800W limit.
5.3. Using Cooking Modes
- Press the Mode button to cycle through available cooking modes such as Fry, Steam, Water, and Warm. Each mode has a preset power or temperature.
- The Warm function automatically maintains a low temperature to keep food warm after cooking.
5.4. Setting the Timer
- While a cooking zone is active, press the Timer button (). The display will flash.
- Use the + and - buttons to set the desired cooking time from 1 to 99 minutes.
- The timer will count down and automatically turn off the selected cooking zone when finished.
5.5. Child Safety Lock
- To activate the Child Safety Lock, press and hold the Lock button () for a few seconds until the lock indicator appears. All control buttons will be disabled.
- To deactivate, press and hold the Lock button again until the indicator disappears.

Image: The cooktop in active use, demonstrating its dual cooking capability.
6. Compatible Cookware
Induction cooktops require cookware with a magnetic base. To check if your cookware is compatible, hold a magnet to the bottom of the pot or pan. If the magnet sticks, the cookware is suitable for induction cooking.
6.1. Suitable Cookware Materials:
- Cast iron
- Iron
- Steel
- Enameled iron
- Stainless steel with a magnetic base
6.2. Unsuitable Cookware Materials:
- Glass
- Ceramic
- Aluminum
- Copper
- Non-magnetic stainless steel
The cooktop features an auto-pan detection system. If incompatible cookware is placed on the burner, or no cookware is present, the unit will not activate and may display an error code before shutting off after 60 seconds.
7. Cleaning and Maintenance
Regular cleaning and maintenance will ensure the longevity and optimal performance of your induction cooktop.
- Always unplug the cooktop from the power outlet before cleaning.
- Allow the cooktop to cool completely before cleaning.
- Wipe the ceramic glass surface with a soft, damp cloth and mild detergent. For stubborn stains, a non-abrasive ceramic cooktop cleaner can be used.
- Do not use abrasive pads, harsh chemicals, or scouring agents, as these can scratch or damage the surface.
- Clean the ventilation openings on the sides and bottom of the unit regularly to prevent dust buildup, which can affect performance. Use a soft brush or vacuum cleaner.
- Do not immerse the cooktop in water or any other liquid.
- Ensure the cooktop is completely dry before plugging it back in and using it.
8. Troubleshooting
If you encounter issues with your induction cooktop, refer to the following common problems and solutions:
| Problem | Possible Cause | Solution |
|---|---|---|
| Cooktop does not turn on. | No power, loose plug, or power outage. | Check power cord connection. Ensure outlet is functional. Check circuit breaker. |
| Cookware not detected / Error code (e.g., E0). | Incompatible cookware, cookware not centered, or pan too small. | Use induction-compatible cookware. Center the pan on the cooking zone. Ensure pan diameter is appropriate for the zone. |
| Cooktop shuts off during operation. | Overheating, internal sensor error, or power fluctuation. | Ensure ventilation is not blocked. Allow unit to cool. Restart. If problem persists, contact support. |
| Uneven heating. | Cookware quality, or shared power distribution. | Use high-quality, flat-bottomed induction cookware. Adjust power levels on both burners to manage shared wattage effectively. |
| Child Lock is active. | Controls are unresponsive. | Press and hold the Lock button for a few seconds to deactivate. |
For error codes not listed or persistent issues, please contact customer support.
9. Specifications
- Model: DP-CHEFTOP-2
- Material: Ceramic Glass
- Heating Elements: 2
- Product Dimensions: 13" (D) x 23" (W) x 2" (H)
- Wattage: 300W - 1800W (shared between two burners)
- Controls Type: Touch Sensor
- Voltage: 120 Volts
- Burner Type: Sealed
- Item Weight: 13.02 pounds (5.92 Kilograms)
- UPC: 850013220670

Image: Product dimensions diagram.
10. Warranty and Support
For warranty information, product support, or service inquiries, please refer to the warranty card included with your product or contact DRINKPOD customer service directly. Please have your model number (DP-CHEFTOP-2) and purchase date available when contacting support.
You can typically find contact information on the manufacturer's website or through your retailer.