Introduction
This manual provides detailed instructions for the setup, operation, and maintenance of your INF Digital LED Alarm Clock with Wireless Charging. Please read this manual thoroughly before using the product to ensure proper function and longevity.
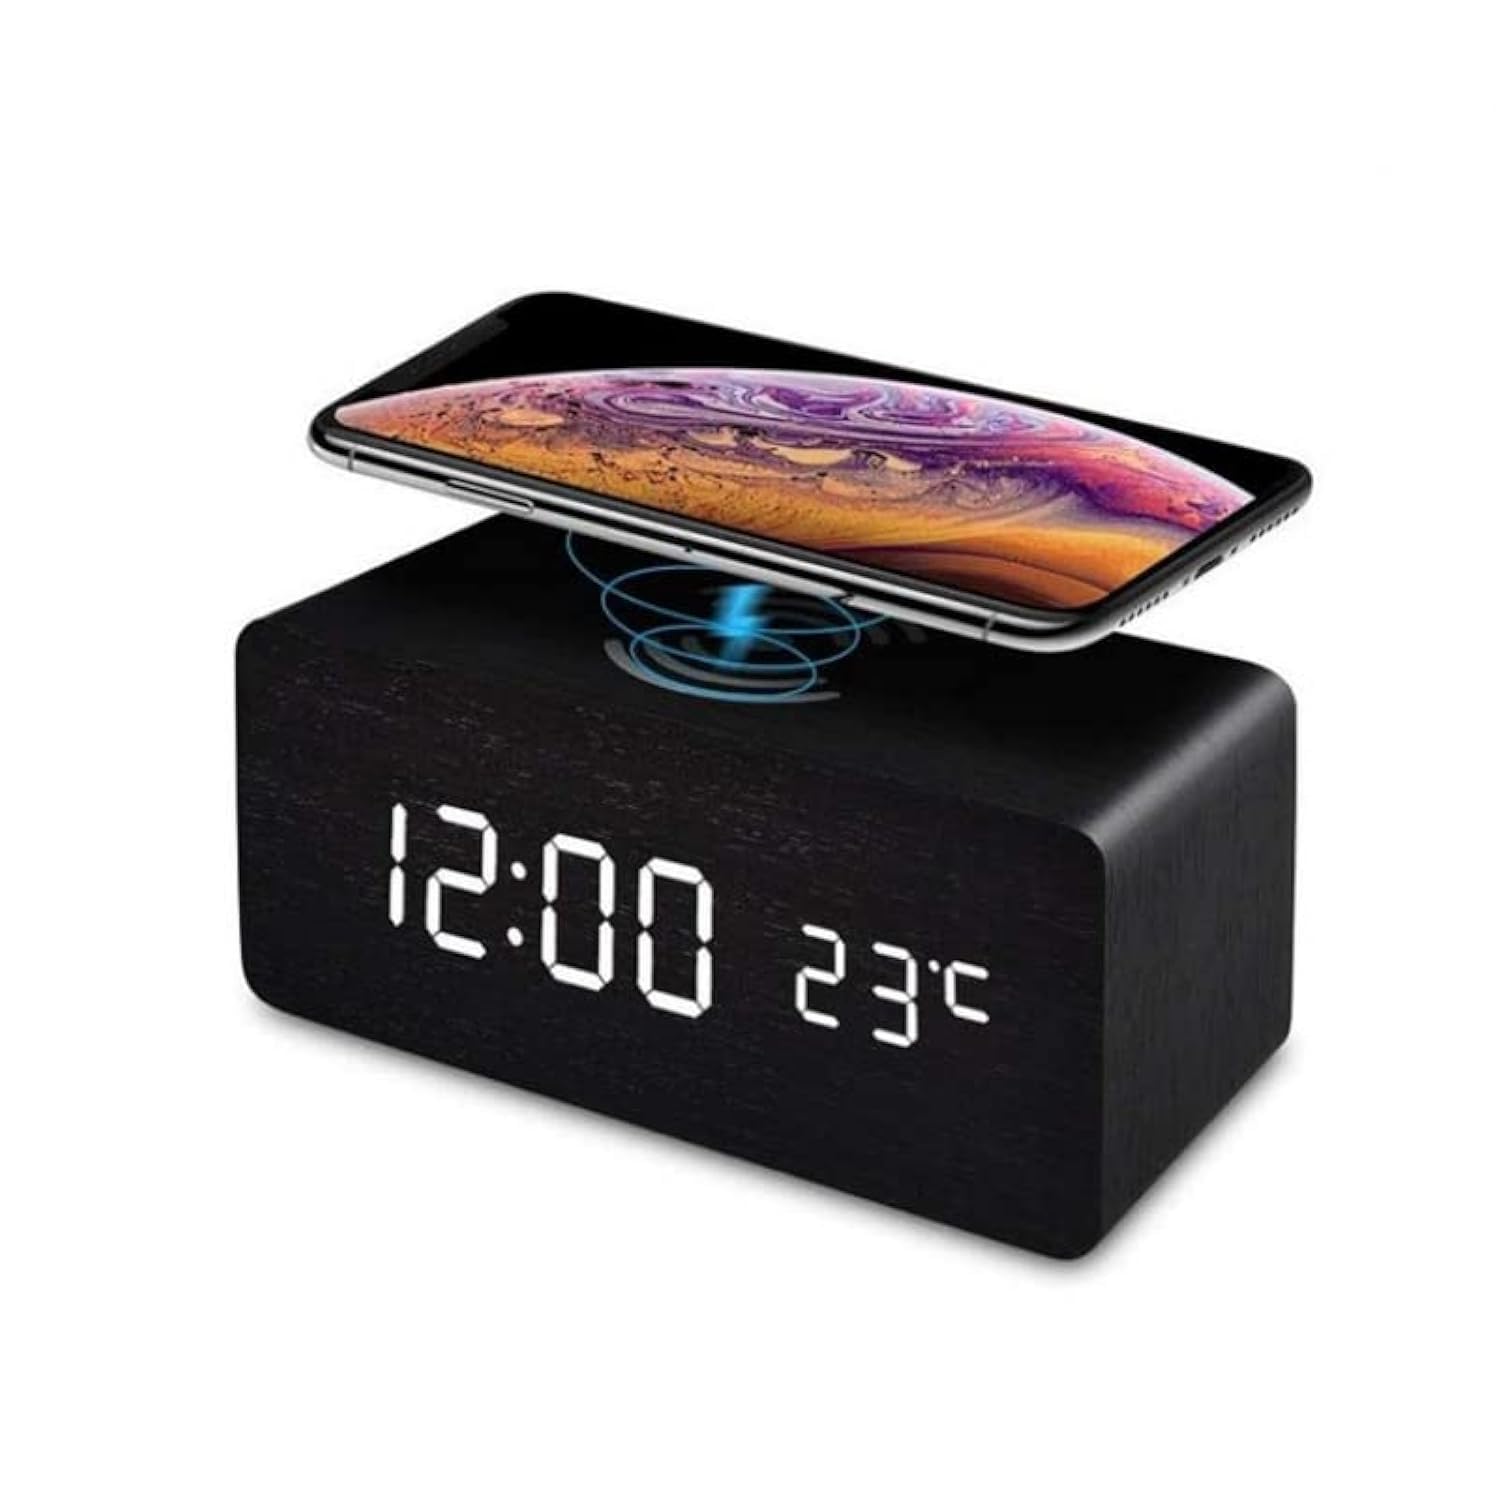
Image: The INF Digital LED Alarm Clock displaying time and temperature, with a smartphone placed on top for wireless charging.
Package Contents
Verify that all items are present in the package:
- 1 x Digital Alarm Clock
- 1 x USB Power Cable
- 1 x User Manual (this document)

Image: The product packaging showing the digital alarm clock, USB power cable, and user manual.
Setup
Powering the Device
The alarm clock can be powered in two ways:
- USB Power (Recommended): Connect the provided USB cable to the clock and to a USB power adapter (not included). This method is recommended for continuous operation and enables the wireless charging function.
- Battery Power: Insert 4 AAA batteries (not included) into the battery compartment. Battery power is suitable for backup or temporary use. Note that wireless charging is not available when operating on battery power alone.
Initial Power On
Once connected to power, the LED display will illuminate. The clock may display default settings or require initial time and date configuration.
Operating Instructions
Setting Time and Date
Specific buttons for setting time and date are typically located on the back or bottom of the device. Refer to the physical manual for exact button functions. Generally, you will press a "SET" or "MODE" button to enter setting mode, then use "UP" and "DOWN" buttons to adjust values, and "SET" or "MODE" again to confirm and move to the next setting (e.g., hour, minute, year, month, day).
Setting Alarms
The device supports up to three independent alarms (A1, A2, A3). To set an alarm:
- Press the "ALARM" button (or similar) to cycle through alarm settings.
- When an alarm (e.g., A1) is displayed, press and hold the "ALARM" button to enter setting mode.
- Use "UP" and "DOWN" buttons to adjust the hour and minute.
- Confirm each setting by pressing the "ALARM" button.
- You may also be able to set alarm frequency (e.g., everyday, working days).
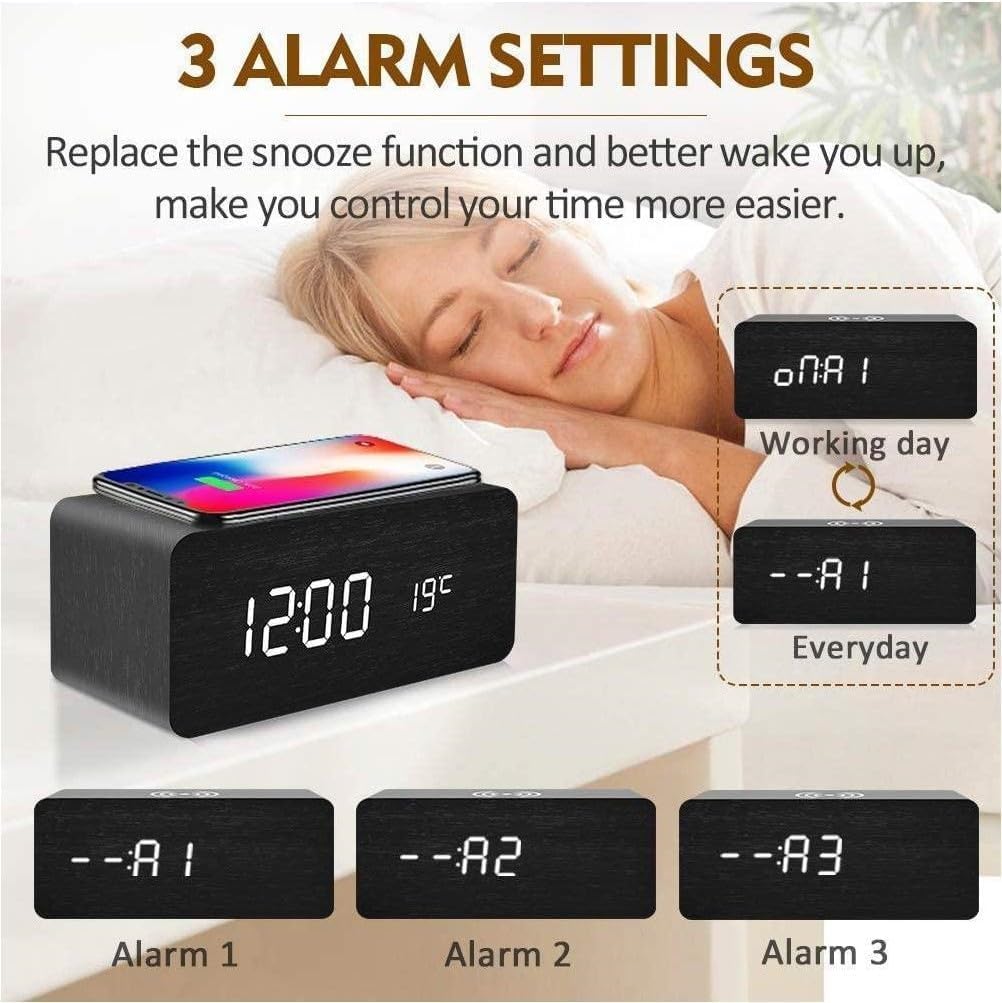
Image: Illustration of the three alarm settings (A1, A2, A3) and options for daily or weekday alarms.
Display Brightness
The LED display typically offers three brightness levels. A dedicated "BRIGHTNESS" button or a combination of buttons may be used to cycle through these settings. Adjust to your preference for optimal visibility without disturbance.
Sound Control Function (Energy Saving Mode)
This feature allows the LED display to turn off automatically after approximately 30 seconds to save energy. The display will reactivate when sound over 60 dB is detected (e.g., a clap, tap on the clock, or loud voice). To enable or disable this mode, locate the "SOUND" or "VOICE" control button, or refer to the specific instructions in your physical manual.

Image: Explanation of the sound control function, showing how the display reacts to sounds above 60dB.
Wireless Charging
The top surface of the alarm clock features a Qi-compatible wireless charging pad. To use this function:
- Ensure the alarm clock is connected to a USB power source (not running on batteries).
- Place your Qi-compatible mobile phone directly on the designated charging area on top of the clock.
- Charging will begin automatically. A charging indicator (e.g., an icon on the phone screen or a light on the clock) may confirm the connection.
Important: Wireless charging requires the clock to be powered via the USB cable. It will not function when the clock is running on batteries.

Image: A smartphone being wirelessly charged on the top surface of the alarm clock.
Maintenance
- Cleaning: Use a soft, dry cloth to clean the surface of the clock. Avoid abrasive cleaners or solvents.
- Power: Always ensure the correct power source is used. For wireless charging, USB power is essential.
- Environment: Keep the device away from extreme temperatures, direct sunlight, and moisture.
Troubleshooting
| Problem | Possible Cause | Solution |
|---|---|---|
| Display is off or dim. |
|
|
| Wireless charging not working. |
|
|
| Alarm not sounding. |
|
|
Specifications
| Brand | INF |
| Model Number | B08KFD8N85 |
| Product Dimensions | 15 x 3.81 x 7 cm (approx. 15B x 7H cm) |
| Weight | 300 g |
| Power Source | USB (DC 5V) or 4 x AAA Batteries (not included) |
| Display Type | Digital LED |
| Special Features | Alarm, Wireless Charging, Temperature Display, Sound Control, Adjustable Brightness |
| Color | Black (with wooden texture) |
| Room Type | Bedroom, Kitchen, Office, Indoor |
Warranty Information
Specific warranty details are not provided in this manual. For information regarding product warranty, please refer to the documentation included with your purchase or contact the retailer/manufacturer directly. Keep your proof of purchase for warranty claims.
Customer Support
If you encounter any issues not covered in the troubleshooting section or require further assistance, please contact INF customer support through the retailer's platform or the official INF website. Provide your product model number (B08KFD8N85) and a detailed description of the issue for efficient support.