
1. Introduction
This manual provides detailed instructions for the installation, operation, and maintenance of your OTVEE DC 12V Car Fog Light Switch. Please read this manual thoroughly before installation and use to ensure proper function and safety. This switch is designed for specific Toyota vehicle applications.
2. Safety Information
- Always disconnect the vehicle's battery before performing any electrical work to prevent short circuits and electrical shock.
- Ensure all connections are secure and properly insulated to avoid electrical hazards.
- Verify the voltage compatibility (DC 12V) before connecting the switch.
- If you are unsure about any installation steps, consult a qualified automotive technician.
- Do not modify the switch or wiring harness, as this may void the warranty and create safety risks.
3. Product Overview
The OTVEE DC 12V Car Fog Light Switch is a 4-wire, push-button ON-OFF switch designed for controlling fog lights in compatible Toyota vehicles. It features a yellow indicator light to show when the fog lights are active.

Figure 3.1: The OTVEE DC 12V Car Fog Light Switch with its integrated 4-wire harness and connector. The switch features a black housing and a push-button with a fog light symbol and a yellow indicator light.
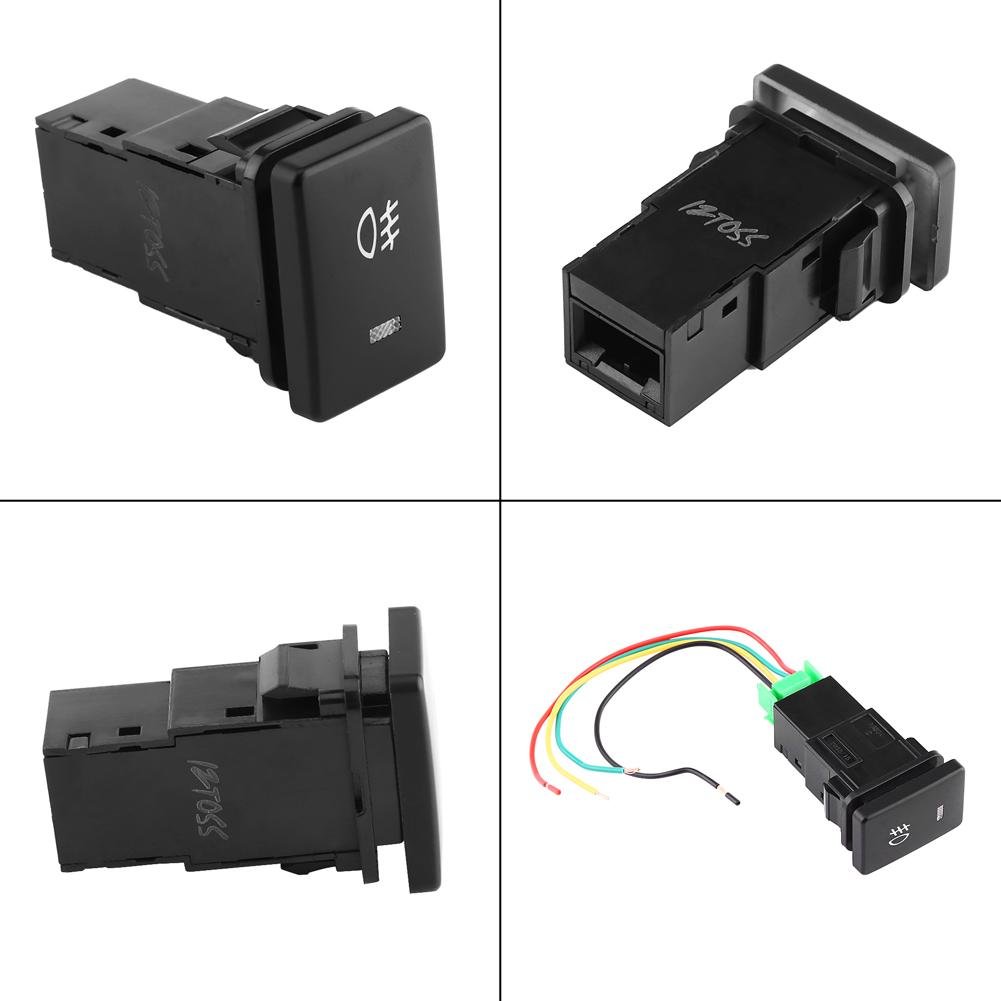
Figure 3.2: Various angles of the fog light switch, showcasing its compact design and the rear housing with mounting clips. The switch is designed for panel mounting.

Figure 3.3: A direct front view of the switch, highlighting the fog light icon and the yellow indicator window.
4. Setup and Installation
Follow these steps for proper installation of the fog light switch:
- Preparation: Ensure the vehicle's ignition is off and the battery is disconnected. Identify a suitable panel mounting location in your Toyota vehicle, typically a blank switch slot.
- Mounting: Carefully insert the switch into the designated panel opening until it clicks securely into place.
- Wiring Connections: The switch comes with a 4-wire harness. Refer to the wiring diagram below for correct connections.

Figure 4.1: Wiring diagram illustrating the connections for the 4-wire fog light switch. The diagram shows two input positive 12V wires, one input negative 12V wire, and one output positive 12V wire to the load (fog light).
- Input Negative 12V (Black Wire): Connect this wire to a reliable ground point on the vehicle chassis or the negative terminal of the battery.
- Input Positive 12V (Red Wire): Connect this wire to a switched 12V power source (e.g., ignition-controlled power) or directly to the positive terminal of the battery via an inline fuse (not included).
- Input Positive 12V (Yellow Wire): Connect this wire to a constant 12V power source, often used for the indicator light.
- Output Positive 12V (Green Wire): Connect this wire to the positive input of your fog lights (the 'load').
Ensure all connections are tight and insulated with electrical tape or heat shrink tubing. The total length of the wiring harness is approximately 20cm.
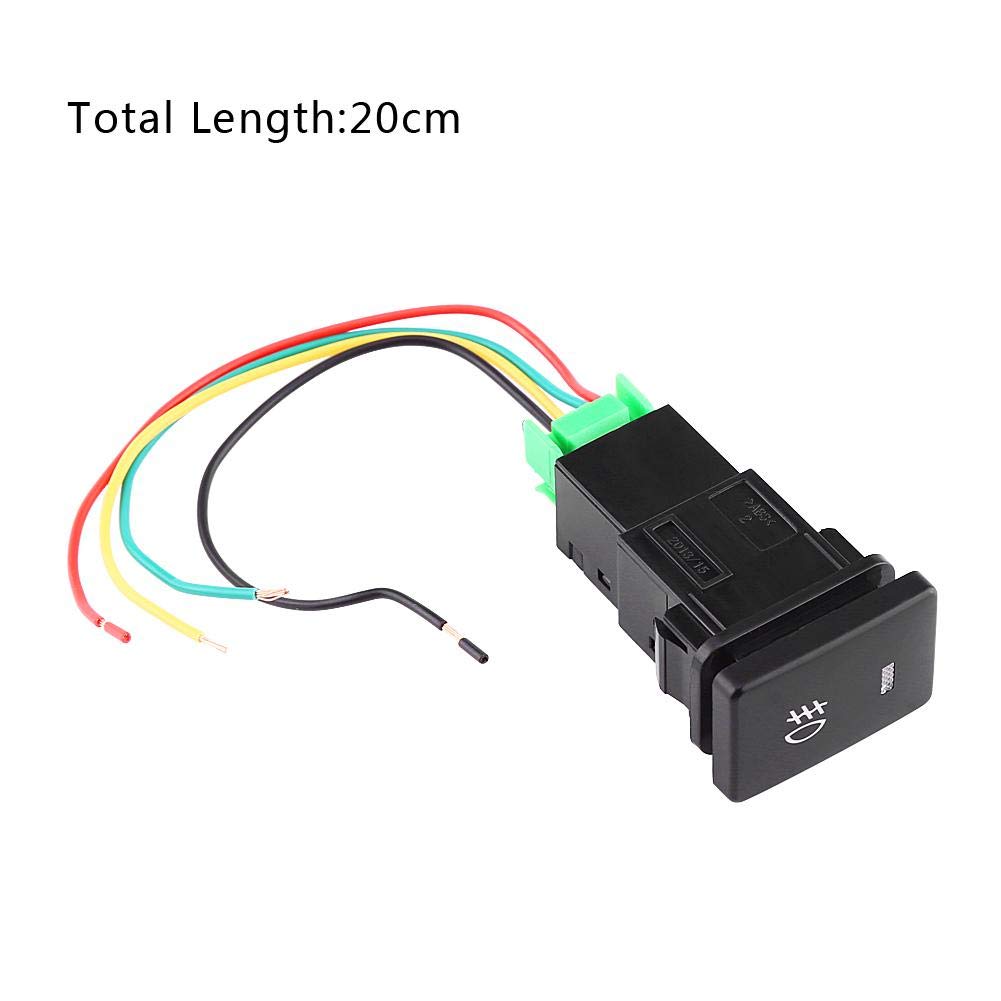
Figure 4.2: The fog light switch and harness, indicating a total length of 20cm for the wiring.
- Testing: Reconnect the vehicle's battery. Turn on the ignition and press the fog light switch. Verify that the fog lights illuminate and the yellow indicator on the switch lights up.
5. Operating Instructions
To operate the fog light switch:
- Ensure the vehicle's ignition is on.
- Press the switch button once to turn on the fog lights. The yellow indicator light on the switch will illuminate, confirming that the fog lights are active.
- Press the switch button again to turn off the fog lights. The yellow indicator light will extinguish.
6. Maintenance
The OTVEE DC 12V Car Fog Light Switch requires minimal maintenance. Follow these guidelines:
- Cleaning: Use a soft, dry cloth to clean the surface of the switch. Avoid using harsh chemicals or abrasive cleaners.
- Inspection: Periodically check the wiring connections for any signs of wear, corrosion, or looseness. Ensure the switch is securely mounted in the panel.
- Environmental Conditions: While designed for automotive use, avoid exposing the switch to excessive moisture or extreme temperatures beyond normal vehicle operating conditions.
7. Troubleshooting
| Problem | Possible Cause | Solution |
|---|---|---|
| Fog lights do not turn on. | No power to the switch. Incorrect wiring. Blown fuse. Faulty fog light bulb. | Check battery connection and vehicle's ignition. Verify wiring against the diagram (Figure 4.1). Inspect and replace any blown fuses in the circuit. Check fog light bulbs for functionality. |
| Indicator light on switch does not illuminate. | Incorrect wiring for indicator. Faulty indicator LED. | Ensure the yellow wire is connected to a constant 12V source. If all wiring is correct, the LED may be faulty; consider replacing the switch. |
| Switch feels loose in the panel. | Improper installation. Damaged mounting clips. | Re-seat the switch firmly into the panel opening. If clips are damaged, the switch may need replacement. |
8. Specifications
| Feature | Detail |
|---|---|
| Brand | OTVEE |
| Model Number | B08KCP7NKL |
| Operation Mode | ON-OFF |
| Operating Voltage | 12 Volts DC |
| Contact Type | Normally Open |
| Connector Type | Micro USB (referring to the harness connector style) |
| Terminal Type | Spade |
| Circuit Type | 1-way |
| Mounting Type | Panel Mount |
| Actuator Type | Push Button |
| Contact Material | Metal |
| Manufacturer | koulate |
9. Warranty and Support
For warranty information or technical support, please refer to the purchase documentation or contact the seller directly through the platform where the product was purchased. Keep your proof of purchase for any warranty claims.