Beldray BEL01096
Beldray BEL01096 Airlite Handheld Vacuum Cleaner User Manual
Model: BEL01096
Introduction
This manual provides essential instructions for the safe and efficient operation, maintenance, and care of your Beldray BEL01096 Airlite Handheld Vacuum Cleaner. Please read this manual thoroughly before first use and retain it for future reference.
Important Safety Instructions
When using electrical appliances, basic safety precautions should always be followed, including:
- Ensure the voltage indicated on the product corresponds with your mains supply.
- Do not immerse the appliance, charging base, or adapter in water or any other liquid.
- This appliance is not intended for use by persons (including children) with reduced physical, sensory or mental capabilities, or lack of experience and knowledge, unless they have been given supervision or instruction concerning use of the appliance by a person responsible for their safety.
- Children should be supervised to ensure that they do not play with the appliance.
- Do not use the appliance if any part is damaged. Contact qualified service personnel for repair.
- Do not pick up flammable or combustible materials, hot ashes, or large, sharp objects.
- Always switch off and unplug the appliance before cleaning or maintenance.
- Use only manufacturer-recommended attachments.
- Keep hair, loose clothing, fingers, and all parts of the body away from openings and moving parts.
Package Contents
Please check the box for the following items:
- 1 x Beldray Airlite Handheld Vacuum Cleaner
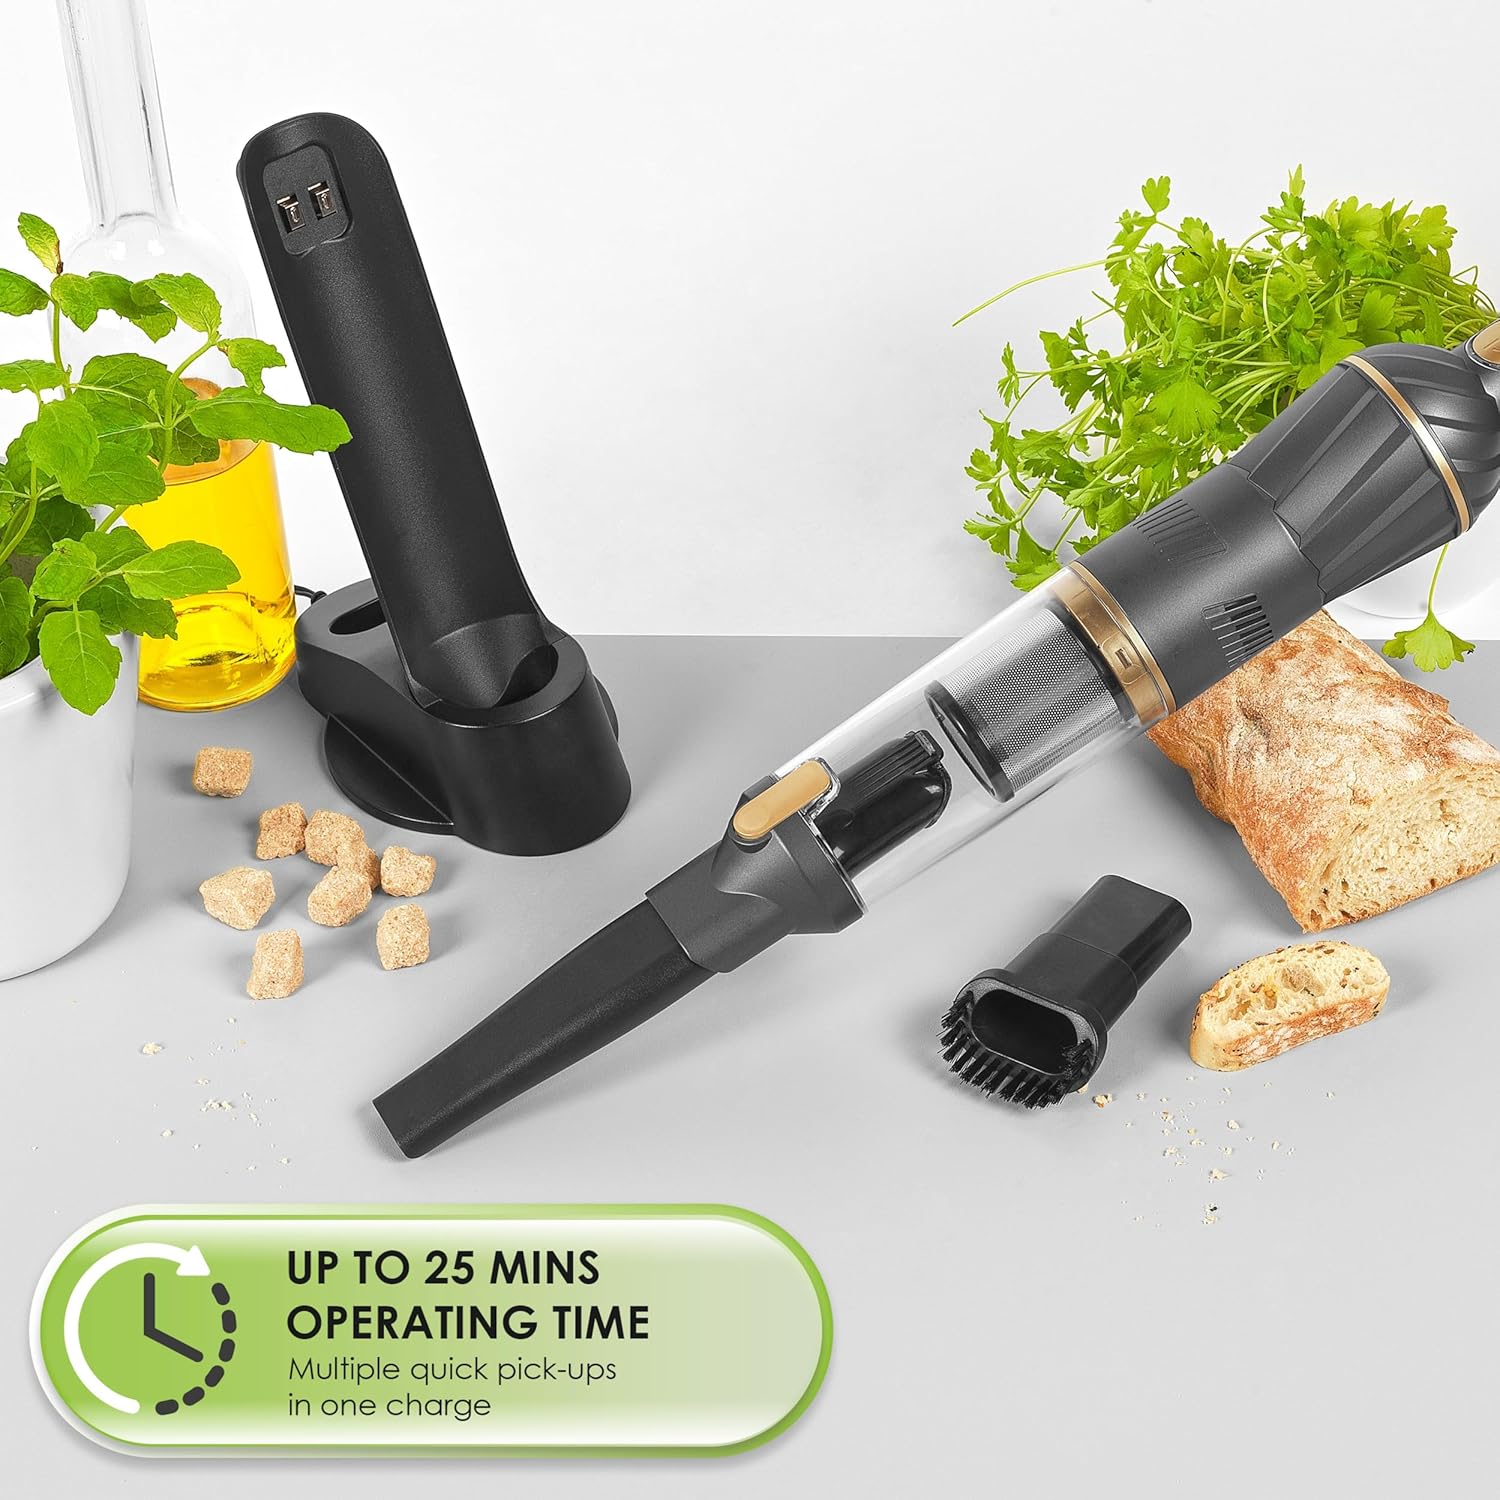
- 1 x Countertop Storage and Charging Base
- 1 x 2-in-1 Crevice and Brush Tool
- 1 x Power Adapter
Product Overview
Familiarize yourself with the components of your handheld vacuum cleaner.

- Power Button: To turn the vacuum on/off and adjust speed settings.
- Dust Container: Transparent container for collecting dust and debris.
- HEPA Filter: Located inside the dust container, designed to trap fine particles.
- Charging Port: Located on the vacuum for connection to the charging base.
- Charging Base: Provides power to recharge the vacuum and acts as a storage unit.
- 2-in-1 Crevice and Brush Tool: Attachment for various cleaning tasks.
Setup
Initial Charging
Before first use, fully charge the vacuum cleaner.
- Place the handheld vacuum onto the countertop charging base.
- Connect the power adapter to the charging base and plug it into a suitable mains socket.
- The charging indicator light will illuminate.
- Allow 4-5 hours for a full charge. The indicator light may change or turn off when fully charged (refer to specific product indicator behavior if detailed).

Attaching Accessories
The 2-in-1 crevice and brush tool can be attached directly to the vacuum's nozzle.
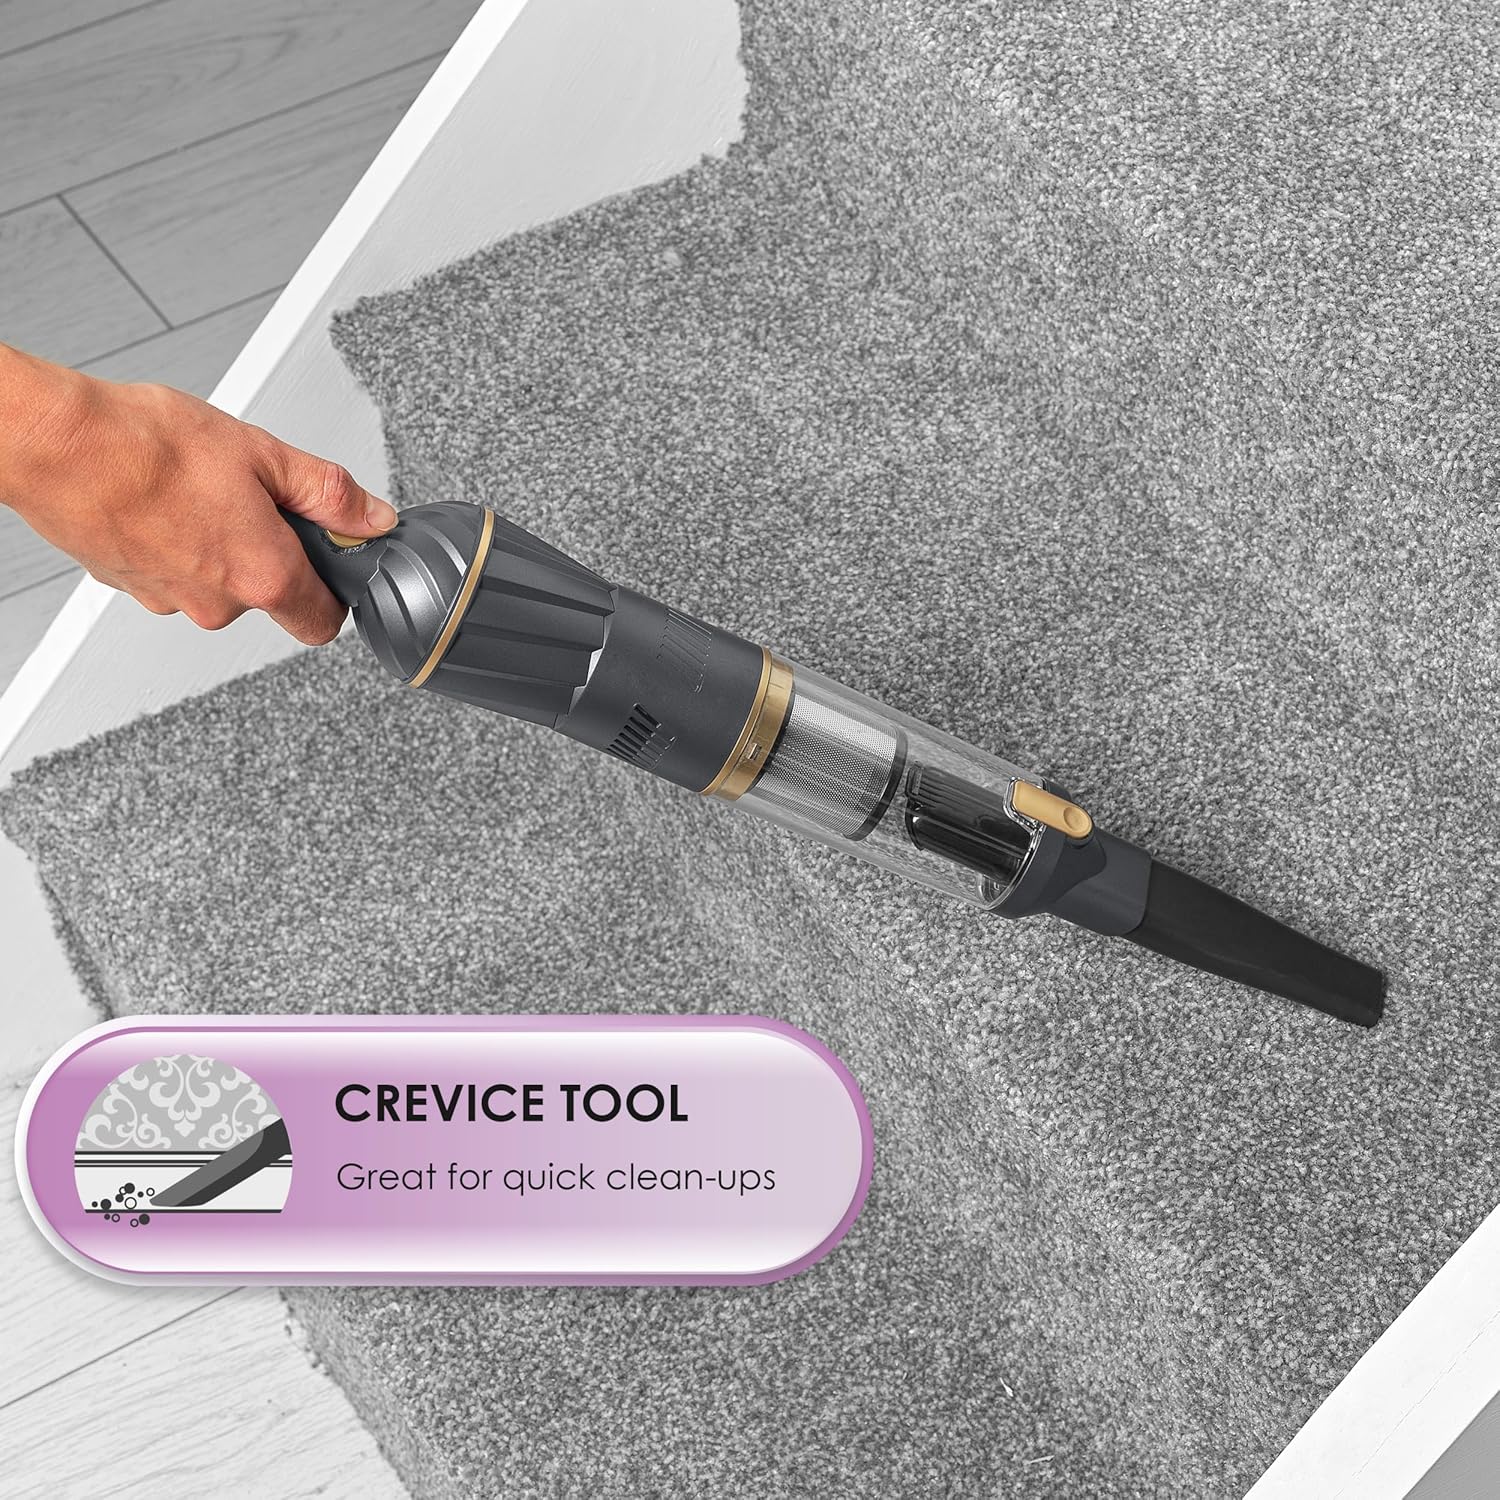
- To use as a crevice tool: Slide the brush part back to expose the narrow nozzle.
- To use as a brush tool: Slide the brush part forward over the narrow nozzle.

Operating Instructions
Powering On/Off and Speed Settings
- Press the power button once to turn the vacuum on at the standard speed setting.
- Press the power button a second time to switch to the higher speed setting.
- Press the power button a third time to turn the vacuum off.
A full charge provides approximately 15-25 minutes of operating time, depending on the speed setting used.
Using the Attachments
- Crevice Tool: Ideal for cleaning tight corners, edges, and narrow gaps in furniture, car interiors, or between cushions.
- Brush Tool: Suitable for cleaning upholstery, curtains, and picking up pet hair from fabric surfaces.

Maintenance
Emptying the Dust Container
For optimal performance, empty the 100 ml dust container regularly, especially when it appears full.
- Ensure the vacuum is switched off.
- Hold the vacuum over a waste bin.
- Locate the release button or latch for the dust container and press/slide it to detach the container from the main unit.
- Carefully empty the contents into the bin.
- Reattach the dust container securely until it clicks into place.

Cleaning the HEPA Filter
The HEPA filter should be cleaned approximately every two weeks, depending on usage, to maintain suction power.
- Remove the dust container as described above.
- Carefully remove the HEPA filter from inside the dust container.
- Gently tap out any excess dust and debris. Use the brush tool provided to help dislodge stubborn particles.
- Rinse the HEPA filter under running tap water until clean. Do not use detergents.
- Allow the filter to air dry completely for at least 24 hours before reinserting it. Do not use the vacuum with a wet filter.
- Once dry, reinsert the HEPA filter into the dust container and reattach the container to the vacuum.

Troubleshooting
| Problem | Possible Cause | Solution |
|---|---|---|
| Vacuum does not turn on. | Battery is discharged. | Charge the vacuum fully (4-5 hours). |
| Reduced suction power. | Dust container is full. HEPA filter is clogged. Nozzle/attachment is blocked. | Empty the dust container. Clean the HEPA filter. Check and clear any blockages in the nozzle or attachments. |
| Charging indicator not working. | Power adapter not connected properly. Faulty power outlet. | Ensure the adapter is securely plugged into the base and mains. Try a different power outlet. |
Specifications
| Brand | Beldray |
| Model Number | BEL01096 |
| Color | Graphite |
| Product Dimensions | 7 x 7 x 40 cm |
| Item Weight | 1.2 kg |
| Dust Container Capacity | 100 ml |
| Power/Wattage | 70 W |
| Voltage | 11.1 V (Li-ion battery) |
| Number of Speeds | 2 |
| Run Time | 15-25 minutes |
| Charge Time | 4-5 hours |
| Filter Type | HEPA Filter |
| Special Features | Cordless, Lightweight, Countertop Storage/Charging Base, 2-in-1 Crevice/Brush Tool |
Warranty and Support
Beldray products are designed to meet high-quality standards. For information regarding warranty, returns, or technical support, please refer to the warranty card included with your purchase or visit the official Beldray website. Keep your proof of purchase for any warranty claims.
Beldray Official Website: www.beldray.com
Ask a question about this manual
Ask about setup, troubleshooting, compatibility, parts, safety, or missing instructions. Manuals+ will review the question and use this page’s manual context to help answer it.