1. Introduction and Package Contents
This manual provides essential information for the safe and efficient operation, maintenance, and troubleshooting of your PURE CLEAN Smart Automatic Robot Vacuum Cleaner, model PUCRC95PLUS.9. Please read this manual thoroughly before using the product and retain it for future reference.
Package Contents:
- Smart Robot Vacuum
- Rechargeable Battery (pre-installed or separate)
- Remote Control
- US Plug/Power Adapter
- Mop Cloths (2)
- Water Tank
- Side Brushes (2 pairs)
- HEPA Filters (2)
- Primary Filter (1)
- Charging Station
- Cleaning Brush

2. Safety Instructions
To reduce the risk of injury or damage, read these safety instructions carefully before setting up, using, and maintaining your robot vacuum cleaner.
- This appliance can be used by children aged 8 years and above and persons with reduced physical, sensory or mental capabilities or lack of experience and knowledge if they have been given supervision or instruction concerning use of the appliance in a safe way and understand the hazards involved.
- Children should be supervised to ensure they do not play with the appliance.
- Cleaning and user maintenance shall not be made by children without supervision.
- Only use the original power adapter provided by the manufacturer.
- Do not operate the robot in environments with open flames or fragile objects.
- Ensure the charging station is placed against a wall on a level surface.
- Keep hair, loose clothing, fingers, and all parts of the body away from openings and moving parts.
- Do not pick up large or sharp objects, liquids, or burning/smoking materials.
- Unplug the robot from the power outlet before cleaning or performing maintenance.
3. Setup
3.1 Installing Side Brushes
Gently push the side brushes onto the square posts at the bottom of the robot until they click into place. Ensure they are securely attached.
3.2 Placing the Charging Station
Place the charging station against a wall in an open, uncluttered area. Ensure there is at least 1 meter (3 feet) of clear space on either side and 2 meters (6 feet) in front of the station for optimal navigation. Connect the power adapter to the charging station and plug it into a wall outlet.
3.3 Initial Charging
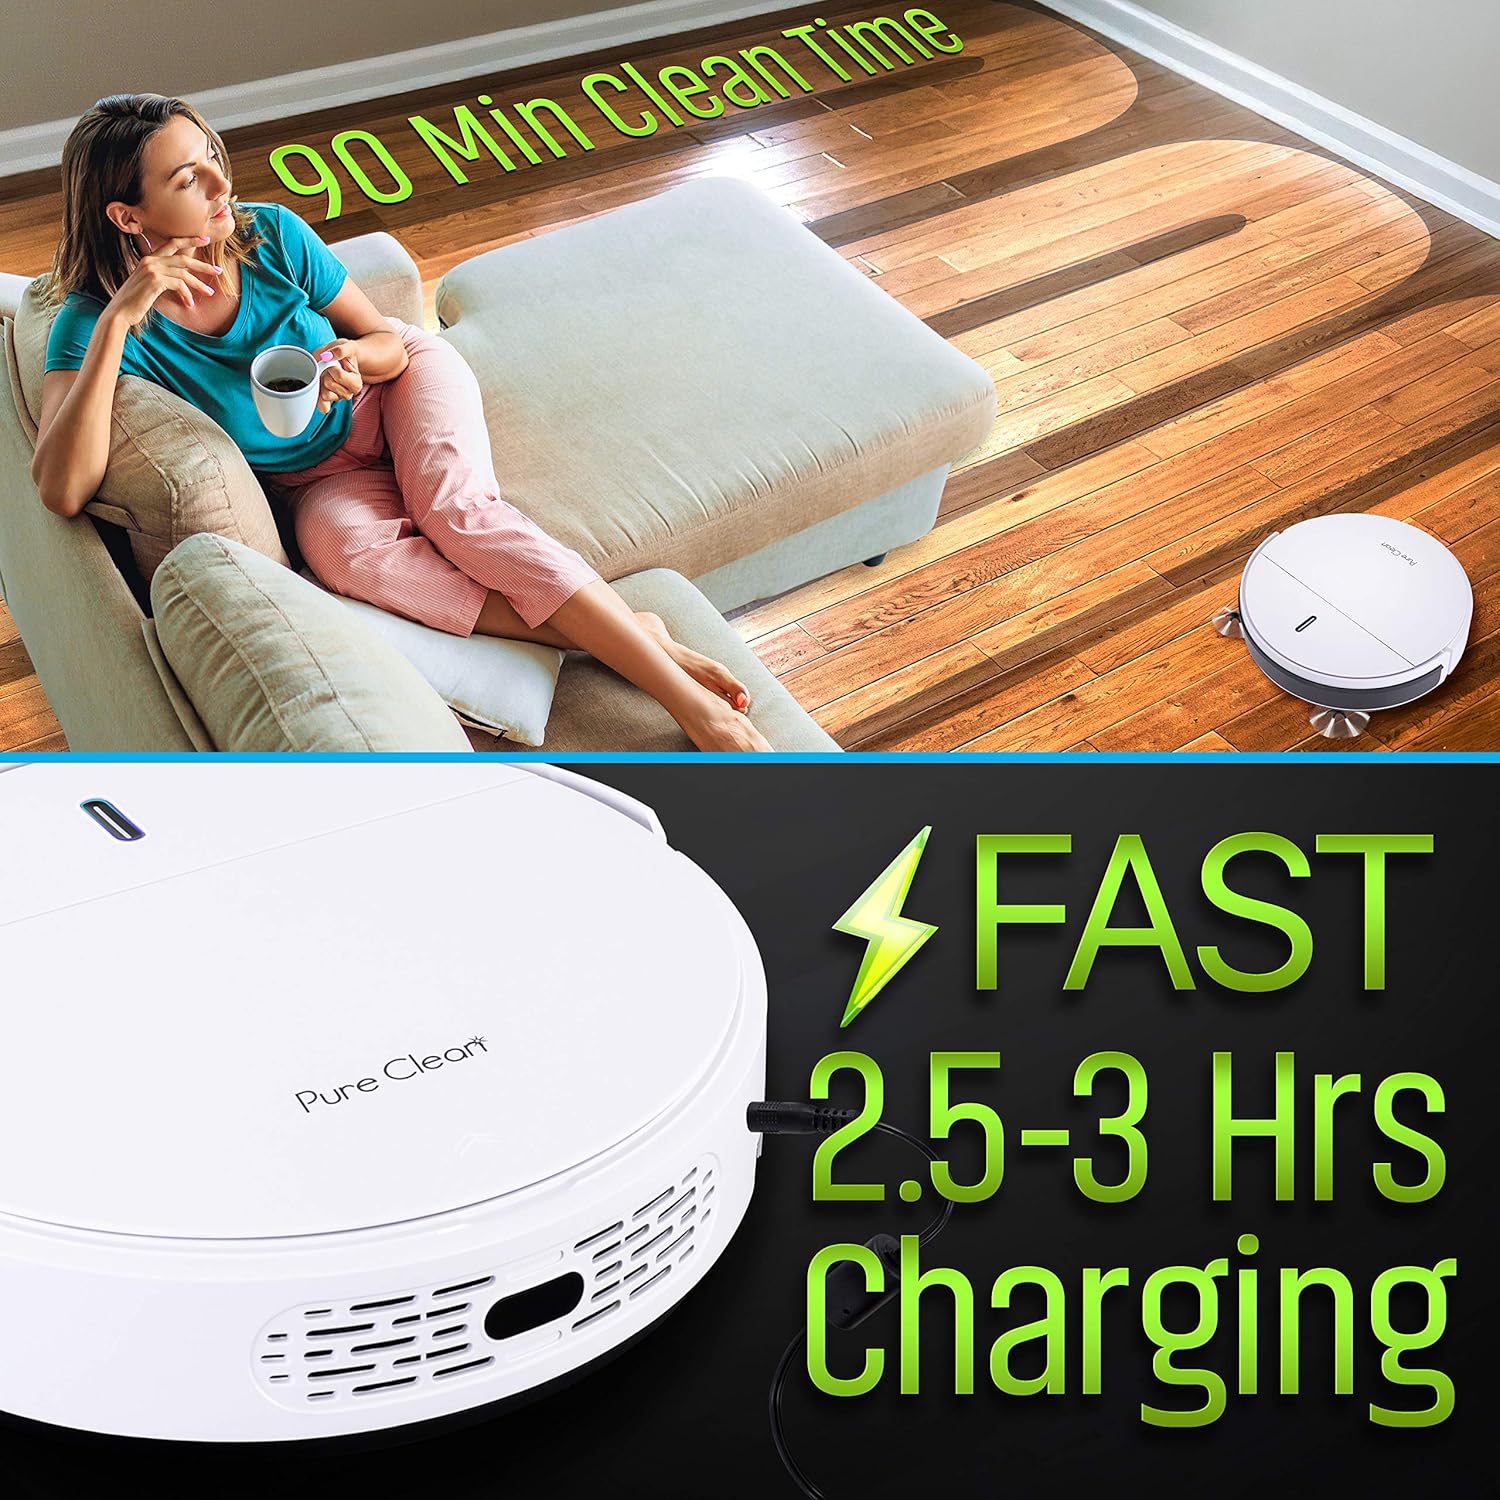
Before first use, fully charge the robot vacuum. Place the robot onto the charging station, ensuring the charging contacts align. The indicator light on the robot will show charging status. A full charge typically takes approximately 4 hours.
3.4 Preparing the Cleaning Area
Remove any cables, small objects, or fragile items from the floor to prevent entanglement or damage. Open doors to rooms you wish to clean and close doors to areas you want the robot to avoid.
4. Operation
4.1 Powering On/Off
To power on the robot, press the power button on the robot or the remote control. To power off, press and hold the power button on the robot until the indicator lights turn off, or use the remote control.
4.2 Starting a Cleaning Cycle
Press the 'Clean' button on the robot or the remote control to start an automatic cleaning cycle. The robot will navigate and clean autonomously.
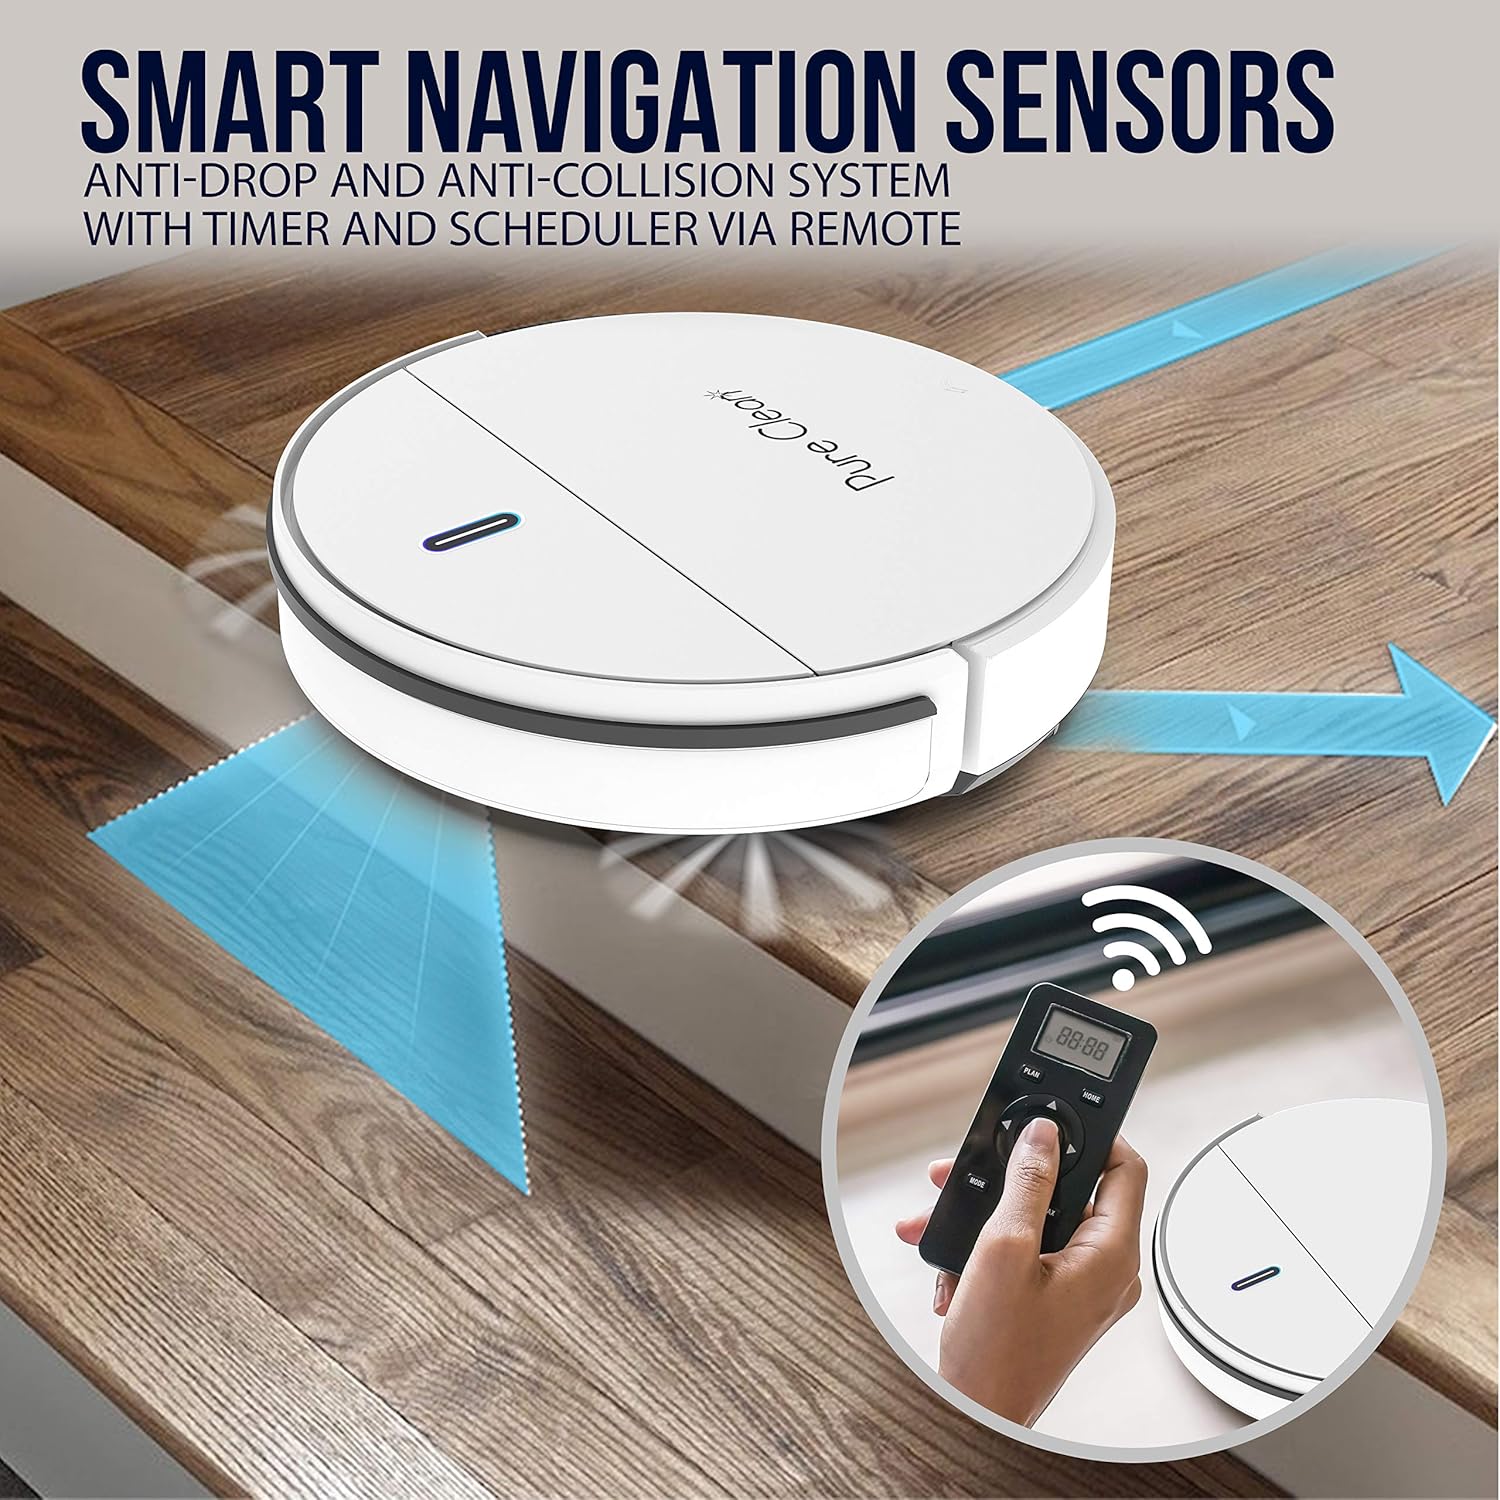
4.3 Smart Navigation and Sensors
The robot is equipped with smart navigation sensors, including anti-fall stair sensors and protective bumper housing, to prevent collisions and falls. It detects obstacles and cleans around household objects.
4.4 Multi-Surface Cleaning
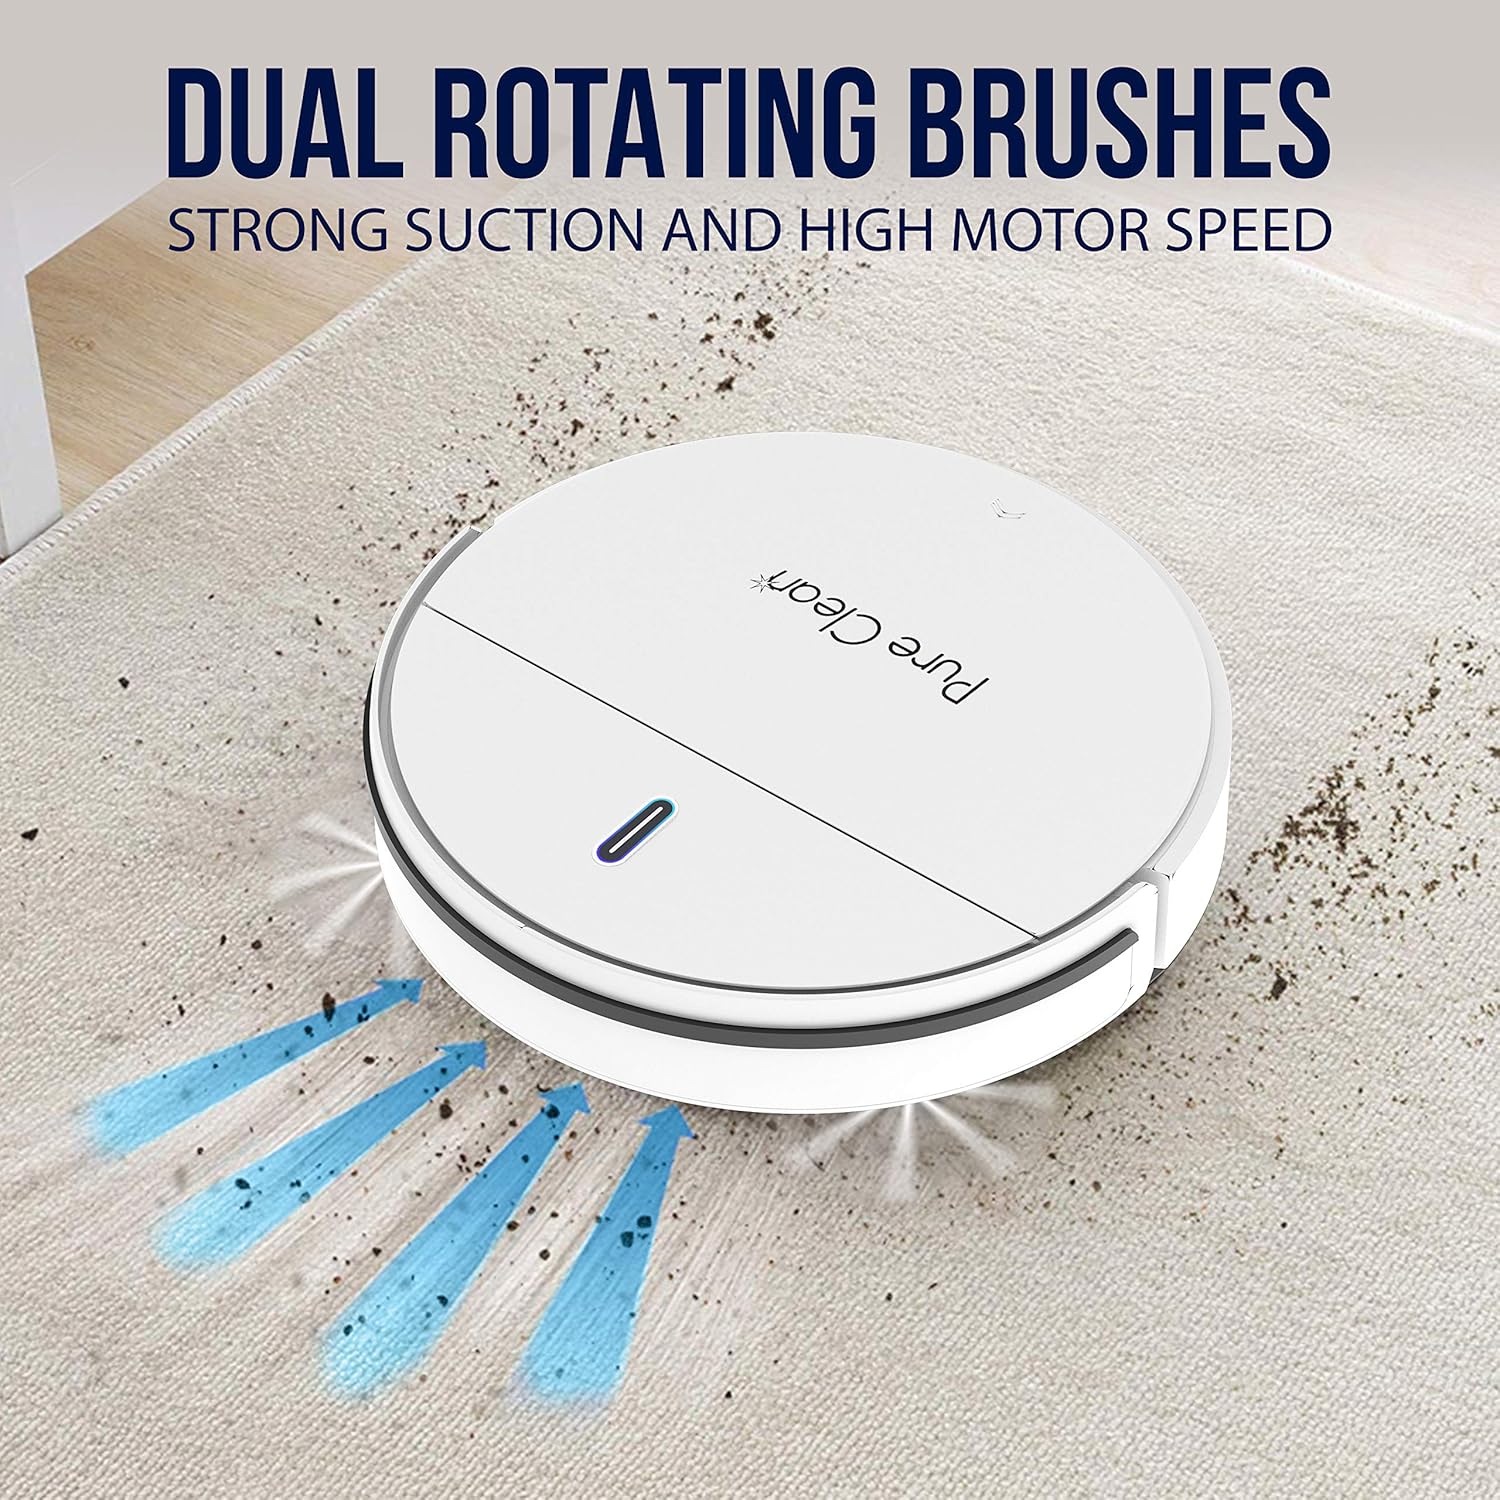
The robot is designed to work effectively on various floor types, including hardwood, linoleum, tile, and low/hard carpet floors. It features dual spinning side brushes to lift debris from edges and corners.


4.5 Mopping Function
To use the mopping function, fill the water tank with clean water and attach a mop cloth. Install the water tank assembly into the robot. The robot will then sweep and mop simultaneously.
4.6 Remote Control Usage
The remote control allows you to start/stop cleaning, direct the robot manually, select cleaning modes, and set cleaning schedules. Ensure the remote control has 2 x 'AAA' batteries installed.
5. Maintenance
Regular maintenance ensures optimal performance and extends the lifespan of your robot vacuum cleaner.
5.1 Emptying the Dustbin
Open the top cover of the robot and remove the dustbin. Open the dustbin lid and empty its contents into a trash can. It is recommended to empty the dustbin after each cleaning cycle.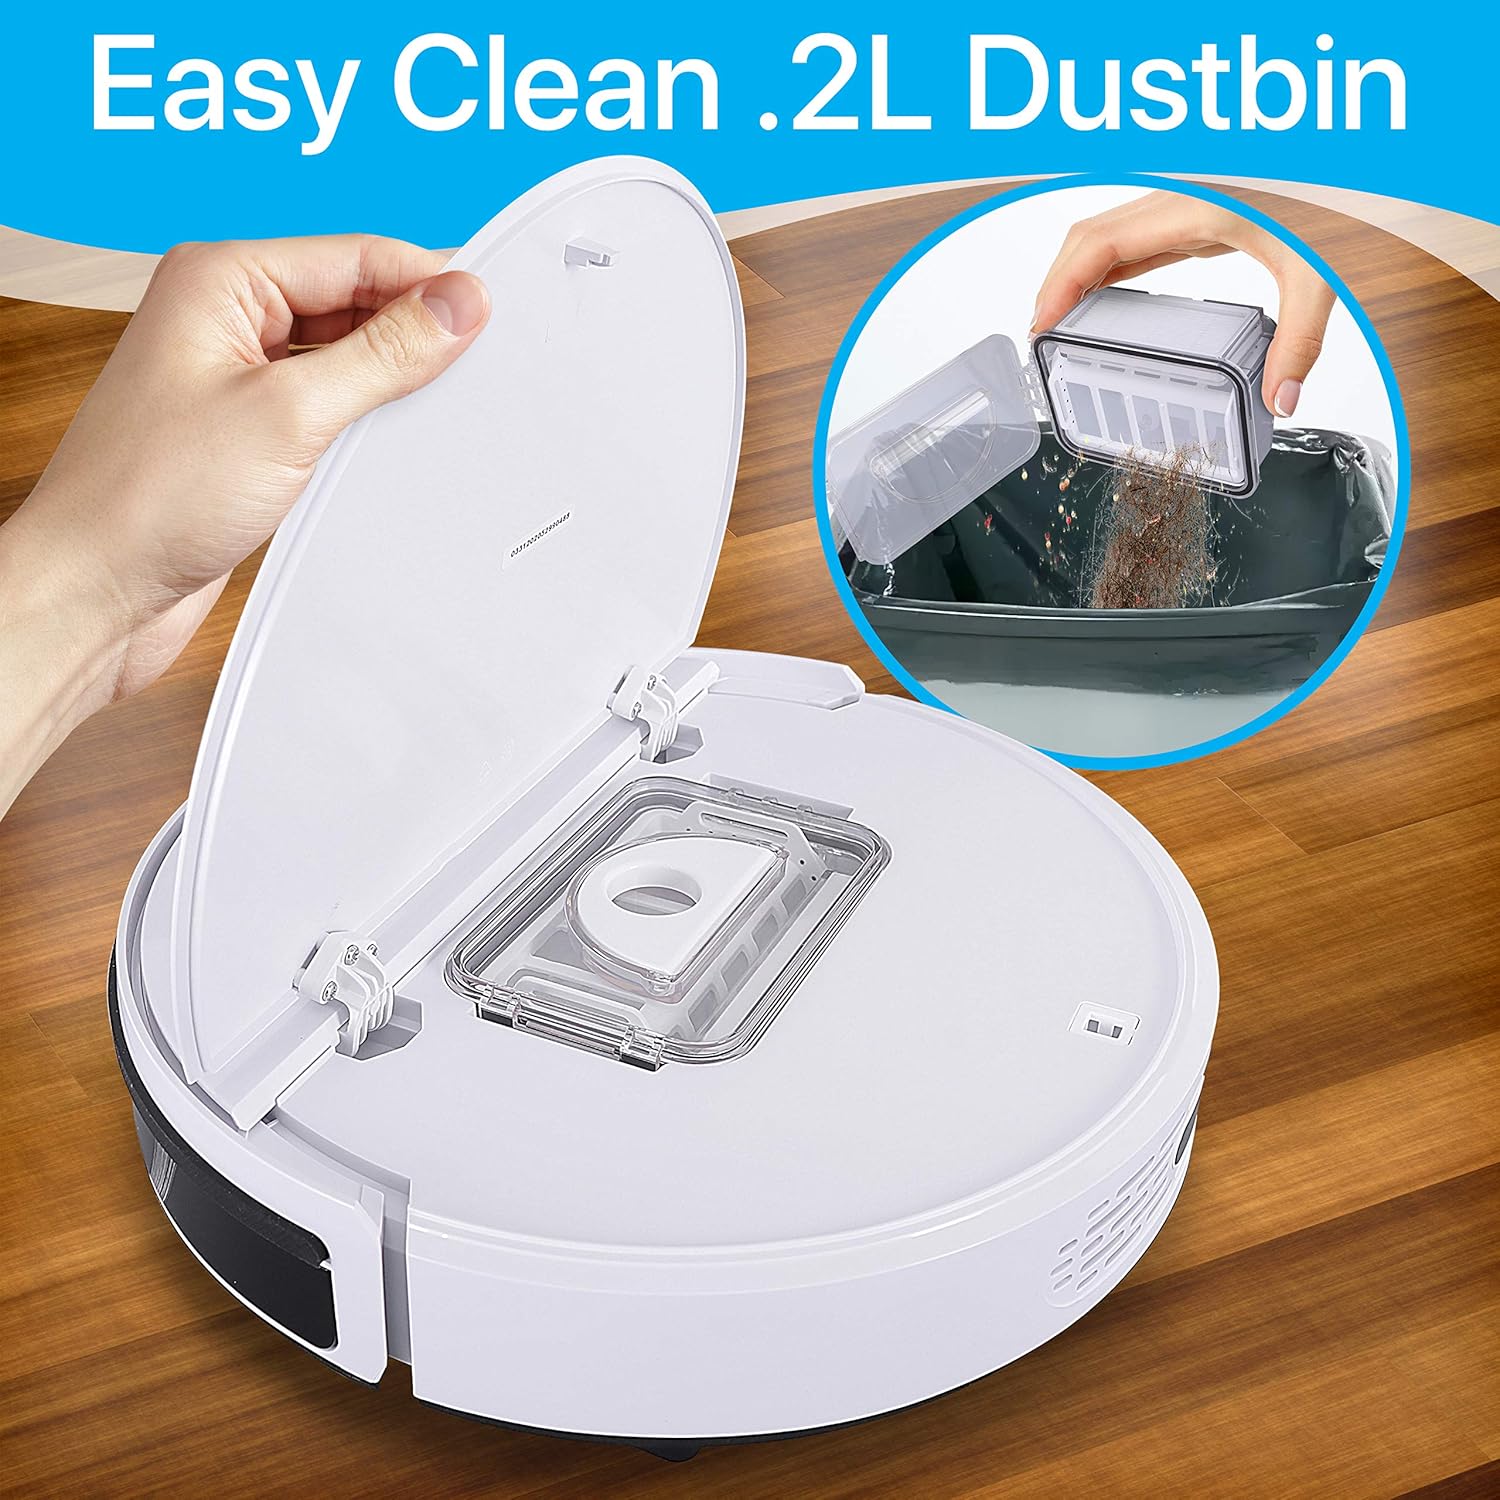
5.2 Cleaning Filters
Remove the HEPA and primary filters from the dustbin. Tap them gently to remove dust. Do not wash HEPA filters with water. Replace filters every 3-6 months, or as needed, depending on usage.
5.3 Cleaning Side Brushes
Periodically check the side brushes for tangled hair or debris. Carefully remove any obstructions using the provided cleaning brush or a pair of scissors. If brushes are worn, replace them with new ones.
5.4 Cleaning the Water Tank and Mop Cloths
After mopping, empty any remaining water from the water tank and rinse it thoroughly. Remove the mop cloth and wash it by hand or machine. Allow all components to air dry completely before reassembling.
5.5 Cleaning Sensors and Charging Contacts
Wipe the anti-fall sensors, bumper sensors, and charging contacts on both the robot and the charging station with a clean, dry cloth to ensure proper function.
6. Troubleshooting
If you encounter issues with your robot vacuum, refer to the following common problems and solutions:
| Problem | Possible Cause | Solution |
|---|---|---|
| Robot does not turn on. | Low battery or not charged. | Place the robot on the charging station and ensure it is fully charged. |
| Robot does not charge. | Charging contacts are dirty or misaligned. | Clean the charging contacts on both the robot and the station. Ensure proper alignment. |
| Robot gets stuck frequently. | Obstacles on the floor or tangled brushes. | Clear the cleaning area of cables and small objects. Clean the side brushes. |
| Poor cleaning performance. | Full dustbin or dirty filters/brushes. | Empty the dustbin. Clean or replace filters and brushes. |
| Robot falls down stairs. | Anti-fall sensors are dirty. | Clean the anti-fall sensors on the bottom of the robot. |
If the problem persists after trying these solutions, please contact customer support.
7. Specifications
Technical details for the PURE CLEAN Smart Automatic Robot Vacuum Cleaner PUCRC95PLUS.9:
- Construction Material: ABS, POM
- Dust Bin Capacity: 0.3 Liters
- Average Charge Time: 4 Hours
- Vacuum Operation Run-Time: 90 Minutes
- Battery Type: 14.8V Li-ion, 1500mAh - 22.2Wh
- Unit Average Power: 15W
- Power Supply: 120/240V, 19V Power Adapter
- Low Noise Level: 65 dB
- Power Cable Length: 5.02 ft.
- Remote Control Batteries: Requires (2) x ‘AAA’ Batteries (not included)
- Dimensions (L x W x H): 11.81’’ x 11.81’’ x 2.91’’ -inches

8. Warranty and Support
For warranty information or technical support, please refer to the warranty card included in your package or visit the official PURE CLEAN website. Do not attempt to repair the device yourself, as this may void your warranty.


