1. Introduction
Thank you for purchasing the MU Moon Palace 3D Metal Puzzle. This intricate model kit allows you to construct a detailed miniature of a mythical floating palace, complete with LED lighting. This manual provides step-by-step instructions to guide you through the assembly process, ensuring a rewarding building experience. Please read all instructions carefully before beginning.

Figure 1: Completed MU Moon Palace 3D Metal Puzzle.
2. Safety Information
- This product contains small parts and is recommended for ages 14 and up. Keep out of reach of small children.
- Metal sheets may have sharp edges. Handle with care to avoid cuts.
- Use appropriate tools (e.g., wire cutters, tweezers) for safe and precise assembly.
- Avoid bending parts multiple times, as this can weaken the metal and cause breakage.
- Keep the model away from corrosive environments to prevent damage.
3. What's in the Box
Your MU Moon Palace 3D Metal Puzzle kit includes the following components:
- Metal sheets with pre-cut puzzle pieces.
- Sound-activated LED lights set.
- Acrylic stand.
- Detailed manual instruction book with diagrams.
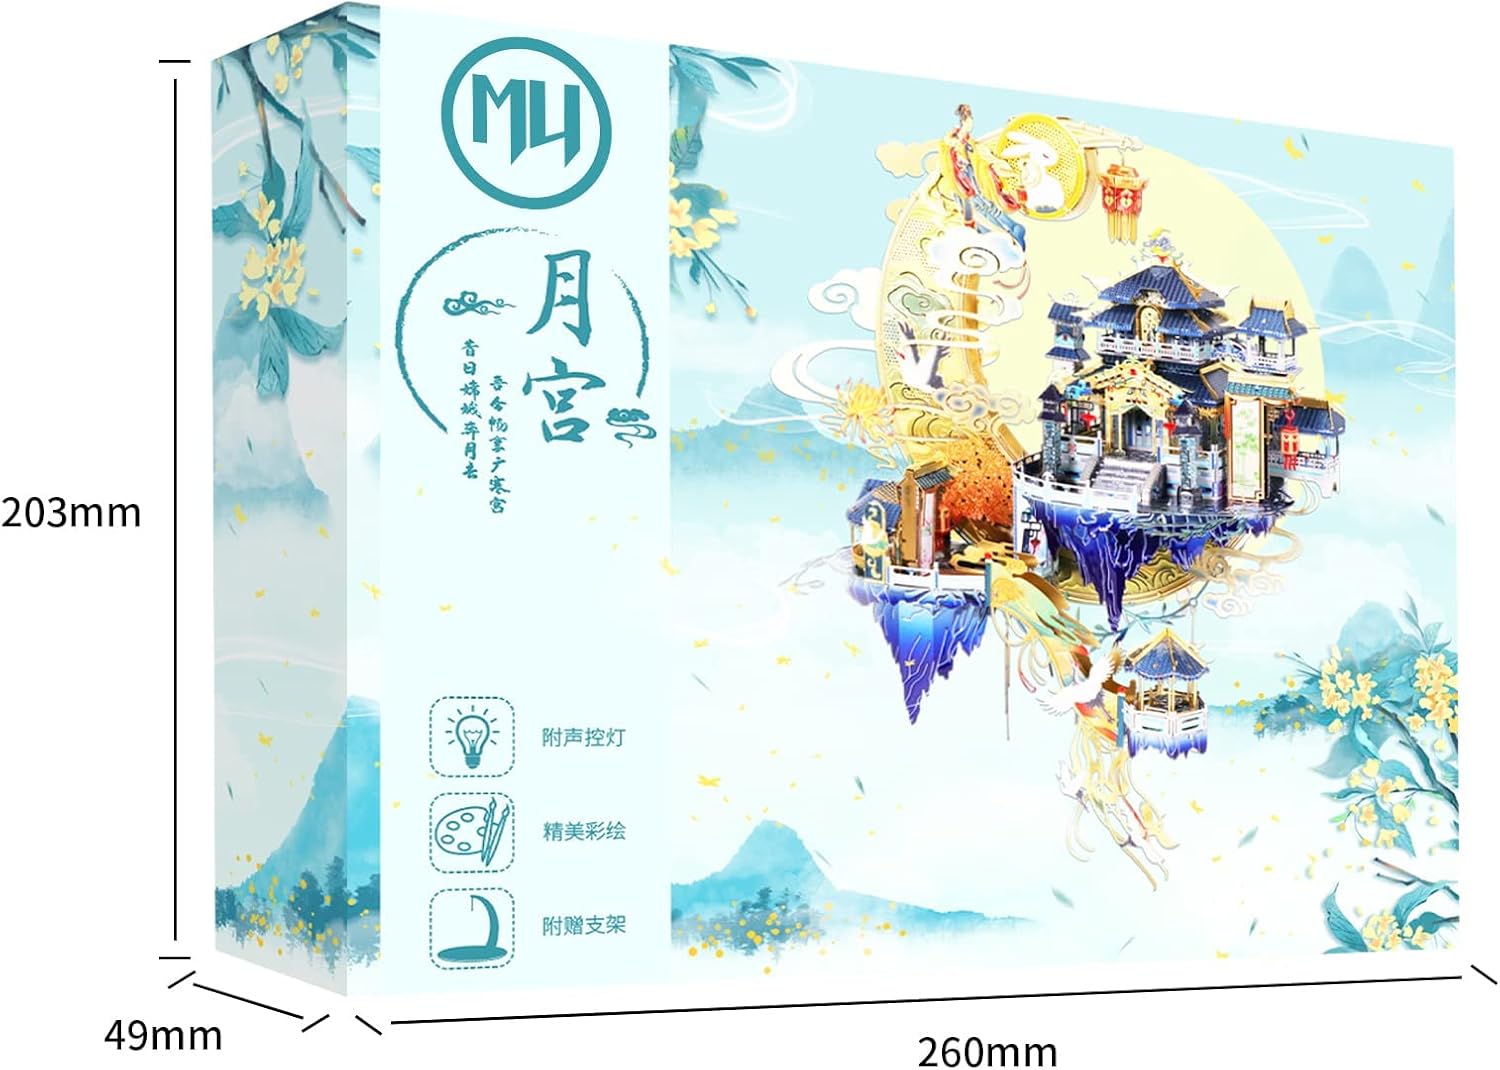
Figure 2: Example of metal sheets and components included in the kit.
4. Recommended Tools (Not Included)
For optimal assembly and to prevent damage to the delicate pieces, the following tools are highly recommended:
- Wire Cutters or Nippers: For cleanly detaching parts from the metal sheets.
- Tweezers: Essential for handling small parts and bending connecting tabs.
- Small Pliers (e.g., needle-nose pliers): Useful for bending and twisting tabs, especially in tight spaces.
- Sanding Stick or Fine File: To smooth any rough edges after detaching parts (optional).

Figure 3: Recommended tools for assembly, such as nippers and tweezers.
5. Assembly Instructions
Follow the detailed diagrams in your instruction book. The general steps are outlined below:
5.1. Preparation
- Unpack all metal sheets and the instruction manual.
- Identify each part on the sheets by referring to the diagrams. Parts are typically numbered.
- Prepare your workspace, ensuring it is clean, well-lit, and free from distractions.
Video 1: Overview of the MU Moon Palace 3D Metal Puzzle assembly process, showing various stages from detaching pieces to final construction.
5.2. Detaching Parts
- Carefully use wire cutters to snip each piece from the metal sheet. Cut close to the part to minimize burrs.
- Avoid twisting or bending the pieces while detaching them.
- If necessary, gently smooth any sharp edges with a fine file or sanding stick.
Video 2: Demonstrates the careful process of detaching small metal pieces from the sheet using nippers, a crucial first step in assembly.
5.3. Bending and Connecting
- Follow the instruction diagrams to bend the tabs on each piece. Use tweezers or small pliers for precise bends.
- Insert the bent tabs into the corresponding slots on other pieces.
- Twist or fold the tabs to secure the connection. Ensure connections are firm but do not over-tighten to avoid damaging the metal.
Video 3: Shows the technique for bending and connecting metal tabs to form structural components of the model.
5.4. Assembling Sections
- Assemble smaller sub-sections first, such as individual buildings, moon segments, or decorative elements.
- Pay close attention to the orientation and numbering of parts as indicated in the manual.

Figure 4: A detailed view of an assembled section of the Moon Palace, highlighting the intricate design.
5.5. Integrating LED Lights
- The LED light set is integrated during specific assembly steps. Refer to your manual for precise placement.
- Carefully route the wires to avoid pinching or damaging them during assembly.
- Ensure the battery compartment (if applicable) is accessible for future battery replacement.

Figure 5: The completed model with its sound-activated LED lights illuminated, showcasing the glowing effect.
5.6. Final Assembly and Stand
- Once all major sections are complete, connect them according to the final assembly diagrams.
- Assemble the acrylic stand. Remember to peel off the protective film from the surface of the acrylic stand for a clearer appearance.
- Carefully place the finished model onto its stand.

Figure 6: The completed MU Moon Palace model securely placed on its acrylic display stand.
6. Operation of LED Lights
The MU Moon Palace model includes a sound-activated LED light set. Once installed and powered, the lights will respond to ambient sounds, creating a dynamic display. Refer to the specific instructions provided with the LED light set for details on power source and activation.
7. Maintenance
- Cleaning: Gently dust the model with a soft, dry brush or cloth. Avoid using liquids or abrasive cleaners, as these can damage the metal finish or electronic components.
- Handling: Handle the finished model with care to prevent bending or breaking delicate parts.
- Storage: Store the model in a stable location away from direct sunlight, extreme temperatures, and high humidity.
8. Troubleshooting
- Broken Pieces: If a piece breaks during assembly, contact customer support for assistance. Some kits may include extra parts.
- Lights Not Working:
- Check the battery connection and ensure batteries are correctly inserted and charged.
- Verify all wire connections are secure and undamaged.
- Ensure the sound activation feature is enabled and functioning as per the LED light set instructions.
- Difficulty Assembling: Refer to the detailed diagrams in the instruction manual. Online video tutorials (such as those provided by the manufacturer) can also offer visual guidance.
9. Specifications
| Feature | Detail |
|---|---|
| Product Dimensions (Finished) | 150 x 100 x 170 mm (5.9 x 3.9 x 6.7 inches) |
| Item Weight | 15.8 ounces |
| Model Number | YM-N090 |
| Recommended Age | 14 years and up |
| Material | High-quality steel sheets |
| Lighting | Sound-activated LED lights (included) |
| Display Stand | Acrylic stand (included) |
10. Customer Support
For any questions, missing parts, or assistance with assembly, please contact MU customer service. They are available to provide helpful replies and support.
Visit the MU Store on Amazon for more information or to find recommended tools.