1. Introduction
Thank you for choosing the GOODSMANN 120W Low Voltage Landscape Lighting Transformer. This device is designed to convert standard 120V AC household voltage to a safe 12V AC for your outdoor landscape lighting systems. It features a built-in timer and a replaceable photo sensor for automated operation, ensuring your outdoor spaces are beautifully illuminated when needed. This manual provides detailed instructions for installation, operation, and maintenance to ensure optimal performance and longevity of your transformer.
2. Safety Information
Please read and understand all safety instructions before installing or operating this transformer. Failure to follow these instructions may result in electric shock, fire, or other hazards.
- Electrical Safety: Always disconnect power at the circuit breaker before installing or servicing the transformer.
- Outdoor Use: This transformer is designed for outdoor use. Ensure all connections are waterproof and protected from direct exposure to rain and moisture.
- Mounting: Mount the transformer at least 1 foot (30 cm) above ground level to prevent water damage. Use appropriate hardware for wall mounting.
- Load Capacity: Do not exceed the maximum 120W load capacity of the transformer. Overloading can cause overheating and damage.
- Cable Protection: Ensure all low-voltage cables are buried or routed in a manner that prevents damage from lawnmowers, foot traffic, or other outdoor activities.
- Compatibility: Use only with low-voltage landscape lighting fixtures (12V AC).
3. Package Contents
Verify that all items are present in the package:
- GOODSMANN 120W Low Voltage Transformer
- 100FT 16 Gauge Lighting Cable
- User Manual (this document)
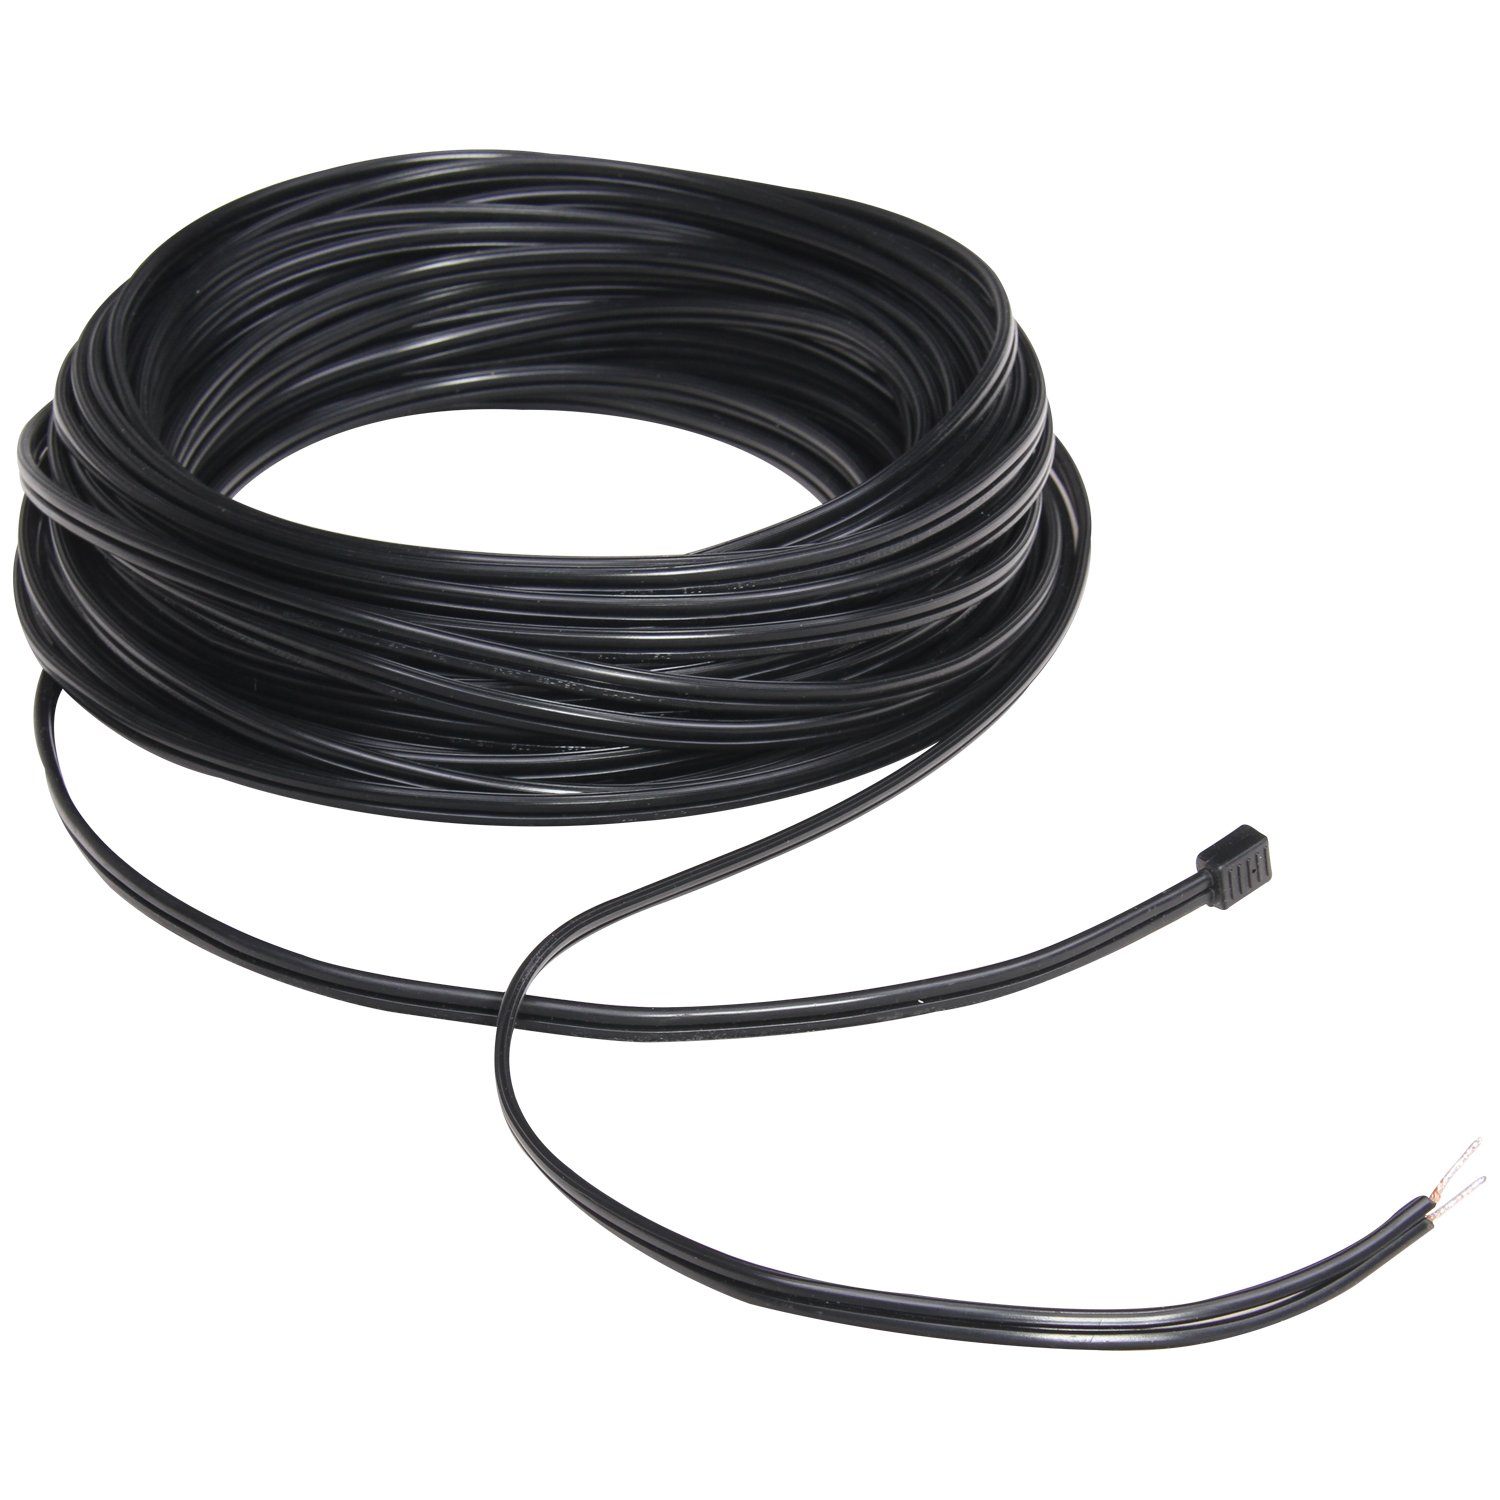
Image: The included 100-foot, 16-gauge lighting cable, coiled for packaging.
4. Product Features
- 120W Power Output: Converts 120V AC to 12V AC, suitable for various low-voltage landscape lights.
- Built-in Timer and Clock: Offers flexible scheduling options for your lighting system.
- Replaceable Photo Sensor: Automatically turns lights on at dusk and off at dawn.
- Easy Installation: Designed for straightforward setup with wall-mounting capability.
- Extra Long Wire: Includes a 100-inch (approx. 8.3 feet) power cord for flexible placement.
- Wide Compatibility: Works with halogen, incandescent, and LED low-voltage landscape lights.
- Memory Function: Retains selected mode settings even after a power interruption.

Image: Diagram illustrating key features such as weather resistance, timer, dusk-to-dawn sensor, and memory function, alongside a dimensional drawing of the transformer.
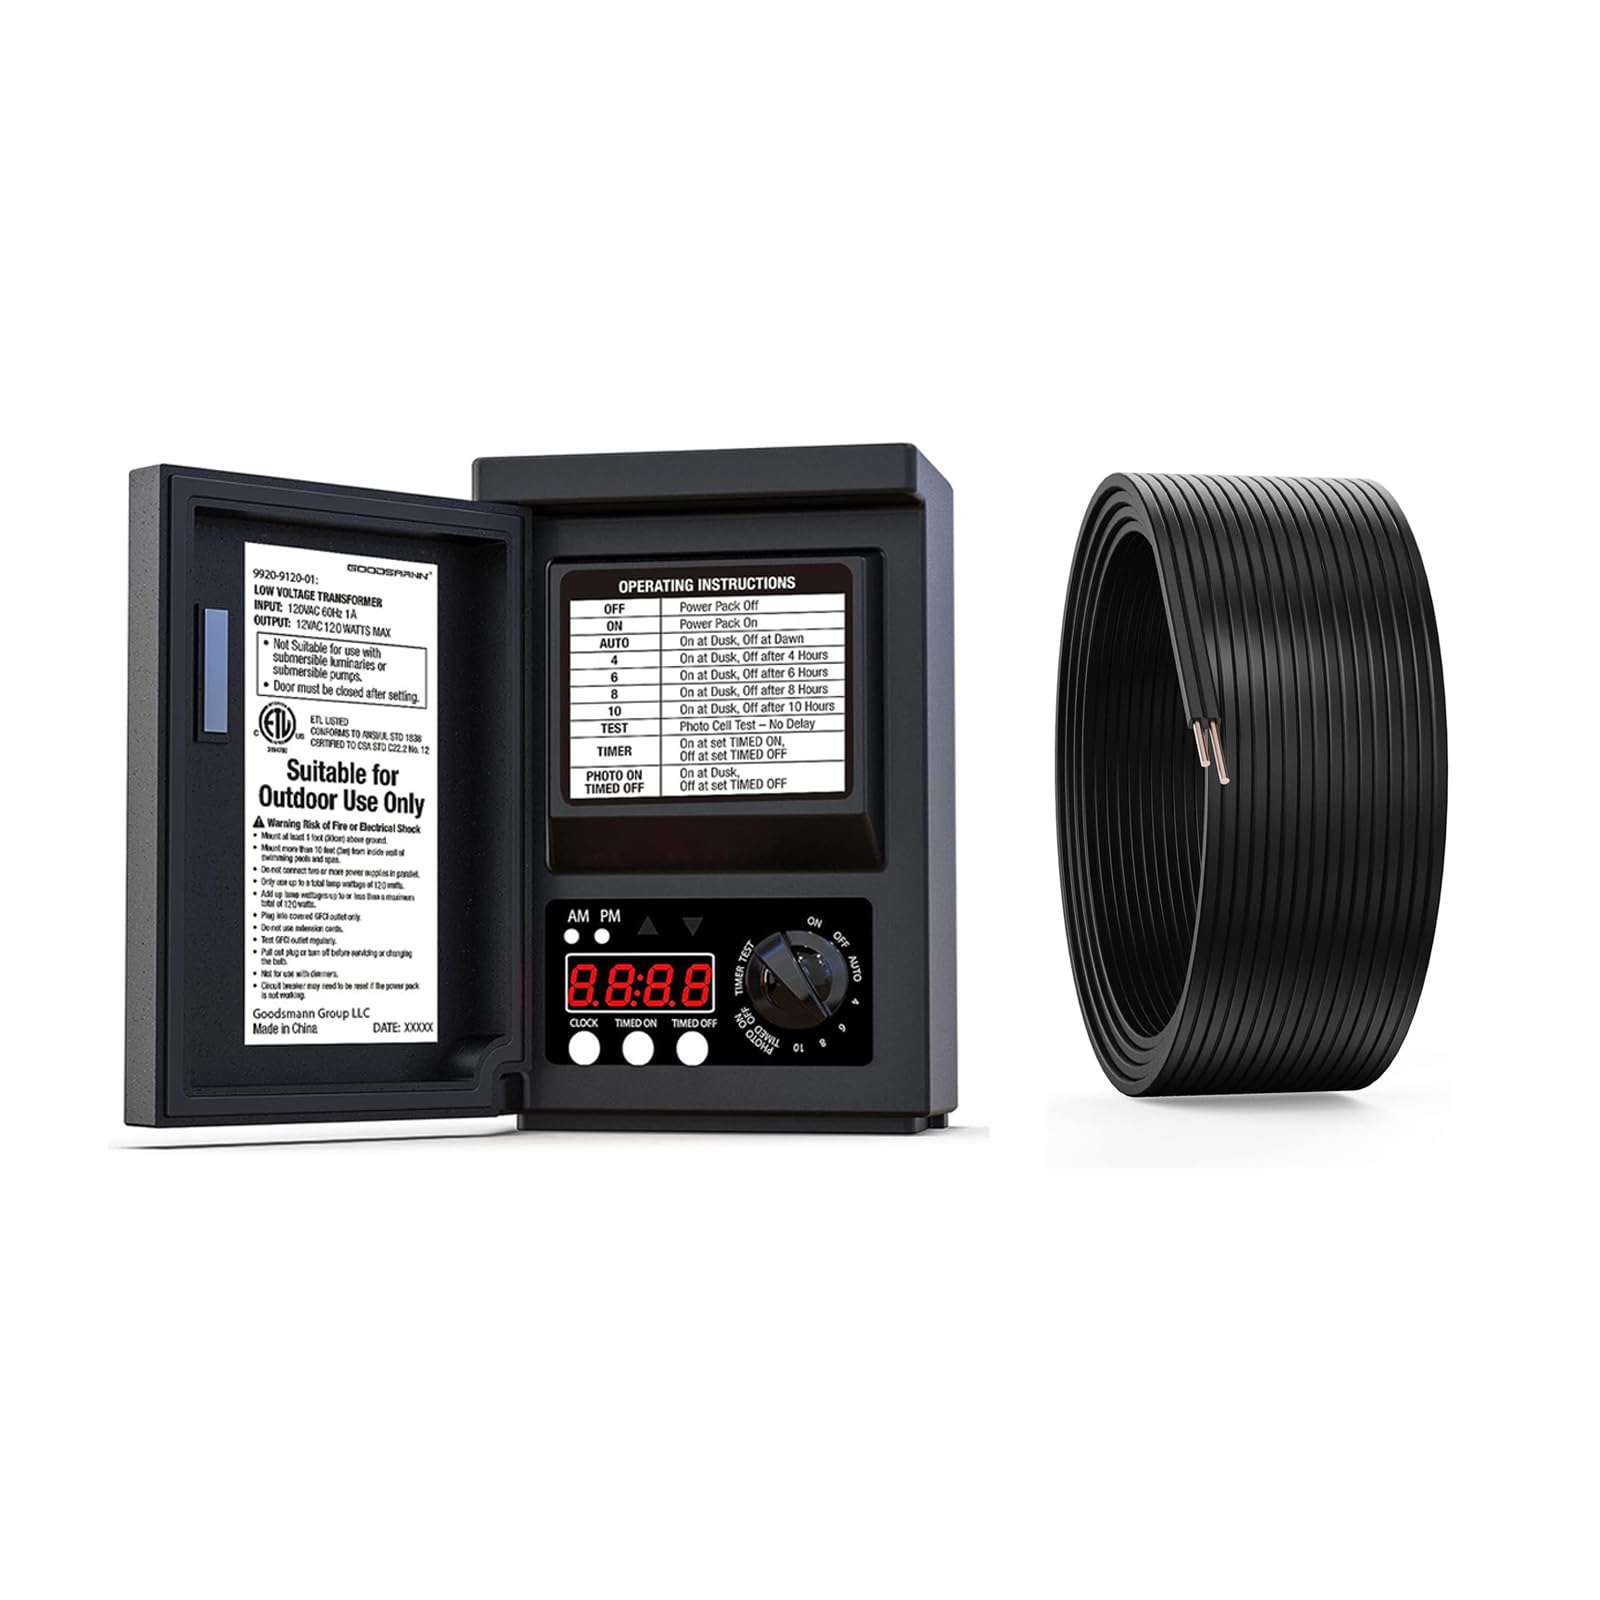
Image: A visual representation of the transformer's control panel and the six available operating modes, including timed on/off, dusk-to-dawn, and timed duration settings.
5. Setup and Installation
Follow these steps for proper installation of your low voltage transformer:
- Choose a Location: Select a suitable outdoor location near a 120V AC GFCI (Ground Fault Circuit Interrupter) outlet. The transformer should be mounted vertically on a wall or post, at least 1 foot (30 cm) above ground level. Ensure the photo sensor is not obstructed and receives ambient light.
- Mount the Transformer: Use appropriate screws and anchors (not included) to securely mount the transformer to the chosen surface using the two hanging holes on the back.
- Route the Low Voltage Cable: Lay out the 100FT 16 gauge lighting cable from the transformer to your landscape lighting fixtures. Ensure the cable is routed safely, avoiding areas where it could be cut or damaged. You can bury the cable a few inches deep or conceal it under mulch.
- Connect Lighting Fixtures: Connect your low-voltage landscape lights to the 16 gauge cable. Most low-voltage lights use quick-connectors or require stripping the wire ends and securing them with wire nuts or terminal blocks. Ensure all connections are secure and waterproof.
- Connect to Transformer: Strip approximately 1/2 inch of insulation from the ends of the 16 gauge lighting cable. Insert the bare wires into the output terminal on the bottom of the transformer and tighten the screws to secure the connection. Ensure no stray wire strands are touching.
- Plug In: Once all connections are made and secured, plug the transformer's power cord into a 120V AC GFCI outlet.

Image: A person holding the coiled 100-foot landscape lighting cable, ready for routing.

Image: Close-up view of hands connecting low voltage wires to a landscape light connector, demonstrating the connection process.

Image: An illustrative diagram showing how to place landscape light fixtures and route the low voltage cable from the transformer.

Image: The GOODSMANN low voltage transformer mounted on a brick wall, connected to a landscape light, demonstrating a typical installation scenario.
6. Operating Instructions
The transformer features a built-in timer and a photo sensor for automated control of your landscape lights. Refer to the control panel diagram (see Product Features section) for button locations.
Setting the Clock
- Press the CLOCK button. The hour digits will flash.
- Use the TIMER ON and TIMER OFF buttons to adjust the hour (AM/PM indicator will change accordingly).
- Press CLOCK again. The minute digits will flash.
- Use the TIMER ON and TIMER OFF buttons to adjust the minutes.
- Press CLOCK one more time to save the setting.
Operating Modes
The transformer offers six operating modes, selectable via the dial on the control panel:
- 1. ON: The transformer is continuously on. Lights will remain on regardless of time or light conditions.
- 2. OFF: The transformer is continuously off. Lights will remain off.
- 3. AUTO: This mode utilizes the photo sensor. Lights will turn on automatically at dusk and turn off at dawn.
- 4. TIMER ON / TIMER OFF (Clock Control):
- Set the desired ON time using the TIMER ON button (hour and minute).
- Set the desired OFF time using the TIMER OFF button (hour and minute).
- The lights will turn on and off according to your set times.
- 5. DUSK + 4/6/8/10 Hours:
- The photo sensor will detect dusk and turn the lights on.
- The lights will then automatically turn off after 4, 6, 8, or 10 hours, depending on your selection on the dial.
- 6. PHOTO CELL TEST: This mode allows you to test the functionality of the photo sensor. The lights will turn on briefly to confirm the sensor is working.
To select a mode, rotate the dial on the control panel to the desired setting.
7. Maintenance
- Cleaning: Periodically wipe the transformer housing with a damp cloth to remove dirt and debris. Do not use abrasive cleaners or immerse the unit in water.
- Photo Sensor: Ensure the photo sensor is clean and free from obstructions (e.g., leaves, dirt) to guarantee accurate dusk-to-dawn operation. The sensor is replaceable if it becomes faulty.
- Cable Inspection: Regularly inspect the low-voltage cables for any signs of damage, cuts, or fraying. Repair or replace damaged sections immediately to prevent electrical hazards.
- Connections: Periodically check all wire connections at the transformer and light fixtures to ensure they remain secure and free from corrosion.
8. Troubleshooting
| Problem | Possible Cause | Solution |
|---|---|---|
| Lights do not turn on. |
|
|
| Lights stay on all the time. |
|
|
| Lights turn on/off at incorrect times. |
|
|
9. Specifications
| Feature | Detail |
|---|---|
| Brand | GOODSMANN |
| Model Number | 5ad29aa8-4c45-4651-8161-2300b19ca392 |
| Input Voltage | 120V AC |
| Output Voltage | 12V AC |
| Max Wattage | 120W |
| Power Source | Corded Electric |
| Mounting Type | Wall Mount |
| Cable Length (Power Cord) | 100 inches (approx. 8.3 feet) |
| Included Lighting Cable | 100FT 16 Gauge |
| First Available Date | October 12, 2022 |
10. Warranty and Support
GOODSMANN products are designed for durability and performance. While specific warranty details are not provided in this manual, please retain your proof of purchase for any warranty claims. For technical support, troubleshooting assistance, or inquiries regarding replacement parts, please contact GOODSMANN customer service through their official website or the retailer where the product was purchased.
For more information, visit the GOODSMANN Store on Amazon.