1. Introduction
This manual provides detailed instructions for the dretec Digital Kitchen Timer, Model T-565. This device is designed for various timing needs, including cooking, studying, exercise, and general time management. It features a large LCD display, waterproof design, and multiple placement options.
2. Safety Information
- Do not attempt to disassemble or modify the timer.
- Keep the timer away from extreme temperatures and direct sunlight.
- Ensure the battery compartment is securely closed to maintain water resistance.
- Dispose of used batteries according to local regulations.
3. Product Overview
The dretec T-565 timer features a clear digital display and intuitive controls for easy operation. It is designed to be compact yet highly readable.
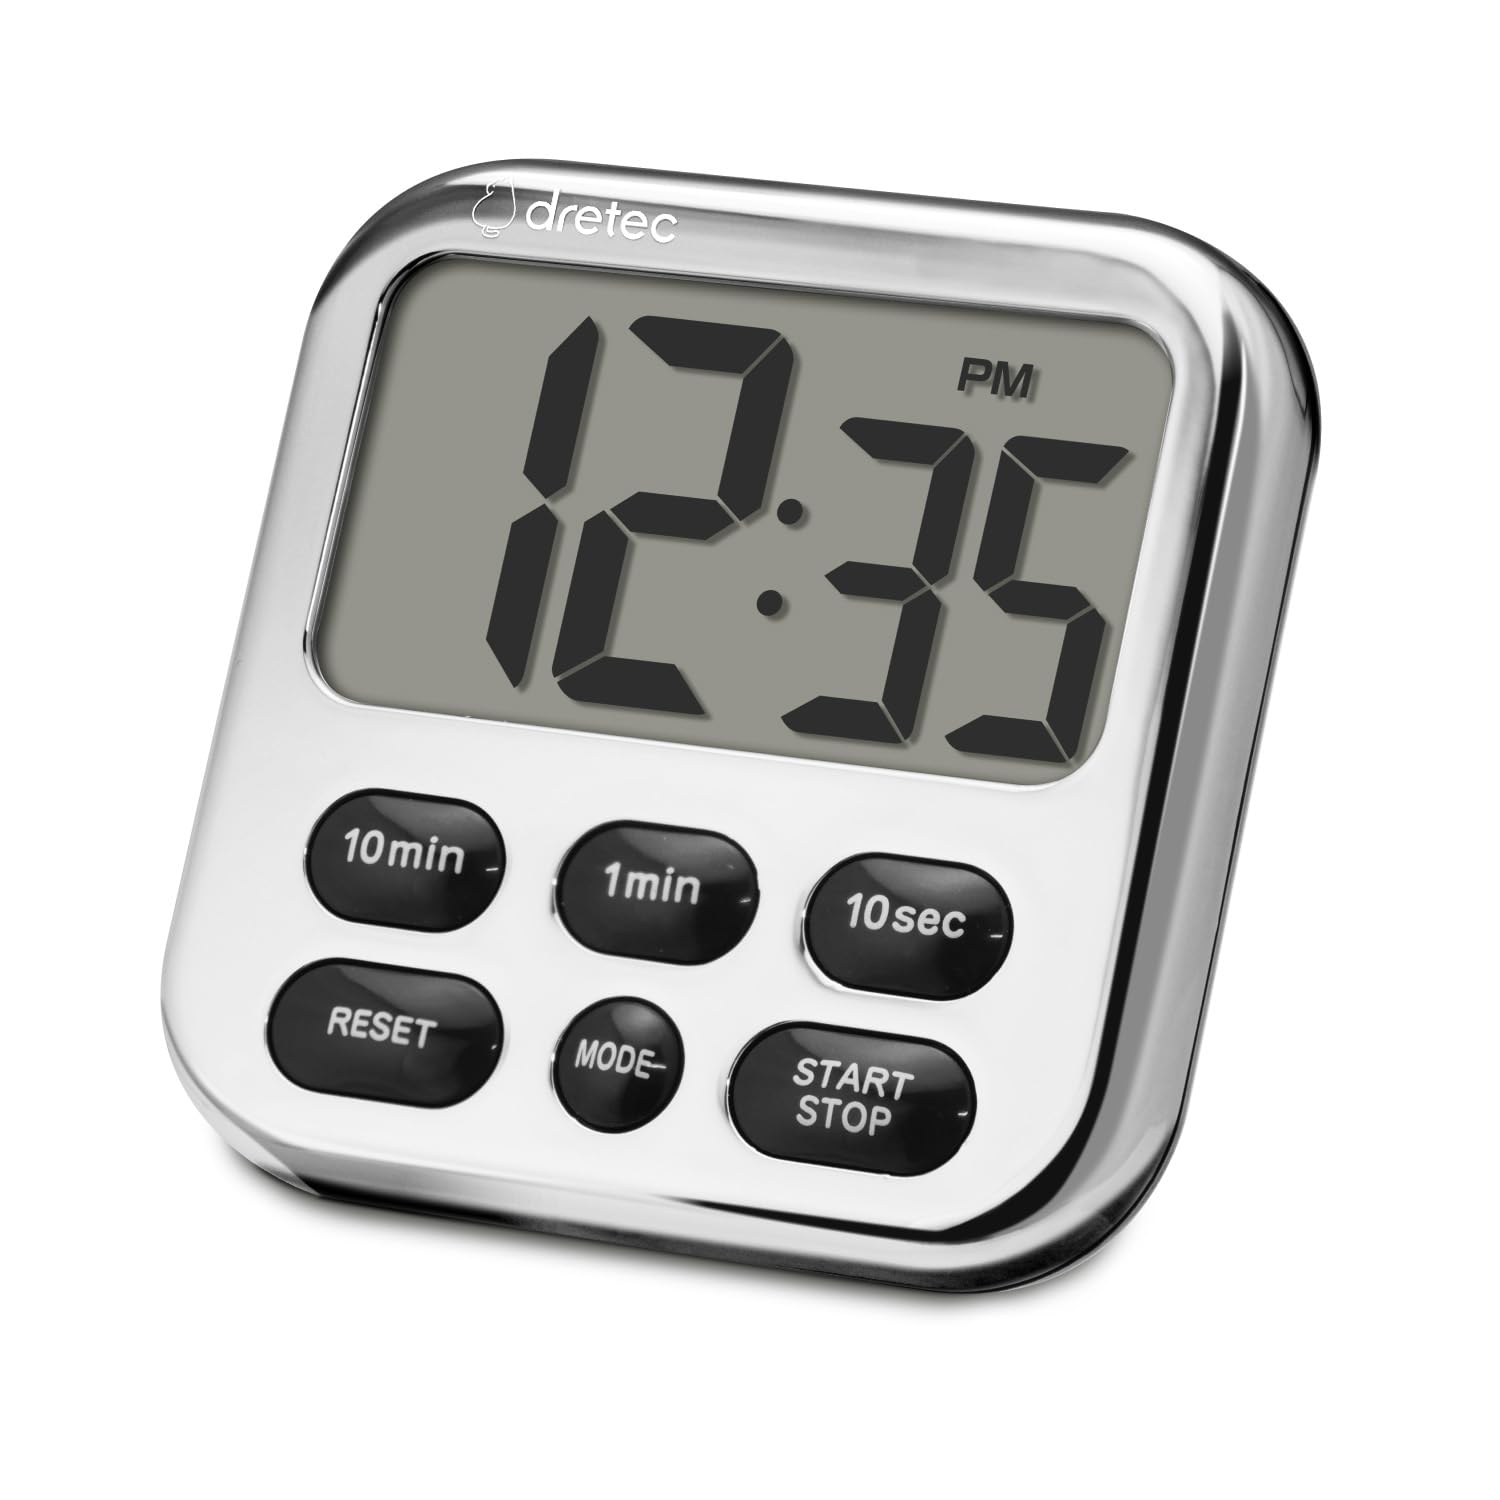
Image: Front view of the dretec Digital Kitchen Timer, highlighting its large display and button layout.
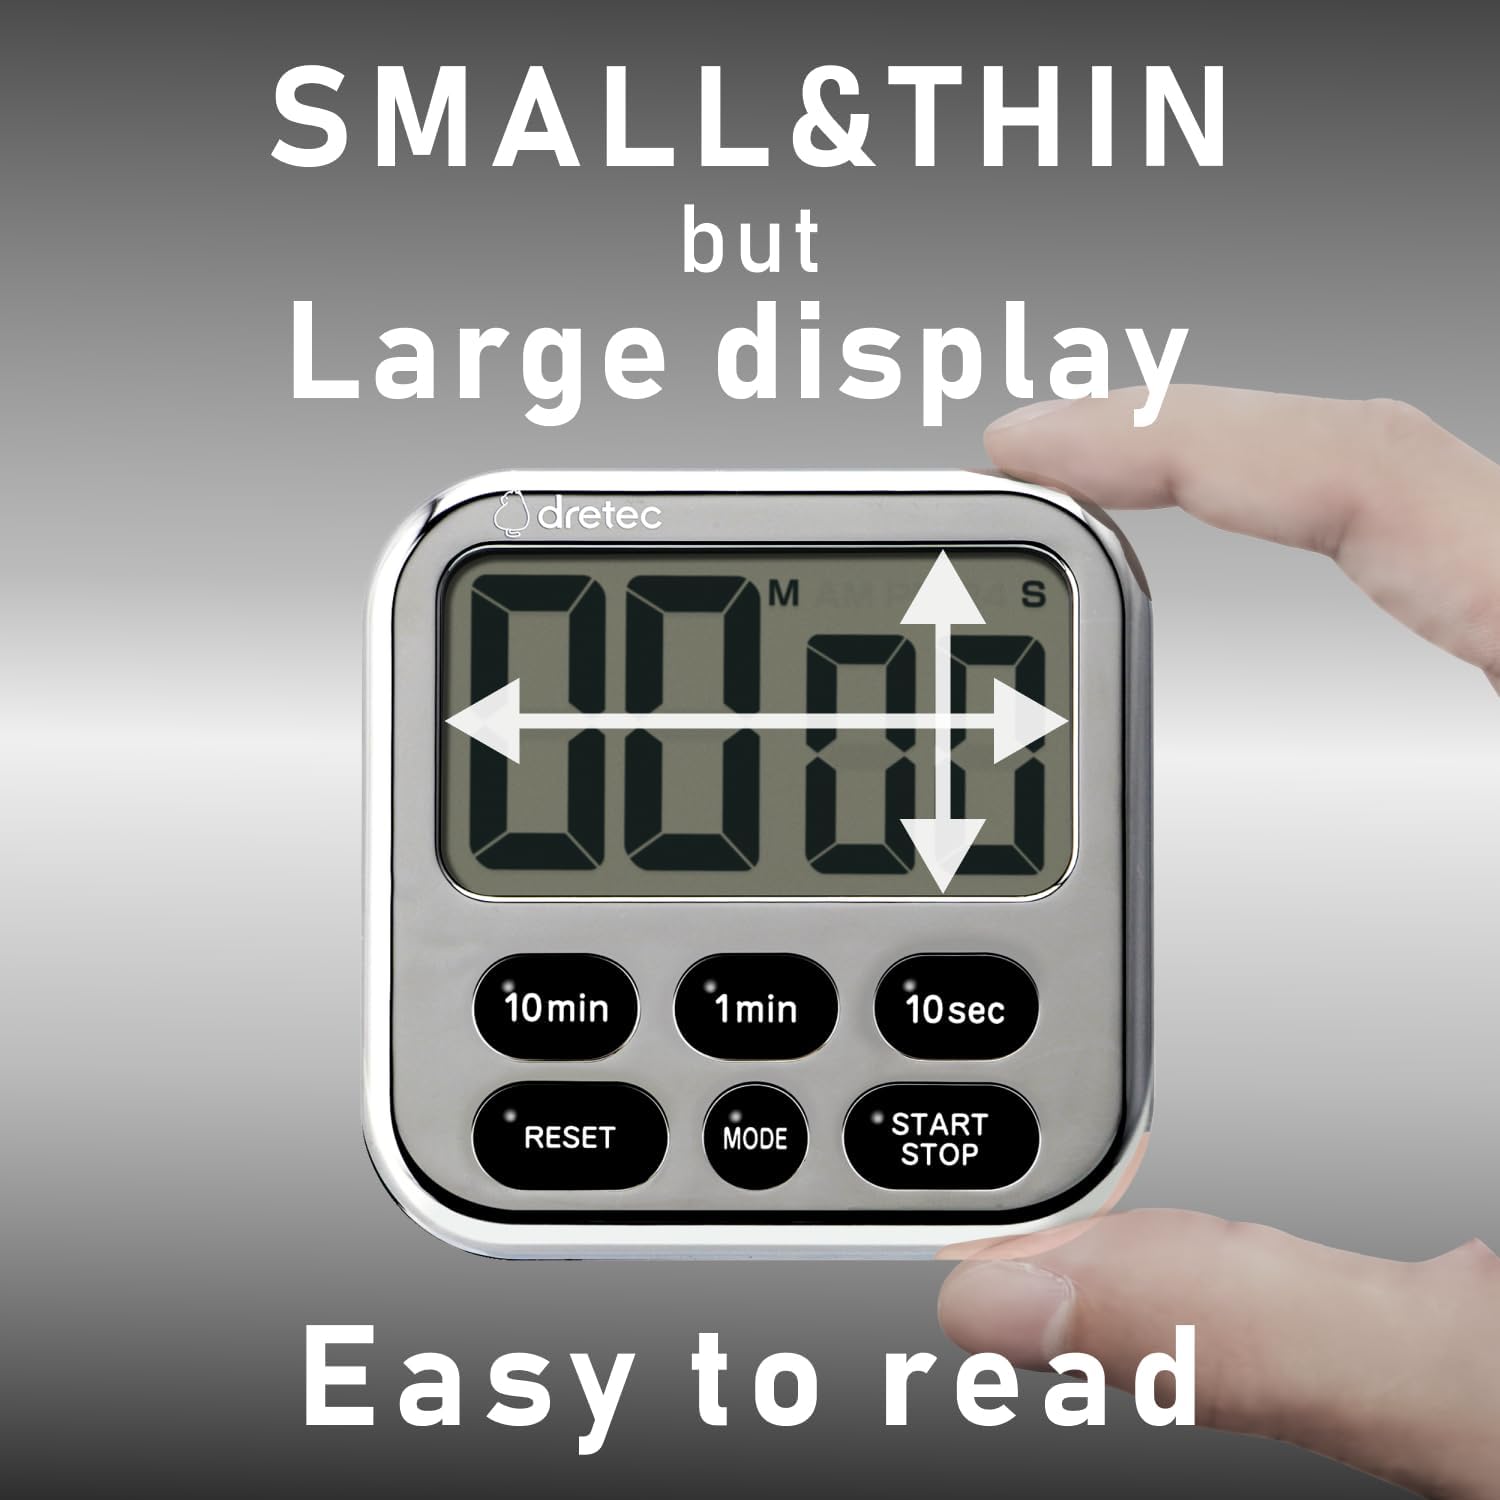
Image: The timer's compact size and large, easy-to-read display.
Controls:
- 10min Button: Adds 10 minutes to the timer.
- 1min Button: Adds 1 minute to the timer.
- 10sec Button: Adds 10 seconds to the timer.
- RESET Button: Clears the current time setting.
- MODE Button: Switches between Timer and Clock modes.
- START/STOP Button: Starts, pauses, or stops the timer/clock function.
4. Setup
Battery Installation:
- Locate the battery compartment on the back of the timer.
- Use a small screwdriver to open the battery cover.
- Insert one CR2032 lithium battery, ensuring the correct polarity (+/-).
- Securely close the battery cover to maintain water resistance.
5. Operating Instructions

Image: Demonstrating the ease of use for count up, count down, and repeat functions.
5.1. Setting the Count-Down Timer:
- Ensure the timer is in timer mode (not clock mode). If in clock mode, press the MODE button to switch.
- Press the 10min, 1min, and 10sec buttons to set the desired time. The maximum measurable time is 99 minutes and 50 seconds.
- Press the START/STOP button to begin the countdown.
- To pause, press START/STOP again. Press again to resume.
- When the timer reaches zero, an alarm will sound for 15 seconds and then automatically turn off.
- To clear the timer setting, press the RESET button.
5.2. Using the Count-Up Timer:
- Ensure the timer is in timer mode.
- Press the RESET button to ensure the display shows "00:00".
- Press the START/STOP button to begin counting up.
- To pause, press START/STOP again. Press again to resume.
- To stop and reset, press START/STOP to pause, then press RESET.
5.3. Memory Function:
The timer retains the last set countdown time. After the alarm sounds or the timer is reset, the previous countdown setting will be displayed, allowing for quick reuse of frequently used times.
5.4. Switching to Clock Mode:

Image: The timer's ability to switch between timer and clock display modes.
Press the MODE button to switch between Timer mode and Clock mode. In Clock mode, the current time (AM/PM) will be displayed. To set the time in Clock mode, refer to the specific instructions for time adjustment, which typically involves holding the MODE button or a combination of buttons.
6. Features and Placement

Image: Various placement options: magnetic attachment, hanging, and tabletop stand.
- Strong Magnet: The timer features a strong magnet on its back, allowing it to be securely attached to metallic surfaces like refrigerators or oven doors.
- Retractable Stand: A built-in retractable stand allows the timer to be placed upright on a countertop or desk for easy viewing.
- Hook: A small hook is integrated into the design, providing an option to hang the timer.

Image: Examples of the timer's versatile applications in daily life.
7. Maintenance
Cleaning:
The dretec T-565 timer has an IPX7 water resistance rating, meaning it can withstand immersion in water up to 1 meter for 30 minutes. This allows for easy cleaning:
- Rinse the timer under running water to remove cooking stains or debris.
- Use a soft cloth to wipe the surface clean.
- Do not use abrasive cleaners or solvents, as these may damage the display or casing.
- Ensure the battery compartment is sealed before rinsing.
8. Troubleshooting
| Problem | Possible Cause | Solution |
|---|---|---|
| Display is blank or dim. | Low or dead battery. | Replace the CR2032 battery. |
| Timer not counting down/up. | Not started or paused. | Press the START/STOP button. |
| Alarm not sounding. | Timer not reaching zero. | Ensure a countdown time is set and started. The alarm sounds only when the countdown reaches 00:00. |
| Water ingress after cleaning. | Battery cover not properly sealed. | Ensure the battery cover is tightly closed before exposing to water. |
9. Specifications

Image: Physical dimensions and weight of the dretec Digital Kitchen Timer.
- Model Number: T-565
- Color: Chrome plating (Silver & Black)
- Maximum Time: 99 minutes 50 seconds
- Functions: Count Up, Count Down, Repeat, Clock
- Water Resistance: IPX7 (can withstand immersion in 1 meter of water for 30 minutes)
- Battery: 1 x CR2032 (included)
- Material: ABS
- Product Size: Approximately 82mm (W) x 14mm (D) x 90mm (H) / 3.23" (W) x 0.55" (D) x 3.54" (H)
- Product Weight: Approximately 45g (excluding battery) / 67g (with battery)
- Screen Size: 3.2 Inches
10. Warranty and Support
For warranty information or technical support, please refer to the contact details provided with your purchase or visit the official dretec website. Keep your purchase receipt as proof of purchase for warranty claims.