
Ulefone Ulefone Armor X8
Ulefone Armor X8 Rugged Phone User Manual
Model: Ulefone Armor X8
1. Product Overview
The Ulefone Armor X8 is a rugged smartphone designed for durability and performance in challenging environments. It features IP68/IP69K water and dust resistance, a robust build, and a powerful battery, making it ideal for outdoor workers and adventurers.
What's in the Box
- 1x Ulefone Armor X8 Phone
- 1x AC Power Charger Adapter (US plug)
- 1x Data Cable (USB Type-C)
- 1x SIM Needle
- 1x Screen Protector (pre-applied or in box)

Figure 1: Ulefone Armor X8 Rugged Phone - Front and Back View
2. Setup
2.1 SIM Card & SD Card Installation
- Locate the SIM card tray on the side of the phone.
- Insert the SIM needle into the small hole next to the tray to eject it.
- Place your Nano-SIM cards and/or microSD card into the designated slots on the tray. Ensure correct orientation.
- Carefully reinsert the tray into the phone until it clicks into place.
2.2 Initial Power On
Press and hold the Power button (located on the right side) until the Ulefone logo appears. Follow the on-screen prompts to complete the initial setup, including language selection, Wi-Fi connection, and Google account setup.
2.3 Network Setup
After inserting your SIM card, the phone should automatically detect your mobile network. If not, navigate to Settings > Network & internet > Mobile network to configure APN settings manually if required by your carrier.

Figure 2: Key Features of Ulefone Armor X8
3. Operating Instructions
3.1 Basic Navigation (Android 11)
- Home Screen: Swipe left/right to access different home screens.
- App Drawer: Swipe up from the bottom of the screen to view all installed applications.
- Notifications & Quick Settings: Swipe down from the top of the screen to access notifications and quick settings toggles.
- Recent Apps: Swipe up from the bottom and hold, then release to see recently used applications.
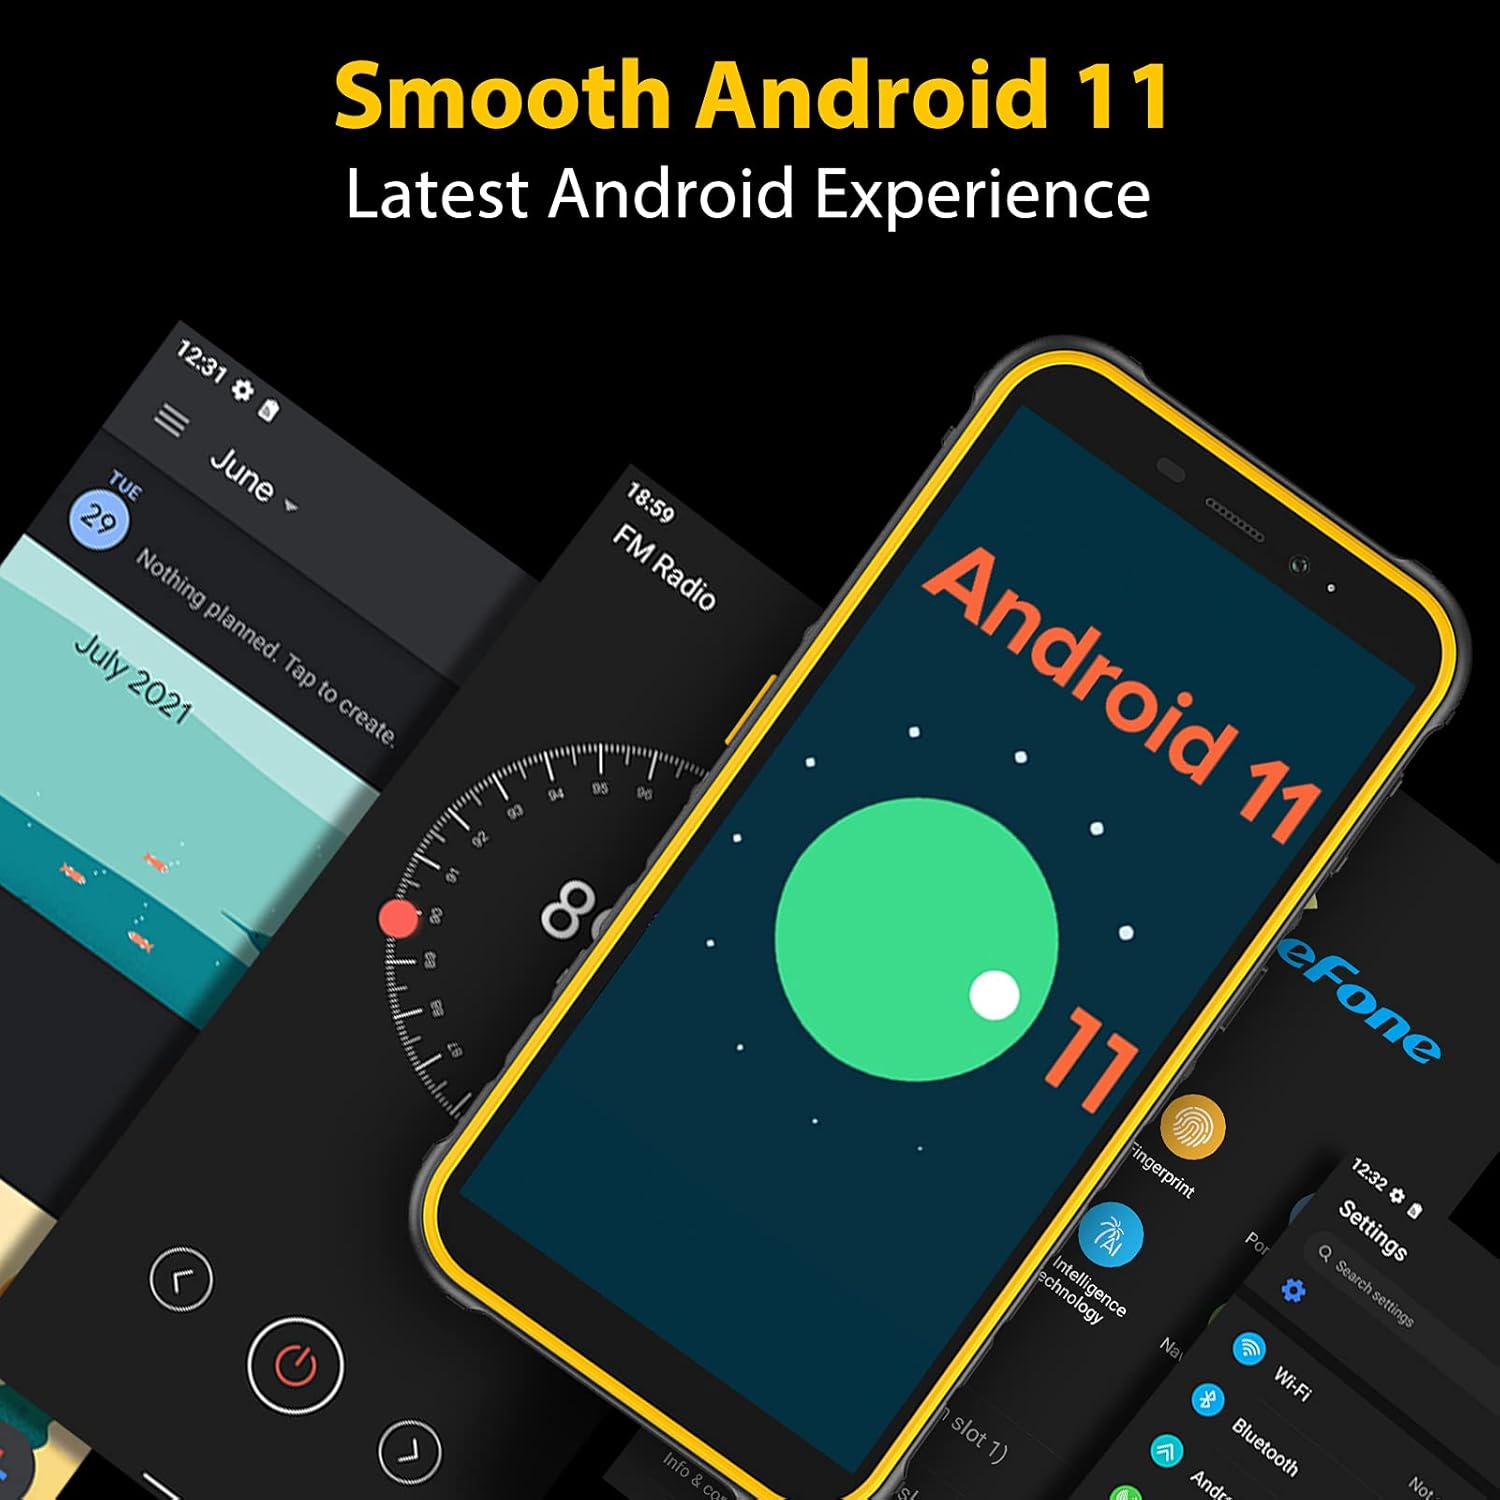
Figure 3: Android 11 Interface on Armor X8
3.2 Making Calls & Sending Messages
- Calls: Tap the Phone icon, enter the number, and tap the call button.
- Messages: Tap the Messages icon, start a new conversation, enter recipient and message, then send.
3.3 Camera Usage
The Armor X8 features a 13MP triple rear camera and an 8MP front camera. Open the Camera app to switch between photo and video modes, adjust settings, and capture moments.

Figure 4: Armor X8 Camera System
3.4 Fingerprint ID & Face Unlock
For enhanced security, set up Fingerprint ID and Face Unlock via Settings > Security. These features provide quick and convenient access to your device.

Figure 5: Biometric Security and NFC Features
3.5 NFC & Google Pay
The Armor X8 supports NFC for contactless payments and data transfer. Enable NFC in Quick Settings or Settings > Connected devices > Connection preferences > NFC. Set up Google Pay for secure mobile payments.
3.6 Custom Key & Digital Toolbox
The customizable side key can be programmed for quick access to frequently used functions like Push-to-Talk (Zello), SOS emergency calls, or the flashlight. The Digital Toolbox includes various utility apps such as a compass, sound meter, and plumb bob, useful for outdoor activities and professional work.
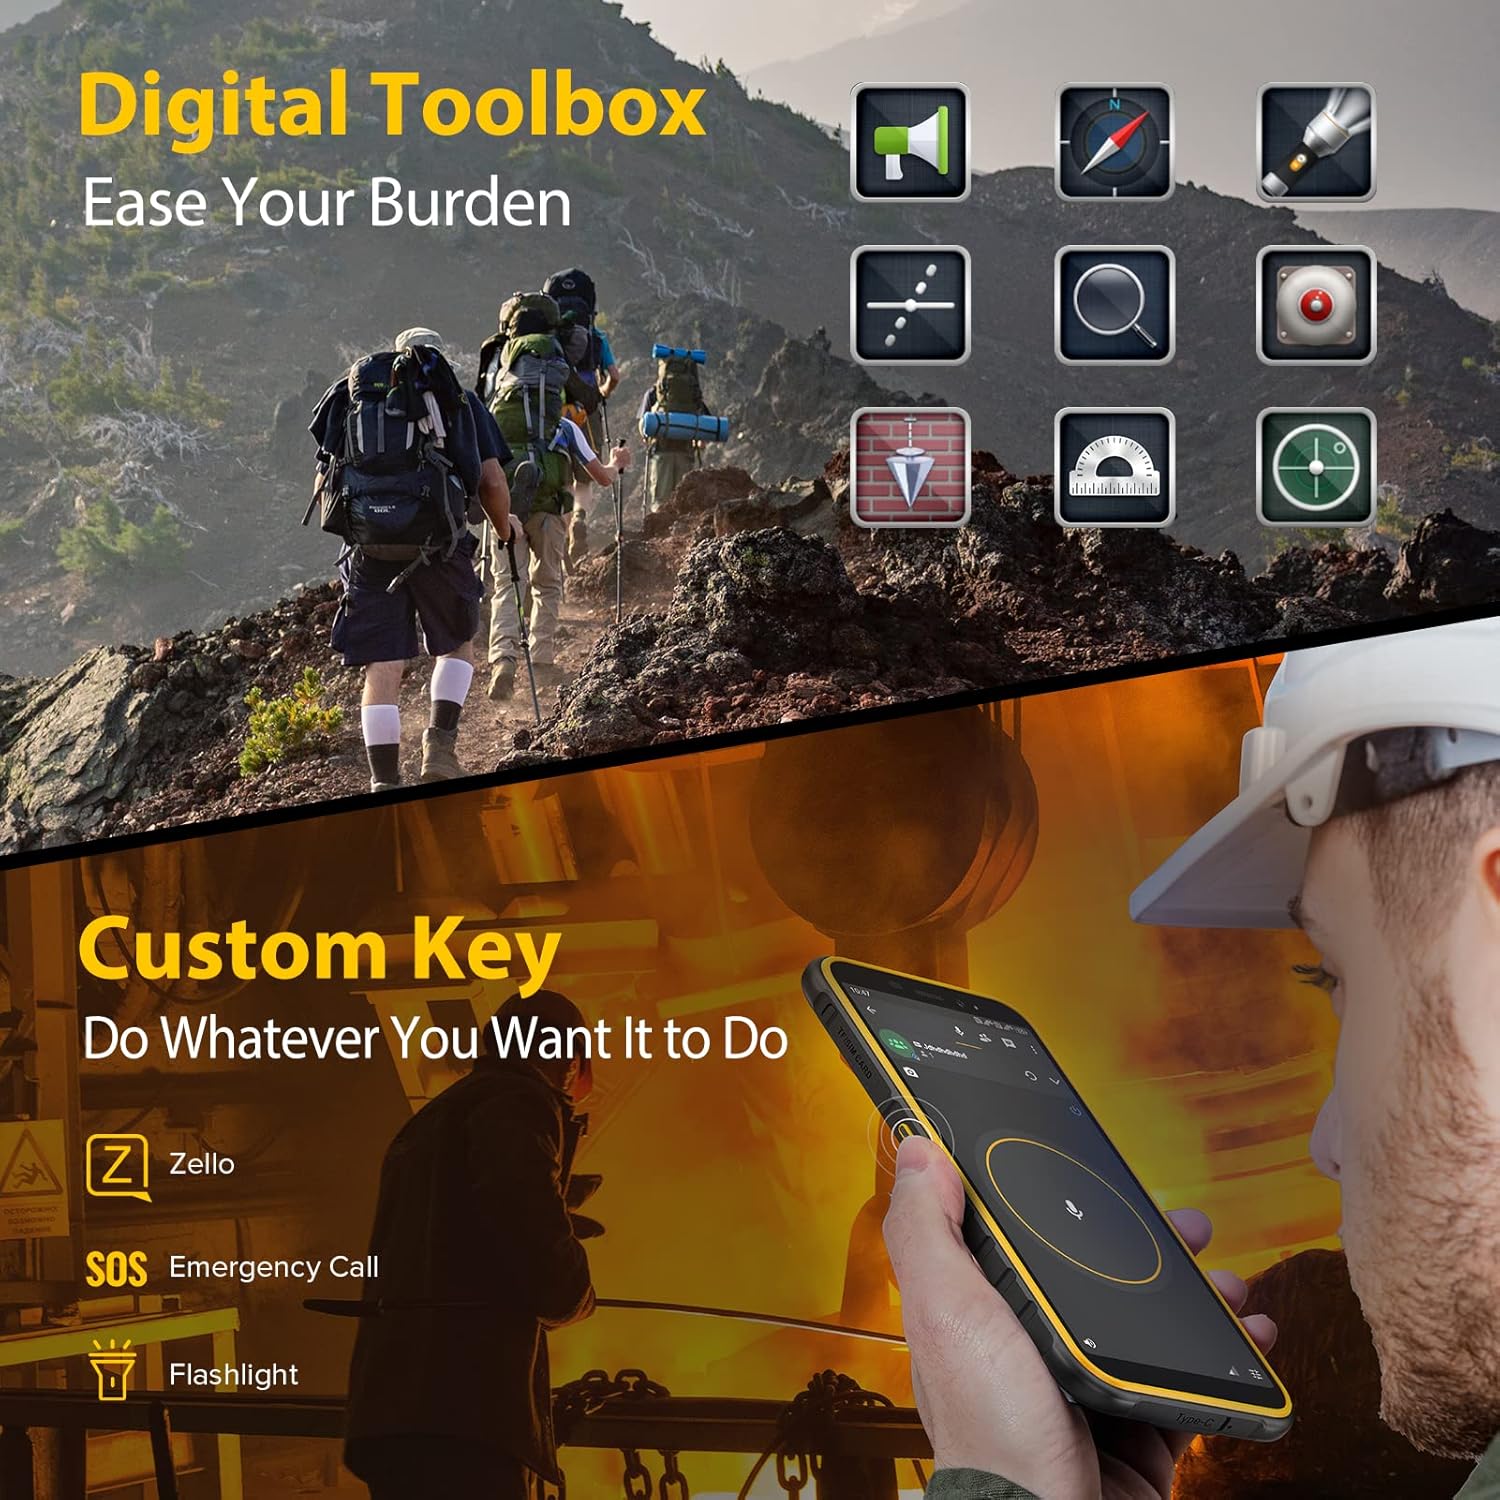
Figure 6: Digital Toolbox and Custom Key Functionality
4. Maintenance
4.1 Waterproof and Dustproof Care
While the Armor X8 is IP68/IP69K rated, proper care is essential. Ensure all port covers (USB-C, SIM tray) are securely closed before exposing the phone to water or dust. Rinse the phone with clean water after exposure to saltwater or chemicals and dry thoroughly before charging.

Figure 7: Armor X8 Water Resistance
4.2 Battery Management
The 5080mAh battery provides extended usage. To maximize battery life, avoid extreme temperatures, use the provided charger, and manage background app usage. Regular full charge cycles are recommended.
5. Troubleshooting
Common Issues and Solutions
- Phone not turning on: Ensure the battery is charged. Connect to the charger and wait a few minutes before attempting to power on.
- Poor network reception: Check SIM card insertion. Ensure you are in an area with network coverage. Some carriers may require specific APN settings.
- Apps crashing/slow performance: Clear app cache (Settings > Apps > [App Name] > Storage > Clear cache). Restart the phone. Ensure sufficient storage space.
- Battery draining quickly: Reduce screen brightness, disable unused features (Wi-Fi, Bluetooth, GPS), close background apps. Check battery usage in settings to identify power-hungry apps.
- Fingerprint reader not working: Ensure your finger is clean and dry. Re-register your fingerprints in settings.
6. Specifications
| Feature | Detail |
|---|---|
| Model | Ulefone Armor X8 |
| Operating System | Android 11.0 |
| Display | 5.7 inch Waterdrop Screen |
| Processor | MT6762 Octa-Core |
| RAM | 4GB |
| Internal Storage | 64GB (expandable up to 256GB) |
| Rear Camera | 13MP Triple Camera |
| Front Camera | 8MP |
| Battery | 5080mAh (10W fast charging) |
| Durability | IP68/IP69K Grade, MIL-STD-810G |
| Connectivity | Dual 4G SIM, Wi-Fi, Bluetooth, NFC, GPS |
| Security | Fingerprint ID, Face Unlock |
| Dimensions | 7.28 x 3.9 x 1.93 inches (Package) |
| Weight | 1.12 pounds |
7. Warranty and Support
7.1 Warranty Information
Ulefone products typically come with a limited manufacturer's warranty. Please refer to the warranty card included with your product or visit the official Ulefone website for detailed warranty terms and conditions specific to your region.
7.2 Customer Support
For technical assistance, troubleshooting, or service inquiries, please contact Ulefone customer support through their official website or the contact information provided in your product packaging. Have your model number and purchase details ready when contacting support.
Related documentsUlefone Armor X8


Ask a question about this manual
Ask about setup, troubleshooting, compatibility, parts, safety, or missing instructions. Manuals+ will review the question and use this page’s manual context to help answer it.