1. Introduction
This manual provides essential information for the safe and effective operation, maintenance, and troubleshooting of your Rothenberger RO AG8000 Angle Grinder. Please read these instructions carefully before using the tool and keep them for future reference. Proper use and maintenance will ensure optimal performance and extend the lifespan of your angle grinder.
2. General Safety Instructions
Always observe basic safety precautions to reduce the risk of fire, electric shock, and personal injury. Keep this manual handy for quick reference.
2.1. Work Area Safety
- Keep the work area clean and well-lit. Cluttered or dark areas invite accidents.
- Do not operate power tools in explosive atmospheres, such as in the presence of flammable liquids, gases, or dust. Power tools create sparks which may ignite the dust or fumes.
- Keep children and bystanders away while operating a power tool. Distractions can cause you to lose control.
2.2. Electrical Safety
- Power tool plugs must match the outlet. Never modify the plug in any way.
- Avoid body contact with earthed or grounded surfaces, such as pipes, radiators, ranges, and refrigerators. There is an increased risk of electric shock if your body is earthed or grounded.
- Do not expose power tools to rain or wet conditions. Water entering a power tool will increase the risk of electric shock.
2.3. Personal Safety
- Always wear eye protection. Use safety glasses, goggles, or a face shield.
- Wear hearing protection when operating power tools for extended periods.
- Dress properly. Do not wear loose clothing or jewelry. Keep your hair and clothing away from moving parts.
- Stay alert, watch what you are doing, and use common sense when operating a power tool.
3. Product Overview
The Rothenberger RO AG8000 is a cordless angle grinder designed for cutting, grinding, and polishing various materials. Its compact design and powerful motor make it suitable for a range of applications.

Figure 1: Rothenberger RO AG8000 Angle Grinder. This image displays the main unit of the angle grinder, highlighting its ergonomic design, disc guard, and auxiliary handle attachment point.
Key components typically include:
- Main Handle
- Auxiliary Handle (side handle)
- Spindle Lock Button
- On/Off Switch
- Disc Guard
- Grinding/Cutting Disc (sold separately or included in some kits)
- Battery Pack (sold separately or included in some kits)
- Battery Charger (sold separately or included in some kits)
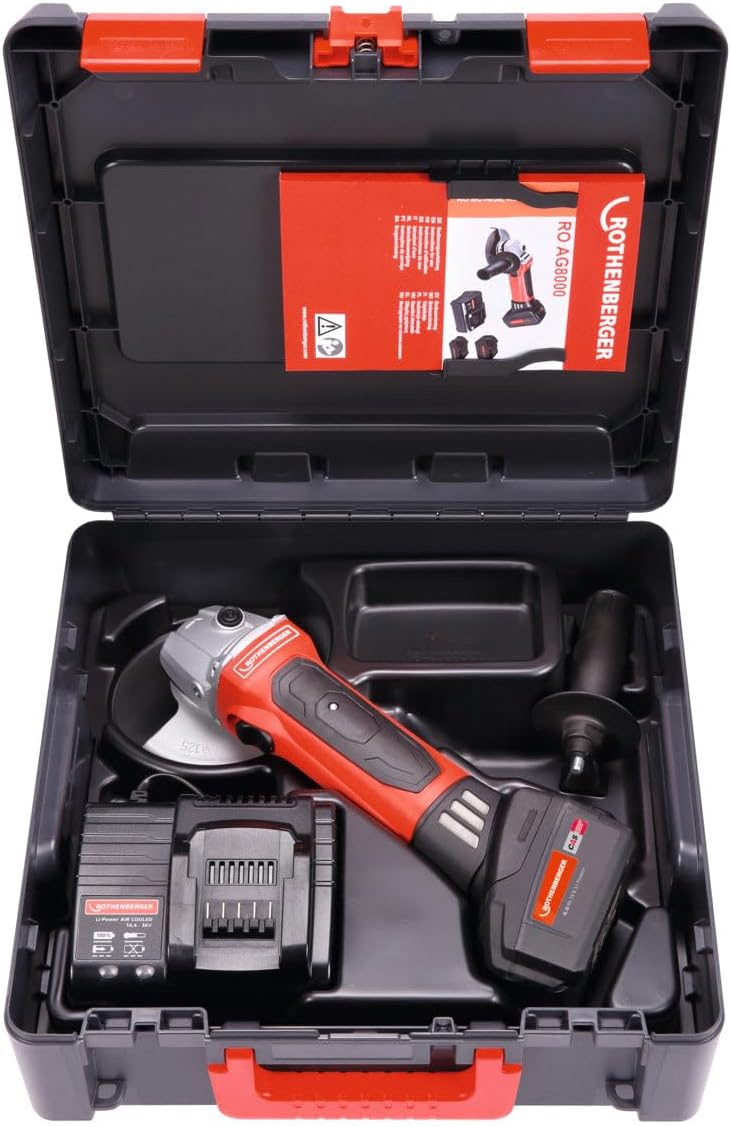
Figure 2: Rothenberger RO AG8000 Angle Grinder kit. This image shows the angle grinder, battery, charger, and auxiliary handle neatly organized within its carrying case, illustrating the complete package.
4. Setup
4.1. Battery Installation and Charging
- Ensure the battery pack is fully charged before first use. Connect the charger to a power outlet and insert the battery pack. Refer to the charger's manual for specific charging indicators.
- To install the battery, align the battery pack with the receptacle on the tool's base and slide it in until it clicks securely into place.
- To remove the battery, press the release button on the battery pack and slide it out.
4.2. Attaching the Auxiliary Handle
The auxiliary handle can be screwed into either side of the gear housing, depending on user preference and application. Tighten it firmly by hand.
4.3. Installing/Changing Grinding or Cutting Discs
- Ensure the tool is switched off and the battery pack is removed.
- Press and hold the spindle lock button to prevent the spindle from rotating.
- Use the provided spanner wrench to loosen and remove the outer flange nut.
- Place the desired grinding or cutting disc onto the spindle, ensuring it is correctly seated on the inner flange.
- Re-attach the outer flange nut and tighten it securely with the spanner wrench while holding the spindle lock button.
- Verify the disc is properly installed and rotates freely without wobbling.
4.4. Adjusting the Disc Guard
The disc guard protects against sparks and debris. Loosen the guard's clamping screw, rotate the guard to the desired position for optimal protection, and then firmly tighten the clamping screw.
5. Operating Instructions
5.1. Switching On/Off
- To switch on: Slide the ON/OFF switch forward. For continuous operation, push the switch forward and then press the front part down until it locks.
- To switch off: For continuous operation, press the rear part of the ON/OFF switch. For momentary operation, simply release the switch.
5.2. Grinding and Cutting Techniques
- Always hold the tool firmly with both hands, using the main handle and the auxiliary handle.
- Allow the disc to reach full speed before contacting the workpiece.
- Apply moderate pressure. Excessive pressure can reduce disc life and motor efficiency.
- For grinding, hold the disc at a slight angle (typically 15-30 degrees) to the workpiece.
- For cutting, hold the disc perpendicular to the workpiece and make straight, steady cuts. Avoid twisting or bending the disc.
- Be aware of kickback, especially when cutting. Ensure the workpiece is securely clamped.
6. Maintenance
6.1. Cleaning
- Always remove the battery pack before cleaning.
- Regularly clean the ventilation slots to prevent overheating. Use a soft brush or compressed air.
- Wipe the tool housing with a damp cloth. Do not use harsh chemicals or abrasive cleaners.
6.2. Disc Replacement
Replace grinding or cutting discs when they become worn, damaged, or lose their effectiveness. Follow the installation instructions in Section 4.3.
6.3. Storage
Store the angle grinder in a dry, secure place, out of reach of children. Remove the battery pack if storing for extended periods.
7. Troubleshooting
| Problem | Possible Cause | Solution |
|---|---|---|
| Tool does not start | Battery not charged or improperly installed. | Charge battery fully. Ensure battery is securely clicked into place. |
| Reduced power or performance | Battery charge low; worn or incorrect disc; motor ventilation blocked. | Recharge battery. Replace disc. Clean ventilation slots. |
| Excessive vibration | Disc improperly installed or damaged; loose auxiliary handle. | Re-install disc correctly or replace if damaged. Tighten auxiliary handle. |
| Tool overheats | Blocked ventilation slots; continuous heavy use. | Clean ventilation slots. Allow tool to cool down during heavy use. |
8. Specifications
- Model Number: 1000001649
- Brand: Rothenberger
- Product Type: Angle Grinder
- Dimensions (Package): 1 x 1 x 1 cm
- Weight (Package): 1 kilogram
- Manufacturer: Rothenberger
- International Article Code (EAN): 04004625406656
Note: Specific operational specifications such as voltage, disc diameter, and RPM are typically found on the product label or in detailed technical documentation. Always refer to these for precise operational limits.
9. Warranty and Support
For warranty information, technical support, or service inquiries, please refer to the warranty card included with your product or visit the official Rothenberger website. Keep your purchase receipt as proof of purchase.
Contact Information: Please refer to the official Rothenberger website or your local distributor for up-to-date contact details.