
NICK THE FIXER Universal Side Mount Toilet Flush Lever
Universal Toilet Flush Lever Instruction Manual
NICK THE FIXER
Introduction
This instruction manual provides comprehensive guidance for the installation, operation, maintenance, and troubleshooting of your new Universal Toilet Flush Lever. Designed for ease of use and durability, this lever offers a reliable and stylish solution for your toilet flushing needs. Please read this manual carefully before proceeding with installation or use.
Product Overview
Components
- Flush Lever Handle (Satin Nickel Finish)
- Lever Arm (Plastic)
- Locknut (Metal, with reversed thread)
Key Features
- Stylish Design: Adds a clean and modern touch to your bathroom with its satin nickel finish.
- Durable Construction: Made with a stainless steel handle and high-quality materials for long-lasting use and anti-rust properties.
- Easy Installation: Designed for quick installation, typically within 5 minutes, without the need for professional help.
- Secure Fit: Features a metal locknut to ensure a snug and stable connection.
- Water Conservation: Enables a single-action flush to help conserve water.
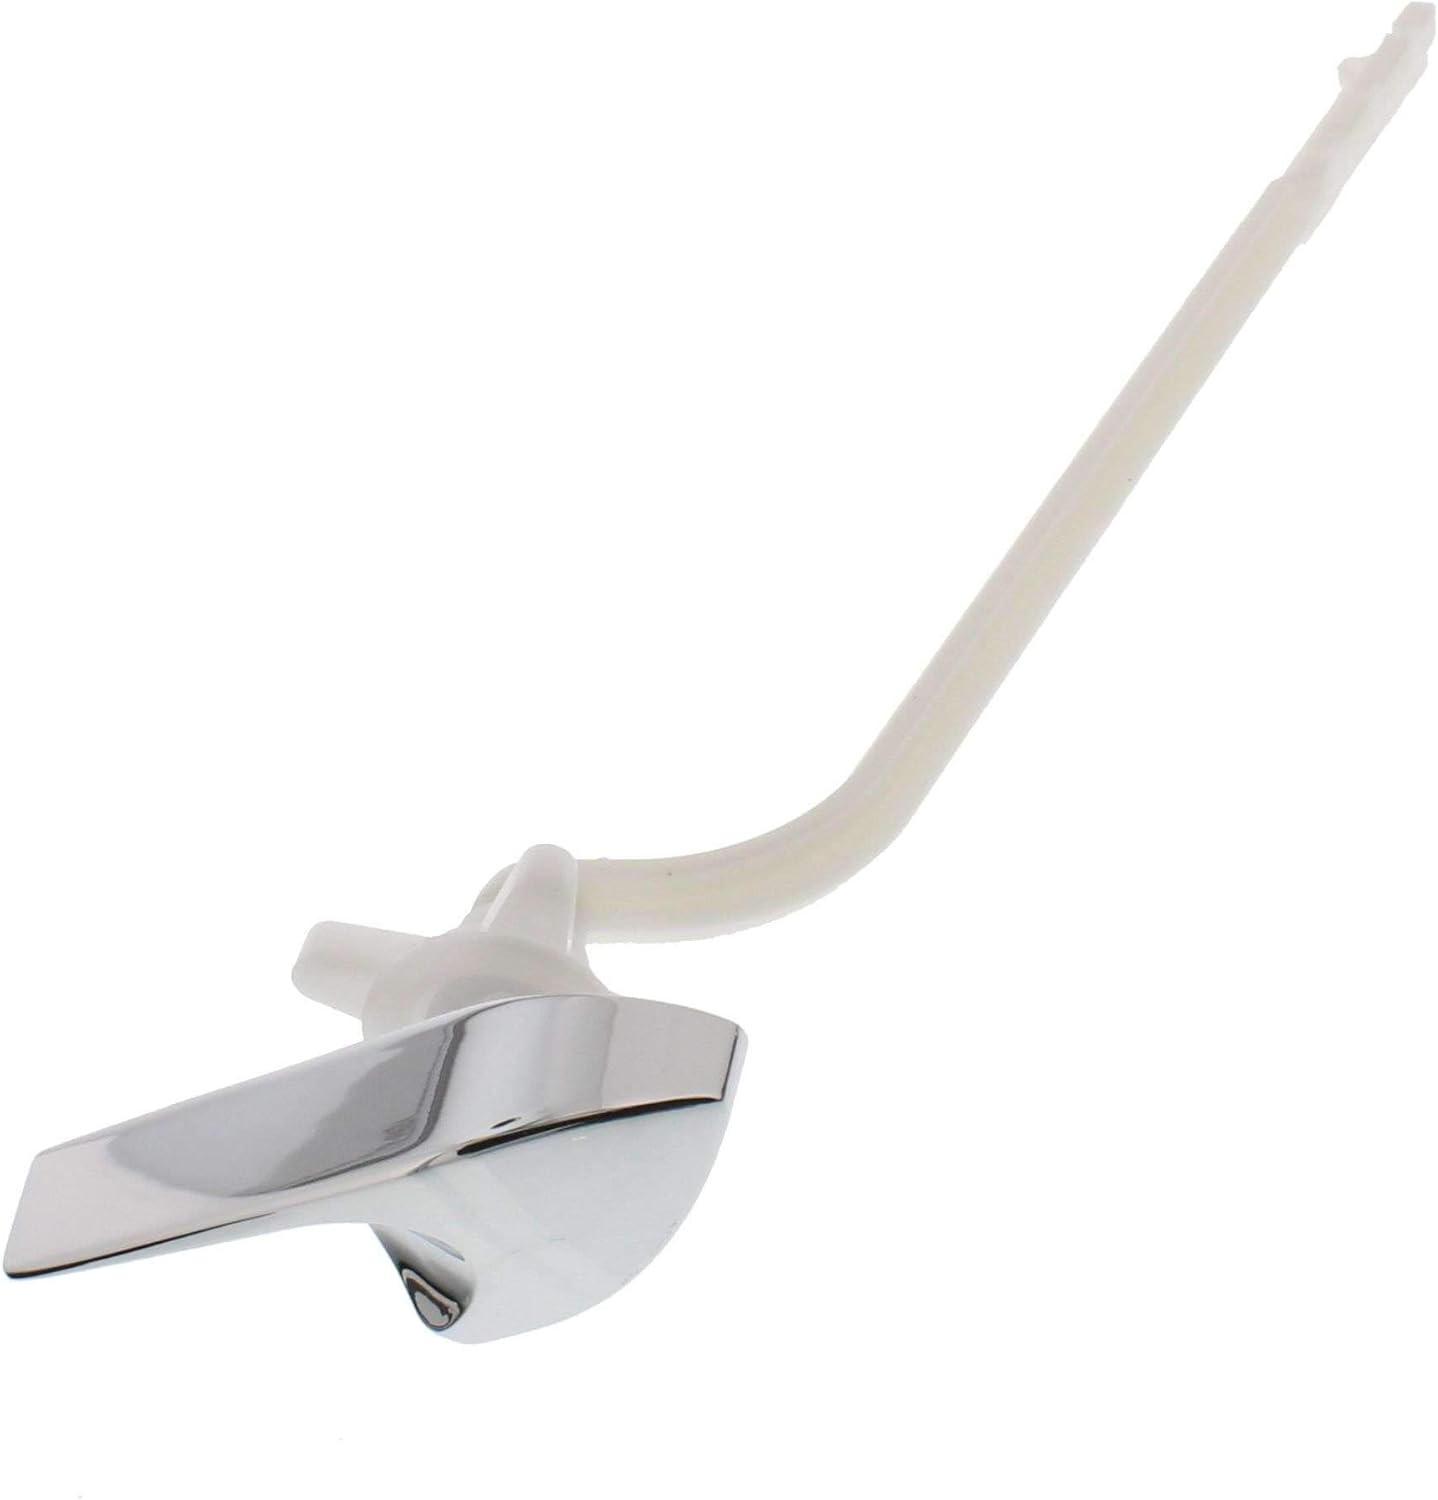
The Universal Toilet Flush Lever, featuring a satin nickel finish, is designed for side-mount installation, providing a seamless replacement for most toilet tanks.

A detailed side view of the flush lever, highlighting its ergonomic design and durable construction.
Setup and Installation
Follow these steps for a quick and easy installation of your new toilet flush lever. No special tools are typically required.
- Prepare the Toilet: Turn off the water supply to the toilet and flush to empty the tank. Remove the toilet tank lid.
- Remove Old Lever: Disconnect the chain or strap from the old flush lever arm. Unscrew the old locknut (usually plastic) from the inside of the tank and remove the old lever.
- Insert New Lever: Insert the new Universal Toilet Flush Lever handle through the hole in the toilet tank. Ensure the lever arm is positioned correctly inside the tank.
- Secure with Locknut: From inside the tank, thread the metal locknut onto the lever arm. IMPORTANT: Flush lever locknuts have a reversed thread. Turn the locknut counter-clockwise to tighten it securely. Do not overtighten.
- Attach Chain: Connect the toilet flapper chain or strap to the hole at the end of the new lever arm. Adjust the chain length so there is a slight slack when the flapper is closed, but enough tension to fully lift the flapper when the handle is pressed.
- Test Operation: Turn the water supply back on and allow the tank to fill. Press the flush lever to ensure the flapper lifts completely and the toilet flushes properly. Make any necessary adjustments to the chain length.

This image illustrates the straightforward process of installing the flush lever, designed for quick and hassle-free replacement.
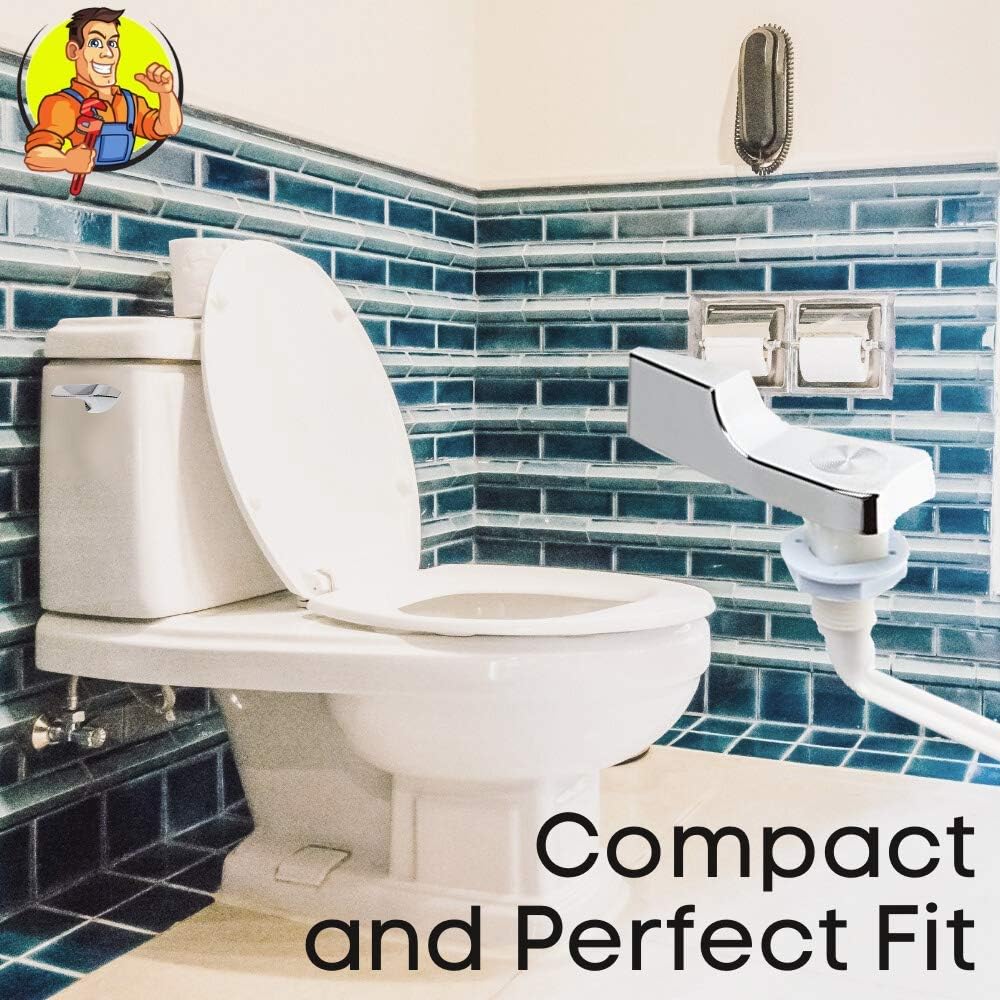
The flush lever is engineered to provide a compact and perfect fit within most toilet tanks, ensuring a clean and integrated appearance.
Operation
The Universal Toilet Flush Lever is designed for simple and efficient operation, promoting water conservation with every use.
Flushing the Toilet
To flush the toilet, simply press down on the flush lever handle. This action lifts the flapper inside the tank, allowing water to flow into the bowl and initiate the flush cycle. Release the handle once the flush is complete. The lever's design supports a single-action flush, optimizing water usage.

The design of this flush lever promotes a single-action flush, contributing to water conservation and environmental sustainability.
Maintenance
Regular cleaning and simple care will ensure your Universal Toilet Flush Lever maintains its appearance and functionality for years to come.
Cleaning
To clean the satin nickel finish handle, use a soft, damp cloth and a mild, non-abrasive cleaner. Avoid using harsh chemicals, abrasive pads, or strong detergents, as these can damage the finish. Wipe dry immediately after cleaning to prevent water spots.
Inspection
Periodically inspect the connection of the lever arm to the flapper chain and the tightness of the locknut. Ensure the lever moves freely and returns to its resting position without obstruction.
Troubleshooting
If you encounter issues with your toilet flush lever, refer to the common problems and solutions below.
| Problem | Possible Cause | Solution |
|---|---|---|
| Handle feels loose or wobbly | Locknut is not tightened sufficiently. | Tighten the metal locknut inside the tank. Remember it has a reversed thread, so turn counter-clockwise to tighten. |
| Incomplete flush or flapper not lifting fully | Flapper chain is too long or disconnected. Lever arm is flexing excessively. | Adjust the flapper chain length to ensure it lifts the flapper completely. Ensure the lever arm is not obstructed and moves freely. |
| Handle does not return to resting position | Lever arm is rubbing against the tank wall or other components. | Check for any obstructions inside the tank that might be preventing the lever arm from moving freely. Ensure the locknut is not overtightened, which could cause binding. |
| Water continuously runs after flushing | Flapper is not sealing properly, possibly due to chain being too short. | Adjust the flapper chain to ensure there is a slight slack when the flapper is closed, allowing it to seal completely. |
Specifications
| Attribute | Detail |
|---|---|
| Brand | NICK THE FIXER |
| Model | Universal Side Mount Toilet Flush Lever |
| Material | Stainless Steel (Handle), Plastic (Arm) |
| Color | Chrome (Handle) |
| Exterior Finish | Chrome Finish |
| Specific Uses For Product | Toilet |
| Special Feature | Easy to Install, Durable |
| Included Components | Toilet Lever |
| Hand Orientation | Ambidextrous |
| Unit Count | 1 Count |
| Number of Items | 1 |
| Item Weight | 3.98 ounces |
| Package Dimensions | 13.5 x 4 x 1 inches |
| UPC | 712038921416 |
Warranty and Support
NICK THE FIXER is committed to providing high-quality products. For information regarding warranty coverage or technical support, please refer to the product packaging or contact NICK THE FIXER customer service directly through their official website or the retailer where the product was purchased. Please have your purchase details and product model information ready when contacting support.
Ask a question about this manual
Ask about setup, troubleshooting, compatibility, parts, safety, or missing instructions. Manuals+ will review the question and use this page’s manual context to help answer it.