1. Introduction
This manual provides detailed instructions for the installation, operation, and maintenance of your Soundstream Tarantula TXP4.3500D Xtreme Power 4-Channel Class D Full Range Amplifier. Please read this manual thoroughly before attempting installation or operation to ensure proper use and optimal performance.
2. Safety Information
Always observe the following safety precautions during installation and operation:
- Disconnect the vehicle's negative battery terminal before any electrical work.
- Ensure all wiring is properly routed and secured to prevent damage or short circuits.
- Use appropriate gauge power and ground wires as specified in this manual.
- Install an external fuse on the main power wire within 18 inches (45 cm) of the battery.
- Mount the amplifier in a location that allows for adequate ventilation to prevent overheating.
- Avoid mounting the amplifier in areas exposed to moisture or excessive vibration.
- Professional installation is recommended for optimal performance and safety.
3. Product Features
The Soundstream Tarantula TXP4.3500D amplifier offers advanced features for high-quality audio reproduction:
- Class D Full Range Topology for efficient power delivery.
- 4-Channel output for versatile system configurations.
- Rated at 140W RMS per channel at 4 Ohms.
- 3500W Max Power output.
- 1 Ohm Stereo Stable operation.
- Adjustable gain and crossover controls.
4. Setup and Installation
Proper installation is crucial for the performance and longevity of your amplifier. Follow these steps carefully.
4.1 Mounting Location
Choose a dry, well-ventilated location for mounting the amplifier. Ensure sufficient airflow around the heatsink. Avoid mounting on carpet or in enclosed spaces without ventilation.
4.2 Wiring Connections
Refer to the diagrams below for proper wiring. All connections should be secure and free from corrosion.
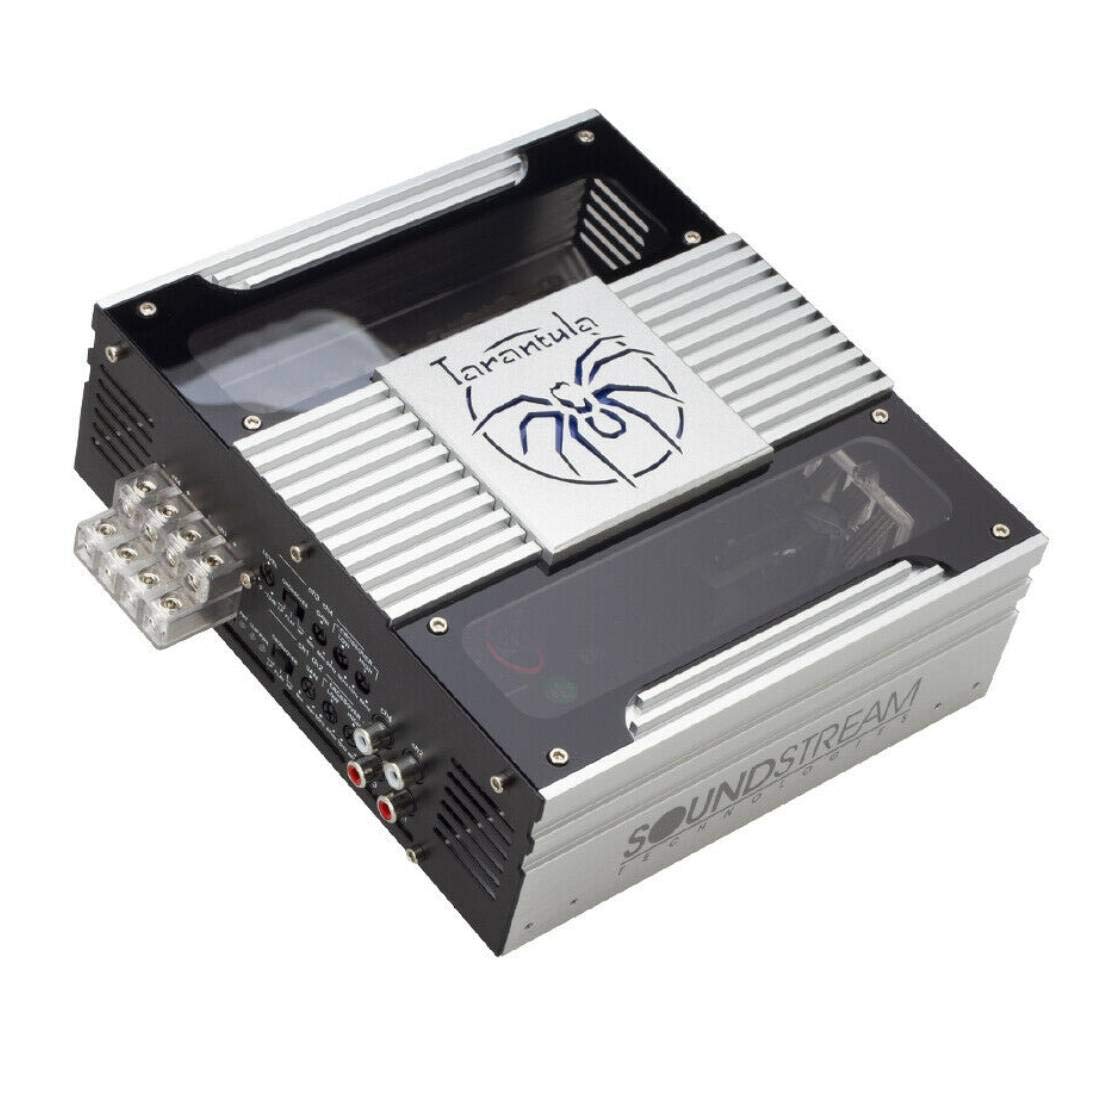
Figure 1: Top-down view of the Soundstream TXP4.3500D amplifier.

Figure 2: Rear panel connections and controls.
4.2.1 Power Connections
- B+ (12V Power): Connect a heavy gauge wire (e.g., 4 AWG or larger) directly from the positive terminal of the vehicle's battery. Install an inline fuse holder with the appropriate fuse rating (refer to specifications) within 18 inches of the battery.
- GND (Ground): Connect a heavy gauge wire (e.g., 4 AWG or larger) from the amplifier's ground terminal to a clean, unpainted metal surface of the vehicle chassis. Ensure a solid, low-resistance connection.
- REM (Remote Turn-On): Connect a 18 AWG wire from the amplifier's REM terminal to the remote turn-on output of your head unit. This wire turns the amplifier on and off with your stereo.

Figure 3: Power input terminals on the amplifier side panel.
4.2.2 Audio Input Connections
Connect RCA cables from your head unit's pre-amp outputs to the amplifier's RCA input jacks (CH1, CH2, CH3, CH4). Ensure correct channel matching (e.g., Front Left to CH1, Front Right to CH2, Rear Left to CH3, Rear Right to CH4).
4.2.3 Speaker Output Connections
Connect your speakers to the amplifier's speaker terminals. Observe correct polarity (+ to + and - to -) for each speaker. The amplifier supports 1 Ohm stereo stable operation, but always verify your speaker's impedance and wiring configuration to avoid damage.
5. Operating Instructions
After installation, adjust the amplifier settings for optimal sound quality.
5.1 Gain Adjustment (LEVEL)
The GAIN control matches the amplifier's input sensitivity to the output level of your head unit. Start with the gain set to minimum. Turn your head unit volume to about 75% of maximum. Slowly increase the amplifier's gain until you hear slight distortion, then back it off slightly. Avoid setting the gain too high, as this can cause distortion and damage to speakers.
5.2 Crossover Settings (CROSSOVER)
The TXP4.3500D features adjustable crossovers for each channel pair (CH1/CH2 and CH3/CH4).
- LPF (Low Pass Filter): Allows only frequencies below the set point to pass. Useful for subwoofers or mid-bass speakers.
- HPF (High Pass Filter): Allows only frequencies above the set point to pass. Useful for full-range or component speakers to protect them from low frequencies.
- FLAT (Full Range): Bypasses the crossover, allowing all frequencies to pass.
Adjust the LPF/HPF frequency knobs (50Hz-8KHz) according to your speaker types and desired sound. For full-range speakers, HPF is generally recommended to protect them from damaging low frequencies.

Figure 4: Detailed view of amplifier controls.
6. Maintenance
To ensure long-term performance of your amplifier:
- Keep the amplifier clean and free of dust. Use a soft, dry cloth for cleaning.
- Ensure ventilation openings are not obstructed.
- Periodically check all wiring connections for tightness and corrosion.
7. Troubleshooting
If you experience issues with your amplifier, consult the following table before contacting support:
| Problem | Possible Cause | Solution |
|---|---|---|
| No Power / No Indicator Light | Blown fuse, poor power/ground connection, no remote turn-on signal. | Check inline fuse, verify power and ground connections, check remote wire connection and head unit output. |
| No Sound Output | RCA cables disconnected, speaker wires disconnected/shorted, gain too low, head unit muted. | Check RCA connections, verify speaker wiring and polarity, adjust gain, check head unit settings. |
| Distorted Sound | Gain set too high, improper crossover settings, damaged speakers, poor ground. | Reduce gain, adjust crossover settings, inspect speakers, verify ground connection. |
| Amplifier Overheating | Insufficient ventilation, impedance too low, gain too high. | Ensure proper airflow, check speaker impedance, reduce gain. |
8. Specifications
Key technical specifications for the Soundstream Tarantula TXP4.3500D amplifier:
| Feature | Detail |
|---|---|
| Model Number | TXP4.3500D |
| Amplifier Class | Class D Full Range |
| Channels | 4-Channel |
| RMS Power (4 Ohm) | 4 x 140W |
| Max Power | 3500W |
| Minimum Impedance | 1 Ohm Stereo Stable |
| Product Dimensions (L x W x H) | 8.3 x 7.3 x 2.8 inches |
| Weight | 6.15 Pounds |
| Voltage | 6 Volts (Minimum) |
| Maximum Supply Voltage | 16 Volts (DC) |
| Mounting Type | Surface Mount |

Figure 5: Amplifier dimensions.
9. Warranty and Support
For warranty information or technical support, please refer to the warranty card included with your product or contact your authorized Soundstream dealer. You may also visit the official Soundstream website for further assistance.


