1. Introduction
This manual provides essential information for the safe and effective use of your Hoover H-FREE 300 HYDRO 3-in-1 Cordless Vacuum Cleaner. Please read these instructions carefully before operating the appliance and retain them for future reference. This appliance is designed for domestic use only.

Figure 1: Hoover H-FREE 300 HYDRO 3-in-1 cordless vacuum cleaner in its upright configuration.
2. Safety Information
To reduce the risk of fire, electric shock, or injury, always follow basic safety precautions when using an electrical appliance.
- Ensure the appliance is fully assembled before use.
- Do not use the appliance outdoors or on wet surfaces.
- Do not allow children to use the appliance. Close supervision is necessary when used near children.
- Use only as described in this manual. Use only manufacturer's recommended attachments.
- Do not handle the charger or appliance with wet hands.
- Do not put any object into openings. Do not use with any opening blocked; keep free of dust, lint, hair, and anything that may reduce airflow.
- Keep hair, loose clothing, fingers, and all parts of body away from openings and moving parts.
- Do not pick up anything that is burning or smoking, such as cigarettes, matches, or hot ashes.
- Use extra care when cleaning on stairs.
- Do not use to pick up flammable or combustible liquids, such as gasoline, or use in areas where they may be present.
- Disconnect the battery pack before making any adjustments, changing accessories, or storing the appliance.
- Use only the charger supplied by the manufacturer to recharge.
- Do not modify or attempt to repair the appliance or battery pack.
3. Package Contents
Verify that all components are present in the package:
- Hoover H-FREE 300 HYDRO Main Unit
- Motorized 2-in-1 Hydro Nozzle with LED
- Hybrid Roller for all floors
- 360° Hydro-Roller for vacuuming and wiping hard floors
- Removable Lithium-ion Battery (22V)
- Battery Charger
- 2-in-1 Crevice Tool and Furniture Brush
- 2-in-1 Dusting Brush and Upholstery Nozzle
- 30 ml Cleaner Solution (for initial use)
- Wall Mount
- User Manual (this document)
4. Assembly and Initial Setup
4.1 Assembly
- Attach the Extension Tube: Insert the extension tube into the main unit until it clicks securely into place.
- Attach the Floor Nozzle: Connect the motorized 2-in-1 Hydro nozzle to the bottom of the extension tube, ensuring it clicks firmly.
- Install the Battery: Slide the removable lithium-ion battery into the designated slot on the main unit until it locks.
4.2 Initial Charging
Before first use, fully charge the battery. The battery can be charged either while attached to the main unit or separately.
- Connect the charger to a power outlet and then to the battery charging port.
- The charging indicator lights will illuminate, showing the charging status.
- A full charge takes approximately 2.5 hours.
- Once fully charged, disconnect the charger.
4.3 Filling the Water Tank (for Wet Cleaning)
For the wet cleaning function, fill the water tank located on the Hydro nozzle.
- Remove the water tank from the Hydro nozzle.
- Fill the tank with clean water. You may add a small amount of the provided 30 ml cleaner solution if desired. Do not use other cleaning agents not specified by Hoover.
- Securely close the tank and reattach it to the Hydro nozzle.
5. Operating Instructions
5.1 Powering On/Off and Suction Modes
- Press the Power button to turn the appliance on. It will start in Standard suction mode.
- Press the Mode button to switch between Standard and Turbo suction modes.
- Press the Power button again to turn the appliance off.
5.2 Using as an Upright Vacuum (Vacuum & Wash)
The H-FREE 300 HYDRO is designed for both dry vacuuming and wet cleaning of hard floors and carpets.
- Ensure the appropriate roller (hybrid for all floors, or 360° hydro-roller for hard floors) is installed in the Hydro nozzle.
- For wet cleaning, ensure the water tank is filled.
- Move the vacuum cleaner slowly over the surface to be cleaned. The front LED light on the nozzle will illuminate the cleaning path.
- The 2-in-1 H-Lab nozzle allows simultaneous vacuuming and wiping.
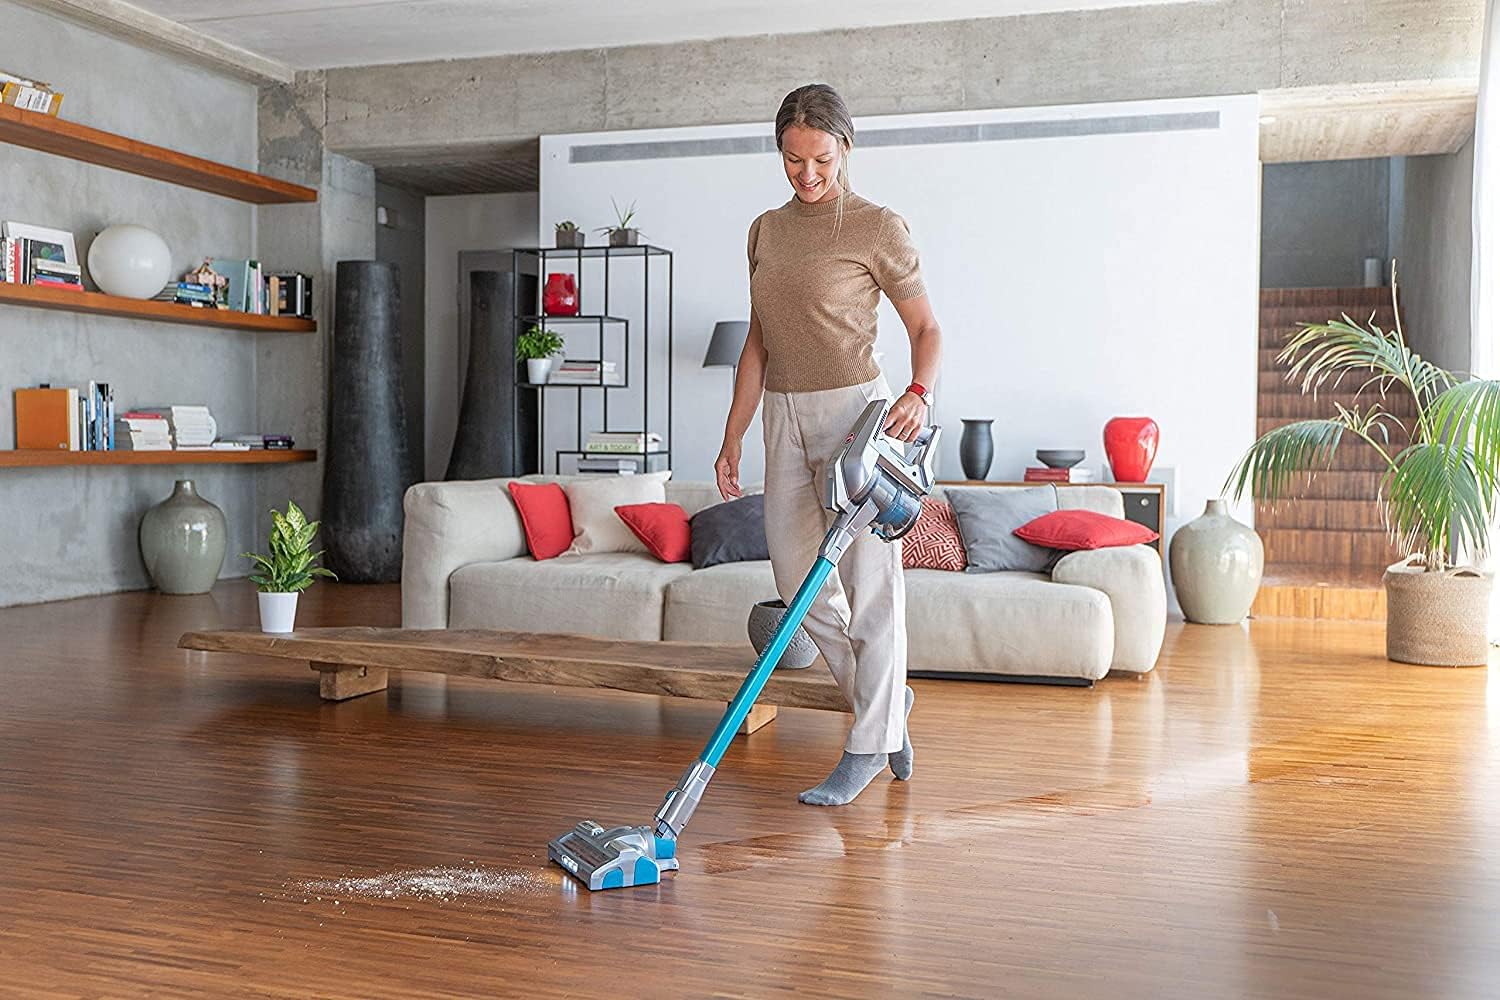
Figure 2: A person operating the Hoover H-FREE 300 HYDRO on a hard floor, demonstrating its cleaning capability.
5.3 Using as a Handheld Vacuum
Detach the main unit from the extension tube to use it as a handheld vacuum for smaller areas, upholstery, or car interiors.
- Press the release button to detach the main unit.
- Attach the desired accessory (e.g., 2-in-1 crevice tool, upholstery nozzle) directly to the main unit.
- An additional LED on the handheld unit provides improved visibility in dark areas.
5.4 Parking Function
For short interruptions during cleaning, the vacuum cleaner can be easily parked in an upright position thanks to its Park & Go feature.
6. Maintenance
Regular maintenance ensures optimal performance and extends the lifespan of your appliance.
6.1 Emptying the Dust Tank
Empty the dust tank after each use or when the MAX fill line is reached.
- Press the dust tank release button and remove it from the main unit.
- Open the dust tank lid and empty the contents into a waste bin.
- Close the lid and reattach the dust tank to the main unit.
6.2 Cleaning Filters
The appliance is equipped with a HEPA filter. Clean filters regularly to maintain suction power.
- Remove the dust tank and locate the filter assembly.
- Remove the pre-motor filter and the HEPA filter.
- Tap the filters gently to remove loose dust. For a deeper clean, rinse them under cold running water.
- Allow filters to air dry completely for at least 24 hours before reassembling. Do not use a hairdryer or other heating devices.
6.3 Cleaning Rollers and Nozzles
Periodically check the rollers and nozzles for tangled hair, fibers, or debris.
- Turn off the appliance and disconnect the battery.
- Remove the roller from the Hydro nozzle (refer to the specific instructions for roller removal in the detailed manual).
- Use scissors to cut away any tangled hair or threads.
- Wipe the nozzle and rollers with a damp cloth. Ensure all parts are dry before reassembly.
6.4 Battery Care
- Store the battery in a cool, dry place when not in use.
- Avoid exposing the battery to extreme temperatures.
- If storing for an extended period, charge the battery to approximately 50% capacity.
7. Troubleshooting
Refer to the table below for common issues and their solutions.
| Problem | Possible Cause | Solution |
|---|---|---|
| Appliance does not turn on | Battery not charged or not properly inserted. | Ensure battery is fully charged and securely inserted. |
| Low suction power | Dust tank full, filters clogged, or nozzle/tube blocked. | Empty dust tank, clean filters, check for blockages in nozzle or extension tube. |
| Water not dispensing (wet cleaning) | Water tank empty or clogged water jets. | Refill water tank. Check and clean water jets on the Hydro nozzle. |
| Battery not charging | Charger not connected properly or faulty charger/battery. | Ensure charger is securely connected to both power outlet and battery. Try a different outlet. If problem persists, contact customer support. |
| Unusual noise during operation | Obstruction in brush roll or motor. | Turn off and disconnect battery. Inspect brush roll and air paths for obstructions. Remove any debris. |
8. Specifications
Technical specifications for the Hoover H-FREE 300 HYDRO:
| Feature | Detail |
|---|---|
| Brand | Hoover |
| Model Number | HF322YHM 011 / 39400956 |
| Color | Blue and Metallic Grey |
| Product Dimensions (L x W x H) | 25.2 x 22.8 x 113.5 cm |
| Weight | 2.9 kg |
| Power | 44.4 Watt-hours |
| Voltage | 22 Volts |
| Material | Plastic |
| Number of Speeds | 3 (Standard, Turbo, Off) |
| Noise Level | 82 dB |
| Autonomy | Up to 40 minutes (non-motorized accessories), up to 25 minutes (motorized main nozzle) |
| Charging Time | Approx. 2.5 hours |
| Filter Type | HEPA Filter |
| Motor Type | Direct Impulse Motor (80,000 rpm) |
| Suction Power | 65 AW (Air Watts) |
| Power Source | Battery powered |
| Special Features | 3-in-1 function (vacuum, wash, handheld), Dual LED lighting, Park & Go function, Compact storage (69 cm height) |
9. Warranty and Customer Support
9.1 Warranty Information
This Hoover appliance is covered by a manufacturer's warranty. The availability of spare parts is guaranteed for 2 years from the date of purchase. Please retain your proof of purchase for warranty claims.
For detailed warranty terms and conditions, please refer to the warranty card included with your product or visit the official Hoover website for your region.
9.2 Customer Support
If you encounter any issues not covered in the troubleshooting section or require further assistance, please contact Hoover customer support.
- Online Support: Visit the official Hoover website for FAQs, product registration, and contact forms.
- Telephone Support: Refer to your product packaging or the Hoover website for local customer service numbers.
When contacting support, please have your product model number (HF322YHM 011 / 39400956) and date of purchase readily available.


