1. Introduction
The Briggs & Stratton 84005272 Magneto Armature, also known as an ignition coil, is a genuine replacement part designed to ensure reliable ignition in your outdoor power equipment. This component is crucial for converting the mechanical energy from the engine's rotation into the electrical energy required to produce a spark, igniting the fuel-air mixture.
This magneto armature is compatible with various Briggs & Stratton models, specifically fitting many 08P502, 09P602, and 09P702 series engines. It is engineered to meet original equipment specifications, providing a precise fit and optimal performance.

Figure 1: Briggs & Stratton 84005272 Magneto Armature in original packaging.
2. Safety Information
Always prioritize safety when working with engine components. Failure to follow safety instructions can result in serious injury or damage to equipment.
- Disconnect Power: Before beginning any installation or maintenance, ensure the engine is turned off and the spark plug wire is disconnected to prevent accidental starting.
- Wear Protective Gear: Always wear safety glasses and gloves to protect against potential hazards.
- Allow Engine to Cool: Engine components can be extremely hot after operation. Allow sufficient time for the engine to cool before handling.
- Use Correct Tools: Use appropriate tools for the task to avoid damaging parts or causing injury.
- Follow Manufacturer Guidelines: Refer to your specific engine's service manual for detailed instructions and torque specifications.
3. Setup and Installation
Replacing the magneto armature requires careful attention to detail. The following steps provide a general guide; always consult your engine's specific service manual for precise instructions.
- Preparation: Ensure the engine is cool, the spark plug wire is disconnected, and the fuel supply is turned off. Clean the area around the existing magneto armature to prevent debris from entering the engine.
- Remove Old Armature: Carefully disconnect any wires attached to the old magneto armature. Unbolt and remove the old unit from the engine block. Note the orientation and spacing of the old armature for reference.
- Install New Armature: Position the new Briggs & Stratton 84005272 Magneto Armature in place. This part is manufactured with tight tolerances to ensure accurate fit and optimal performance.
- Set Air Gap: A critical step is setting the correct air gap between the magneto armature and the flywheel. Typically, a feeler gauge (often 0.010 to 0.014 inches, or as specified by your engine manual) is used. Loosely tighten the mounting bolts, insert the feeler gauge between the armature and the flywheel magnets, then push the armature firmly against the flywheel. Tighten the mounting bolts to the manufacturer's specified torque while holding the armature in place. Remove the feeler gauge.
- Connect Wires: Reconnect all wires to the new magneto armature, ensuring secure connections.
- Test: Reconnect the spark plug wire and turn on the fuel supply. Attempt to start the engine to verify proper operation.
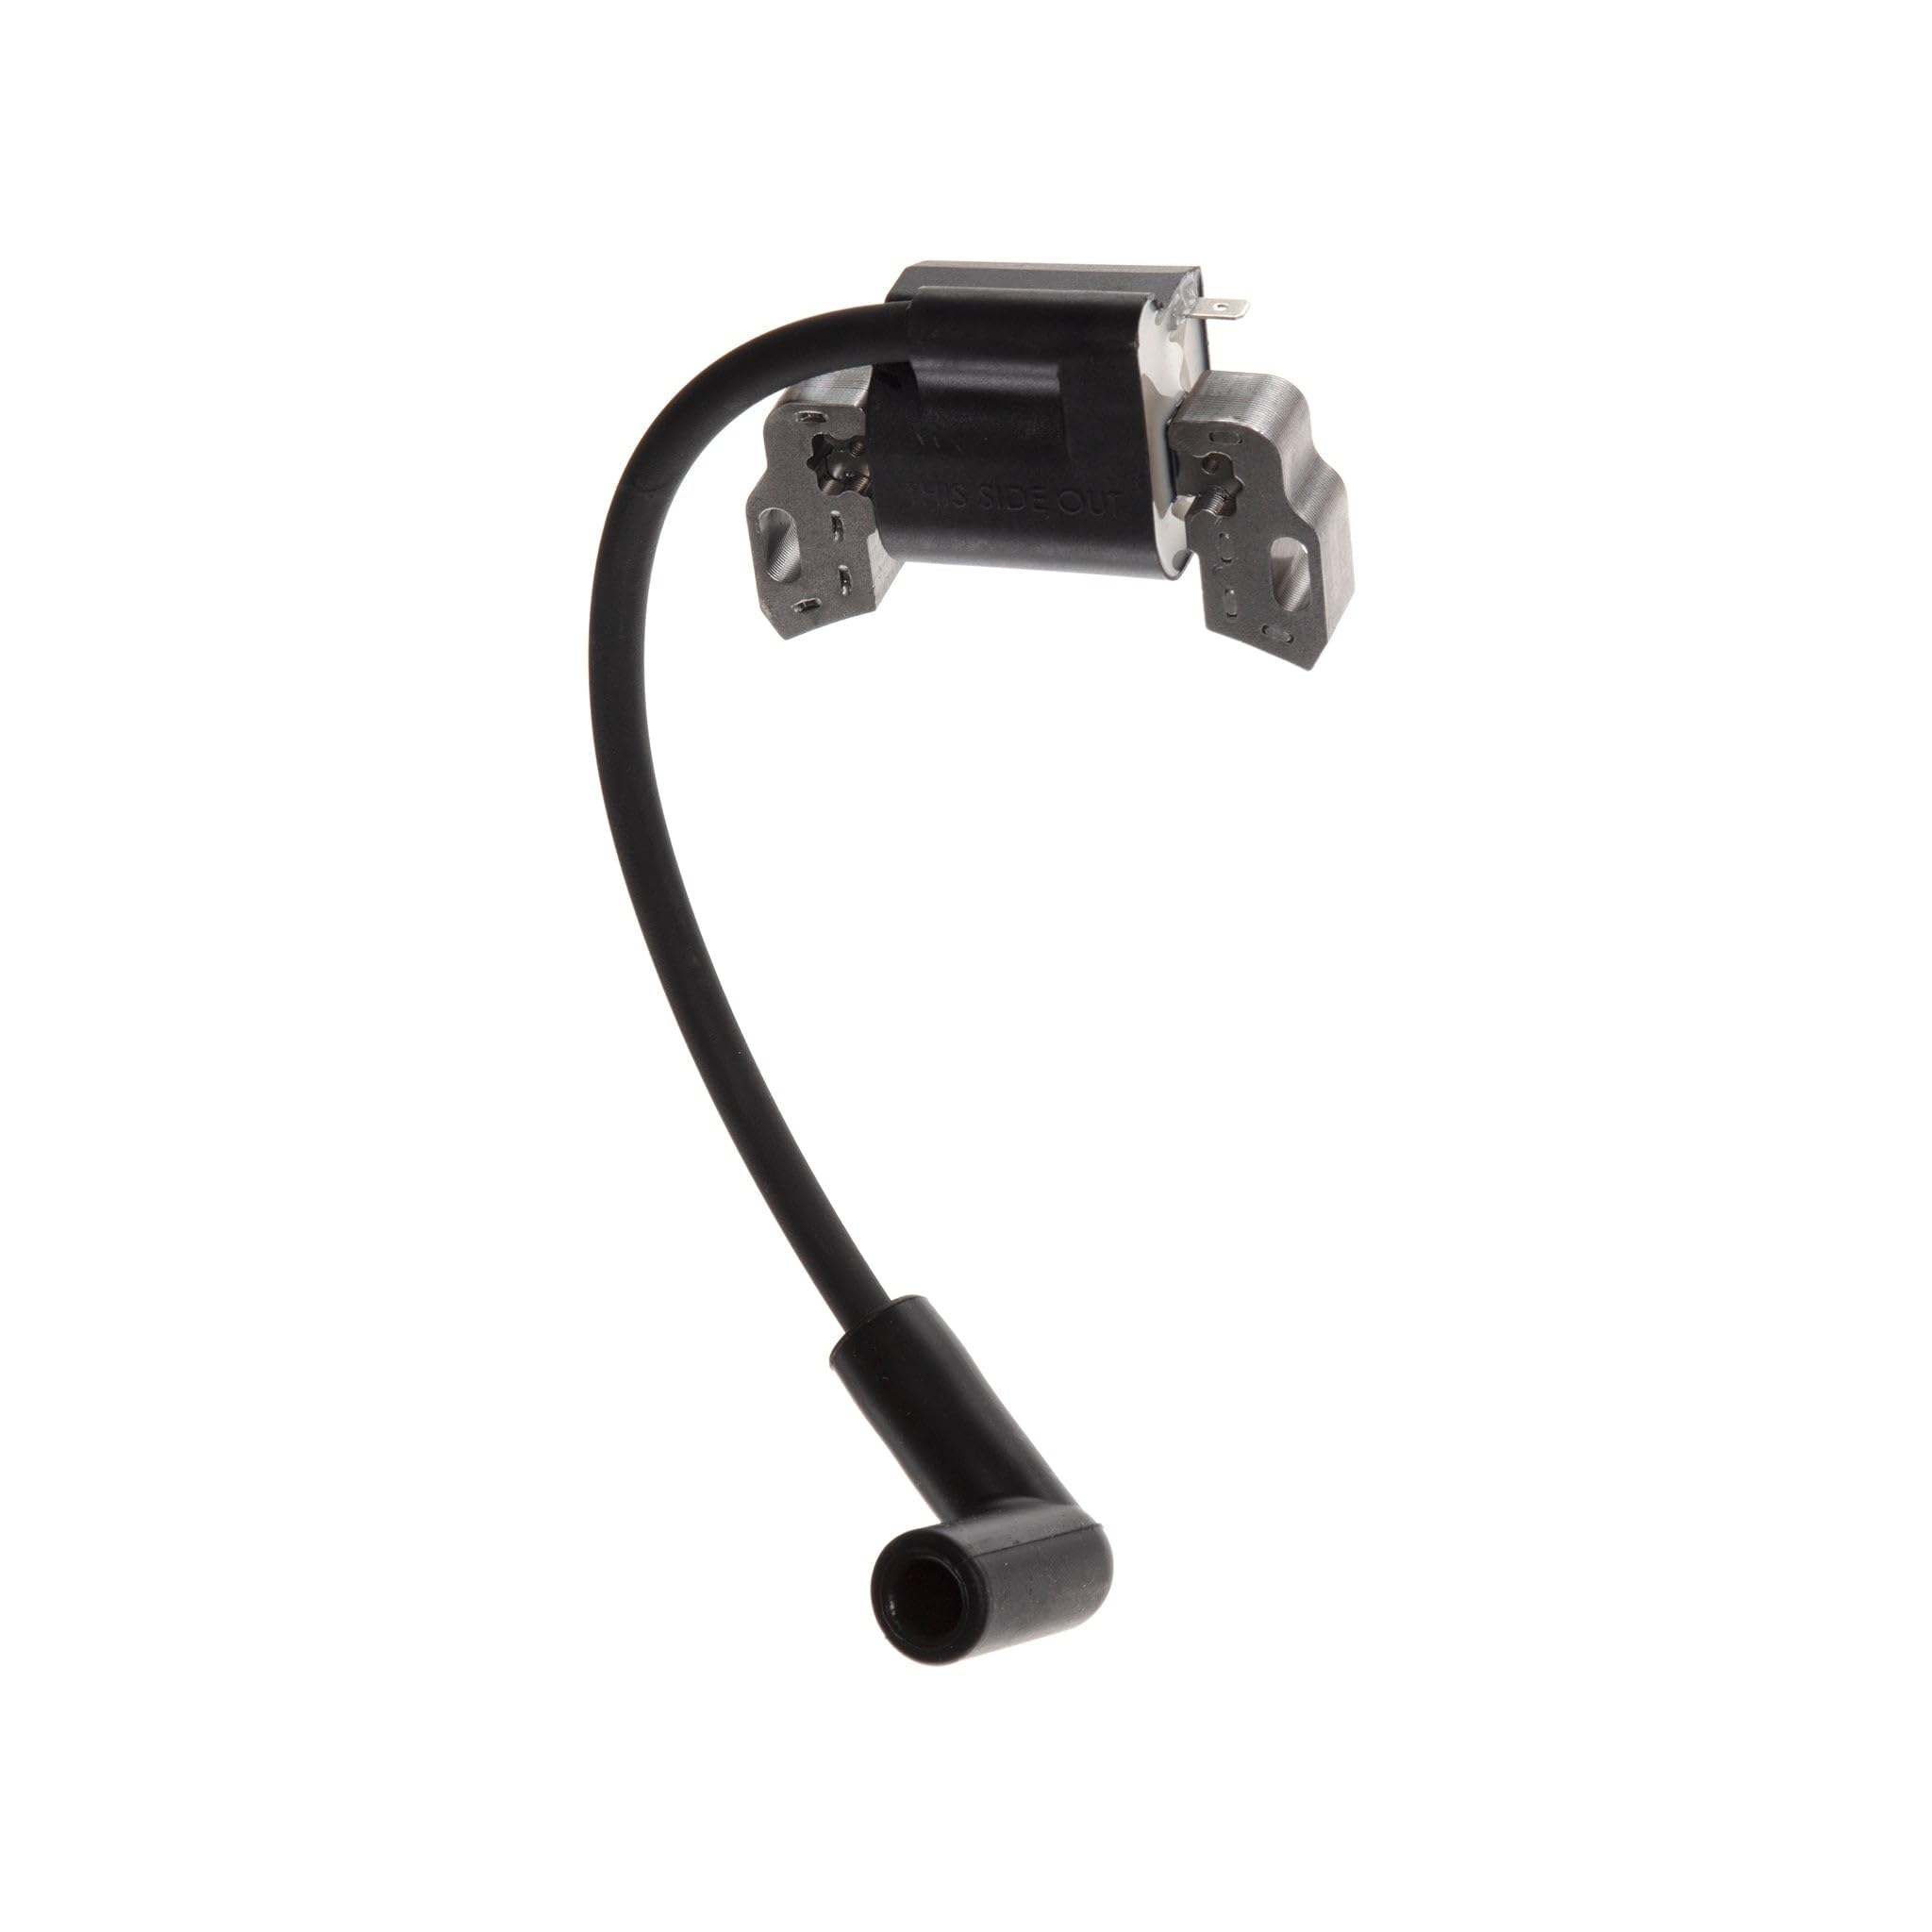
Figure 2: Briggs & Stratton 84005272 Magneto Armature, showing its dimensions and design.
4. Operation
Once installed, the magneto armature operates by generating a high-voltage electrical pulse each time the engine's flywheel rotates past it. This pulse is then sent to the spark plug, creating a spark that ignites the compressed fuel-air mixture in the engine cylinder. This continuous process ensures the engine runs smoothly and efficiently.
5. Maintenance
The Briggs & Stratton 84005272 Magneto Armature is constructed from high-quality materials designed to withstand the mechanical stresses and high temperatures inherent in engine operation. While the armature itself requires minimal direct maintenance, regular inspection of the surrounding components is recommended:
- Inspect Wires: Periodically check the wiring connected to the armature for fraying, cracks, or loose connections.
- Clean Area: Keep the area around the magneto armature free of dirt, debris, and oil buildup, which can interfere with its operation or cause overheating.
- Check Spark Plug: Ensure the spark plug is clean, properly gapped, and in good condition, as a faulty spark plug can mimic ignition coil issues.
6. Troubleshooting
If your engine experiences ignition problems, the magneto armature could be a contributing factor. Here are common symptoms and troubleshooting steps:
- Engine Not Starting: If the engine cranks but does not fire, check for spark. Remove the spark plug, reconnect it to the wire, and ground the plug against the engine block. Pull the starter cord; a strong blue spark should be visible. No spark indicates a potential issue with the magneto armature, spark plug, or associated wiring.
- Engine Misfires or Runs Roughly: Intermittent or weak spark can cause misfires. Inspect the magneto armature for any visible damage, corrosion on terminals, or incorrect air gap.
- Engine Dies Suddenly: While many factors can cause an engine to die, an intermittently failing magneto armature can be one. Check for loose connections or signs of overheating on the coil.
If troubleshooting indicates a faulty magneto armature, replacement with a genuine Briggs & Stratton part is recommended.
7. Specifications
| Specification | Detail |
|---|---|
| Brand | Briggs & Stratton |
| Model Number | 84005272 |
| Item Type Name | Ignition Coil |
| Vehicle Service Type | Lawn Mower |
| Compatible with Engine Series | 08P502, 09P602, 09P702 |
| Item Dimensions (L x W x H) | 8.75 x 2.25 x 1.5 inches |
| Item Weight | 0.13 Pounds |
| Connector Gender | Male |
| UPC | 047282779835, 047282092163 |
| GTIN | 00047282092163, 00047282779835, 06953882098808 |
| Part Interchange Info (Replaces) | 593872, 799582, 596532, 595009 |
| Installation Type | Outdoor |
8. Warranty and Support
The Briggs & Stratton 84005272 Magneto Armature comes with a 1-Year Manufacturer Warranty. This warranty covers defects in materials and workmanship under normal use.
For warranty claims, technical assistance, or further support, please contact Briggs & Stratton customer service or visit their official website. Always provide your product model number and proof of purchase when seeking support.