1. Introduction
Thank you for choosing the Kompak KP-K10000TE-T Gasoline Generator. This manual provides essential information for the safe and efficient operation, maintenance, and troubleshooting of your generator. Please read this manual thoroughly before operating the generator to ensure proper use and to prevent injury or damage.
The Kompak KP-K10000TE-T is a powerful and reliable gasoline-powered generator designed to provide portable electricity for various applications, including home backup, construction sites, and outdoor events.

Figure 1.1: Front view of the Kompak KP-K10000TE-T Gasoline Generator, showcasing its robust frame and main components.
2. Safety Instructions
Operating a generator can be dangerous if proper safety precautions are not followed. Always adhere to these safety guidelines to prevent serious injury or death.
- Carbon Monoxide Hazard: Never operate the generator indoors or in enclosed spaces. Generators produce carbon monoxide, a colorless, odorless, and deadly gas. Use outdoors only, far away from windows, doors, and vents.
- Electrical Shock Hazard: Do not operate the generator in wet conditions. Ensure all electrical connections are dry and properly insulated. Use ground fault circuit interrupters (GFCIs) when connecting to household circuits.
- Fire Hazard: Gasoline is highly flammable. Refuel in a well-ventilated area with the engine off and cool. Do not smoke or allow open flames near the generator. Store fuel in approved containers.
- Hot Surfaces: The generator engine and muffler become very hot during operation and remain hot for some time after shutdown. Avoid contact with hot surfaces to prevent burns.
- Proper Grounding: Always properly ground the generator before operation to prevent electrical shock. Refer to local electrical codes for grounding requirements.
- Children and Pets: Keep children and pets away from the generator at all times.
- Read the Manual: Always read and understand the entire user manual before operating the generator.
3. Components Overview
Familiarize yourself with the main components of your Kompak KP-K10000TE-T generator.
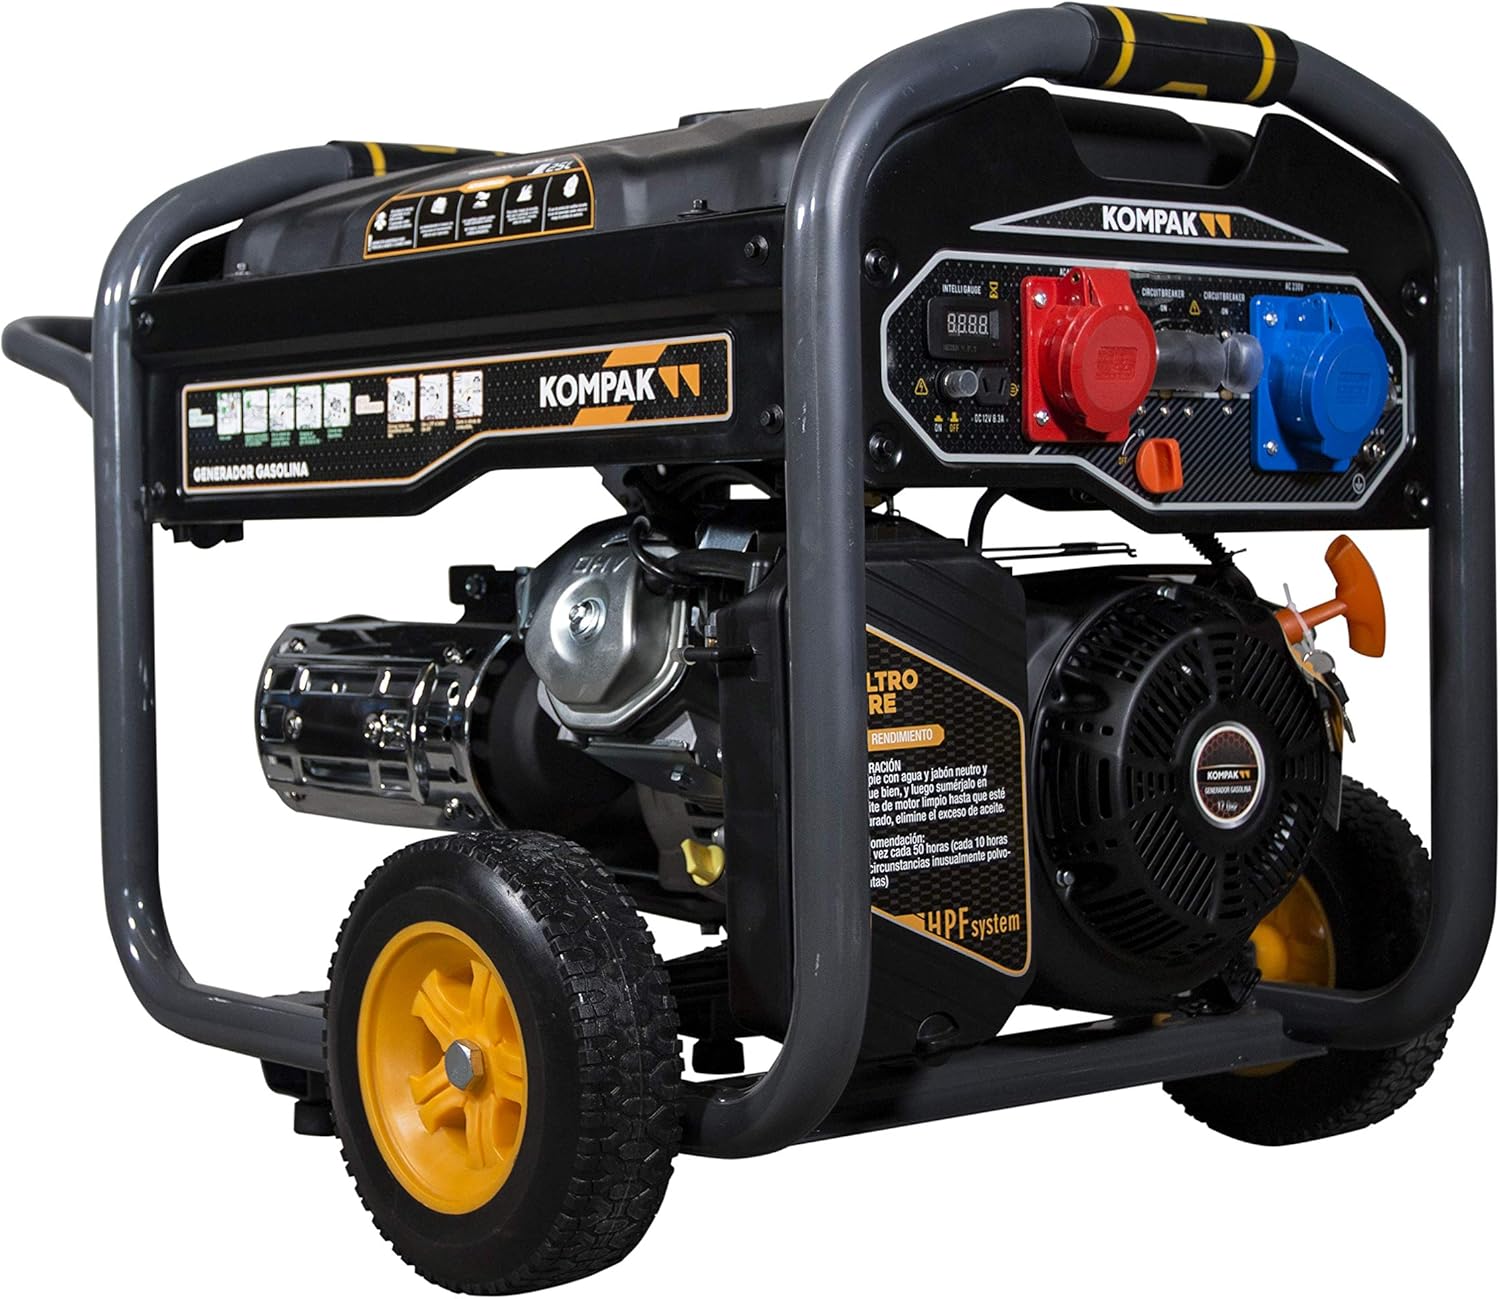
Figure 3.1: Side view of the generator, highlighting the control panel with various power outlets. This includes a PCE5P (32A) outlet and a 16A (220V) outlet.
- Fuel Tank: Located on top, for gasoline storage. Capacity: 25 liters.
- Engine: 4-stroke engine, 459 cc, 16 HP.
- Control Panel: Contains power outlets, circuit breakers, voltmeter, and engine controls.
- Exhaust Muffler: Reduces engine noise and directs exhaust gases.
- Air Filter: Protects the engine from dust and debris.
- Oil Fill Cap/Dipstick: For checking and adding engine oil.
- Battery: 12V 17Ah battery for electric start (if equipped).
- Wheels and Handle: For portability.
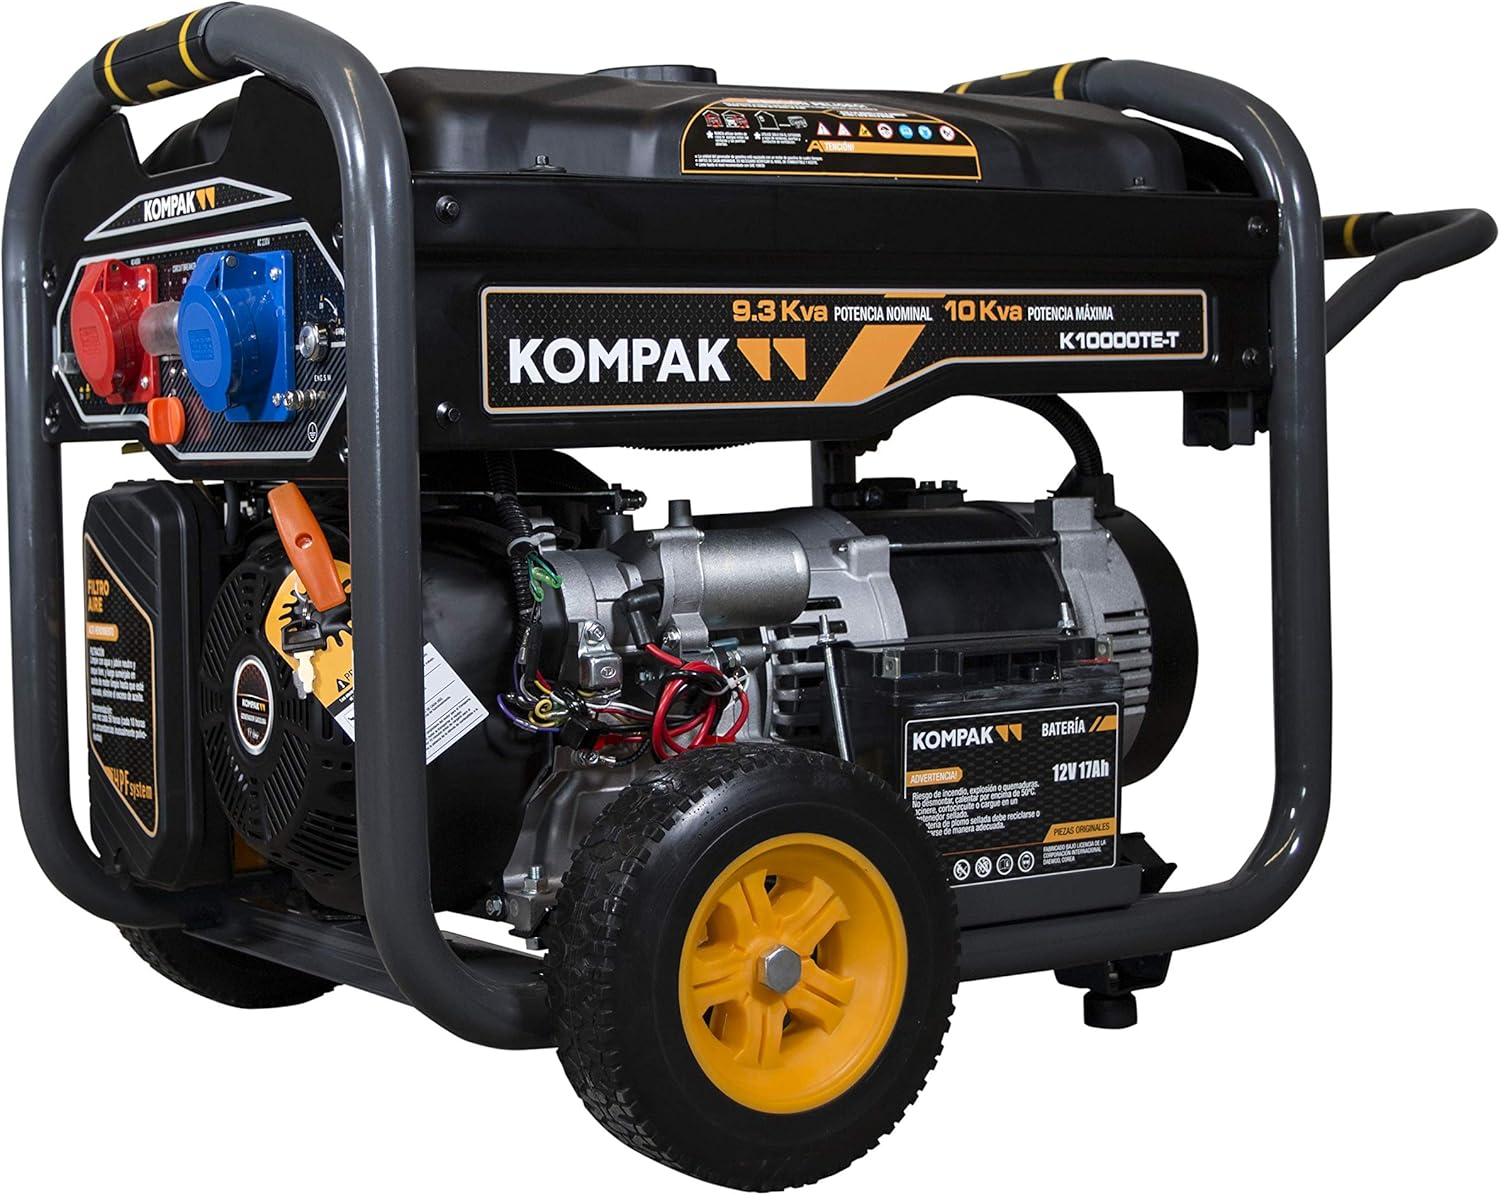
Figure 3.2: View of the generator's side, clearly showing the battery compartment and its connections.
4. Setup
Before first use, follow these steps to prepare your generator for operation.
- Unpacking: Carefully remove the generator from its packaging. Inspect for any shipping damage.
- Wheel and Handle Assembly: Attach the wheels and handles according to the included assembly instructions.
- Add Engine Oil: The generator is shipped without engine oil. Place the generator on a level surface. Remove the oil fill cap/dipstick and slowly add the recommended type and amount of engine oil (refer to specifications for oil type and capacity). Do not overfill.
- Connect Battery (if applicable): If your model has an electric start, connect the battery terminals. Ensure correct polarity (positive to positive, negative to negative).
- Add Fuel: Ensure the generator is off and cool. Fill the fuel tank with fresh, unleaded gasoline. Do not overfill. Leave space for fuel expansion.
- Grounding: Connect a grounding wire from the generator's grounding terminal to a suitable ground source, as per local electrical codes.
5. Operating the Generator
Follow these steps to safely start and operate your Kompak generator.

Figure 5.1: Close-up of the generator's control panel, showing the various switches, outlets, and indicators for operation.
5.1. Starting the Engine
- Placement: Ensure the generator is on a level surface outdoors, away from any structures, windows, or vents.
- Fuel Valve: Open the fuel valve.
- Choke: If the engine is cold, move the choke lever to the "CHOKE" position.
- Engine Switch: Turn the engine switch to the "ON" position.
- Start:
- Electric Start: Press and hold the start button until the engine starts. Release the button immediately once started.
- Recoil Start: Pull the recoil starter handle slowly until resistance is felt, then pull quickly and firmly. Repeat if necessary.
- Choke Adjustment: Once the engine starts and runs smoothly, gradually move the choke lever to the "RUN" position.
5.2. Connecting Electrical Loads
After the engine is running, you can connect your electrical devices.
- Ensure all circuit breakers on the control panel are in the "OFF" position before connecting devices.
- Plug in your appliances or extension cords into the appropriate outlets (1 x PCE5P (32A) / 1 x 16A (220V)).
- Flip the circuit breakers to the "ON" position.
- Do not overload the generator. The total wattage of connected devices must not exceed the generator's maximum output (10 kVA / 7.2 kVA).
5.3. Shutting Down the Generator
- Turn off and unplug all connected electrical devices.
- Flip all circuit breakers on the control panel to the "OFF" position.
- Turn the engine switch to the "OFF" position.
- Close the fuel valve.
- Allow the generator to cool completely before storing.
6. Maintenance
Regular maintenance is crucial for the longevity and optimal performance of your generator.
- Check Engine Oil: Check oil level before each use. Add oil if necessary.
- Change Engine Oil: Change the engine oil after the first 20 hours of operation, then every 50-100 hours or annually, whichever comes first.
- Clean/Replace Air Filter: Inspect the air filter every 50 hours or more frequently in dusty conditions. Clean or replace as needed.
- Check Spark Plug: Inspect the spark plug every 100 hours. Clean or replace if fouled or worn.
- Fuel System: Drain the fuel tank and carburetor if storing the generator for extended periods (more than 30 days) to prevent fuel degradation.
- General Cleaning: Keep the generator clean and free of debris. Ensure cooling vents are not blocked.
7. Troubleshooting
This section provides solutions to common operational issues.
| Problem | Possible Cause | Solution |
|---|---|---|
| Engine will not start | No fuel Engine oil level too low Choke not set correctly Spark plug fouled Engine switch OFF | Add fresh fuel Add engine oil to proper level Adjust choke Clean or replace spark plug Turn engine switch to ON |
| No power output | Circuit breaker tripped Overload Loose connections | Reset circuit breaker Reduce load Check and secure all connections |
| Engine runs rough | Stale fuel Dirty air filter Improper spark plug gap | Drain and refill with fresh fuel Clean or replace air filter Adjust or replace spark plug |
If the problem persists after attempting these solutions, please contact Kompak customer support.
8. Specifications
Key technical specifications for the Kompak KP-K10000TE-T Gasoline Generator.
| Feature | Detail |
|---|---|
| Model Name | KP-K10000TE-T |
| Brand | Kompak |
| Engine Type | 4-stroke |
| Displacement | 459 cc |
| Engine Power | 16 HP |
| Rated Power (400V) | 9.4 kVA |
| Rated Power (230V) | 6.75 kVA |
| Maximum Power (400V) | 10 kVA |
| Maximum Power (230V) | 7.2 kVA |
| Voltage | 400 V / 230 V |
| Fuel Type | Gasoline |
| Fuel Tank Capacity | 25 liters |
| Run Time (50% load) | 12.5 hours |
| Noise Level (7m, 75% load) | 72 dBA |
| Outlets | 1 x PCE5P (32A) / 1 x 16A (220V) |
| Product Dimensions (L x W x H) | 85 x 57 x 64 cm (approx.) |
| Weight | 95 kg |

Figure 8.1: Diagram showing the approximate dimensions of the Kompak KP-K10000TE-T Generator (Length: 85cm, Width: 57cm, Height: 64cm).
9. Warranty and Support
For warranty information, technical support, or to order replacement parts, please contact Kompak customer service. Keep your purchase receipt and the generator's serial number handy when contacting support.
Refer to the official Kompak website or your purchase documentation for the most up-to-date contact information and warranty terms.