Introduction
This manual provides instructions for the installation and maintenance of your sparefixd Door Seal Rubber Gasket, Model 840551. This product is designed as a replacement part for various Ariston oven and cooker models, ensuring efficient operation and heat retention.
Product Overview
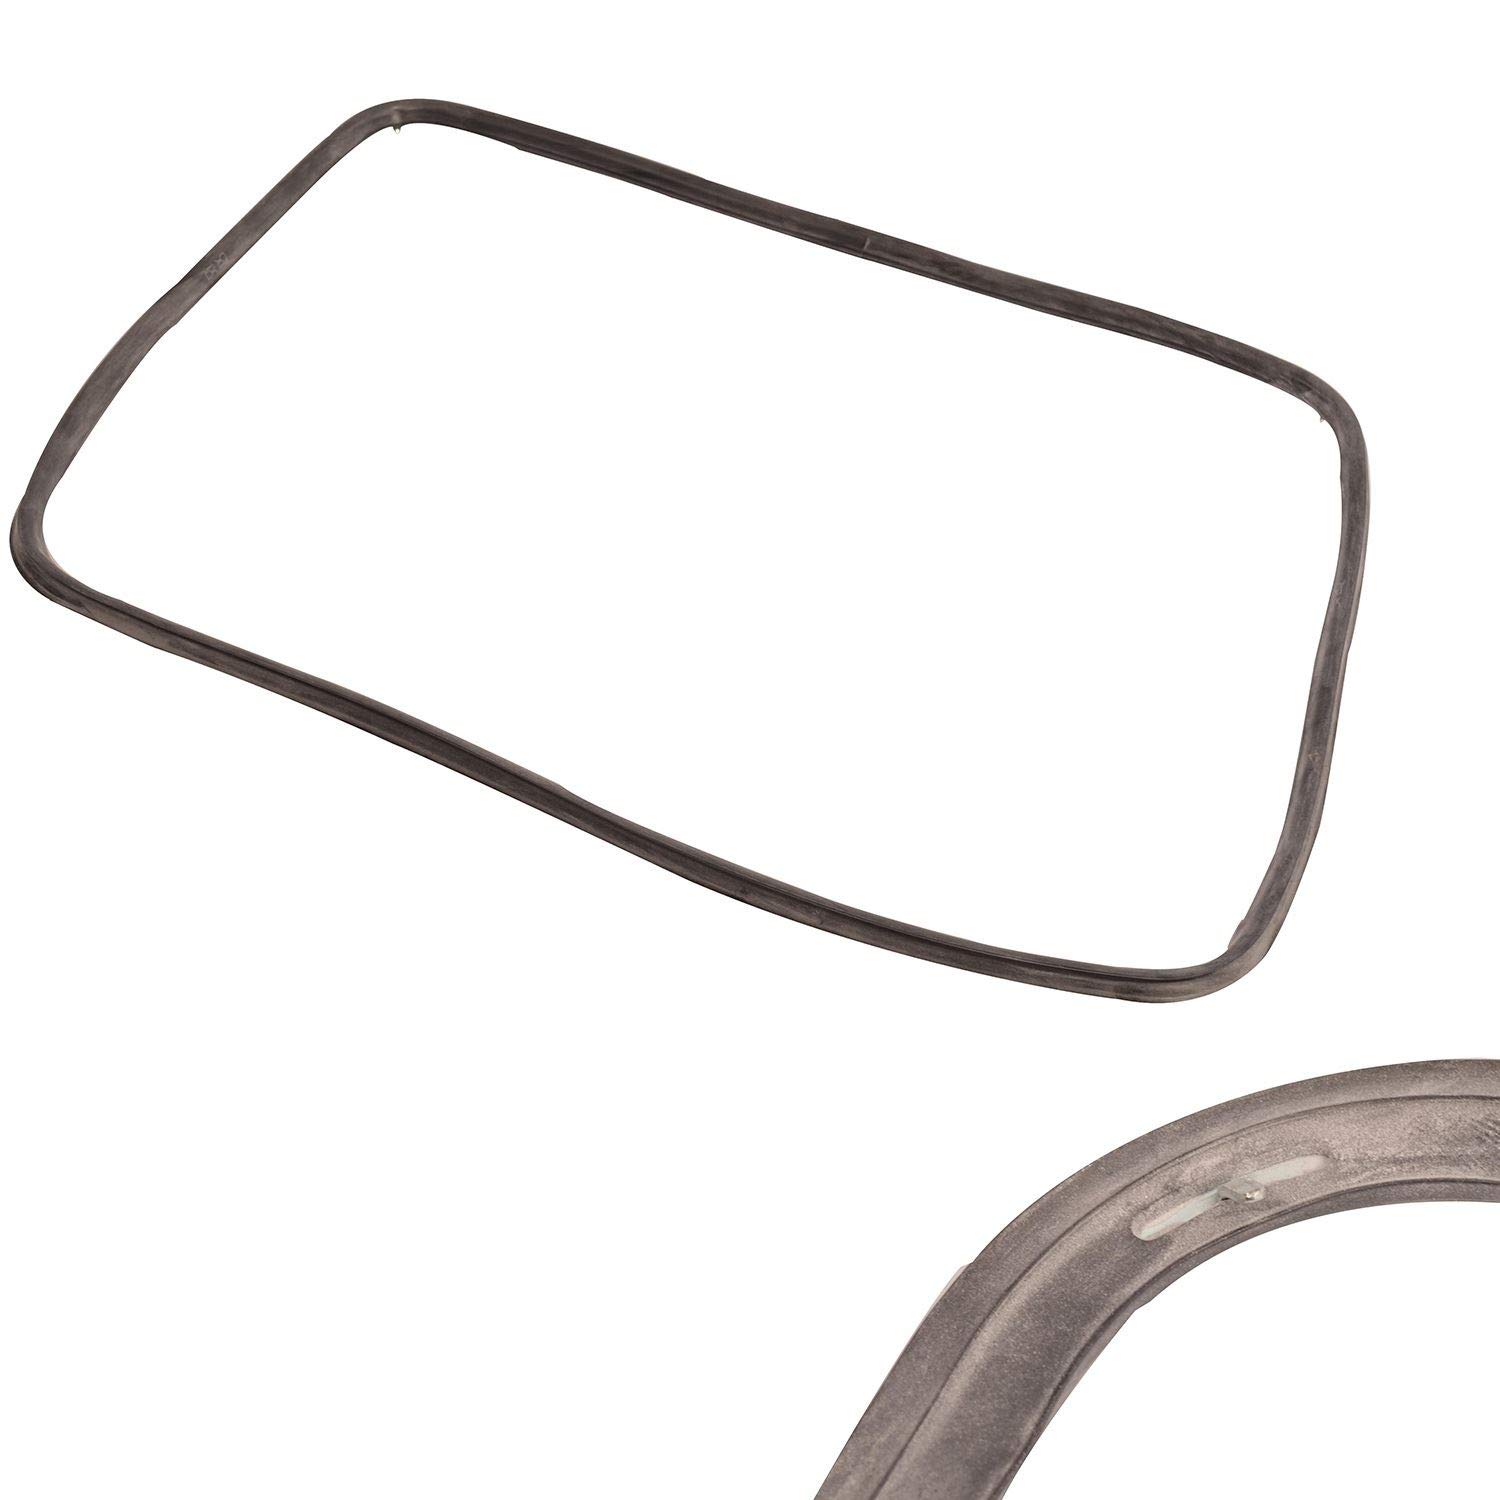
Image: sparefixd Oven Door Seal Rubber Gasket. This image shows the rubber gasket, typically black, with a flexible, rectangular shape designed to fit around an oven door frame.
The sparefixd Door Seal Rubber Gasket (Part Number 840551) is a crucial component for maintaining the thermal efficiency of your oven or cooker. It prevents heat from escaping, ensuring consistent cooking temperatures and energy efficiency. This gasket is a clip-on type, equivalent to part number 00081579.
Compatibility
This door seal is compatible with a wide range of Ariston oven and cooker models. Before installation, please verify your appliance's model number to ensure compatibility. The model number is typically found:
- For cookers and ovens: Inside the door on the main body of the cooker, often towards the bottom. It may be hidden behind the existing door seal.
- For separate hobs: On the underside of the hob. Access may require removing the oven from its unit if it is built-in.
Some compatible models include (but are not limited to):
C61P6(W)F, C61SM2(W)T, C61SP1(X)EU, C61SP6(X)T, C61ST6(W)T, C64G(W)EX, C64SG1(W)AG, C64SG1(W)B, C64SG1(W)EX, C64SG1(W)I, C64SG1(X)AG, C64SG1(X)I, C64SG1XEX, C64SG3(B)R, C64SG3(W)R, C64SG3(X)R, C64SM2(W)T, C64SN(W)T, C64SN1(W)I, C64SP4(W)IL, C64SP4(X)IL, C64ST(W)T, C65G1(W)F, C65P6XF, C65SP1(W)B, C65SP1(W)I, C65SP1(X)AG, C65SP1(X)I, C65SP2XB, C65SP4(W)R, C65SP4(X)R, C65SP6(W)U, C66SP6(A)U, C66SP6(W)NL, C66SP6(X)I, C66SP6(X)NL, C67SP2XI, C67SP6XNG, C6VM3(A)R, C6VM3(W)R, C6VM3(X)R, C6VP1(W)B, C6VP1(W)SK, C6VP1(X)SK, C6VP4(W)R, C6VP4(X)R, C6VP6(A)U, C6VP6(X)T, CE60N1(W)EX, CE60P1(W)GR, CE60P1(W)GR/HA, CE6VM3(A)R, CE6VM3(A)R/HA, CE6VM3(W)R, CE6VM3(W)R/HA, CE6VM3(X)NA, CE6VM3(X)R, CE6VM3(X)R/HA, CE6VM37(X)RU/HA, CE6VP4(X)R, CE6VP4(X)R/HA, CE6VP5(W)GR, CE6VP5(W)GR/HA, CE6VP5(X)GR, CE6VP5(X)GR/HA, CE6VP6(A)U, CE6VP6(A)U/HA, CE6VP6(W)EU, CE6VP6(W)EU/HA, CG640SG1(W)AG, CG640SG1(X)AG, CG64G(B)EX, CG64G(W)EX, CG64G1(B)EX, CG64G1(W)F, CG64G1(W)F/HA, CG64SG1(W)AG, CG64SG1(W)EX, CG64SG1(W)F/HA, CG64SG1(W)I, CG64SG1(W)I/HA, CG64SG1(W)UA/HA, CG64SG1(X)AG, CG64SG1(X)EX, CG64SG1(X)I, CG64SG1(X)I/HA, CG64SG3(W)R, CG64SG3(W)R/HA, CG64SG3(X)R, CG64SG3(X)R/HA, CG64SG37(W)RU/HA, CG64SG37(X)RU/HA, CG65SG1XUA/HA, CG65SG5XUA/HA, CJ65SG1(W)R/HA, CJ65SG17(W)RU/HA, CP647GT, CP647GT(T), CP6480MT2(X)F, CP648MT(T), CP648MT1, CP648MT2(T), CP648MT2B, CP649MD, CP649MD(X)AUS, CP649MD(X)AUS(T), CP649MD2, CP649MD2(X)NL, CP649MD2(X)NL(T), CP649MT(T), CP649MT(X)DK, CP649MT1, CP649MT2(T), CP64SM1(X)I, CP65SE9(C)/HA, CP65SG1/HA, CP65SP2/HA, CP65SP2L/HA, CP66SP6(X)NL/HA, CP6V8M(X)DE, CP757GT, CP757GT(IT), CP758MT, CP758MT1, CP758MT2(T), CP770SG1AG, CP77SG1/HA, CP77SG1AG, CP77SP2/HA, CX610ST(W)T/HA, CX61N1(X)CKD, CX61P6(W)F, CX61P6(W)F/HA, CX61SN1(X)EX, CX61SP6(W)F/HA, CX61SP6(X)T, CX61SP6(X)T/HA, CX640ST(W)T/HA, CX640SZ(W)T/HA, CX64SM2(W)T, CX64SM2(W)T/HA, CX64SP4(X)IL, CX64ST(W)T, CX64ST(W)T/HA, CX64ST(X)T, CX64ST6(W)T, CX64ST6(W)T/HA, CX650SP1(X)AG, CX65E9(W)F/HA, CX65E9XF, 7OF1039C1IXRU/HA, 7OF53C1IXRU/HA, 7OF627C1(AN)RU/HA, 7OF627CIXRU/HA, 7OF637CIXRU/HA, 7OF937C1(AN)RU/HA, 7OF937C1IXRU/HA, 7OF99C1IXRU/HA, 7OFD610(CH)RU/HA, 7OFD610(ICE)RU/HA, 7OFD610(MR)RU/HA, 7OFHG(WH)RU/HA, 7OFHGIXRU/HA, 7OFHRG(AN)RU/HA, 7OFHRG(OW)RU/HA, 7OFQ837C1(ICE)/HA, 7OFTR850(AN)RU/HA, 7OFTR850(OW)RU/HA, 7OFZGIXRU/HA, 7OH637C1IXRU/HA, 7OH837C1IXRU/HA, C60N1(W)EX, C60P1(W)SK230, C612SP6(X)T, C612SP6(X)U, C61N1(B)CKD, C61N1(X)CKD, C61P1(W)EX.
Installation Instructions
Safety First: Before beginning any installation, ensure your oven or cooker is completely disconnected from the power supply to prevent electrical shock.
- Prepare the Appliance: Open the oven door fully to access the existing door seal.
- Remove the Old Seal: Carefully unclip or unhook the old rubber gasket from the oven door frame. Note how the old seal was attached, as the new one will be installed similarly. Dispose of the old seal responsibly.
- Clean the Frame: Clean the area where the seal sits on the oven door frame. Remove any food debris, grease, or residue to ensure a proper fit for the new seal.
- Install the New Seal: Starting from one corner, carefully push the clips of the new sparefixd door seal into the corresponding holes or slots on the oven door frame. Work your way around the entire door, ensuring each clip is securely fastened. The seal should sit snugly and evenly around the door.
- Check the Fit: Once installed, gently close the oven door. The new seal should create a tight, even closure without any gaps. Open and close the door a few times to confirm it operates smoothly and the seal remains in place.
- Reconnect Power: Reconnect your oven or cooker to the power supply.
It is recommended to perform a visual inspection after the first few uses to ensure the seal remains properly seated.
Maintenance
Regular maintenance of your oven door seal will prolong its lifespan and maintain oven efficiency:
- Cleaning: Periodically wipe down the rubber seal with a damp cloth and mild detergent to remove food splatters and grease. Avoid harsh abrasive cleaners or solvents, as these can damage the rubber.
- Inspection: Regularly inspect the seal for any signs of wear, tears, hardening, or cracks. A damaged seal can lead to heat loss and inefficient cooking.
- Proper Door Closure: Ensure the oven door is always closed gently. Slamming the door can put undue stress on the seal and its clips, leading to premature wear.
Troubleshooting
| Problem | Possible Cause | Solution |
|---|---|---|
| Oven still losing heat after seal replacement. | Seal not installed correctly or not fully seated. | Re-check all clips to ensure they are securely fastened. Ensure the seal is evenly positioned around the door frame. |
| Door does not close properly or feels stiff. | Seal is twisted or improperly fitted. | Open the door and adjust the seal, ensuring it is not twisted and sits flat against the frame. |
| Seal appears loose or falls off. | Clips are not fully engaged or damaged. | Press firmly on each clip to ensure it snaps into place. If clips are damaged, the seal may need replacement. |
Specifications
- Brand: sparefixd
- Model Number: 840551
- Material: Rubber
- Equivalent to Part Number: 00081579
Warranty and Support
For warranty information or technical support, please refer to the original purchase documentation or contact sparefixd customer service through their official website or retailer where the product was purchased.