
1. Safety Information
Please read all safety warnings and instructions carefully before assembly and use. Failure to follow these instructions may result in injury or damage to the product.
- Assembly Caution: Use appropriate tools and seek assistance if necessary to avoid injuries.
- Ensure all components are securely fastened before use.
- Do not overload shelves or drawers. Refer to specifications for weight limits.
- Keep small parts away from children during assembly to prevent choking hazards.
- This product is heavy (approximately 66 kg). Always lift with assistance.
2. Setup and Assembly
This section provides detailed instructions for assembling your Inter Link Buffet Model 20904230. It is recommended to have at least two people for assembly.
2.1. Unpacking and Inventory
Carefully unpack all components and lay them out on a clean, soft surface to prevent scratches. Verify that all parts listed in the hardware and parts list (usually included in the packaging) are present. If any parts are missing or damaged, contact customer support.

Figure 2.1: The product may be shipped in multiple packages and delivered at different times. Ensure all packages are received before starting assembly.
2.2. Tools Required
- Phillips head screwdriver
- Hammer (for dowels)
- Measuring tape (optional, for placement)
- Level (optional, for stability)
2.3. Assembly Steps
- Assemble the Base Unit: Follow the numbered diagrams in your included assembly guide to connect the side panels, bottom panel, and back panel of the lower buffet section. Ensure all cam locks and screws are tightened securely.
- Install Drawers: Assemble the drawer boxes according to the instructions. Install the drawer slides onto the buffet frame and then insert the assembled drawers.
- Attach Lower Doors: Mount the hinges to the lower doors and then attach the doors to the base unit. Adjust hinges as needed for proper alignment.
- Assemble the Upper Hutch: Construct the upper hutch section, including shelves and side panels.
- Attach Upper Doors: Mount the hinges for the glass doors and attach them to the upper hutch. Ensure smooth operation.
- Secure Upper Hutch to Base: Carefully lift the assembled upper hutch and place it onto the base unit. Secure it using the provided fasteners to prevent tipping.
- Install Handles: Attach all handles to the drawers and doors.

Figure 2.2: The Inter Link Buffet Model 20904230 after complete assembly. This image shows the overall structure with upper glass cabinets, central drawers, and lower solid cabinets.

Figure 2.3: View of the buffet with all doors and drawers open, illustrating the internal storage capacity and adjustable shelves.

Figure 2.4: Detail of a cabinet door hinge, crucial for proper door function and alignment. Ensure these are installed correctly and tightened.
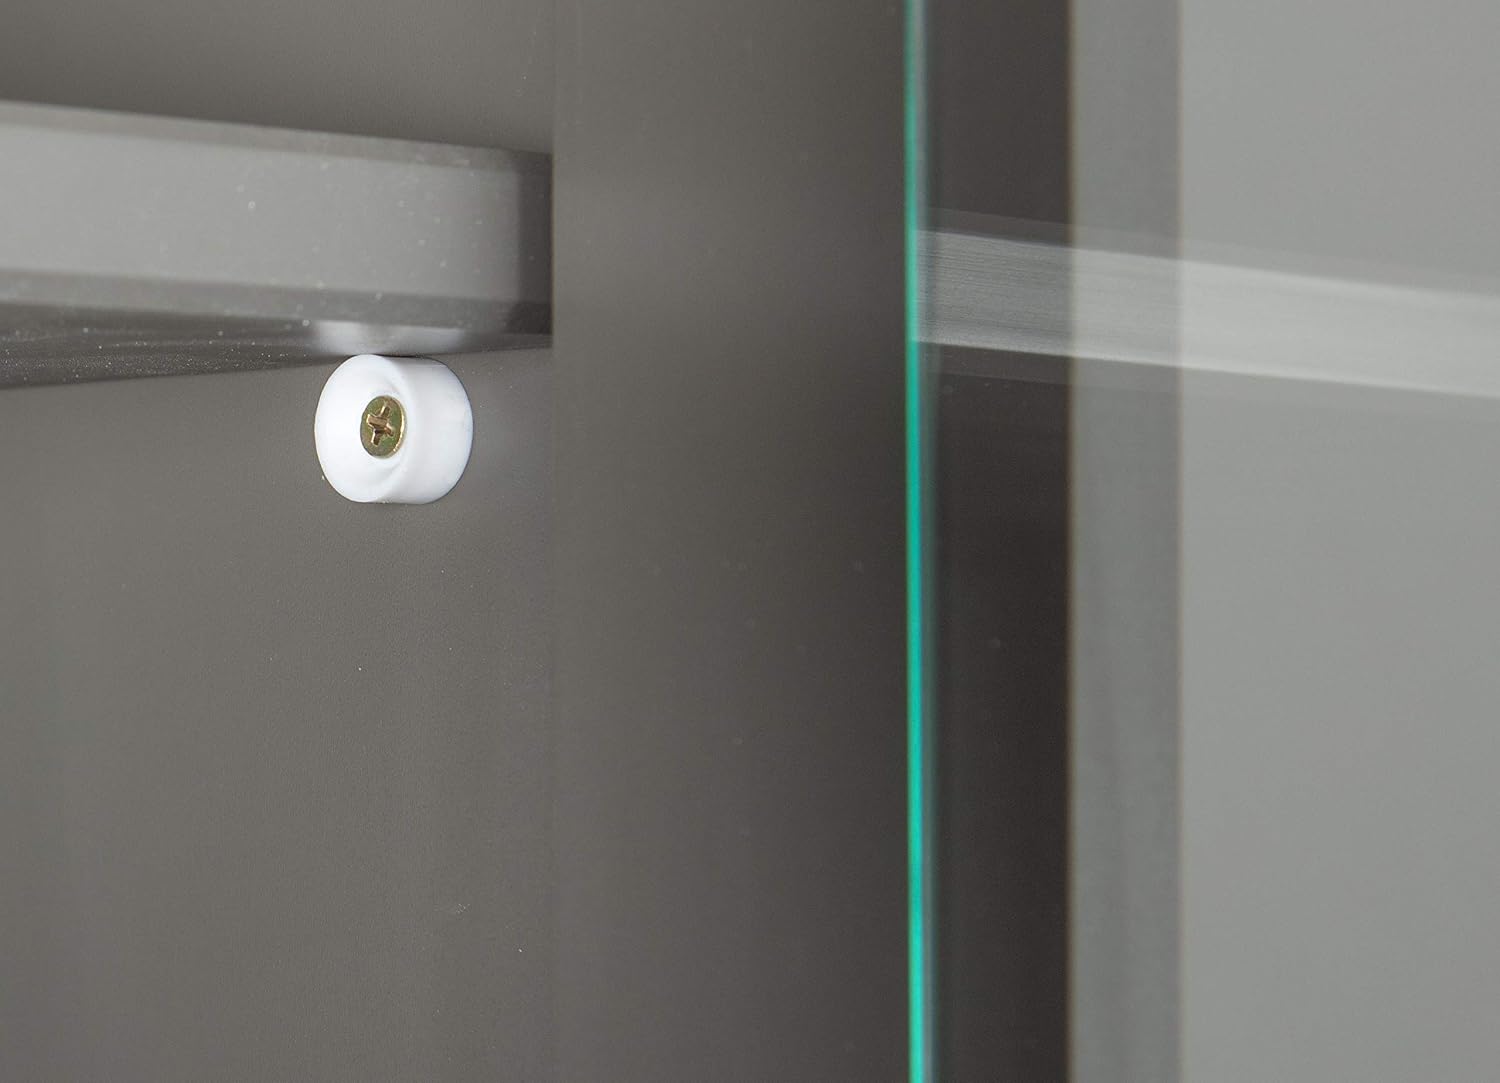
Figure 2.5: Detail of the roller mechanism for the sliding glass doors in the upper hutch. These rollers ensure smooth opening and closing.

Figure 2.6: Detail of the back panel design, which adds structural integrity and aesthetic finish to the buffet.
3. Operating Instructions
The Inter Link Buffet Model 20904230 is designed for storage and display. Follow these guidelines for optimal use.
3.1. Adjustable Shelves
The buffet features adjustable shelves in both the upper and lower cabinets. To adjust a shelf:
- Remove all items from the shelf.
- Carefully lift the shelf and remove the shelf pins from their current holes.
- Insert the shelf pins into the desired new holes, ensuring they are level.
- Place the shelf back onto the pins, ensuring it is stable before placing items on it.
3.2. Drawer and Door Usage
- Open and close drawers and doors gently to prevent wear and tear.
- Do not force drawers or doors if they feel stiff; check for obstructions or misalignment.
- Ensure doors are fully closed to protect contents from dust.
4. Care and Maintenance
Proper care will extend the life and appearance of your buffet.
4.1. Cleaning
- Wipe surfaces with a soft, damp cloth.
- Avoid abrasive cleaners, harsh chemicals, or excessive moisture, as these can damage the finish.
- For glass panels, use a standard glass cleaner and a lint-free cloth.
- Immediately wipe up any spills to prevent staining.
4.2. General Care
- Avoid placing hot items directly on the surface; use coasters or protective pads.
- Keep the buffet away from direct sunlight and heat sources to prevent fading or warping.
- Periodically check all screws and fasteners and tighten them if necessary to maintain stability.
5. Troubleshooting
This section addresses common issues you might encounter with your buffet.
| Problem | Possible Cause | Solution |
|---|---|---|
| Doors or drawers do not close properly. | Misaligned hinges, obstructions, or loose fasteners. | Check for obstructions. Adjust hinge screws for alignment. Tighten all fasteners. |
| Buffet feels wobbly or unstable. | Loose assembly screws or uneven floor. | Ensure all assembly screws are fully tightened. Use shims under the feet if the floor is uneven. |
| Scratches or minor damage to the finish. | Accidental impact or abrasive cleaning. | For minor scratches, use a furniture repair pen or touch-up kit matching the grey finish. |
6. Specifications
Detailed technical specifications for the Inter Link Buffet Model 20904230.
| Feature | Detail |
|---|---|
| Brand | Inter Link |
| Model Number | 20904230 |
| Color | Grey |
| Product Dimensions (L x W x H) | 131 x 45 x 190 cm (51.6 x 17.7 x 74.8 inches) |
| Item Weight | 66 Kilograms (145.5 lbs) |
| Maximum Weight Capacity | 66 Kilograms (Total, distributed evenly) |
| Special Feature | Adjustable Shelf |
| Mounting Type | Floor Mount |
| Style | 3 Doors (Lower Section) |
| Recommended Use | Dining Room, Dishware Storage |
7. Customer Support
For missing parts, assembly assistance, or warranty inquiries, please contact Inter Link customer service. Refer to your purchase documentation for specific contact details.
Note: Information regarding spare parts availability is currently unavailable. Please contact customer support for assistance with specific component needs.