1. Introduction
This manual provides instructions for the installation, operation, and maintenance of your LUXSWAY LED Spotlight Accent Light. This battery-operated spotlight is designed for indoor use to illuminate artwork, pictures, sculptures, and other decorative items. It features a rotatable head, dimmable brightness, and 12 color-changing options, controllable via a remote.

Image 1.1: LUXSWAY LED Spotlight Accent Light and its remote control.
2. Safety Information
- Read all instructions before use.
- This product is intended for indoor use only. Do not expose to moisture or extreme temperatures.
- Use only 3 AA batteries (not included). Do not mix old and new batteries, or different types of batteries.
- Remove batteries if the light will not be used for an extended period.
- Do not look directly into the LED light source when it is active.
- To prevent damage, do not overturn the light head beyond its specified rotation limits (160° up/down, 330° left/right).
3. Package Contents
Verify that all items are present in the package:
- 1 x Battery Operated Spotlight
- 2 x Screws
- 1 x User Manual
- Hook and loop tapes (pre-attached or included separately)
4. Product Features
- Light Output: 100 Lumens, 4000K warm white light.
- Power: 1.1W, DC 4.5V.
- Lifespan: LED with 30,000 hours lifespan.
- Adjustable Head: Pivots 160° up/down and turns 330° left/right.
- Dimmable: Adjustable brightness levels via remote control.
- Color Changing: 12 color options available.
- Timer Function: Optional auto-off timer for 1, 2, 3, or 4 hours.
- Power Source: Operates on 3 AA batteries (not included).
- Battery Run Time: Approximately 50 hours at full brightness.
- Installation: Easy to install with included hook and loop tapes or screws.
5. Setup
5.1 Battery Installation
- Locate the battery compartment on the underside of the light unit.
- Twist the battery cover counter-clockwise to open.
- Insert 3 AA batteries (not included) according to the polarity indicators (+/-).
- Replace the battery cover and twist clockwise to secure.
5.2 Mounting Options
The spotlight can be mounted using either hook and loop tapes or screws.
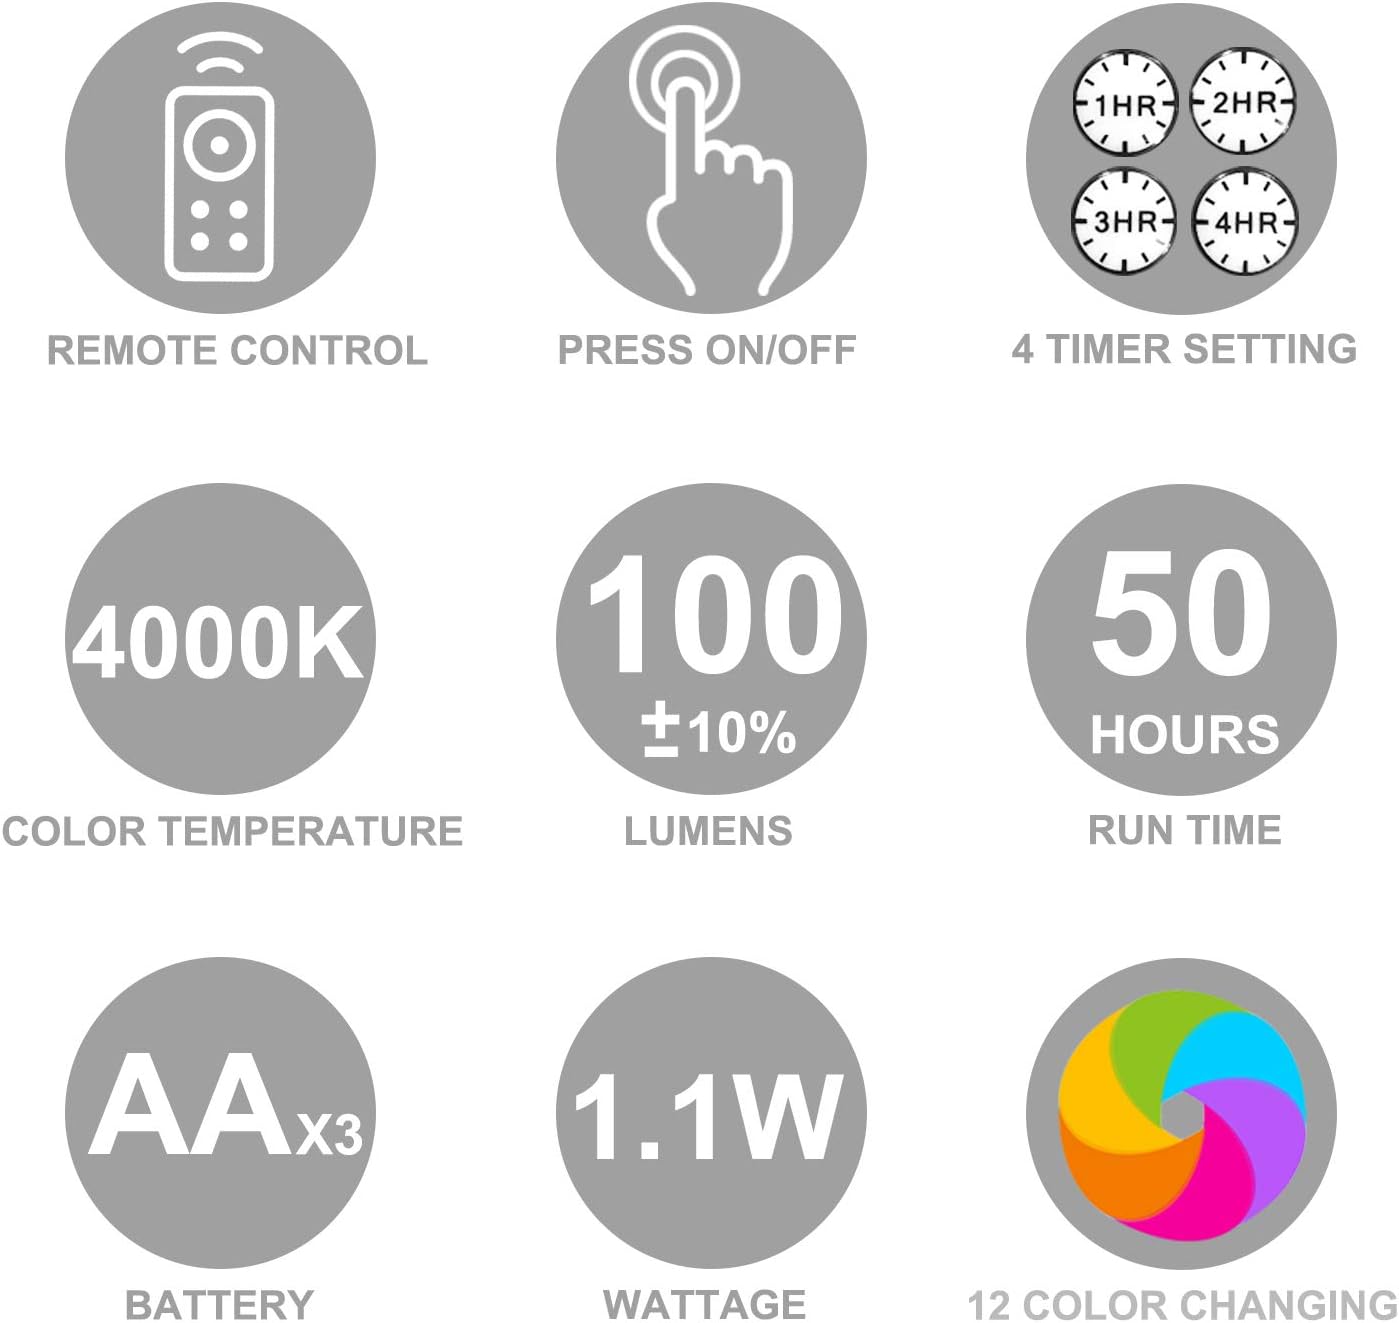
Image 5.1: Battery installation and mounting options.
Option 1: Hook and Loop Tape Mounting
- Ensure the mounting surface is clean and smooth.
- Peel the backing from the hook and loop tape (pre-attached to the light or included separately).
- Press the light firmly onto the desired surface for at least 5 seconds to ensure adhesion.
Option 2: Screw Mounting
- Remove the mount bracket from the bottom of the light unit.
- Use the mount bracket as a template to mark and drill two pilot holes in the desired mounting location.
- Insert the included screws into the pre-drilled holes. Do not tighten completely; leave approximately 0.5 inches (1.27 cm) of the screws exposed.
- Slide the mount bracket over the screws, ensuring the screw heads align with the wider part of the keyhole slots.
- Slide the bracket to the left or right so the screw necks are in the narrow parts of the keyhole slots.
- Tighten the screws until the bracket is secure against the surface. Do not overtighten.
- Attach the light unit to the secured mount bracket.
6. Operating Instructions
6.1 Power On/Off
- Manual Control: Press the button switch on the light unit to cycle through warm white, red, green, blue, and off.
- Remote Control: Press the 'ON' button to turn the light on or the 'OFF' button to turn it off.

Image 6.1: Manual button and remote control functions.
6.2 Brightness Adjustment
Using the remote control:
- Press the '+' button to increase brightness.
- Press the '-' button to decrease brightness.
6.3 Color Changing
The remote control offers 12 default colors. Press the corresponding color button (R, G, B, W, or other color icons) to select a specific color. The 'W' button activates warm white light.
Additional color modes:
- FLASH: 7 colors flashing in cycle.
- STROBE: 7 colors changing in cycle from bright to dim.
- FADE: 7 colors gradually changing.
- SMOOTH: 7 colors in cycle plus RGB color changing gradually.

Image 6.2: Remote control functions for brightness, color, and timer.
6.4 Timer Function
To set an automatic shut-off timer, press one of the timer buttons on the remote control:
- 1HR: Light turns off automatically after 1 hour.
- 2HR: Light turns off automatically after 2 hours.
- 3HR: Light turns off automatically after 3 hours.
- 4HR: Light turns off automatically after 4 hours.
6.5 Rotatable Head
The spotlight head can be adjusted to direct light precisely:
- Pivots 160° up and down.
- Turns 330° left or right.
Caution: Do NOT overturn the light heads beyond these limits to prevent damage to the unit.

Image 6.3: Rotational capabilities of the spotlight head.
7. Maintenance
- Clean the light unit with a soft, dry cloth. Do not use abrasive cleaners or solvents.
- Ensure the battery compartment is dry and free of debris.
- Replace batteries when the light appears dim or stops functioning.
8. Troubleshooting
- Light does not turn on:
- Check if batteries are inserted correctly with correct polarity.
- Replace with new AA batteries.
- Ensure the remote control battery is functional (if using remote).
- Light is dim:
- Batteries may be low. Replace all 3 AA batteries.
- Adjust brightness using the '+' button on the remote.
- Remote control not working:
- Ensure there is a clear line of sight between the remote and the light.
- Check or replace the remote control battery.
- Ensure the remote is within the effective range (approximately 20-26 feet).
- Light falls off after tape mounting:
- Ensure the surface was clean and smooth before application.
- Press firmly for 5 seconds during installation.
- Consider using screw mounting for a more secure attachment, especially on textured or uneven surfaces.
9. Specifications
| Brand | LUXSWAY |
| Model Number | Poster Spotlight |
| Light Source | LED |
| Brightness | 100 Lumens |
| Color Temperature | 4000K (Warm White) |
| Wattage | 1.1 Watts |
| Voltage | 4.5 Volts (DC) |
| Power Source | 3 x AA Batteries (not included) |
| Battery Run Time | Approx. 50 hours (at full brightness) |
| Lifespan | 30,000 hours |
| Dimensions (L x W x H) | 3.94" x 3.94" x 3.39" (10cm x 10cm x 8.6cm) |
| Item Weight | 5.5 Ounces (156g) |
| Material | Metal, Plastic |
| Indoor/Outdoor Usage | Indoor |
| Control Method | Remote Control, Push Button |
| UPC | 750226910453 |
10. Warranty and Support
Information regarding product warranty and customer support was not provided in the product details. Please refer to the product packaging or contact the manufacturer directly for warranty claims or technical assistance.