1. Introduction
This manual provides detailed instructions for the installation, maintenance, and troubleshooting of your NGOSEW Upper Knife (part number 131-50503) and Lower Knife (part number 131-50701) set. These knives are designed for compatibility with Juki MO-6700 Series and Juki MO-6140 Series overlock sewing machines. Proper installation and care ensure optimal cutting performance and extend the lifespan of your machine components.
2. Safety Information
Always prioritize safety when working with sewing machine components, especially sharp objects like knives. Failure to follow safety precautions may result in injury or damage to your machine.
- Disconnect Power: Always unplug your sewing machine from the power outlet before performing any maintenance, installation, or adjustment.
- Handle with Care: The knives are extremely sharp. Handle them carefully to prevent cuts. Use gloves if necessary.
- Eye Protection: Consider wearing safety glasses to protect your eyes from small parts or debris.
- Keep Away from Children: Store knives and small parts out of reach of children.
- Refer to Machine Manual: Consult your Juki sewing machine's original instruction manual for specific disassembly and assembly procedures related to your model.
3. Package Contents
Verify that all items are present and undamaged upon opening the package.
- 1 x NGOSEW Upper Knife (Part No. 131-50503)
- 1 x NGOSEW Lower Knife (Part No. 131-50701)
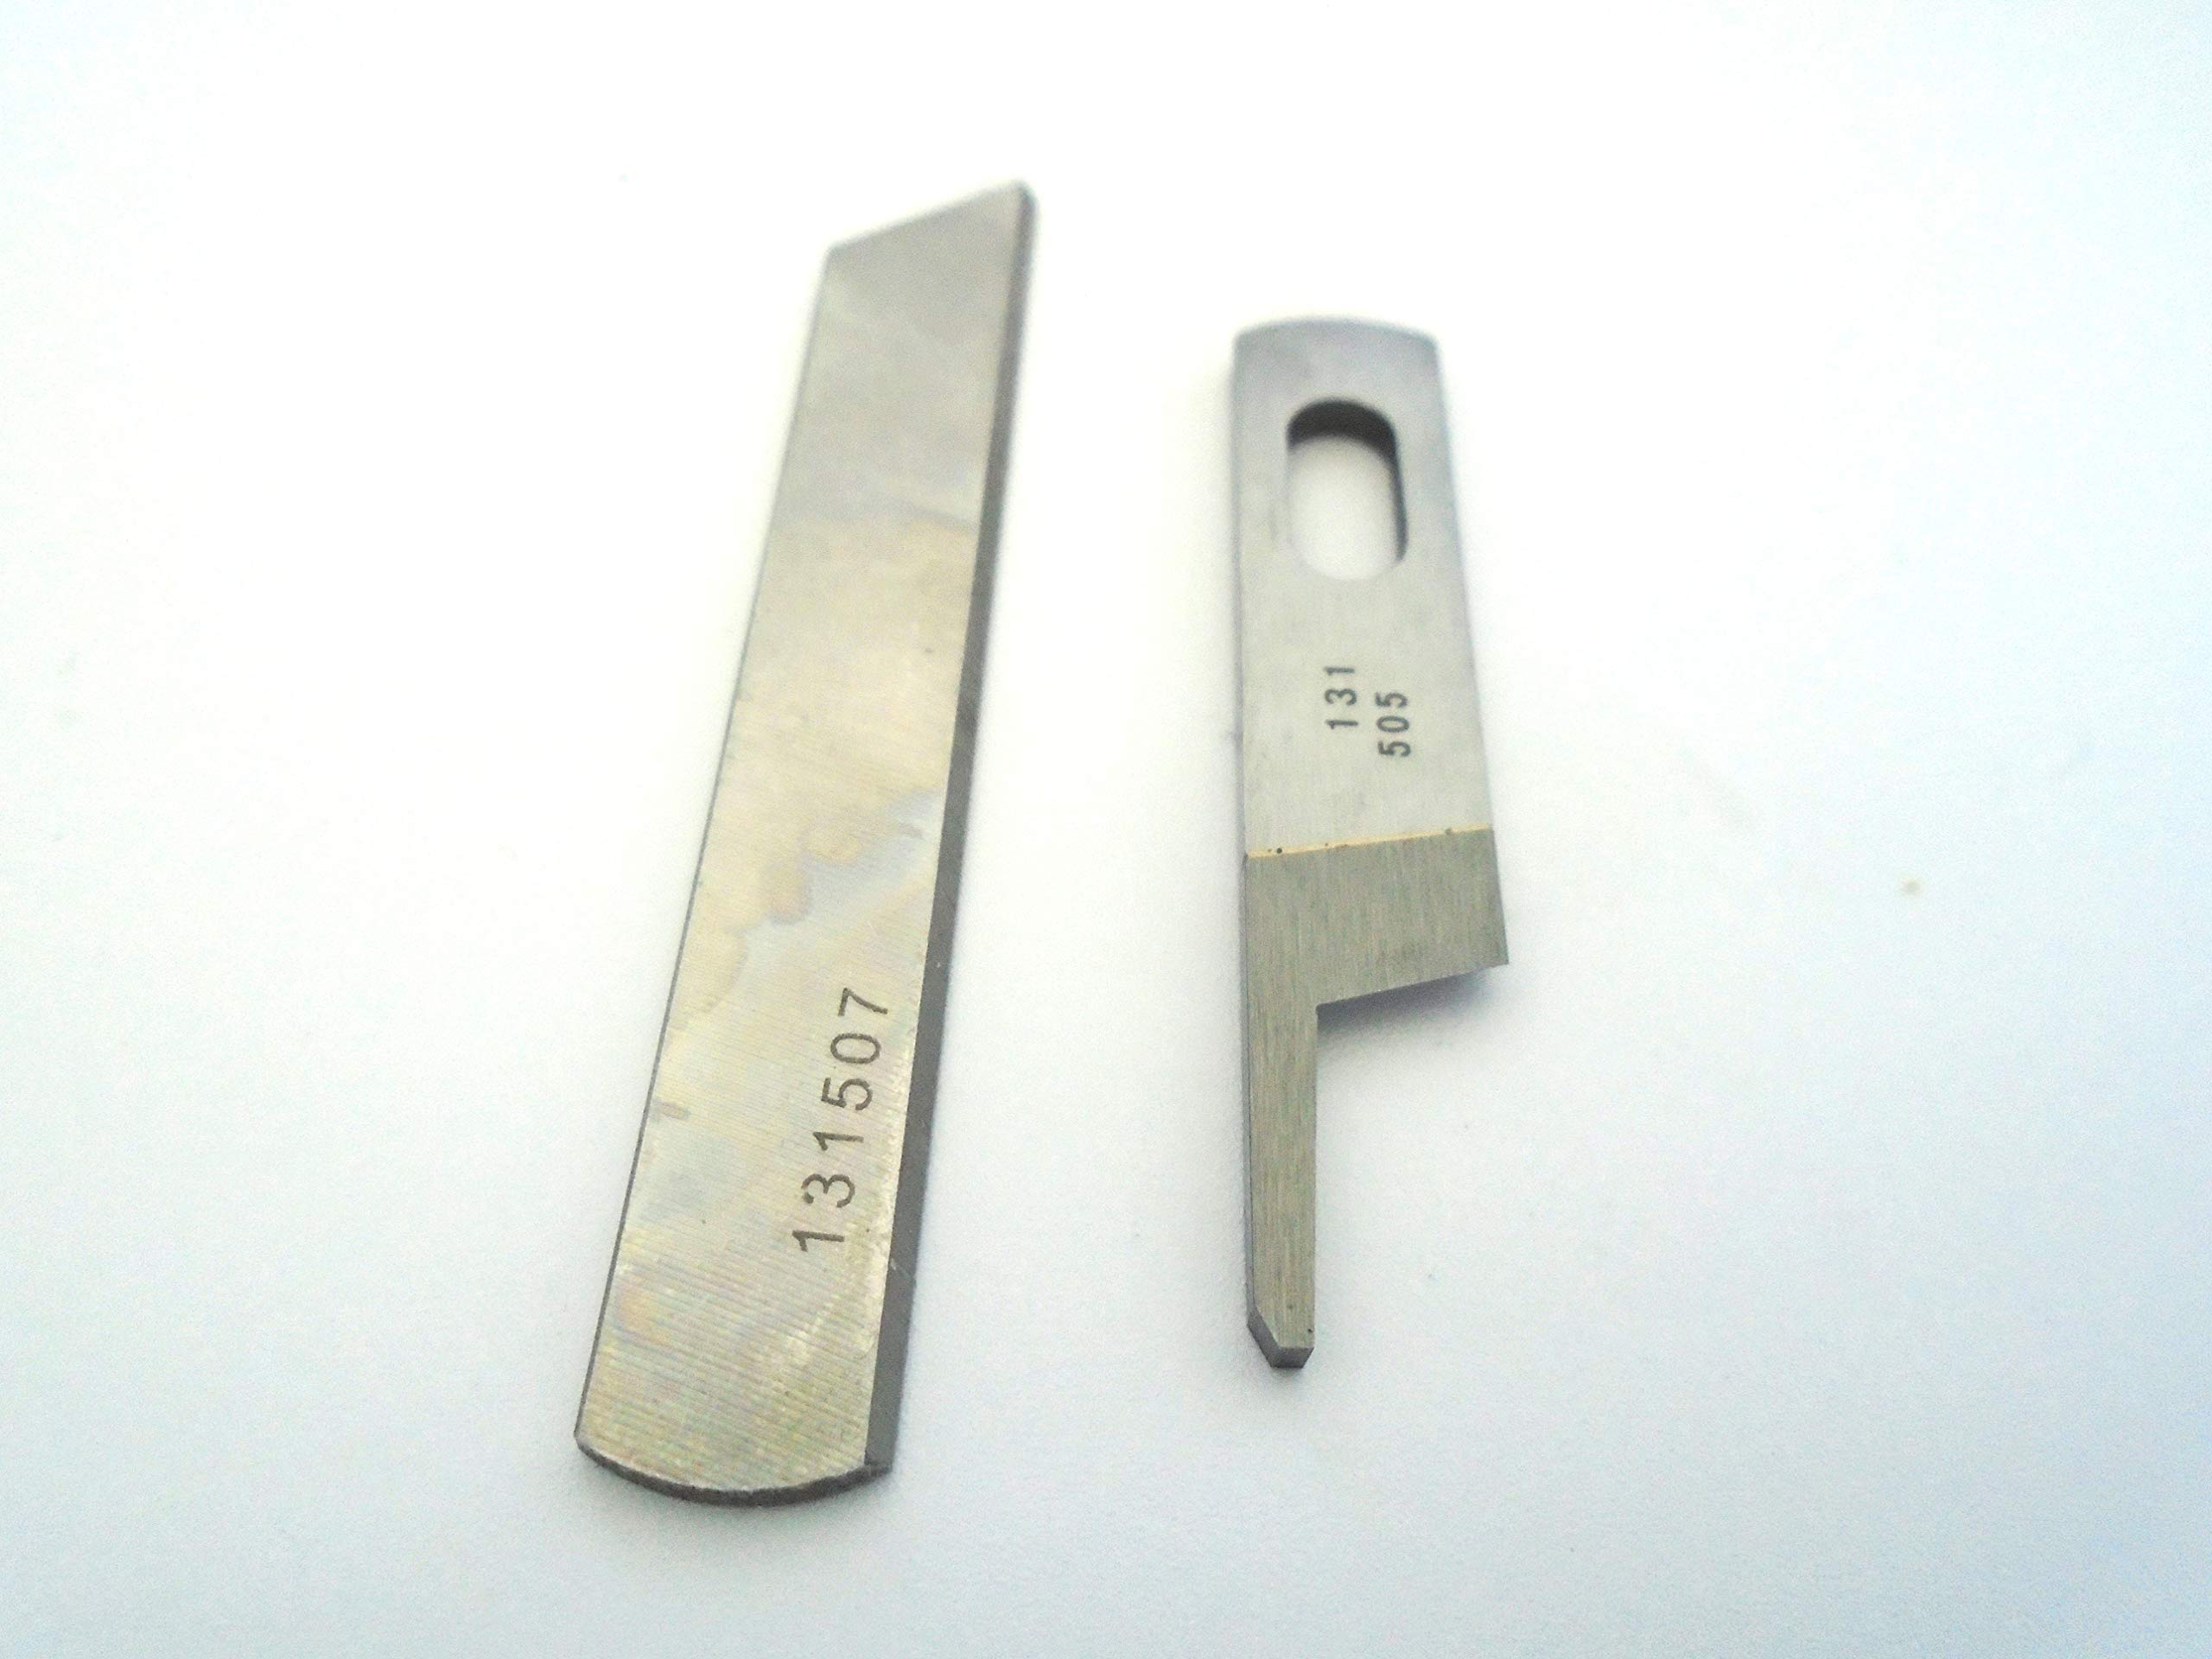
Image 1: The NGOSEW Upper Knife (131-50503) and Lower Knife (131-50701) set. The upper knife is typically the moving blade, and the lower knife is the stationary blade, working together to cut fabric edges.
4. Installation (Knife Replacement)
This section outlines the general steps for replacing the knives. Specific screw locations and access panels may vary slightly by Juki model. Always refer to your machine's specific manual for detailed instructions.
- Prepare the Machine:
- Ensure the machine is unplugged from the power source.
- Raise the presser foot and needle bar to their highest positions.
- Open the front and side covers of your overlock machine to access the knife mechanism.
- Remove the Old Lower Knife:
- Locate the lower knife. It is usually held in place by one or two screws.
- Using an appropriate screwdriver, carefully loosen and remove the screws securing the lower knife.
- Gently remove the old lower knife. Note its orientation for correct installation of the new knife.
- Install the New Lower Knife (131-50701):
- Position the new NGOSEW Lower Knife (131-50701) into its slot, ensuring it is correctly aligned.
- Insert and lightly tighten the retaining screws. Do not fully tighten yet, as adjustments may be needed.
- Remove the Old Upper Knife:
- Locate the upper knife, which is typically the moving blade. It is also secured by screws.
- Loosen and remove the screws holding the upper knife.
- Carefully remove the old upper knife.
- Install the New Upper Knife (131-50503):
- Position the new NGOSEW Upper Knife (131-50503) into its holder.
- Insert and lightly tighten the retaining screws.
- Adjust Knife Position and Gap:
- The upper and lower knives must meet precisely for clean cutting.
- Manually turn the handwheel to bring the upper knife down. The tip of the upper knife should pass very close to the cutting edge of the lower knife, ideally with a gap of 0.05mm to 0.1mm (0.002 to 0.004 inches).
- Adjust the position of both knives by slightly loosening their screws, moving them, and then re-tightening. Ensure the upper knife overlaps the lower knife by approximately 1mm to 2mm (0.04 to 0.08 inches) at the lowest point of its stroke.
- Refer to your Juki machine's manual for exact specifications on knife overlap and gap.
- Test Cutting:
- Once adjustments are made, fully tighten all screws.
- Close the machine covers.
- Plug in the machine and perform a test cut on a scrap piece of fabric. The cut should be clean and smooth without fraying.
- If cutting is not satisfactory, unplug the machine and re-adjust the knives.
5. Pre-Operation Check
Before each sewing session, especially after knife replacement or extended periods of non-use, perform these checks:
- Knife Sharpness: Visually inspect the knife edges for any nicks or dullness. Dull knives can lead to frayed edges and poor stitch quality.
- Knife Alignment: Ensure the upper and lower knives are correctly aligned and meet properly.
- Secure Fasteners: Check that all screws holding the knives are tight. Loose screws can cause misalignment and damage.
- Test Cut: Always perform a test cut on a scrap piece of fabric to confirm clean cutting before starting your project.
6. Maintenance
Regular maintenance extends the life of your knives and ensures consistent performance.
- Cleaning: After each use, use a small brush or lint-free cloth to remove fabric fibers and dust from around the knife area. Accumulated debris can hinder cutting performance.
- Oiling: Refer to your Juki machine's manual for specific oiling points around the knife mechanism. Use only recommended sewing machine oil.
- Replacement: Knives are wear-and-tear parts. Replace them when they become dull, nicked, or show signs of damage that affect cutting quality. The frequency of replacement depends on usage and fabric types.
7. Troubleshooting
If you encounter issues with fabric cutting, consider the following common problems and solutions:
| Problem | Possible Cause | Solution |
|---|---|---|
| Fabric not cutting cleanly / Frayed edges | Dull knives, incorrect knife alignment, loose knife screws, accumulated lint/debris. | Replace knives if dull. Re-adjust knife alignment (refer to Section 4). Tighten all knife screws. Clean the knife area thoroughly. |
| Knives making grinding noise | Knives are too close or rubbing excessively. | Unplug machine and re-adjust knife gap (refer to Section 4). Ensure proper spacing. |
| Fabric being pushed instead of cut | Knives are extremely dull or severely misaligned. | Replace knives. Perform a full knife alignment procedure. |
If problems persist after attempting these solutions, it is recommended to consult a qualified sewing machine technician or contact NGOSEW customer support.
8. Specifications
- Product Type: Overlock Machine Knife Set
- Upper Knife Part Number: 131-50503
- Lower Knife Part Number: 131-50701
- Brand: NGOSEW
- Compatibility: Juki MO-6104D, MO-6114D, MO-6116D, MO-6700S, MO-6704S, MO-6714S, MO-6716S, MO-6704D, MO-6714D, MO-6716D.
9. Warranty and Support
For information regarding product warranty, technical support, or to purchase replacement parts, please visit the official NGOSEW website or contact their customer service department. Keep your purchase receipt as proof of purchase.
NGOSEW Official Store: Visit NGOSEW Store on Amazon