1. Product Overview
The FosPower Emergency Weather Radio Model A3 is a versatile device designed for emergency preparedness and outdoor activities. It features NOAA/AM/FM radio reception, a powerful 14800mWh (4000mAh) internal power bank, and multiple charging options including USB-C, solar, and hand crank. Additional functions include an SOS alarm, a bright flashlight, and a reading light.
Key Features:
- 14800mWh (4000mAh) Power Bank: Provides extended radio operation and can charge external USB devices.
- Multiple Power Sources: Rechargeable via USB-C, hand crank, and solar panel.
- SOS Alarm: Activates a loud siren and flashing light for emergency signaling.
- Dual Light Sources: Includes a flashlight and a reading light with motion sensor functionality.
- NOAA Emergency Weather Broadcast Access: Receives local weather information and hazard alerts.
- AM/FM Radio: Full access to standard AM and FM radio broadcasts.

Figure 1: FosPower Emergency Weather Radio Model A3. This image displays the radio with its solar panel open, hand crank visible, flashlight illuminated, and a smartphone connected for charging.
2. Package Contents and Components
Package Contents:
- FosPower Emergency Weather Radio (Model A3)
- USB-C Charging Cable
- User Manual
Key Components:
- Antenna: Extendable for improved radio reception.
- Solar Panel: For supplementary charging in sunlight.
- Hand Crank: For manual power generation.
- Flashlight: Integrated light source.
- Reading Light: Panel light, often with motion sensor.
- SOS Button: Activates emergency alarm.
- Volume Knob: Controls audio output and powers the unit on/off.
- Tuning Knob: Adjusts radio frequency.
- Band Selector: Switches between AM, FM, and WB (Weather Band).
- USB-C Input Port: For charging the radio.
- USB-A Output Port: For charging external devices.
- Headphone Jack: For private listening.
3. Initial Setup
3.1 Charging the Radio
Before first use, it is recommended to fully charge the radio's internal 14800mWh (4000mAh) battery using the USB-C port.
- USB-C Charging: Connect the provided USB-C cable to the radio's USB-C input port and the other end to a standard USB power adapter (not included) or a computer USB port. The charging indicator will illuminate.
- Hand Crank Charging: Rotate the hand crank clockwise or counter-clockwise at a steady pace (approximately 130-150 RPM) for 3-5 minutes to generate sufficient power for initial operation or to extend battery life.
- Solar Panel Charging: Place the radio with the solar panel facing direct sunlight. This method is primarily for maintaining battery charge or for emergency power generation, and is slower than USB-C charging.

Figure 2: Multiple Power Sources. This diagram highlights the USB, hand crank, and solar panel charging options for the radio.
4. Operating Instructions
4.1 Powering On/Off and Volume Control
To power on the radio, rotate the Volume Knob clockwise from the 'OFF' position. Continue rotating to increase the volume. To power off, rotate the Volume Knob counter-clockwise until it clicks into the 'OFF' position.
4.2 Radio Tuning (AM/FM/NOAA)
- Extend Antenna: For optimal reception, fully extend the telescopic antenna.
- Select Band: Use the Band Selector switch to choose between 'AM', 'FM', or 'WB' (Weather Band).
- Tune Station: Rotate the Tuning Knob to scan for desired radio stations or NOAA weather channels. The tuning indicator light will illuminate when a strong signal is detected.
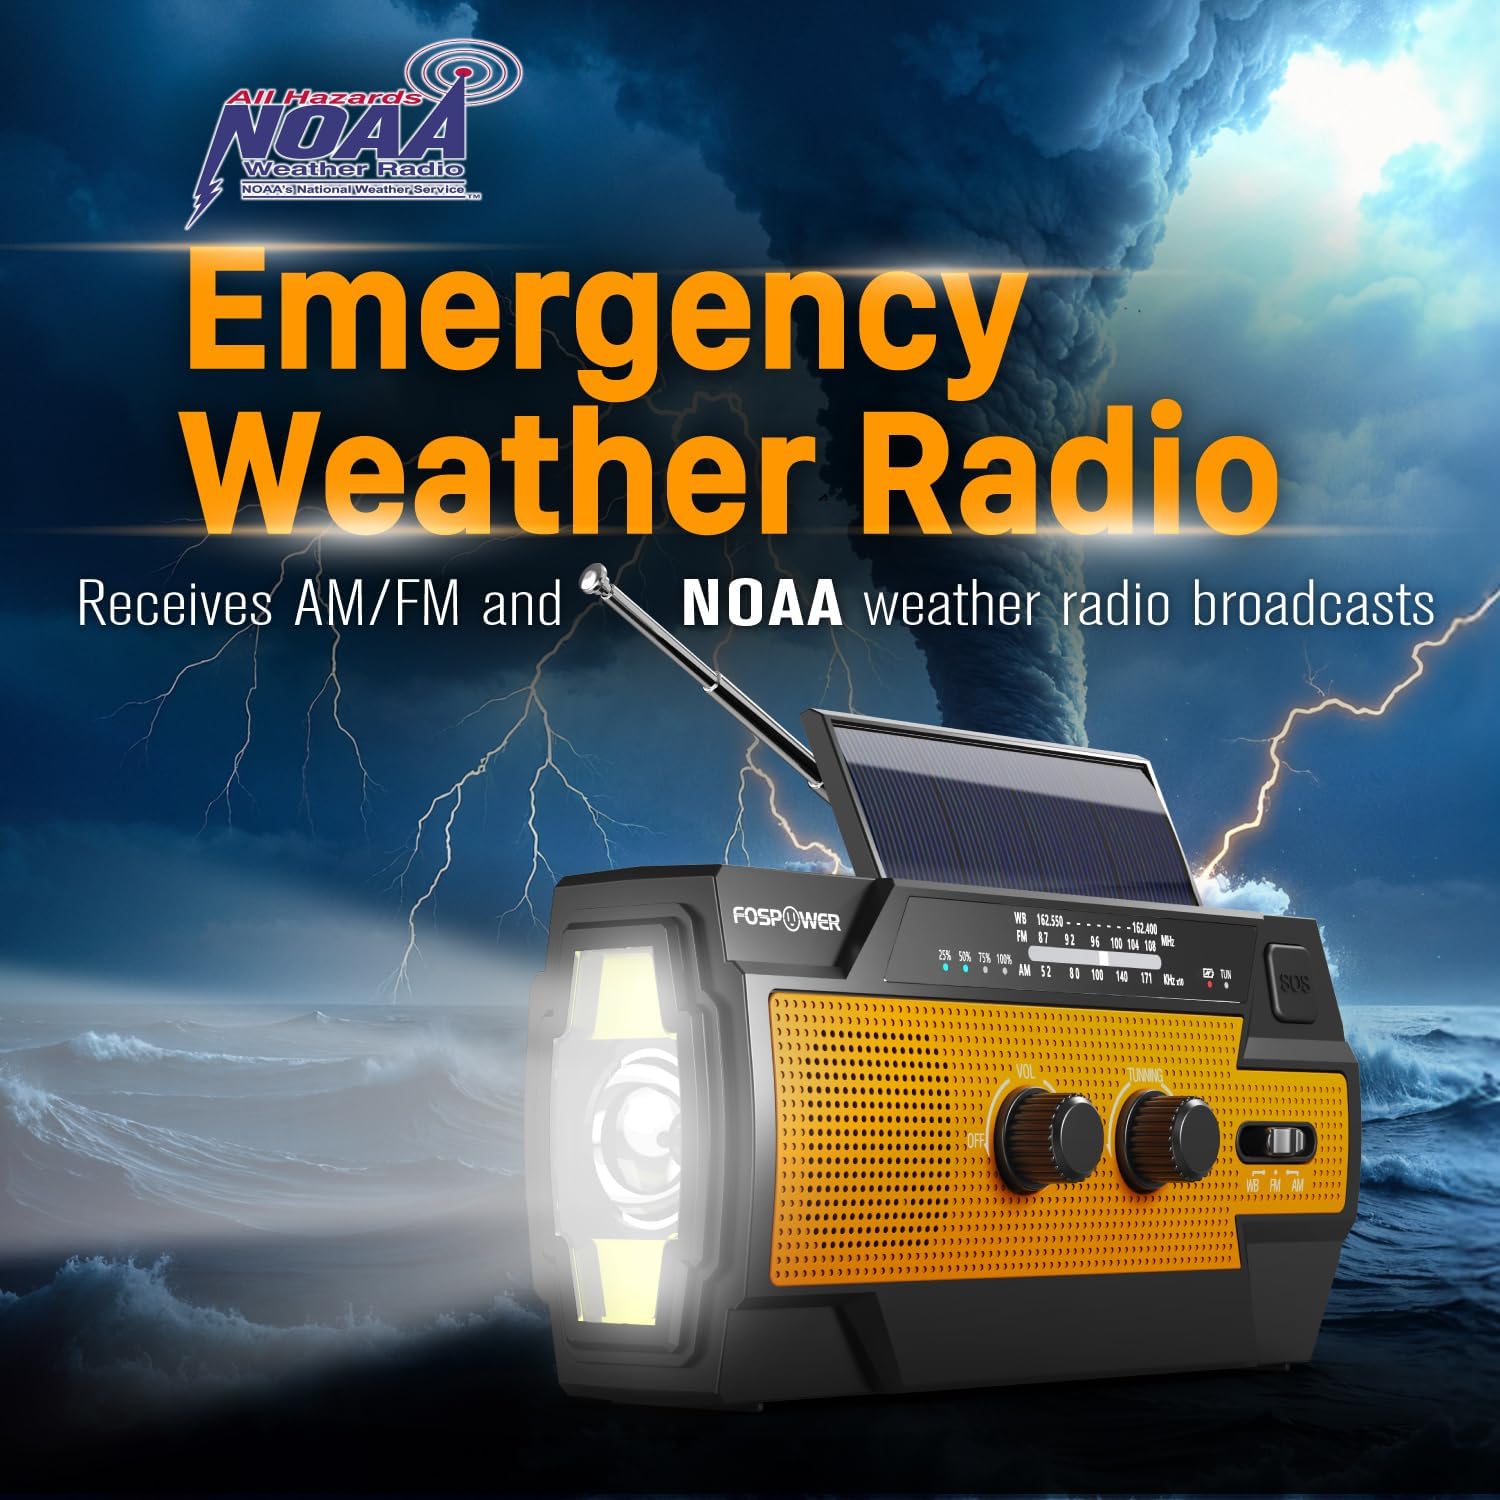
Figure 3: Emergency Weather Radio Function. This image shows the radio against a stormy background, emphasizing its ability to receive AM/FM and NOAA weather broadcasts.
4.3 Flashlight Operation
The integrated flashlight offers multiple modes:
- Press the flashlight button once for Full Mode (maximum brightness).
- Press again for Far Mode (focused beam).
- Press a third time for Wide Mode (broader illumination).
- Press a fourth time to turn the flashlight off.

Figure 4: Flashlight Settings. This image illustrates the three distinct flashlight modes available on the radio.
4.4 Reading Light Operation
The reading light provides illumination for close-range tasks:
- Slide the reading light switch to the 'LIGHT' position for constant illumination.
- Slide the switch to the 'AUTO' position to activate the motion sensor. The light will turn on when motion is detected and turn off after approximately 30 seconds of no motion.

Figure 5: Reading Light Modes. This image shows the reading light in operation, highlighting its constant and motion-activated settings.
4.5 SOS Alarm Function
In an emergency, activate the SOS alarm to attract attention:
- Press and hold the SOS Button to activate a loud siren and a flashing light.
- Release the button to deactivate the alarm.
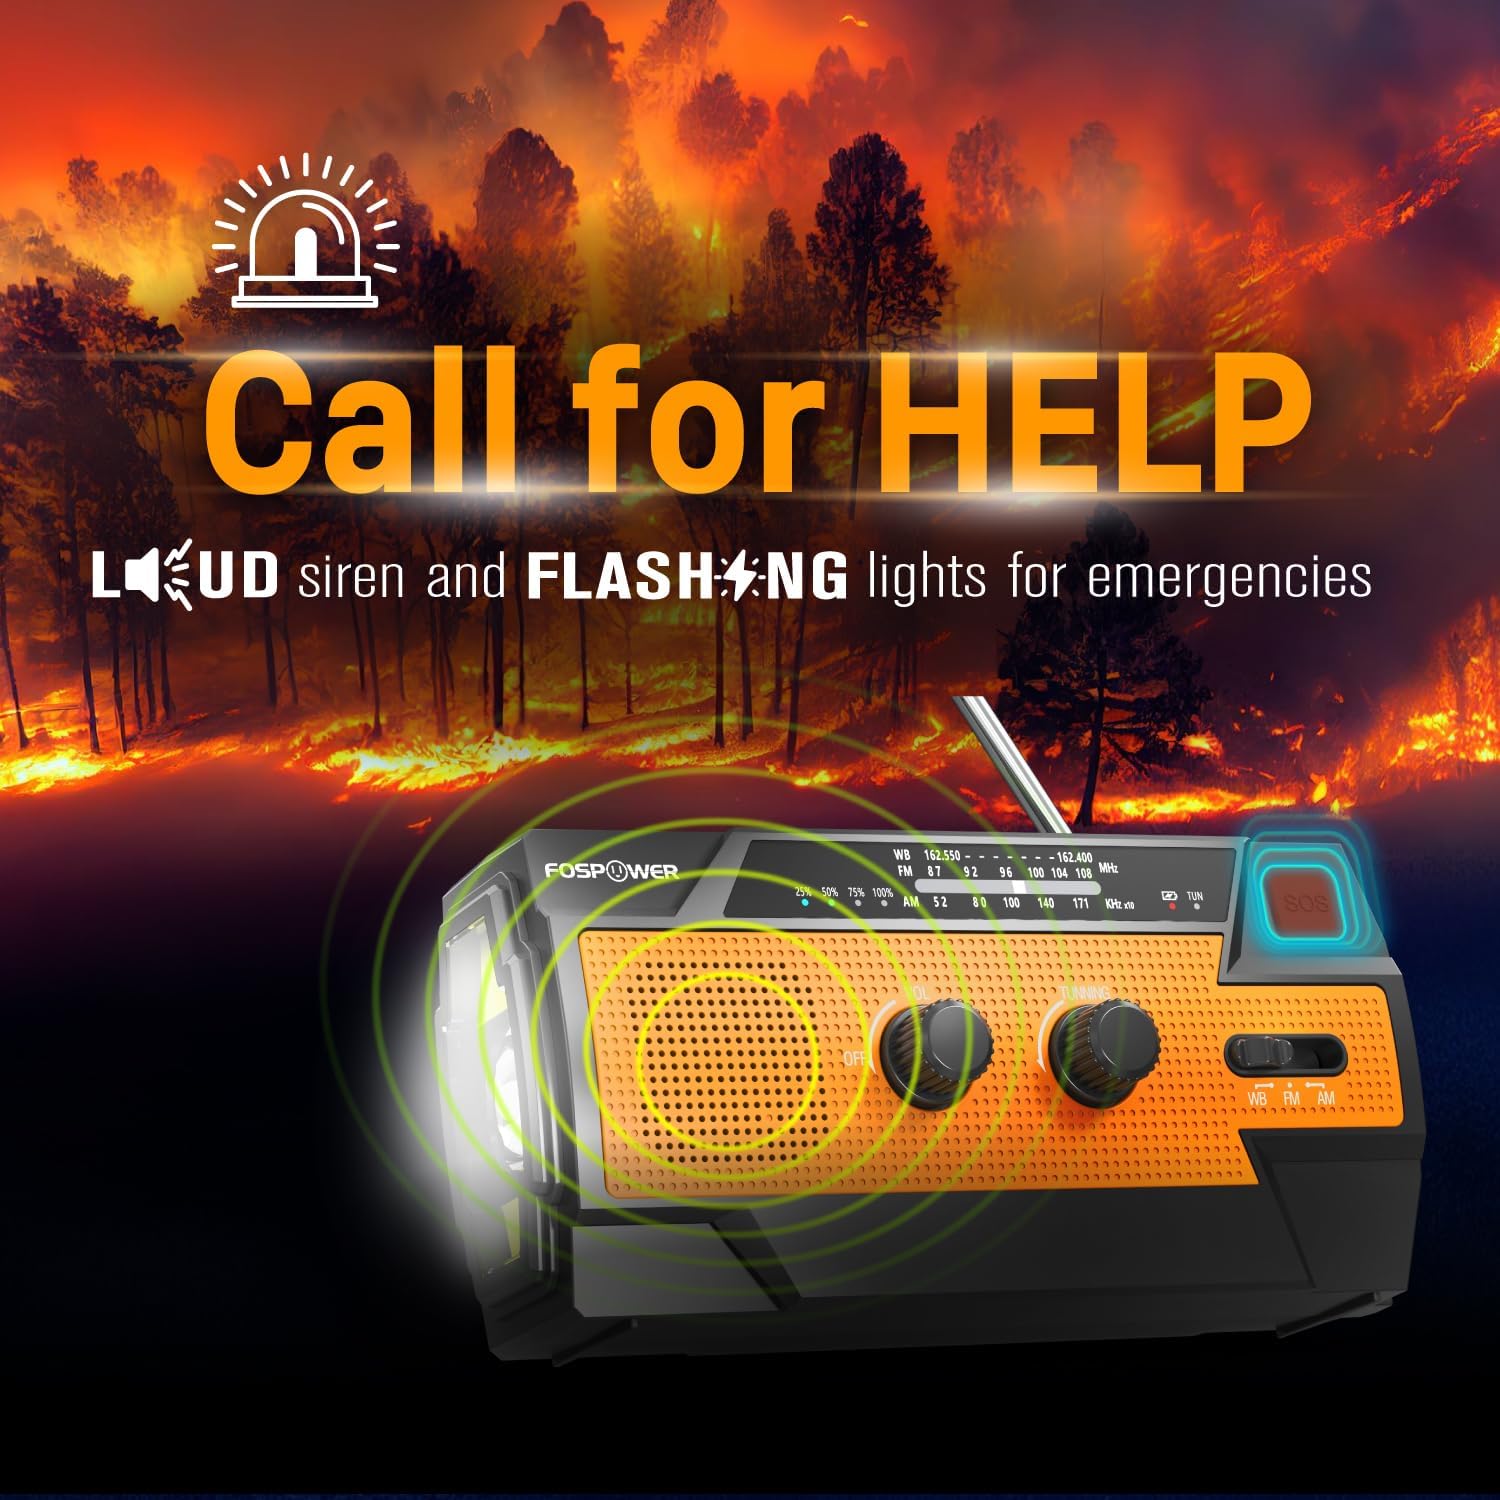
Figure 6: SOS Alarm Activation. This image depicts the radio emitting a loud siren and flashing lights, indicating the SOS function is active.
4.6 Using as a Power Bank
The radio's internal battery can be used to charge external USB devices:
- Connect your smartphone, tablet, or other USB-powered device to the radio's USB-A Output Port using your device's charging cable.
- The radio will begin charging the connected device. Monitor the radio's battery indicator to ensure sufficient charge remains for its own operation.

Figure 7: Power Bank Function. This image shows the radio charging a smartphone on a wooden table outdoors, demonstrating its 14800mWh power bank capability.
5. Care and Maintenance
- Cleaning: Wipe the radio with a soft, damp cloth. Do not use harsh chemicals or abrasive cleaners.
- Storage: Store the radio in a cool, dry place away from direct sunlight and extreme temperatures. For long-term storage, ensure the battery is partially charged (around 50%) and recharge every 3-6 months to prevent deep discharge.
- Water Resistance: The radio is IPX3 water resistant, meaning it can withstand spraying water. Do not submerge the radio in water.

Figure 8: IPX3 Water Resistance. This image shows the radio in a light rain shower, illustrating its IPX3 water-resistant design suitable for harsh environments.
6. Troubleshooting
| Problem | Possible Cause | Solution |
|---|---|---|
| Radio does not turn on. | Battery is depleted. | Charge the radio via USB-C, hand crank, or solar panel. |
| Poor radio reception. | Antenna not extended, weak signal, interference. | Fully extend the telescopic antenna. Move to an open area away from obstructions. Fine-tune the tuning knob. |
| Flashlight/Reading light not working. | Battery is low, incorrect mode selected. | Charge the radio. Ensure the correct light mode (Full, Far, Wide for flashlight; Light, Auto for reading light) is selected. |
| External device not charging from radio. | Radio battery is low, cable issue, device incompatibility. | Ensure the radio has sufficient charge. Check the USB cable connection. Try a different USB cable or device. |
| Hand crank is stiff or difficult to turn. | Possible obstruction or internal issue. | Ensure there are no physical obstructions. Turn the crank smoothly and avoid excessive force. If problem persists, contact customer support. |
| Solar charging is slow or ineffective. | Insufficient sunlight, dirty solar panel. | Place the radio in direct, strong sunlight. Clean the solar panel surface with a soft cloth. Note that solar charging is supplementary. |
7. Product Specifications
| Feature | Specification |
|---|---|
| Model Number | FOSPWB-2402 |
| Product Dimensions | 6.23"L x 2.48"W x 3.19"H (15.82 x 6.30 x 8.10 cm) |
| Item Weight | 1.06 pounds (0.48 kg) |
| Power Source | Solar, Battery (14800mWh internal), Handcrank |
| Battery Capacity | 14800mWh (4000mAh) |
| Radio Bands Supported | AM, FM, WB (Weather Band) |
| Connectivity Technology | USB C (Input), USB A (Output) |
| Special Feature | Portable, Power Bank, SOS Alarm, Flashlight, Reading Light |
| Water Resistance | IPX3 |

Figure 9: Product Dimensions. This diagram provides the exact measurements of the FosPower Emergency Weather Radio.
8. Warranty and Customer Support
Limited Lifetime Warranty
FosPower products are backed by a limited lifetime warranty. This warranty covers defects in materials and workmanship under normal use. Please refer to the official FosPower website or your purchase documentation for full warranty terms and conditions.
Customer Support
For any questions, technical assistance, or warranty claims, please contact FosPower's dedicated USA-based customer service team. Contact information can typically be found on the product packaging or the official FosPower website.
You can also visit the FosPower Store on Amazon for more information and product updates.


