1. Introduction
This manual provides detailed instructions for the safe and efficient operation, setup, and maintenance of your LRT 8586 2-in-1 Soldering Iron Hot Air Station. This unit is designed for SMD rework and desoldering applications, offering both a soldering iron and a hot air gun in a single compact device. Please read this manual thoroughly before using the product to ensure proper function and safety.
2. Safety Information
Always observe the following safety precautions to prevent injury or damage to the equipment.
- Ensure the power supply voltage matches the unit's requirements (110V).
- Do not operate the station in damp or wet conditions.
- Keep the work area well-ventilated to avoid inhaling fumes from soldering.
- The soldering iron tip and hot air nozzle reach very high temperatures. Avoid direct contact with skin.
- Always place the hot air gun in its holder and the soldering iron in its stand when not in use. The unit features an automatic cool-down and stoppage function when the hot air gun is placed back in its holder.
- Wear appropriate personal protective equipment, including safety glasses.
- Disconnect power before performing any maintenance or when the unit is not in use.
3. Product Components
The LRT 8586 station includes the following main components:
- Main Control Unit (with digital LED display)
- Hot Air Gun
- Soldering Iron
- Soldering Iron Stand with Cleaning Sponge
- Hot Air Nozzles (various sizes)
- Tweezers

Figure 3.1: Overview of the LRT 8586 2-in-1 Soldering Iron Hot Air Station.

Figure 3.2: Complete LRT 8586 kit with included accessories.
4. Setup
- Unpacking: Carefully remove all components from the packaging. Inspect for any damage.
- Placement: Place the main control unit on a stable, heat-resistant surface in a well-ventilated area. Ensure sufficient space around the unit for air circulation.
- Connect Hot Air Gun: Connect the hot air gun cable to the designated port on the front panel of the main unit. Secure it by tightening the connector. Place the hot air gun in its side holder.
- Connect Soldering Iron: Connect the soldering iron cable to the designated port on the front panel. Secure it by tightening the connector. Place the soldering iron in its stand.
- Prepare Soldering Iron Stand: Insert the cleaning sponge into the soldering iron stand. Dampen the sponge slightly with water before use.
- Power Connection: Ensure the power switch on the back of the unit is in the OFF position. Connect the power cord to the unit's power inlet and then to a grounded 110V AC outlet.

Figure 4.1: Rear view of the main unit with power input and switch.
5. Operating Instructions
The LRT 8586 features independent controls for the hot air gun and soldering iron.
5.1. Control Panel Overview

Figure 5.1: Front control panel of the LRT 8586 station.
- Digital LED Display: Shows the current temperature for the selected tool.
- Temperature Adjustment Buttons (Up/Down): Used to set the desired temperature.
- Air Flow Control Knob: Adjusts the hot air gun's airflow intensity.
- Soldering Iron Temperature Control Knob: Adjusts the soldering iron's temperature.
- Power Switches: Separate switches for the hot air station and soldering station.
5.2. Hot Air Gun Operation
- Power On: Flip the "SMOREWORK STATION" power switch to ON. The LED display will show the current hot air temperature.
- Set Temperature: Use the Up/Down buttons to set the desired temperature. The unit heats rapidly, reaching the set temperature within 3-5 seconds.
- Adjust Air Flow: Rotate the "AIR" knob to adjust the airflow. Start with a lower setting and increase as needed. The brushless fan ensures low noise and gentle blowing, preventing deformation of plastic components.
- Operation: Remove the hot air gun from its holder. The unit will automatically begin heating to the set temperature.
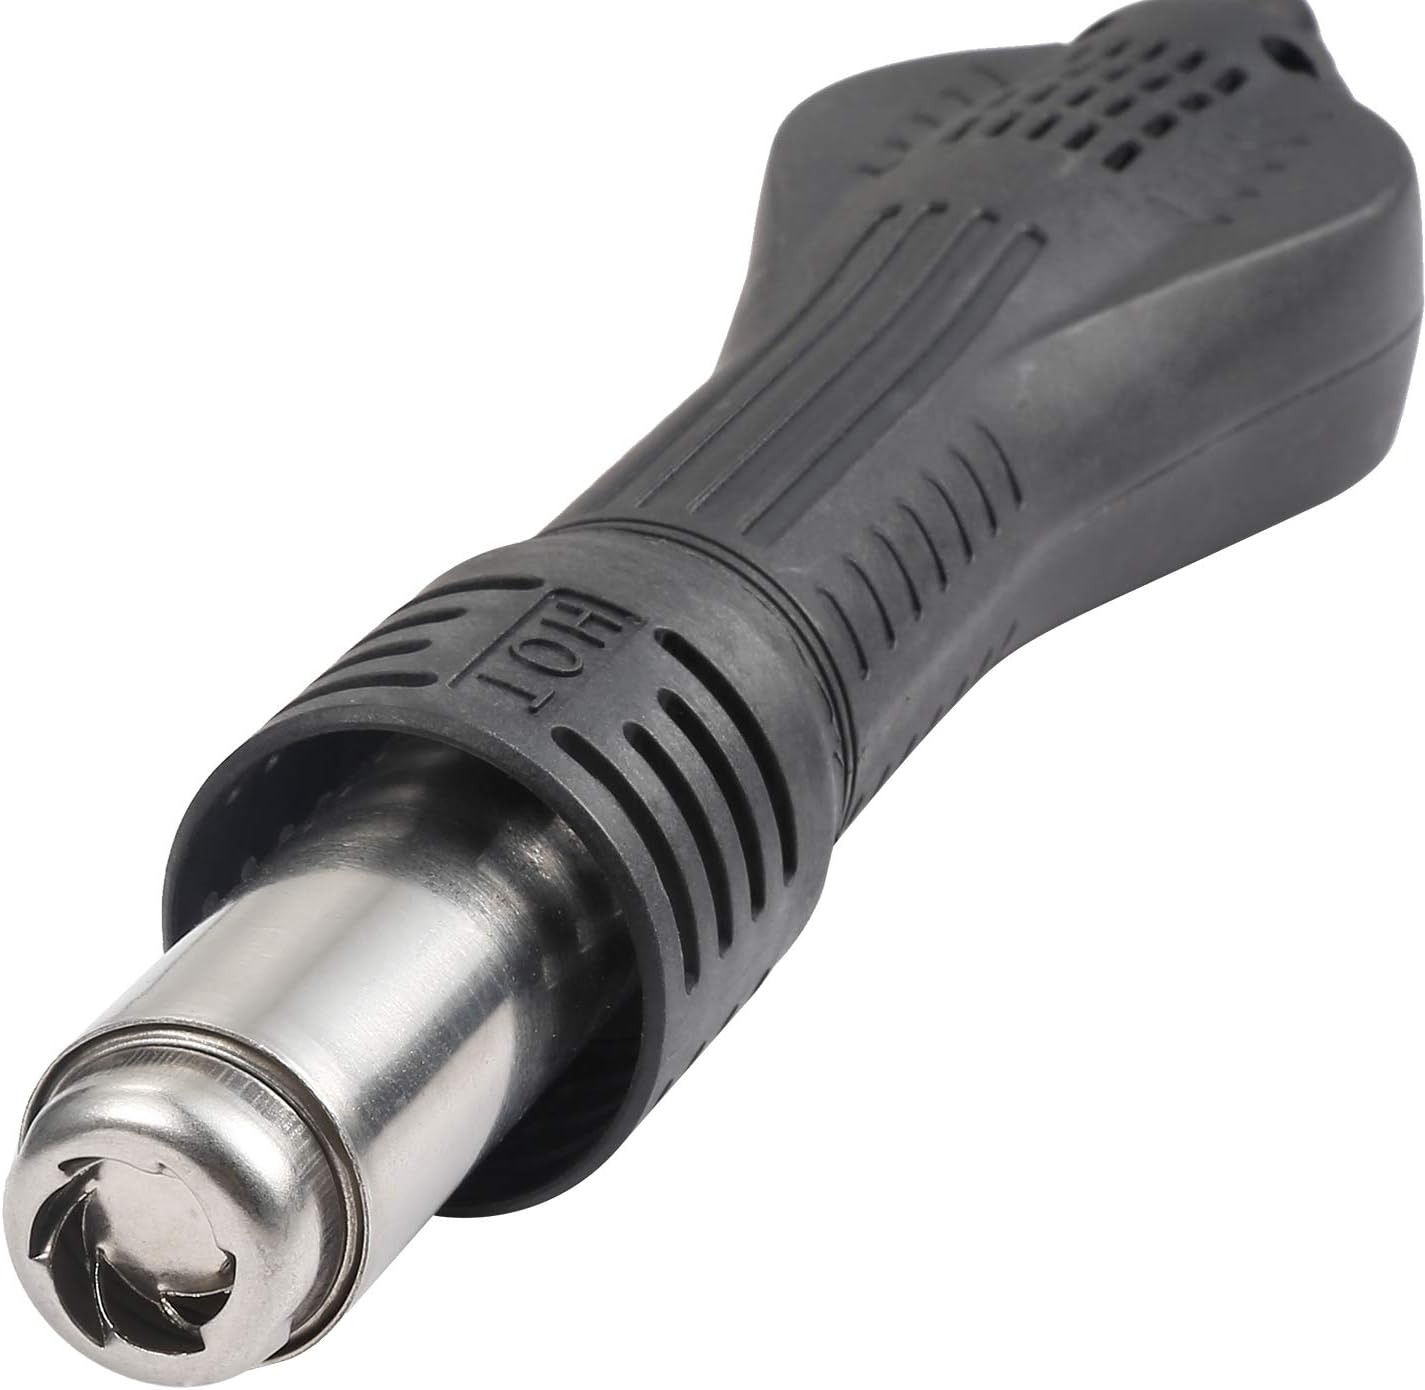
Figure 5.2: Hot air gun handle.
- Automatic Stoppage: When the hot air gun is returned to its holder, the unit will automatically blow cool air to protect the heating element and then enter standby mode.
- Nozzle Selection: Choose an appropriate nozzle size for your application.

Figure 5.3: Assortment of hot air nozzles.
5.3. Soldering Iron Operation
- Power On: Flip the "SOLDERING STATION" power switch to ON.
- Set Temperature: Rotate the "SOLDERING STATION" knob to set the desired temperature (e.g., 200°C to 480°C). The LED display will show the hot air temperature, but the soldering iron will heat to its set point.
- Pre-tinning: Before first use or after cleaning, pre-tin the soldering iron tip with a small amount of solder.
- Operation: Use the soldering iron for your soldering tasks. Always return the iron to its stand when not actively soldering.

Figure 5.4: Soldering iron in its stand.
6. Maintenance
- Soldering Iron Tip: Regularly clean the soldering iron tip using the damp sponge. Re-tin the tip after cleaning to prevent oxidation. Replace tips when they become excessively worn or corroded.
- Hot Air Nozzles: Ensure hot air nozzles are free from debris. Clean them gently if necessary.
- Unit Cleaning: Wipe the main unit with a soft, dry cloth. Do not use abrasive cleaners or solvents. Ensure the unit is unplugged before cleaning.
- Air Filter: Periodically check the air intake vents for dust accumulation and clean as needed to maintain proper airflow.
7. Troubleshooting
| Problem | Possible Cause | Solution |
|---|---|---|
| Unit does not power on. | Power cord not connected, power switch off, or blown fuse. | Check power cord connection. Ensure power switch is ON. Check and replace fuse if necessary (refer to specifications for fuse type). |
| Hot air gun not heating. | Hot air gun not properly connected, hot air switch off, or heating element failure. | Ensure hot air gun cable is securely connected. Verify "SMOREWORK STATION" switch is ON. If problem persists, contact support. |
| Soldering iron not heating. | Soldering iron not properly connected, soldering iron switch off, or heating element failure. | Ensure soldering iron cable is securely connected. Verify "SOLDERING STATION" switch is ON. If problem persists, contact support. |
| Inconsistent temperature. | Sensor issue or environmental factors. | Ensure proper ventilation. If problem persists, contact support. |
| Low airflow from hot air gun. | Airflow knob set too low, or blocked air intake. | Increase airflow using the "AIR" knob. Check and clean air intake vents. |
8. Specifications
| Feature | Detail |
|---|---|
| Model Number | L-8586 |
| Brand | LRT |
| Input Voltage | 110 Volts |
| Total Wattage | 700 watts |
| Display Type | LED |
| Hot Air Temperature Range | Up to 480 Degrees Celsius |
| Soldering Iron Temperature Range | Up to 480 Degrees Celsius |
| Temperature Stability | ±1 Degrees Celsius |
| Item Weight | 5.3 Pounds |
| Included Components | Soldering Iron, Sponge, Tweezer, Hot Air Nozzles |
| UPC | 786411211647 |
9. Warranty and Support
For warranty information or technical support, please refer to the documentation provided with your purchase or contact the retailer.