1. Introduction
This manual provides essential information for the safe and effective use of your Desuccus Kids Digital Camera X2. Please read it thoroughly before operating the device and retain it for future reference.
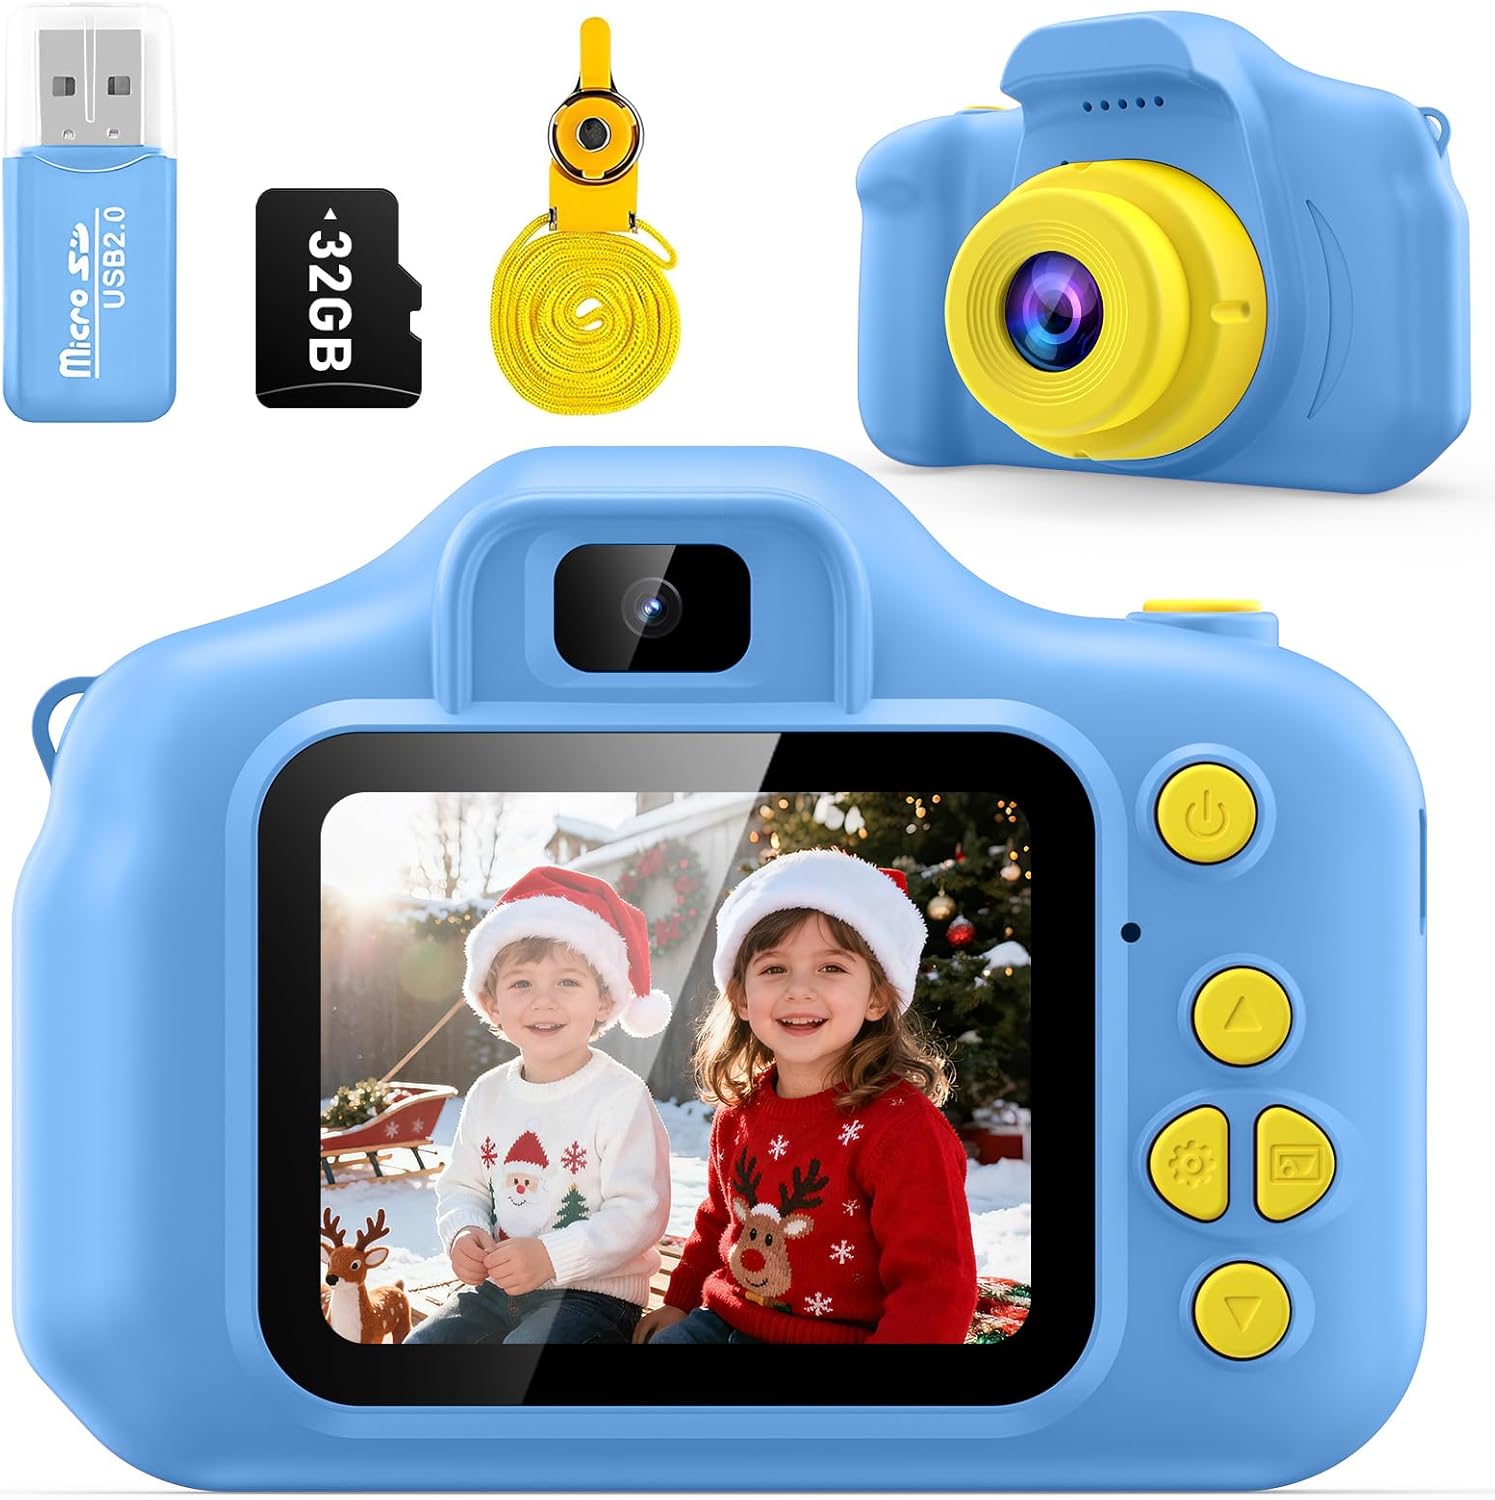
Figure 1: Desuccus Kids Digital Camera X2 and included accessories.
2. Product Overview
The Desuccus Kids Digital Camera X2 is designed for children aged 3-8, offering a user-friendly interface and durable construction. It features photo capture, video recording, playback, and built-in games.
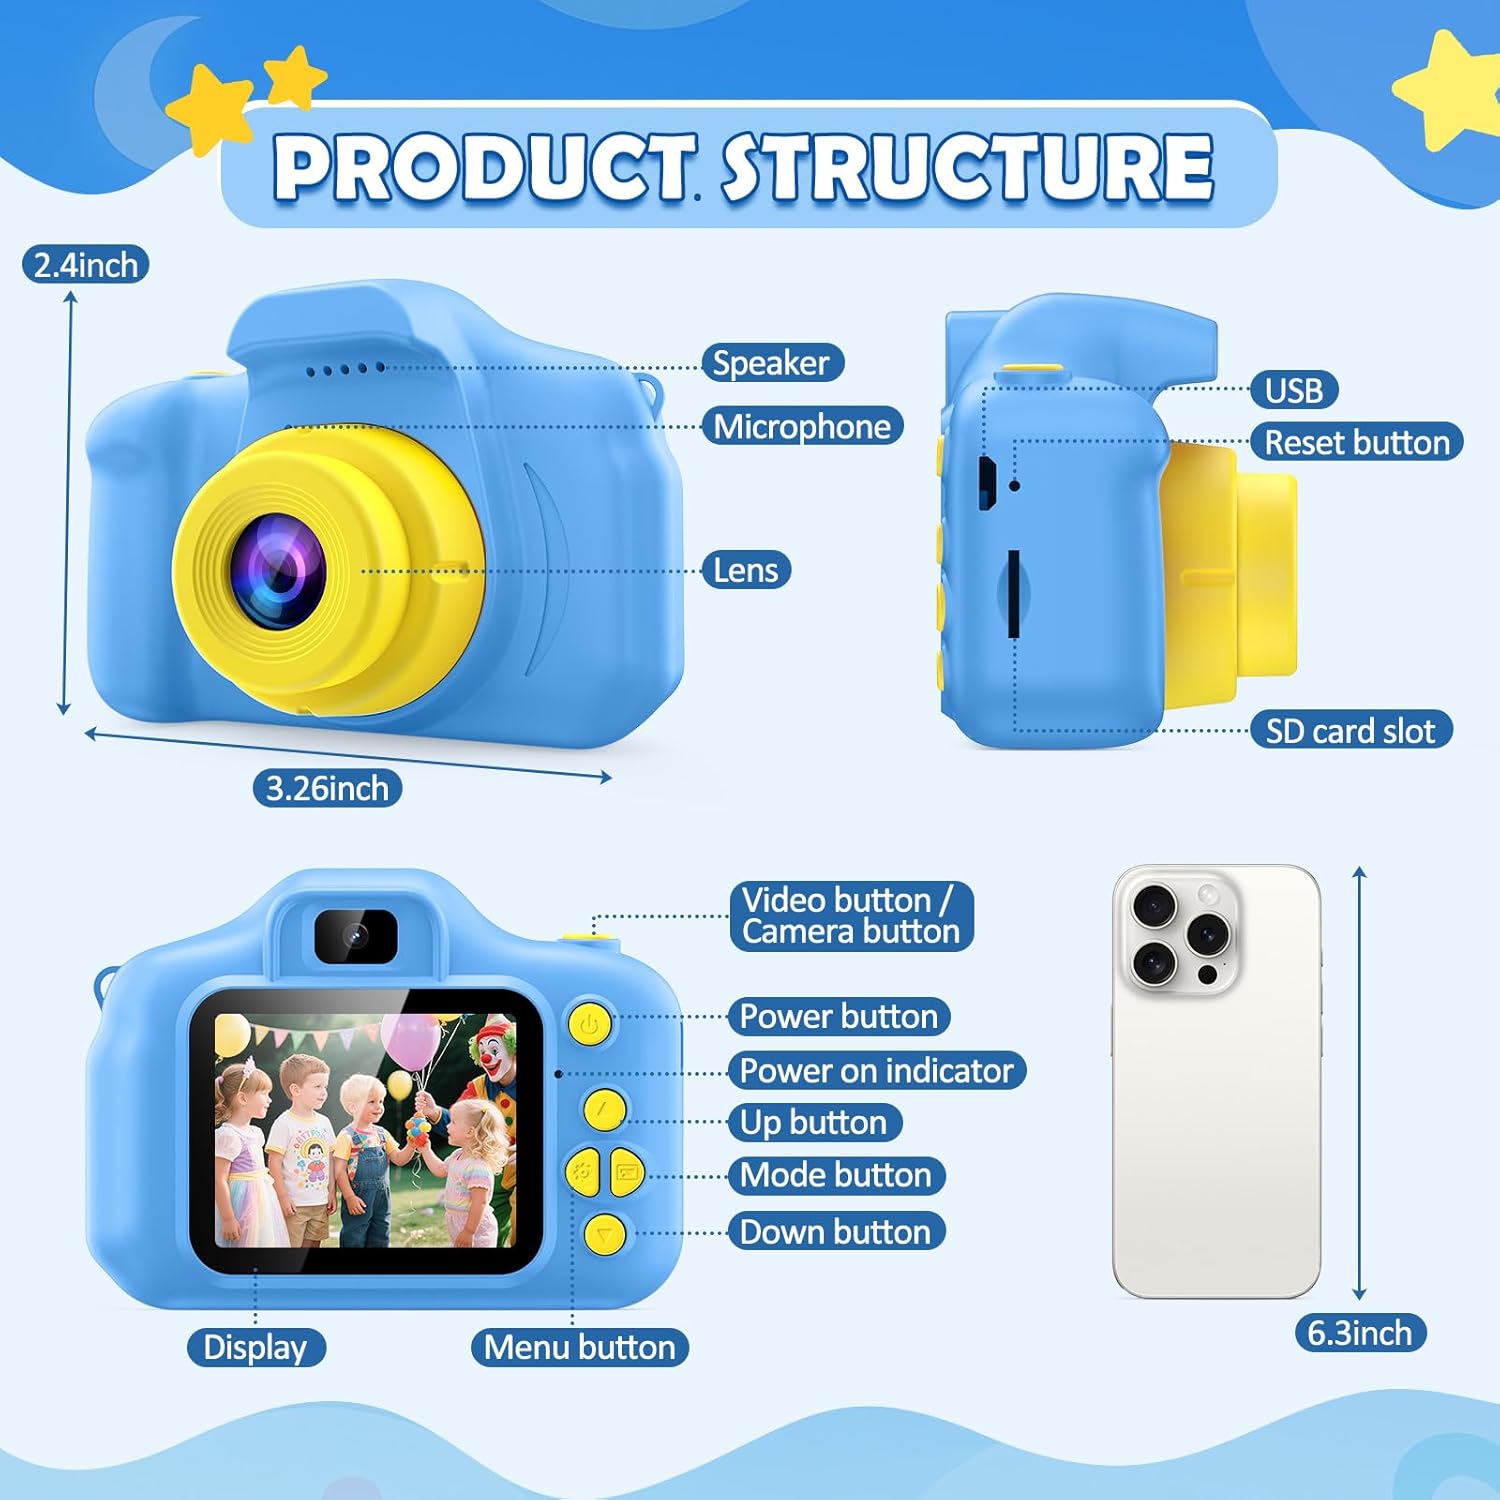
Figure 2: Labeled components of the Desuccus Kids Digital Camera X2.
2.1. Components and Controls
- Lens: Captures images and videos.
- Display Screen: 2-inch LCD for viewing photos, videos, and menu options.
- Power Button: Turns the camera on/off.
- Shutter/OK Button: Takes photos, starts/stops video recording, confirms selections.
- Up/Down Buttons: Navigates menu options, zooms in/out.
- Left/Right Buttons: Navigates menu options, cycles through photos/videos in playback.
- Mode Button: Switches between photo, video, playback, and game modes.
- USB Port: For charging and data transfer.
- SD Card Slot: For inserting the Micro SD card.
- Reset Button: Used to restart the camera if it freezes.
- Lanyard Loop: For attaching the included lanyard.
3. Setup
3.1. Charging the Battery
The camera is equipped with a 1000 mAh rechargeable lithium battery. Before first use, fully charge the camera.
- Connect the included USB charging cable to the camera's USB port.
- Connect the other end of the USB cable to a compatible USB power adapter (not included) or a computer's USB port.
- The charging indicator light will illuminate. Once fully charged (approximately 3-4 hours), the light may change color or turn off.
3.2. Inserting the Micro SD Card
A 32GB Micro SD card is included to store photos and videos.
- Locate the SD card slot on the side of the camera.
- Gently insert the Micro SD card into the slot with the gold contacts facing the front of the camera until it clicks into place.
- To remove, gently push the card in until it clicks, then release, and it will spring out.
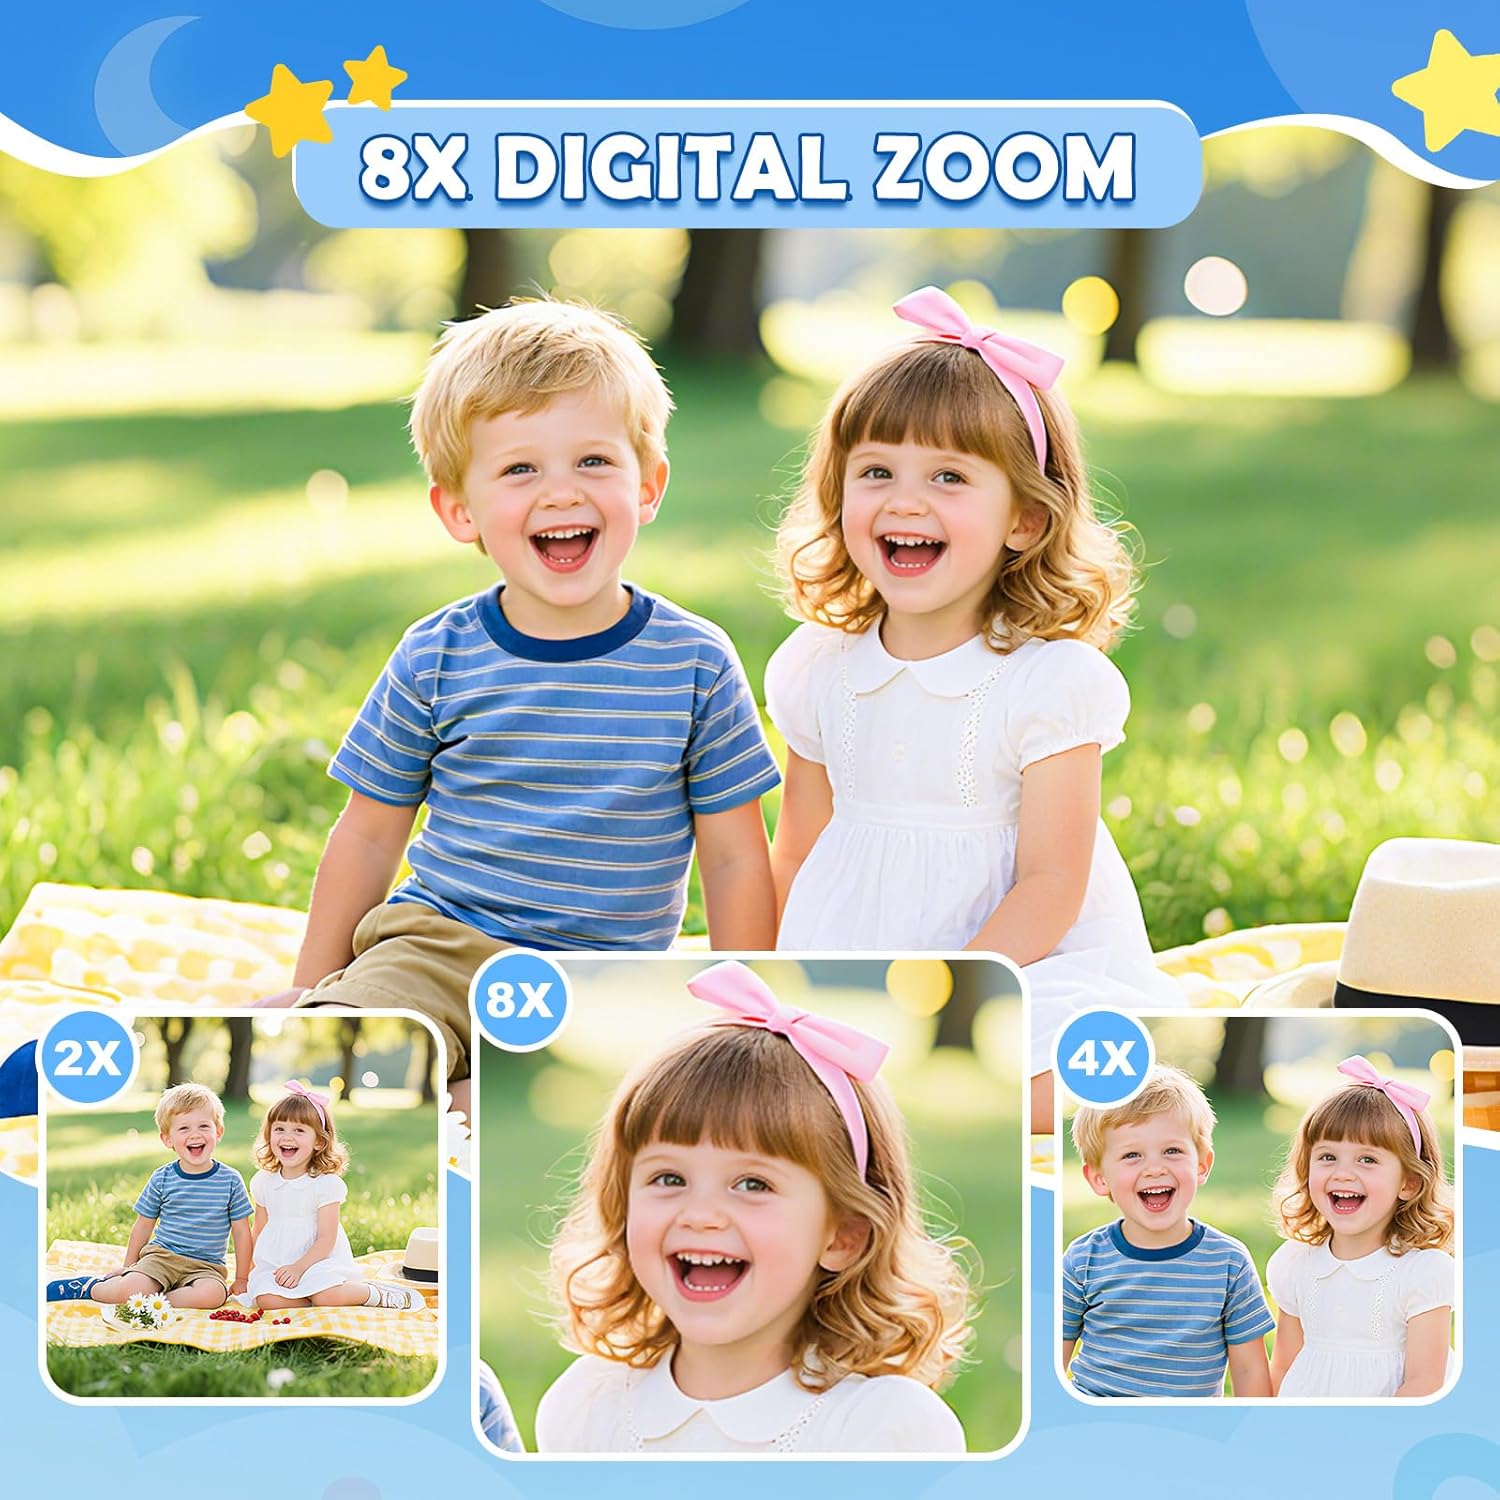
Figure 3: Included accessories: USB adapter, 32GB SD card, lanyard, and reset pin.
4. Operating Instructions
4.1. Power On/Off
- To Power On: Press and hold the Power Button until the screen illuminates.
- To Power Off: Press and hold the Power Button until the screen turns off. The camera will automatically enter standby mode after 2 minutes of inactivity and power off after 3 minutes to conserve battery.
4.2. Taking Photos
- Turn on the camera. It will typically default to photo mode. If not, press the Mode Button until the camera icon is selected.
- Frame your shot using the display screen.
- Press the Shutter/OK Button to take a picture.
- Use the Up/Down buttons to zoom in or out (up to 8x digital zoom).
- The camera supports 8.0 Megapixel photos and includes 15 frames and 6 filters for creative effects.
4.3. Recording Videos
- Press the Mode Button until the video camera icon is selected.
- Press the Shutter/OK Button to start recording. A timer will appear on the screen.
- Press the Shutter/OK Button again to stop recording. The camera records in 1080P resolution.
4.4. Playback
- Press the Mode Button until the playback icon (triangle) is selected.
- Use the Left/Right buttons to navigate through your captured photos and videos.
- Press the Shutter/OK Button to view a photo or play a video.
4.5. Games
The camera includes 5 puzzle games to enhance thinking ability and provide entertainment.
- Press the Mode Button until the game controller icon is selected.
- Use the Up/Down/Left/Right buttons to select a game (e.g., Snake-man, Maze Game, Sokoban).
- Press the Shutter/OK Button to start the selected game.
4.6. Settings
Access the settings menu to adjust various camera parameters such as date/time, language, resolution, and more.
- Press the Mode Button until the gear icon is selected.
- Use the Up/Down buttons to navigate through the settings options.
- Press the Shutter/OK Button to select an option and make adjustments.
5. Maintenance
- Cleaning: Use a soft, dry cloth to clean the camera body and screen. Do not use liquid cleaners.
- Storage: Store the camera in a cool, dry place away from direct sunlight and extreme temperatures.
- Durability: The camera is made from high-quality, eco-friendly, and shockproof ABS material. While durable, avoid intentional drops or impacts.
- Water Resistance: This camera is not water resistant. Avoid exposure to water or moisture.
6. Troubleshooting
| Problem | Possible Cause | Solution |
|---|---|---|
| Camera does not turn on. | Low battery. | Charge the camera fully. |
| "No Media" message appears. | SD card not inserted or not recognized. | Ensure the SD card is correctly inserted. Reinsert if necessary. |
| Camera freezes or becomes unresponsive. | Software glitch. | Use the included thin pin to press the Reset Button (located near the USB port) to restart the camera. |
| Cannot transfer files to computer. | Incorrect connection or driver issue. | Ensure the USB cable is securely connected. Try using the included USB adapter to transfer files from the SD card directly to your computer. |
7. Specifications
| Feature | Detail |
|---|---|
| Model Name | X2 |
| Brand | Desuccus |
| Maximum Webcam Image Resolution | 8 MP |
| Video Resolution | 720p (1080P recording mentioned in features, likely upscaled or marketing term for HD) |
| Screen Size | 2 Inches LCD |
| External Memory Size | 32 GB (Micro SD card included) |
| Battery Type | Lithium Ion (1000 mAh) |
| Optical Zoom | 8x Digital Zoom |
| Material | Eco-friendly ABS |
| Item Weight | 106 Grams |
| Item Dimensions (D x W x H) | 1.18"D x 3.27"W x 2.4"H |
8. Warranty and Support
The Desuccus Kids Digital Camera X2 comes with a 3-Year Manufacturer Warranty.
For further assistance, please visit the Desuccus Store on Amazon or contact customer support.


