1. Introduction
This manual provides comprehensive instructions for the installation, operation, and maintenance of your IN WIN Jupiter AJ140 Addressable RGB Triple Fan Kit. The Jupiter AJ140 fans are designed to deliver high airflow and efficient cooling for computer cases, featuring vibrant Addressable RGB (ARGB) lighting and intelligent PWM control. Please read this manual thoroughly before installation and use to ensure optimal performance and longevity of your product.
2. Package Contents
Verify that all items listed below are present in your package:
- 140mm Fan x 3
- ARGB Controller
- Screw x 12

3. Setup and Installation
Follow these steps to properly install your IN WIN Jupiter AJ140 fans into your computer case.
3.1 Fan Mounting
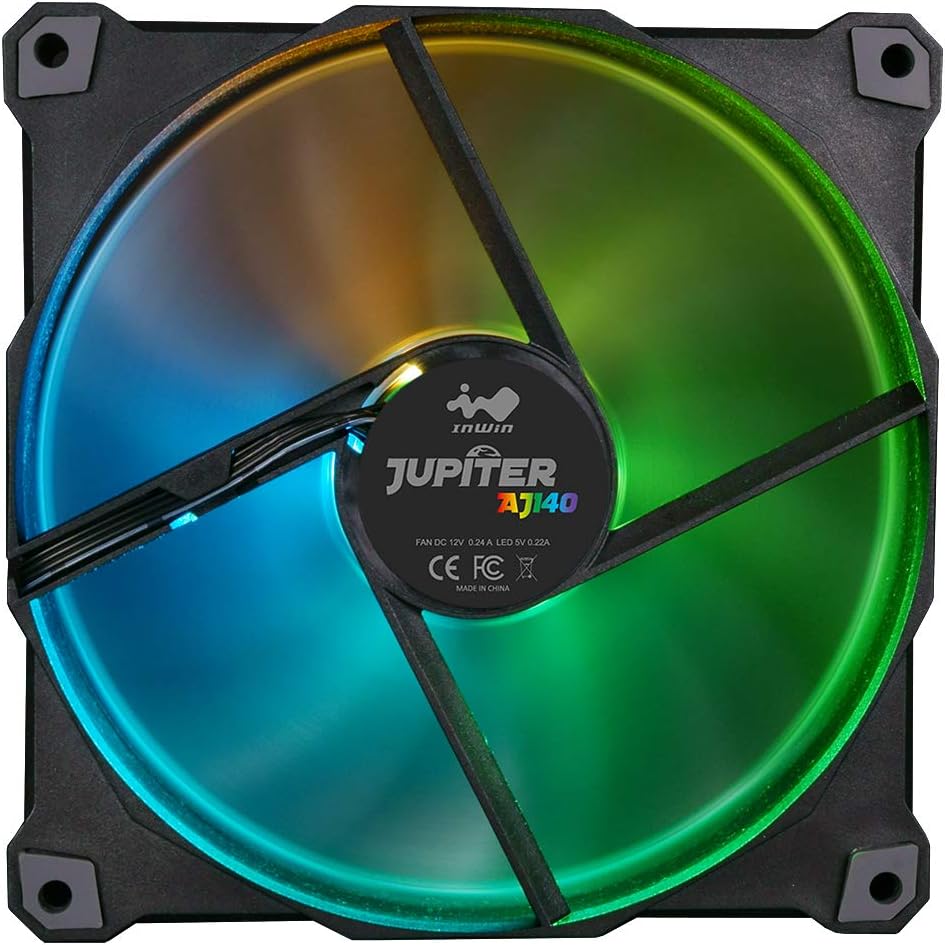
- Identify suitable mounting locations within your computer case. The Jupiter AJ140 fans are 140mm in size.
- Position each fan in the desired location (e.g., front, top, rear, or bottom of the case). Ensure the fan is oriented to provide optimal airflow (intake or exhaust) for your system.
- Secure each fan using four of the provided screws. Tighten screws firmly but do not overtighten to avoid damaging the fan frame.
3.2 Cable Connections
The Jupiter AJ140 fans feature simplified cable management, allowing you to chain them together. Each fan has two cables: one for power (PWM) and one for ARGB lighting.
- Power Connection (PWM): Connect the 4-pin PWM cable from each fan to an available 4-pin fan header on your motherboard or to the included ARGB controller if it supports fan power. For multiple fans, you may use a fan splitter (not included) if your motherboard has limited headers.
- ARGB Lighting Connection:
- Motherboard Sync: If your motherboard has a 3-pin, 5V Addressable RGB header, connect the ARGB cable from the first fan to this header. Then, daisy-chain the ARGB cables from subsequent fans to the previous one. This allows software control of lighting.
- ARGB Controller: If your motherboard lacks a 3-pin, 5V ARGB header, or if you prefer hardware control, connect the ARGB cables from all fans to the included one-click ARGB controller. Connect the controller to a SATA power connector from your power supply.


Important: Ensure correct polarity when connecting ARGB cables to avoid damage. Connect only to 3-pin, 5V Addressable RGB headers, not 4-pin, 12V RGB headers.
Video 3.1: Official InWin Jupiter AJ120/140 Product Overview. This video demonstrates the features and installation process for the Jupiter AJ120/140 series fans, including ARGB lighting effects and PWM intelligent cooling.
4. Operation
4.1 ARGB Lighting Control
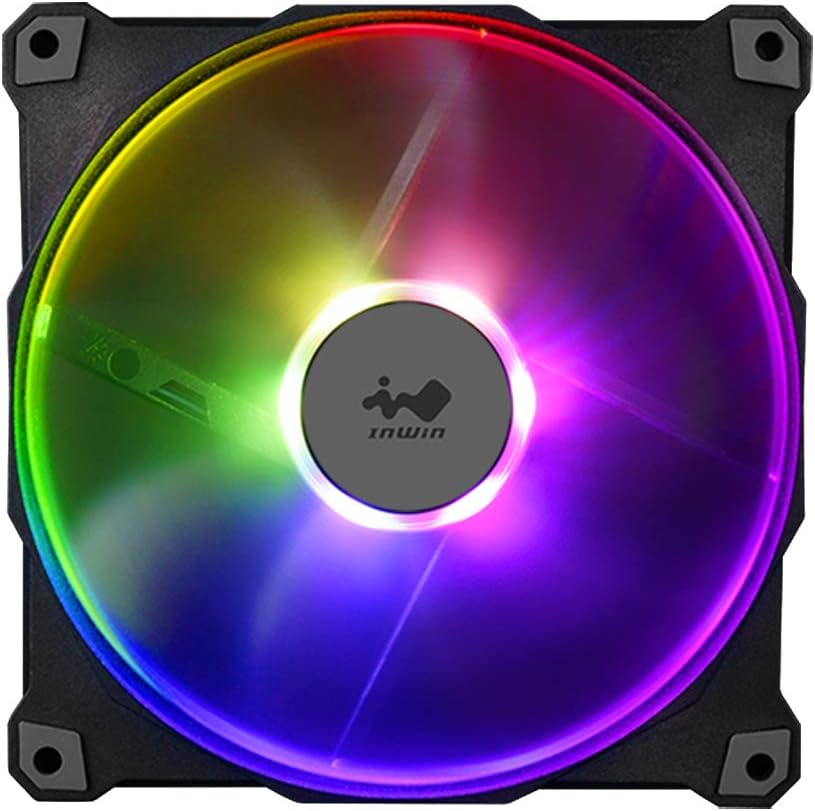
The Jupiter AJ140 fans feature Addressable RGB lighting with 16.8 million color options. The lighting can be controlled in two ways:
- Motherboard Software: If connected to a compatible 3-pin, 5V ARGB motherboard header, you can use your motherboard's proprietary RGB software (e.g., ASUS Aura Sync, MSI Mystic Light Sync, GIGABYTE RGB Fusion, ASRock Polychrome Sync) to customize lighting effects, colors, and synchronization with other ARGB components.
- Included ARGB Controller: If using the included one-click ARGB controller, press the button on the controller to cycle through various preset lighting modes and colors.

4.2 PWM Intelligent Cooling
The fans utilize Pulse Width Modulation (PWM) technology for intelligent cooling. When connected to a 4-pin PWM fan header on your motherboard, the fan speed will automatically adjust based on your system's temperature, ensuring efficient cooling when needed and quieter operation during lower usage. This helps maintain optimal system temperatures and extends the lifespan of the fans.
5. Maintenance
Regular maintenance helps ensure the longevity and optimal performance of your fans.
- Cleaning: Periodically clean the fan blades and frame to remove dust buildup. Use a can of compressed air or a soft, dry cloth. Ensure the computer is powered off and unplugged before cleaning.
- Inspection: Check fan cables for any signs of wear or damage. Ensure all connections remain secure.
- Vibration Pads: The fans are equipped with shockproof stands to eliminate vibrations. Ensure these pads are intact and properly seated.
6. Troubleshooting
If you encounter issues with your Jupiter AJ140 fans, refer to the following common troubleshooting steps:
- Fans Not Spinning:
- Check if the 4-pin PWM power cable is securely connected to the motherboard fan header or controller.
- Ensure the power supply is providing adequate power to the fan headers or the ARGB controller (if used).
- Verify fan speed settings in your motherboard's BIOS/UEFI or fan control software.
- ARGB Lighting Not Working/Incorrect:
- Confirm the 3-pin, 5V ARGB cable is correctly connected to a compatible motherboard header or the ARGB controller. Avoid connecting to 4-pin, 12V RGB headers.
- If using motherboard software, ensure it is up-to-date and correctly configured for your ARGB devices.
- If using the controller, ensure it is powered via SATA and try cycling through modes.
- Check for any loose daisy-chain connections between fans.
- Excessive Noise:
- Ensure fans are securely mounted and screws are tightened.
- Check for any cables or obstructions touching the fan blades.
- Verify fan speed settings in BIOS/UEFI or software; higher speeds generate more noise.
- Ensure the anti-vibration pads on the fan corners are properly installed.
7. Specifications
| Feature | Detail |
|---|---|
| Brand | IN WIN |
| Model Number | AJ140 |
| Power Connector Type | 3-Pin (ARGB), 4-Pin (PWM) |
| Voltage | 5 Volts (ARGB), 12 Volts (Fan) |
| Wattage | 2.52 watts |
| Cooling Method | Fan |
| Compatible Devices | Desktop |
| Noise Level | 34 Decibels (A) |
| Material | Copper (likely referring to motor windings or internal components) |
| UPC | 827955029326 |
| Manufacturer | InWin |
| Series | Jupiter AJ140 Triple Pack |
8. Warranty and Support
For warranty information and technical support, please refer to the official IN WIN website or contact their customer service directly. Keep your proof of purchase for any warranty claims.
Official IN WIN Website: www.in-win.com