1. Introduction
This manual provides essential instructions for the safe and effective use of your MINIBEAR H5 Kids Instant Print Digital Camera. Please read this manual thoroughly before operating the device and retain it for future reference.
The MINIBEAR H5 is a digital camera designed for children, featuring dual 40-megapixel cameras, 1080P HD video recording, and instant thermal printing capabilities. It includes a 2.4-inch IPS screen, various photo frames, and digital zoom functionality.
2. Package Contents
Verify that all items listed below are included in your package:
- 1 x MINIBEAR H5 Kids Instant Print Digital Camera
- 3 x Print Paper Rolls
- 1 x USB Charging Cable
- 1 x Cartoon Lanyard
- 1 x 32GB TF Memory Card
- 1 x User Manual
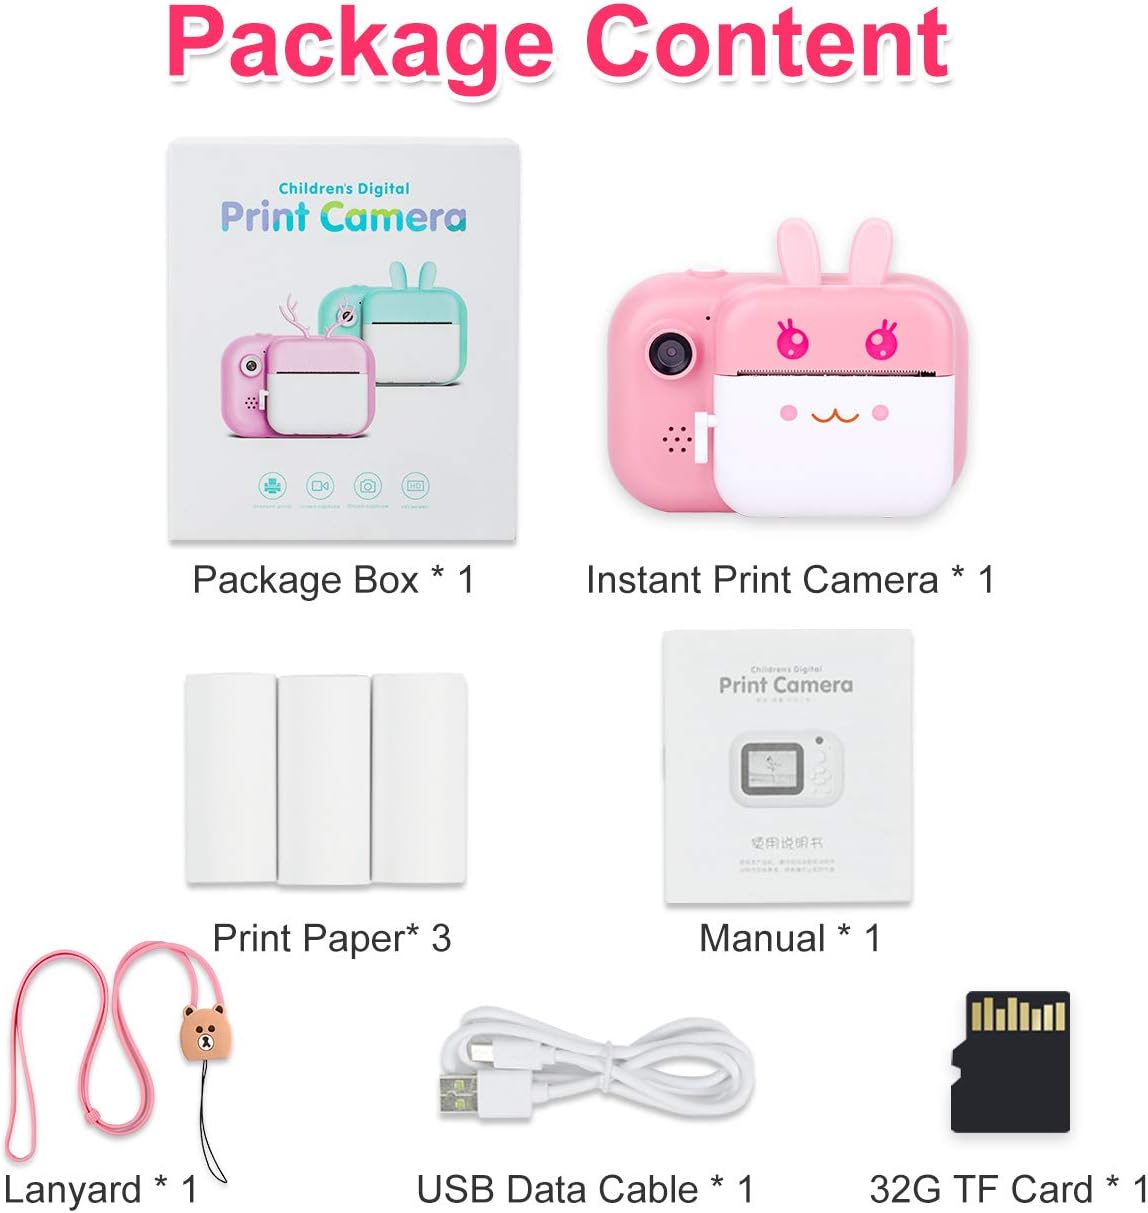
Image: Contents of the MINIBEAR H5 camera package, including the camera, print paper, USB cable, lanyard, and memory card.
3. Camera Overview
Familiarize yourself with the camera's buttons and ports:

Image: Diagram illustrating the MINIBEAR H5 camera's front and back views, highlighting the shutter/video button, front camera, setting/delete button, album key, navigation buttons, power button, back button, USB charging port, memory card socket, and restart hole.
- Shutter/Video/Confirm Button: Press to take a photo, start/stop video recording, or confirm a selection.
- Front Camera: For taking photos and videos.
- Setting Shortcut Key/Delete Button: Access settings or delete files.
- Album Key: View stored photos and videos.
- Left/Short Press Zoom In: Navigate left or zoom in digitally.
- Switch Camera Button/Print Photos in Album: Switch between front/rear cameras or print selected photos.
- Right/Short Press Zoom Out: Navigate right or zoom out digitally.
- Power Button: Long press to turn the camera on or off.
- Back Button: Return to the previous menu or screen.
- USB Charging Port: Connect the USB cable for charging and data transfer.
- Memory Card Socket: Insert the TF memory card.
- Restart Hole: Use a thin pin to reset the camera if it becomes unresponsive.
4. Setup
4.1 Charging the Camera
Before first use, fully charge the camera. Connect the included USB cable to the camera's USB charging port and the other end to a USB power adapter (not included) or a computer's USB port. The charging indicator light will illuminate during charging and turn off when fully charged. A full charge provides approximately 3 hours of continuous use.
4.2 Inserting the Memory Card
The camera supports a TF (MicroSD) card up to 32GB. A 32GB TF card is included in the package.
- Locate the memory card socket on the side of the camera.
- Insert the TF card into the slot with the gold contacts facing down until it clicks into place.
- To remove, gently push the card in until it clicks, then release, and it will spring out.
4.3 Loading Print Paper
The camera uses thermal print paper. Three rolls are included.
- Towards the camera lens, push up to unlock the print paper compartment lid. Do not use excessive force.
- Place a new roll of print paper into the compartment with the printing side facing the ear of the camera (as shown in the diagram).
- Ensure the paper feeds smoothly out of the slot, then close the lid firmly until it clicks.

Image: Visual guide for USB charging, inserting the 32GB TF card, and the three-step process for loading print paper into the MINIBEAR H5 camera.
5. Operation
5.1 Power On/Off
To turn the camera on or off, press and hold the Power Button for a few seconds.
5.2 Taking Photos
- Turn on the camera. It will typically start in photo mode.
- To switch between the front and rear cameras, press the Switch Camera Button.
- Frame your shot using the 2.4-inch IPS screen.
- Press the Shutter Button to capture a photo.

Image: A child using the MINIBEAR H5 camera in selfie mode, demonstrating the dual camera capability and the availability of 20 funny photo frames for creative expression.
5.3 Recording Videos
- From the main screen, navigate to video mode using the navigation buttons.
- Press the Shutter Button once to start recording. A red indicator will typically appear.
- Press the Shutter Button again to stop recording.
5.4 Digital Zoom
The camera features an 8x digital zoom. While in photo or video mode, use the Left/Short Press Zoom In and Right/Short Press Zoom Out buttons to adjust the zoom level.

Image: A child coloring printed photos, illustrating the creative potential. Below, examples of 2x, 4x, and 8x digital zoom are shown, demonstrating the camera's zoom capability.
5.5 Photo Frames and Filters
The camera includes 20 funny photo frames and various filters to enhance creativity. These can typically be selected from the camera's menu before taking a photo.
5.6 Instant Printing
The MINIBEAR H5 uses inkless thermal printing technology. You can choose from three printing options in the settings: only print, only take photos, or photo and print simultaneously. The density of printed photos can also be adjusted.
- Direct Print: If the 'photo and print' option is selected, photos will print immediately after capture.
- Print from Album: Navigate to the album using the Album Key, select a photo, and press the Switch Camera Button/Print Photos in Album to print.

Image: The MINIBEAR H5 camera in action, showing a black and white photo being instantly printed from the device, alongside the camera itself and included accessories like print paper and a 32GB memory card.
5.7 Playback
To review your captured photos and videos, press the Album Key. Use the navigation buttons to scroll through files and the Shutter Button to view or play them.
6. Maintenance
6.1 Cleaning
Use a soft, dry cloth to clean the camera body. For the lens and screen, use a specialized lens cleaning cloth. Avoid using liquid cleaners or abrasive materials.
6.2 Storage
Store the camera in a cool, dry place away from direct sunlight and extreme temperatures. High temperatures can affect the thermal print paper. Ensure the camera is turned off when not in use for extended periods.
6.3 Print Paper Replacement
Refer to section 4.3 for detailed instructions on how to replace the print paper rolls.
7. Troubleshooting
- Camera does not turn on: Ensure the battery is charged. If the issue persists, try resetting the camera by inserting a thin pin into the Restart Hole.
- Cannot take photos/videos: Check if the memory card is inserted correctly and has sufficient storage space. Format the memory card if necessary (this will erase all data).
- Printing issues (blank prints, faded prints): Ensure the print paper is loaded correctly with the printing side facing the camera's ear. Check if the print paper roll is depleted. Adjust print density in settings if prints are too light.
- Camera freezes: Use a thin pin to press the Restart Hole to reset the camera.
- Cannot connect to computer: Ensure the USB cable is securely connected to both the camera and the computer. Try a different USB port or cable.
8. Specifications
| Feature | Specification |
|---|---|
| Brand | MINIBEAR |
| Model Name | H5 |
| Maximum Webcam Image Resolution | 40 MP |
| Video Resolution | 1080p |
| Screen Size | 2.4 Inches |
| Digital Zoom | 8 x |
| Memory Storage Capacity | 32 GB (TF Card Included) |
| Battery Capacity | 1000mAh Lithium Polymer |
| Battery Average Life | 3 Hours |
| Connectivity Technology | USB |
| Supported File Format | JPEG (Images), MP4 (Video) |
| Item Weight | 0.42 Kilograms |
| Item Dimensions (D x W x H) | 5"D x 2.5"W x 4"H |
9. Warranty and Support
Your MINIBEAR H5 Kids Instant Print Digital Camera is covered by a manufacturer's warranty. For specific warranty details, including duration and coverage, please refer to the warranty card included in your product packaging or contact MINIBEAR customer support directly. Keep your purchase receipt as proof of purchase.
For technical support or inquiries, please visit the official MINIBEAR website or contact their customer service department through the retailer where the product was purchased.