1. Introduction
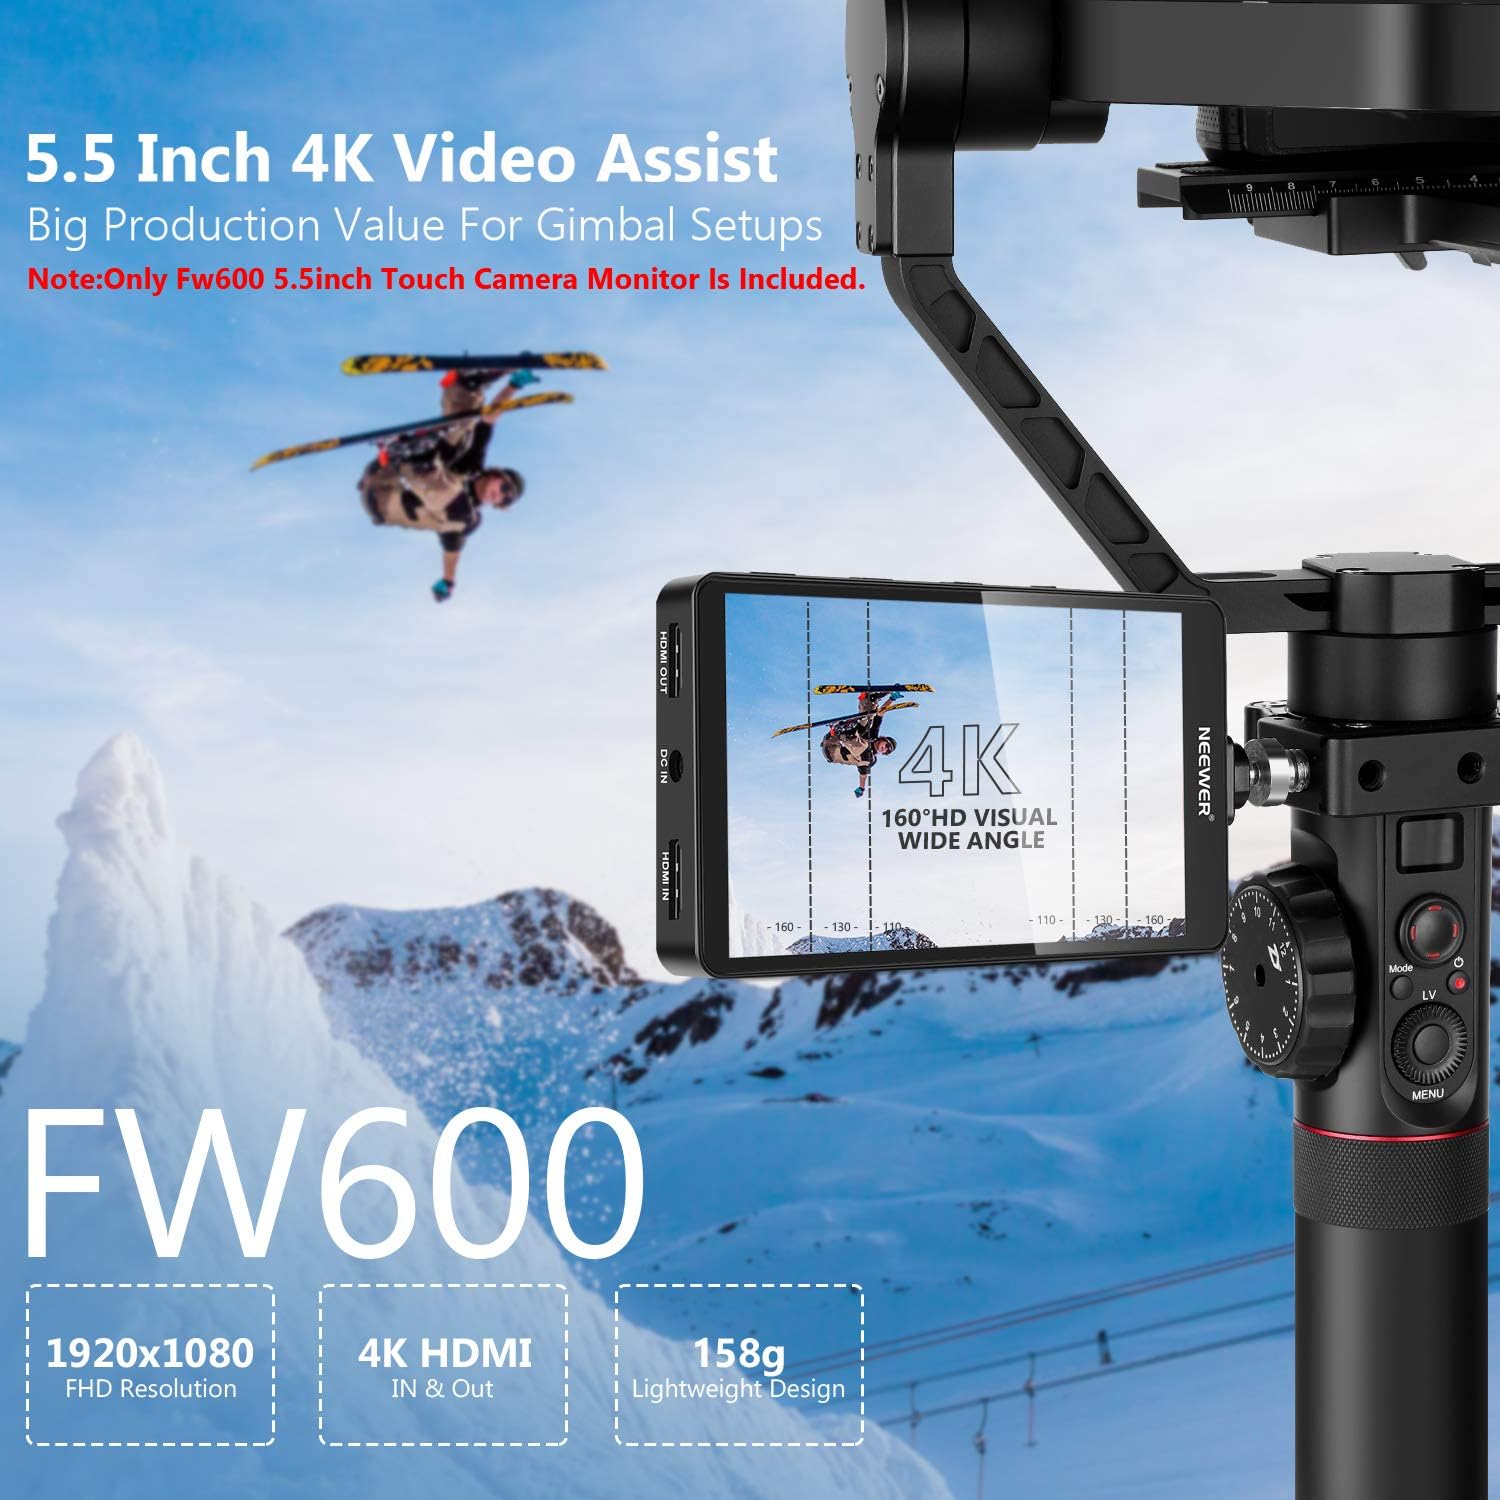
The NEEWER FW600 is a 5.5-inch Full HD 1920x1080 touch screen camera field monitor designed to enhance your video production workflow. It features 4K HDMI input/output, RGB waveform, vector scope, 3D-LUT support, and various video peaking focus assist functions. This manual provides detailed instructions for setup, operation, and maintenance of your FW600 monitor.
2. Safety Information
- Do not expose the monitor to rain or moisture to avoid electric shock or fire.
- Avoid direct sunlight exposure for extended periods, especially when not in use.
- Do not disassemble the unit. Refer all servicing to qualified personnel.
- Use only power adapters and batteries specified by the manufacturer.
- Keep the monitor away from strong magnetic fields.
- Clean the screen with a soft, dry cloth. Avoid using liquid cleaners.
3. Package Contents
Verify that all items listed below are included in your package:
- NEEWER FW600 5.5-Inch Monitor
- Sun Shade
- Tilt Arm
- Microfiber Cloth
- U Disk (USB Flash Drive)
- HDMI Micro Cable
- Mini HDMI Cable
- OTG Cable
- USB Cable

4. Product Overview
The FW600 monitor features a compact design with essential ports for connectivity and power. Understanding the layout of these components is crucial for proper operation.

4.1. Ports and Controls
- HDMI IN: Connects to your camera's HDMI output for video signal input.
- HDMI OUT: Provides a loop-out signal to another monitor or device.
- DC IN: Power input for external power sources (e.g., AC adapter, not included).
- 8V DC OUT: Power output to power compatible camera accessories.
- 3.5mm Earphone Slot: For audio monitoring.
- USB Upgrade: Used for firmware updates and 3D-LUT loading.
- Battery Plate: Located on the rear, compatible with Sony NP-F550/F970 series batteries.

5. Setup
5.1. Mounting the Monitor
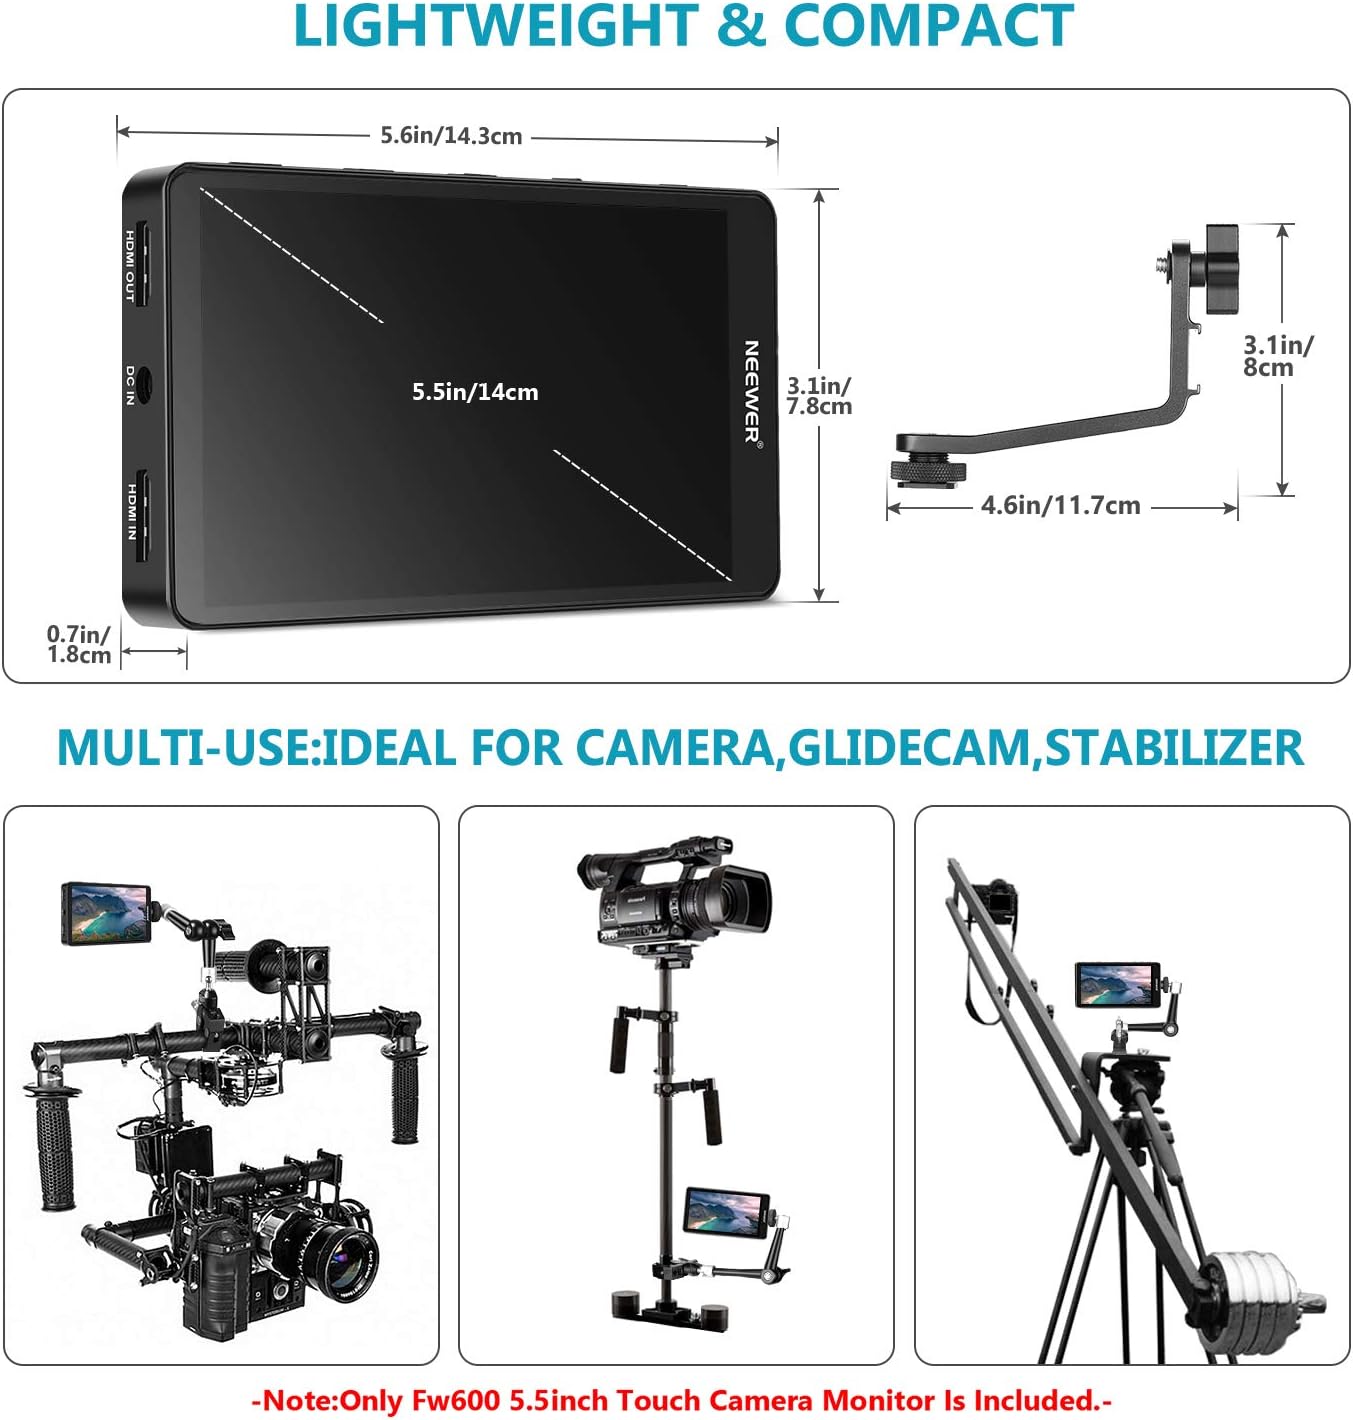
The FW600 monitor can be mounted using the included tilt arm or other compatible mounting solutions.
- Attach the tilt arm to the 1/4"-20 screw hole on the side of the monitor.
- Secure the tilt arm to your camera's hot shoe or a cage using its cold shoe mount.
- Adjust the angle of the monitor for optimal viewing.
5.2. Powering the Monitor
The FW600 can be powered by an NP-F series battery or an external DC power source.
- Using an NP-F Battery: Slide a compatible Sony NP-F550/F970 battery onto the battery plate on the rear of the monitor until it clicks into place.
- Using DC Power: Connect a compatible DC power adapter (not included) to the "DC IN" port.
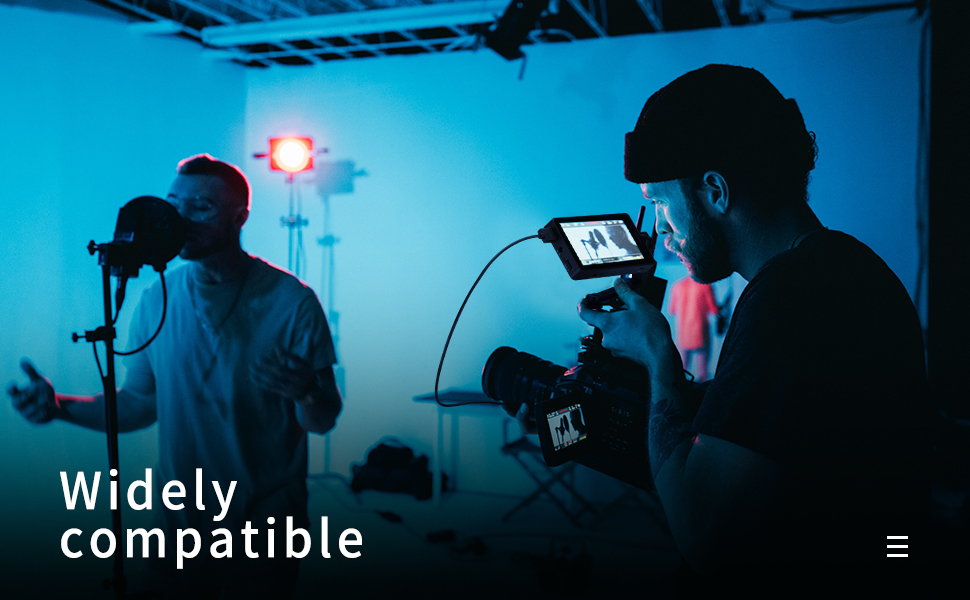
5.3. Connecting to a Camera
Connect your camera to the monitor using an HDMI cable.
- Ensure both the camera and monitor are powered off.
- Connect one end of the HDMI Micro Cable or Mini HDMI Cable (depending on your camera's port) to your camera's HDMI output.
- Connect the other end of the cable to the "HDMI IN" port on the FW600 monitor.
- Power on the monitor, then power on your camera. The camera's video feed should appear on the monitor.
6. Operating the Monitor
6.1. Basic Operation and Menu Navigation
The FW600 features a touch screen for intuitive control. Tap the screen to access the main menu and adjust settings.

6.2. Key Features and Functions
The FW600 offers a range of professional monitoring tools:
- 3D-LUT: Load custom 3D Look-Up Tables for accurate color grading preview. Use the included U Disk and OTG cable to transfer LUT files.
- Waveform: Displays the luminance and chrominance levels of your video signal, aiding in exposure control.
- Vector Scope: Visualizes the color information of your image, helping to ensure accurate color balance.
- Peaking Focus Assist: Highlights in-focus areas with a selectable color, making it easier to achieve sharp focus.
- False Color: Assigns false colors to different exposure levels, providing a quick visual guide for correct exposure.
- Zebra: Overlays stripes on areas exceeding a set exposure threshold, indicating overexposed regions.
- Histogram: Shows the distribution of tonal values (brightness) in your image.
- Zoom: Magnifies a portion of the image for critical focus checking.
- Image Flip: Flips the image horizontally or vertically, useful for various mounting orientations.

6.3. Brightness Adjustment
The monitor features 450 cd/m² brightness, suitable for various lighting conditions. Adjust the brightness via the on-screen menu for optimal viewing.
6.4. Official Product Video
Watch this official video for a visual guide on the NEEWER FW600 Monitor's features and operation.
Video: An official product video demonstrating the features and usage of the NEEWER FW600 Monitor.
7. Maintenance
- Cleaning: Use the provided microfiber cloth to gently wipe the screen and body of the monitor. Do not use abrasive cleaners or solvents.
- Storage: When not in use, store the monitor in a dry, dust-free environment. Use the sun shade to protect the screen during transport.
- Battery Care: If using batteries, remove them during long periods of inactivity to prevent leakage.
8. Troubleshooting
| Problem | Possible Cause | Solution |
|---|---|---|
| No image on screen. | Monitor not powered on; HDMI cable loose or incorrect input selected; camera not outputting signal. | Ensure monitor is powered on. Check HDMI cable connection. Verify camera HDMI output settings. Select correct input source on monitor. |
| Image is distorted or flickering. | Faulty HDMI cable; incompatible resolution/frame rate; interference. | Try a different HDMI cable. Adjust camera output resolution/frame rate to match monitor's supported modes (up to 4K 30Hz). Move away from strong electromagnetic sources. |
| Touch screen unresponsive. | Temporary software glitch; screen dirty. | Restart the monitor. Clean the screen with a microfiber cloth. |
| Monitor overheats and shuts off. | Prolonged use in high temperatures; poor ventilation. | Allow the monitor to cool down. Operate in a well-ventilated area. Reduce screen brightness if possible. |
| Cannot load 3D-LUTs. | Incorrect file format; USB connection issue. | Ensure LUT files are in a compatible format (e.g., .cube). Verify the OTG cable and U Disk connection. Refer to the specific LUT loading instructions in the monitor's full manual (if available). |
9. Specifications
| Feature | Detail |
|---|---|
| Screen Size | 5.5 Inches |
| Resolution | 1920x1080 (FHD 1080p) |
| Display Type | LCD, IPS Panel |
| Brightness | 450 cd/m² |
| Contrast Ratio | 2000:1 |
| Viewing Angle | 160 Degrees |
| Aspect Ratio | 16:10, 16:9, 4:3 |
| Refresh Rate | 60 Hz |
| Connectivity | HDMI In, HDMI Out, DC In, 8V DC Out, 3.5mm Earphone, USB Upgrade |
| Power Input | DC 7-24V (NP-F battery or external DC) |
| Dimensions (D x W x H) | 0.7"D x 5.6"W x 3.1"H (1.8cm x 14.3cm x 7.8cm) |
| Weight | Approximately 158g (without battery) |
| Special Features | Touchscreen, 3D-LUT, Waveform, Vector Scope, Histogram, Peaking Focus, False Color, Zebra, Zoom, Image Flip |
10. Warranty & Support
NEEWER products typically come with a limited warranty. Please refer to the warranty card included with your product or visit the official NEEWER website for detailed warranty terms and conditions.
Customer Support
For technical assistance, troubleshooting, or service inquiries, please contact NEEWER customer support through their official website or the contact information provided in your product packaging. When contacting support, please have your product model (FW600) and purchase details ready.
Official NEEWER Website: www.neewer.com